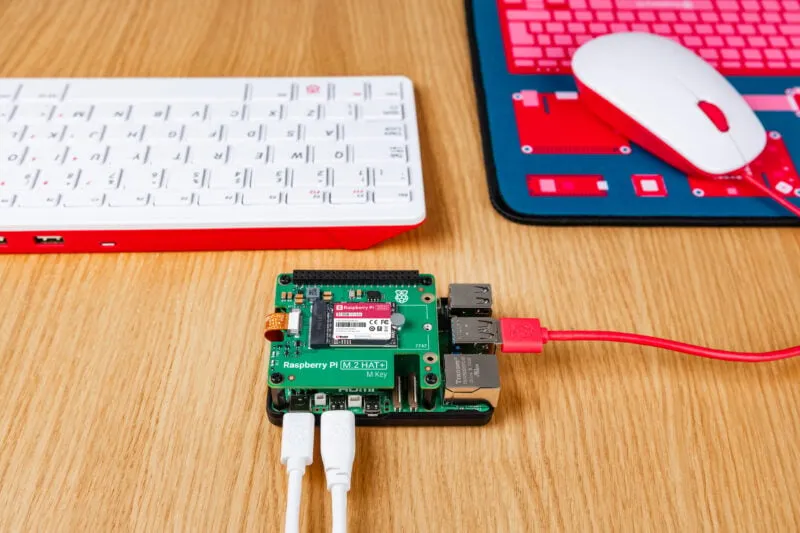
Raspberry Pi launched its branded NVMe SSDs and SSD Kits on 23 October 2024, offering a straightforward storage upgrade for Raspberry Pi 5. The original launch covered 256 GB and 512 GB drives, available separately or bundled with the M.2 HAT+. The current standalone SSD range also includes 1 TB; the SSD Kit product page still describes 256 GB and 512 GB bundles. Check the actual package when buying.
We see the official combination as a convenient choice for users who want documented compatibility and an easier starting point for SSD storage. It can be a worthwhile upgrade for a desktop, development machine or storage-heavy homelab project. That does not make every existing microSD setup inadequate, nor does an SSD remove the need for backups, appropriate power and cooling.
What the M.2 HAT+ Actually Does
The Raspberry Pi M.2 HAT+ converts Pi 5's external PCIe connection into an M.2 M-key socket for compatible PCIe devices, including NVMe storage. Data travels through the PCIe ribbon connection, rather than a SATA cable or the GPIO data pins. It is not a SATA-to-USB bridge, and an ordinary 2.5-inch SATA SSD cannot plug directly into its M.2 socket.
Use a USB-to-SATA adapter if you want to reuse a SATA drive, or choose the correct NVMe drive and carrier for the PCIe approach. M.2 describes a physical format; it does not by itself make a SATA-protocol drive compatible with an NVMe carrier. Our original Raspberry Pi 5 NVMe HAT article provides related background.
Pi 5 exposes a single-lane PCIe 2.0 interface, and the official HAT documentation lists a 500 MB/s peak interface rate. That is a bus capability rather than a guaranteed sustained read or write result. The storage controller, access pattern, software and other system limits influence actual performance.
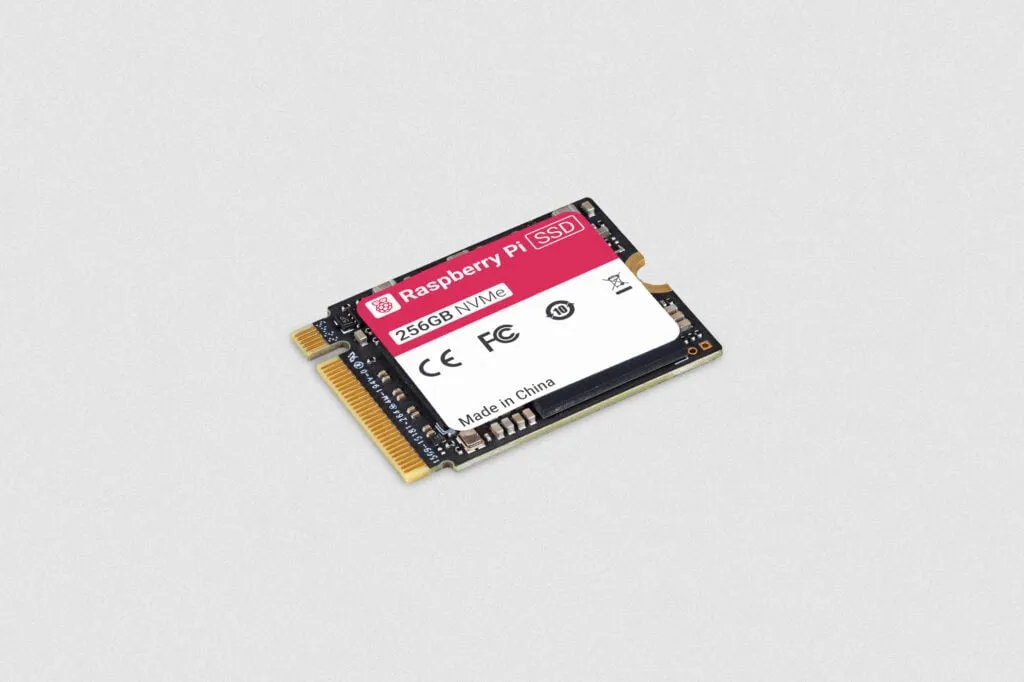
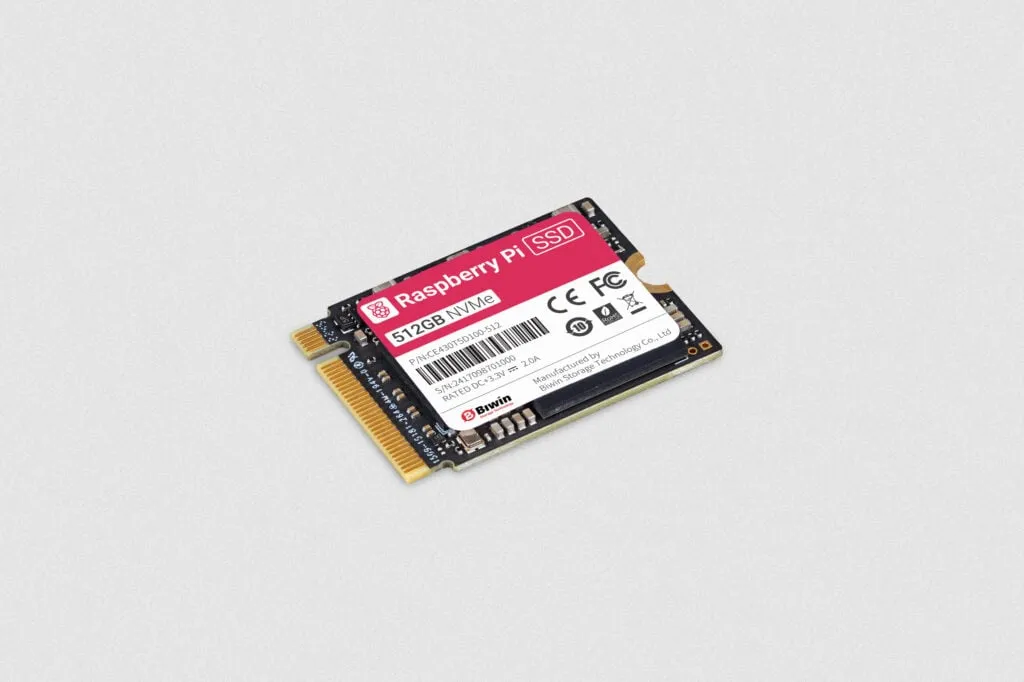
Drive Sizes and Published Specifications
The official SSD is M.2 2230: approximately 22 mm wide and 30 mm long. It is PCIe Gen 3-compliant and uses the NVMe 1.4 register interface and command set. The following are the manufacturer's published 4 kB random-operation figures, not benchmarks performed for this article.
| Capacity | Published random read | Published random write | Current product scope |
|---|---|---|---|
| 256 GB | 40,000 IOPS | 70,000 IOPS | Standalone SSD and listed SSD Kit |
| 512 GB | 50,000 IOPS | 90,000 IOPS | Standalone SSD and listed SSD Kit |
| 1 TB | 90,000 IOPS | 90,000 IOPS | Current standalone SSD range |
IOPS counts operations per second for the stated access pattern. It does not directly predict boot time, a database query or a large sequential file copy. Compare capacity, available space and your workload as well as performance figures. The launch announcement used minimum figures for the initial range; the current SSD documentation provides the capacity-specific values above.
Official Kit or a Third-Party Drive?
The official package reduces the number of components you must match and has a clear documentation trail. Third-party drives can also be useful, particularly if you already own one, but verify the carrier's supported protocol, length, power and boot compatibility. The standard M.2 HAT+ supports 2230 and 2242 devices; the Compact version supports 2230. A typical 2280 desktop drive is not within those listed mechanical sizes.
Check the enclosure before ordering. The standard HAT+ has space for the Pi Active Cooler beneath it, but Raspberry Pi's documentation says the official Pi 5 Case requires removal of its lid and included fan in that arrangement. The Compact board fits around the case's included fan, but does not leave space for the Active Cooler underneath. These are different physical layouts, so confirm which board a kit or reseller bundle includes.
Also budget for the complete system: Pi, drive, carrier, suitable supply, cooling and any enclosure changes. Avoid paying for a desktop SSD's highest multi-lane benchmark when the intended Pi path is single-lane. Official branding offers a curated route; it does not establish that every alternative fails or that one storage device fits all Raspberry Pi models.
What an SSD Can Improve
A responsive SSD can help with workloads that wait on storage: launching applications, accessing many small files, package updates and databases are useful examples. The size of the improvement depends on the original card and task. An application limited by CPU, memory or a remote service may see little benefit from faster local storage.
Compare the work you actually do. Time a representative application start or update, repeat under similar conditions and observe whether the system is waiting on storage. For a media server, distinguish reading a file from video transcoding; faster storage cannot supply a missing codec capability or additional CPU performance. Do not use one theoretical SSD rate to promise smoother playback for every media setup.
For development, consider source files, build outputs and container data together. Storage-heavy jobs may benefit, but an SSD is not a universal multiplier for compilation or a guarantee that ten containers start within a fixed number of seconds. Match drive capacity and recovery plans to the project rather than treating a benchmark headline as the purchase decision.
Storage for a Homelab or Small NAS
The original use cases remain useful: home automation logs, a small web server, personal cloud files and a lightweight desktop can all benefit from suitable SSD storage. For databases, manage retention and logging so the workload remains within the space and endurance requirements of the chosen drive. An SSD still has finite write life and can fail; it does not eliminate corruption from interrupted writes or software problems.
A Pi-based NAS also depends on its network path. Pi 5's onboard Gigabit Ethernet can limit remote file transfers before the NVMe interface does. Local disk access and network-copy rates therefore answer different questions. Our Raspberry Pi NAS article explores that use case further.
Keep important data and application configuration backed up independently of the boot SSD. For databases, use a backup method that captures a consistent state, then test recovery. More reliable storage is valuable, but a single drive containing both the service and its only backup still leaves one failure point.
Boot Preparation and the Gen 3 Caveat
Follow the official HAT installation and NVMe boot documentation for your board. Prepare current Raspberry Pi software and suitable bootloader firmware, shut down, and disconnect power before installing or changing the SSD. Use the specified mounting hardware and cable orientation rather than forcing a connector or leaving a drive unsupported.
A blank SSD needs an operating system written to it or a suitable partition and filesystem for data use. Raspberry Pi Imager can write to the attached NVMe drive from a Pi running on an SD card. Carefully identify the target: imaging overwrites it. Preserve any required files first, and check that the running system is using the intended boot device afterward. Boot priority may need adjustment if an SD card remains inserted.
PCIe Gen 3 is optional. Raspberry Pi explicitly states that Pi 5 is not certified for Gen 3 speeds and that the connection may be unstable. The SSD being Gen 3-compliant does not certify the entire Pi, ribbon and HAT path at that rate. Establish a reliable baseline at the supported Gen 2 setting before experimenting.
The documented configuration option is dtparam=pciex1_gen=3 in /boot/firmware/config.txt, followed by a reboot; current documentation also provides a raspi-config PCIe Speed option. If testing produces connection or storage errors, return to Gen 2 and investigate. Keep important data backed up rather than relying on a promised instability-free speed increase.
Cooling, Power and Recovery Checks
Keep the assembly ventilated and follow the SSD and carrier instructions for case use. Do not assume a kit supplies thermal pads or guarantees a particular controller temperature. The SSD product brief and carrier documentation define their operating conditions; the drive's ambient rating is not the same measurement as its controller temperature.
Use an appropriate Pi power supply and account for connected peripherals. If the system behaves erratically, check power, cooling and the ribbon connection before blaming the drive's advertised speed. Make physical changes only after shutting down and removing power. After a restart, confirm the drive is detected and that services have mounted their intended data locations.
Monitor available space and any drive health warnings through supported tools, and investigate repeated IO errors promptly. For an unattended server, document how to boot recovery media and restore configuration and files to a replacement drive. A tested recovery process adds more practical value than an assumed lifetime or a single reassuring temperature reading.
A Useful Upgrade for the Right Workload
We continue to view the official SSD and HAT combination as an approachable upgrade for Raspberry Pi 5 users who want more storage and responsive IO. Choose it for a workload that can benefit, confirm the carrier and enclosure fit, and keep the power, cooling and backup plan in place. USB storage or a network share may remain sensible alternatives when they fit your equipment and needs better.
Read the original October 2024 launch announcement and use the current product documents for capacities and installation details.