Have you ever wished for a central place to store documents, photos, music and videos, accessible from different devices at home? A Network Attached Storage (NAS) server does exactly that. Commercial NAS units can be expensive, and the amazing Raspberry Pi offers a rewarding alternative for learning and modest file-sharing workloads.
What Is a Raspberry Pi?
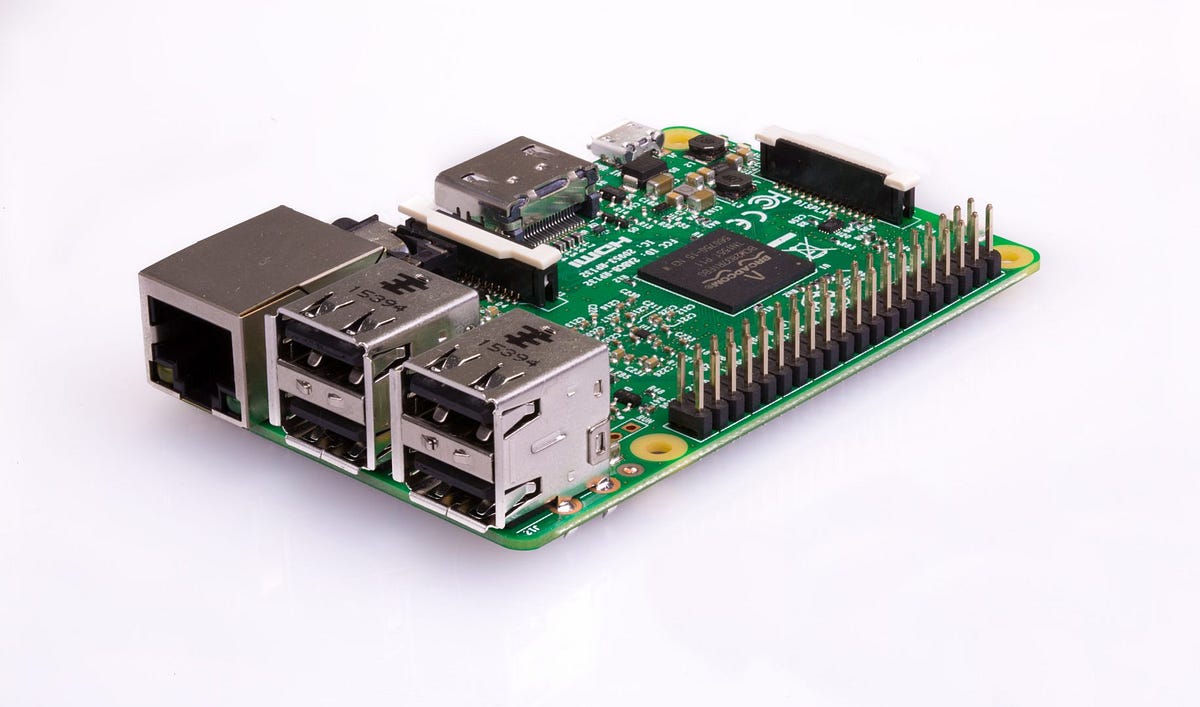
A Raspberry Pi is a small computer that can run Linux, connect to a network and attach storage. OpenMediaVault (OMV) adds a browser interface for managing disks, users and file-sharing services. You still need suitable drives, power and backups; the board alone is not a complete storage appliance.
What Is a NAS?
Think of a NAS as a digital filing cabinet. It can centralize family files, hold backup copies from other computers and serve media that a playback device can decode. For more detail, visit our NAS explanation. A file stored only on the NAS is still one copy: centralizing it does not automatically protect it against drive failure or accidental deletion.
Hardware Requirements
- A compatible 64-bit Raspberry Pi. The current OMV-Extras Raspberry Pi guide covers Pi 3B and newer boards; Pi 4 or Pi 5 is a practical starting point.
- A reliable microSD card for the operating system, with 16GB or more providing useful room.
- A separate USB drive or supported storage adapter, and a suitable enclosure.
- A board-appropriate power supply, Ethernet cable and ventilated case.
- Another disk or backup destination for important files.
Compare the complete cost, including enclosure, cooling and storage, with an entry-level NAS or used computer. Reusing a Pi can be particularly attractive; buying every accessory separately may change the value calculation.
Choosing the Board and Storage Interface
| Board | Documented connections | NAS implication |
|---|---|---|
| Pi 3 Model B+ | USB 2.0; Gigabit Ethernet over USB 2.0, with a stated 300Mbps maximum | Suitable for lighter tasks, with a shared USB bottleneck |
| Pi 4 Model B | Gigabit Ethernet; two USB 3.0 ports | A useful combination for a simple USB storage server |
| Pi 5 | Gigabit Ethernet; two USB 3.0 ports supporting simultaneous 5Gbps operation; PCIe 2.0 x1 | More expansion options, with an appropriate adapter needed for PCIe storage |
These are interface specifications, not measured SMB transfer rates. Actual speed depends on disks, enclosure, files, protocol settings and clients. Small-file transfers can behave very differently from copying one large video. An NVMe drive does not make the built-in Gigabit network link faster. Compute Modules require a carrier board, whose connectors and power design need separate checks.
Installing OpenMediaVault: Match the OS Version
This route is for a fresh, dedicated NAS installation. The current OMV-Extras installer installs OMV 8 on Debian 13 (Trixie). Choose Raspberry Pi OS Lite 64-bit, Trixie; a desktop image or an arbitrary older release is not interchangeable. Check the version-specific Raspberry Pi guide before starting.
- Use Raspberry Pi Imager to select the matching board and Lite image. The official Raspberry Pi guide explains flashing. Writing the card erases it, so confirm the target.
- Create your login and hostname, configure localization and enable SSH if needed. Use wired Ethernet. The OMV-Extras guide says not to preconfigure Wi-Fi or run raspi-config before this installation; configure wireless through OMV afterwards if required.
- Boot and log in using the account you created. Update packages, inspect and run the guide's preparation script, then reboot before installing OMV.
sudo apt-get update
sudo apt-get upgrade
wget -O omv-preinstall.sh https://raw.githubusercontent.com/OpenMediaVault-Plugin-Developers/installScript/master/preinstall
less omv-preinstall.sh
sudo bash omv-preinstall.sh
sudo reboot
The preparation script changes system configuration, including removing cloud-init and preparing the Ethernet interface name. Review it before running it as root. After reboot, reconnect over SSH; check the router's client list if the address has changed. Do not apply this fresh-install recipe blindly to a Pi already running other services.
wget -O omv-install.sh https://raw.githubusercontent.com/OpenMediaVault-Plugin-Developers/installScript/master/install
less omv-install.sh
sudo bash omv-install.sh
Keep the installation session open and wait for completion and the automatic reboot. The current installer uses the writecache plugin; it is not a guarantee that a microSD card cannot wear out. If installation fails, inspect the reported error before retrying.
Log In and Create a Share
Open the Pi's current IP address in a browser on the same LAN using HTTP on the default port 80. A hostname such as http://raspberrypi.local/ works only if it matches your setup and name resolution works. The initial web credentials are admin and openmediavault. Use the Administrator Settings icon and Change Password immediately. This GUI account is separate from your SSH account.
Under Storage, identify the intended data drive by model, capacity and serial number. Formatting erases data: copy anything valuable elsewhere first and never select the OS card. For an empty dedicated disk, ext4 is a straightforward choice. Mount the filesystem through OMV so it becomes available for shared folders; an existing compatible filesystem can be mounted without reformatting.
Create a normal user, a shared folder on that mounted volume and suitable read/write privileges. Enable SMB/CIFS and add the folder as an SMB share, saving and applying pending changes. SMB serves Windows, macOS and other compatible clients; AFP is not needed for ordinary Mac file sharing. Test a small upload, download and deletion using the intended account before moving a large library. Separate private and shared folders rather than giving everybody unrestricted access.
Power and Storage Reliability
Pi 4 USB ports share a 1.2A limit. Pi 5 allows 1.6A with a detected 5V/5A supply, otherwise 600mA; its USB and fan-header power budget is shared. Check the actual drive's requirements, including startup load. A properly powered enclosure or hub can help when the Pi cannot supply enough current.
No USB bridge brand guarantees flawless performance. For disconnects, check power, cables, enclosure firmware and system logs before changing drivers. OMV can mount NTFS and exFAT, but their permissions and features differ from Linux filesystems. Btrfs support does not mean its snapshots are managed automatically by the standard OMV interface.
Troubleshooting and Maintenance
For slow transfers, test wired clients, negotiated link speed and a known large file first. If access fails, check both shared-folder privileges and SMB settings. After a normal reboot, confirm the data volume mounts and the same user can reconnect. Keep software updated and back up configuration as well as data.
Useful Home NAS Projects
A photo archive, document share and backup destination are good starting projects. Serving an existing video file is different from transcoding it for another device; demanding conversion may exceed the Pi's capabilities. DLNA needs a suitable additional service or plugin. For an alternative basic Samba setup, the Raspberry Pi Project tutorial follows its own workflow rather than this OMV installation.
For remote access, use an appropriately configured private connection and keep SMB and the administration interface off the public internet. Maintain another recoverable copy, ideally including one away from the NAS. RAID or snapshots do not replace that backup. Periodically restore a few files to verify it works.
A Rewarding Project
Building a Raspberry Pi NAS is a fun way to learn storage and networking while centralizing your files. Start with one dependable share, prove that it survives a reboot and test your backups. That foundation is more useful than an impressive specification list without reliable recovery.