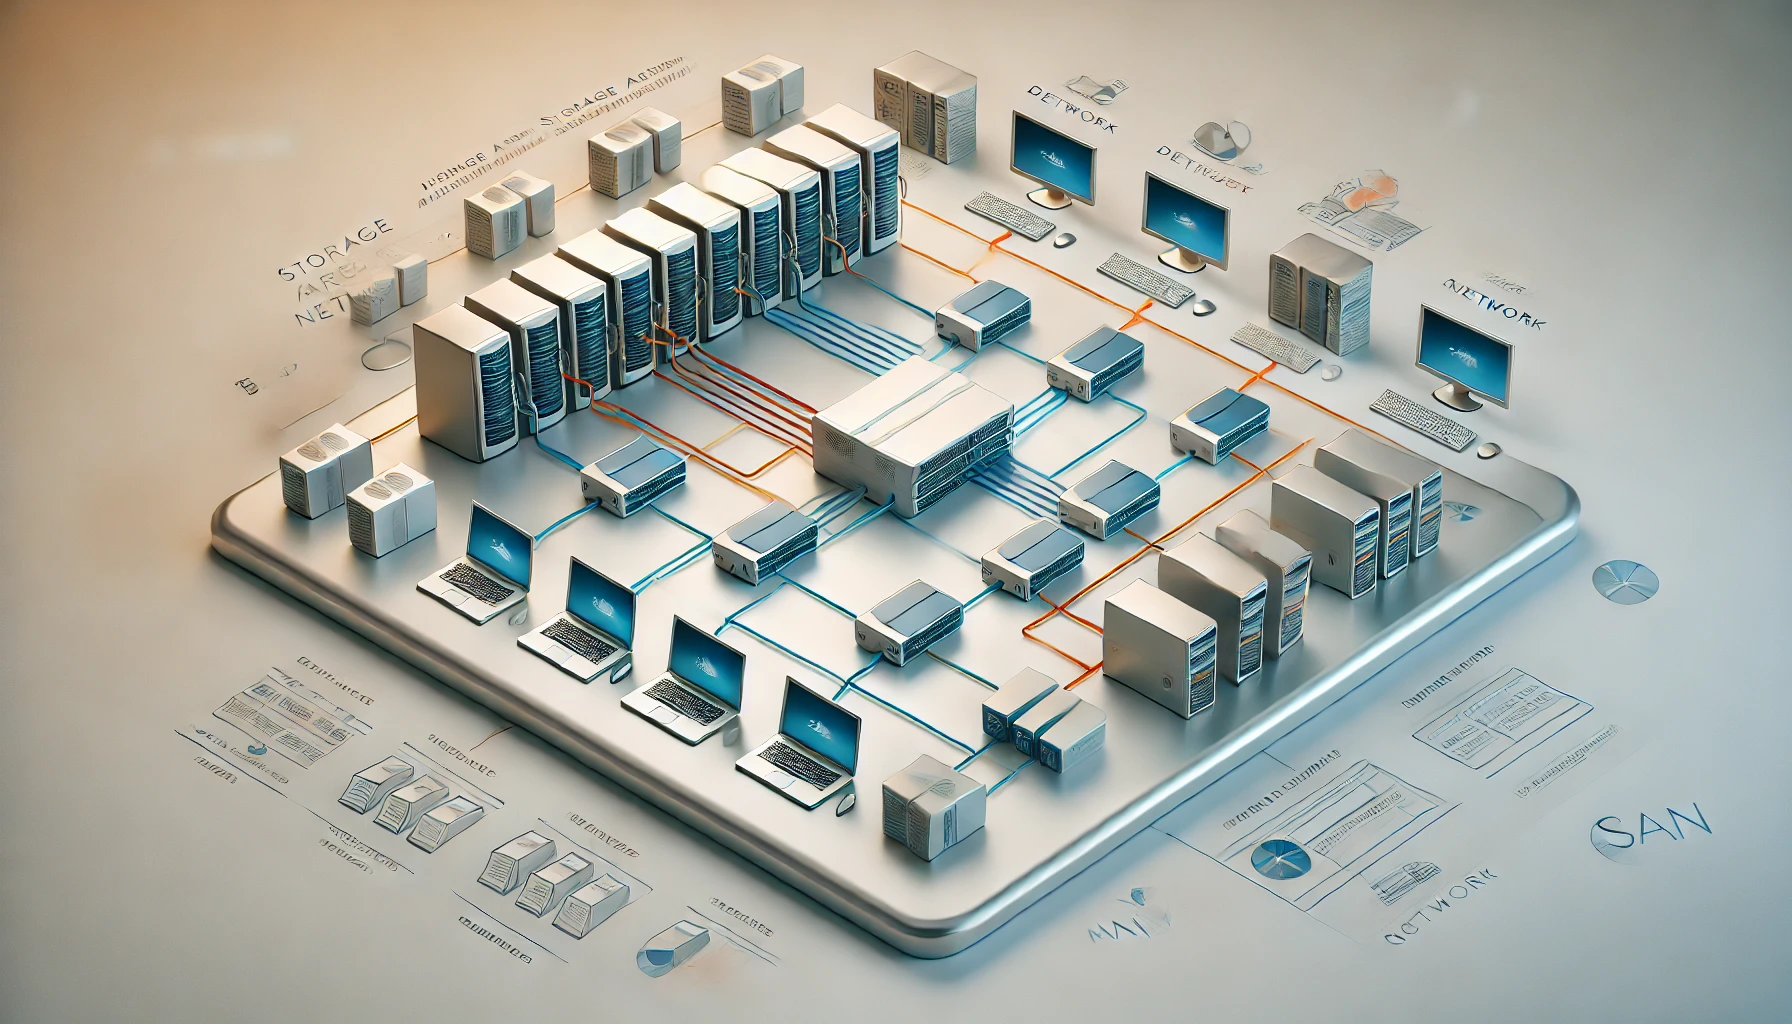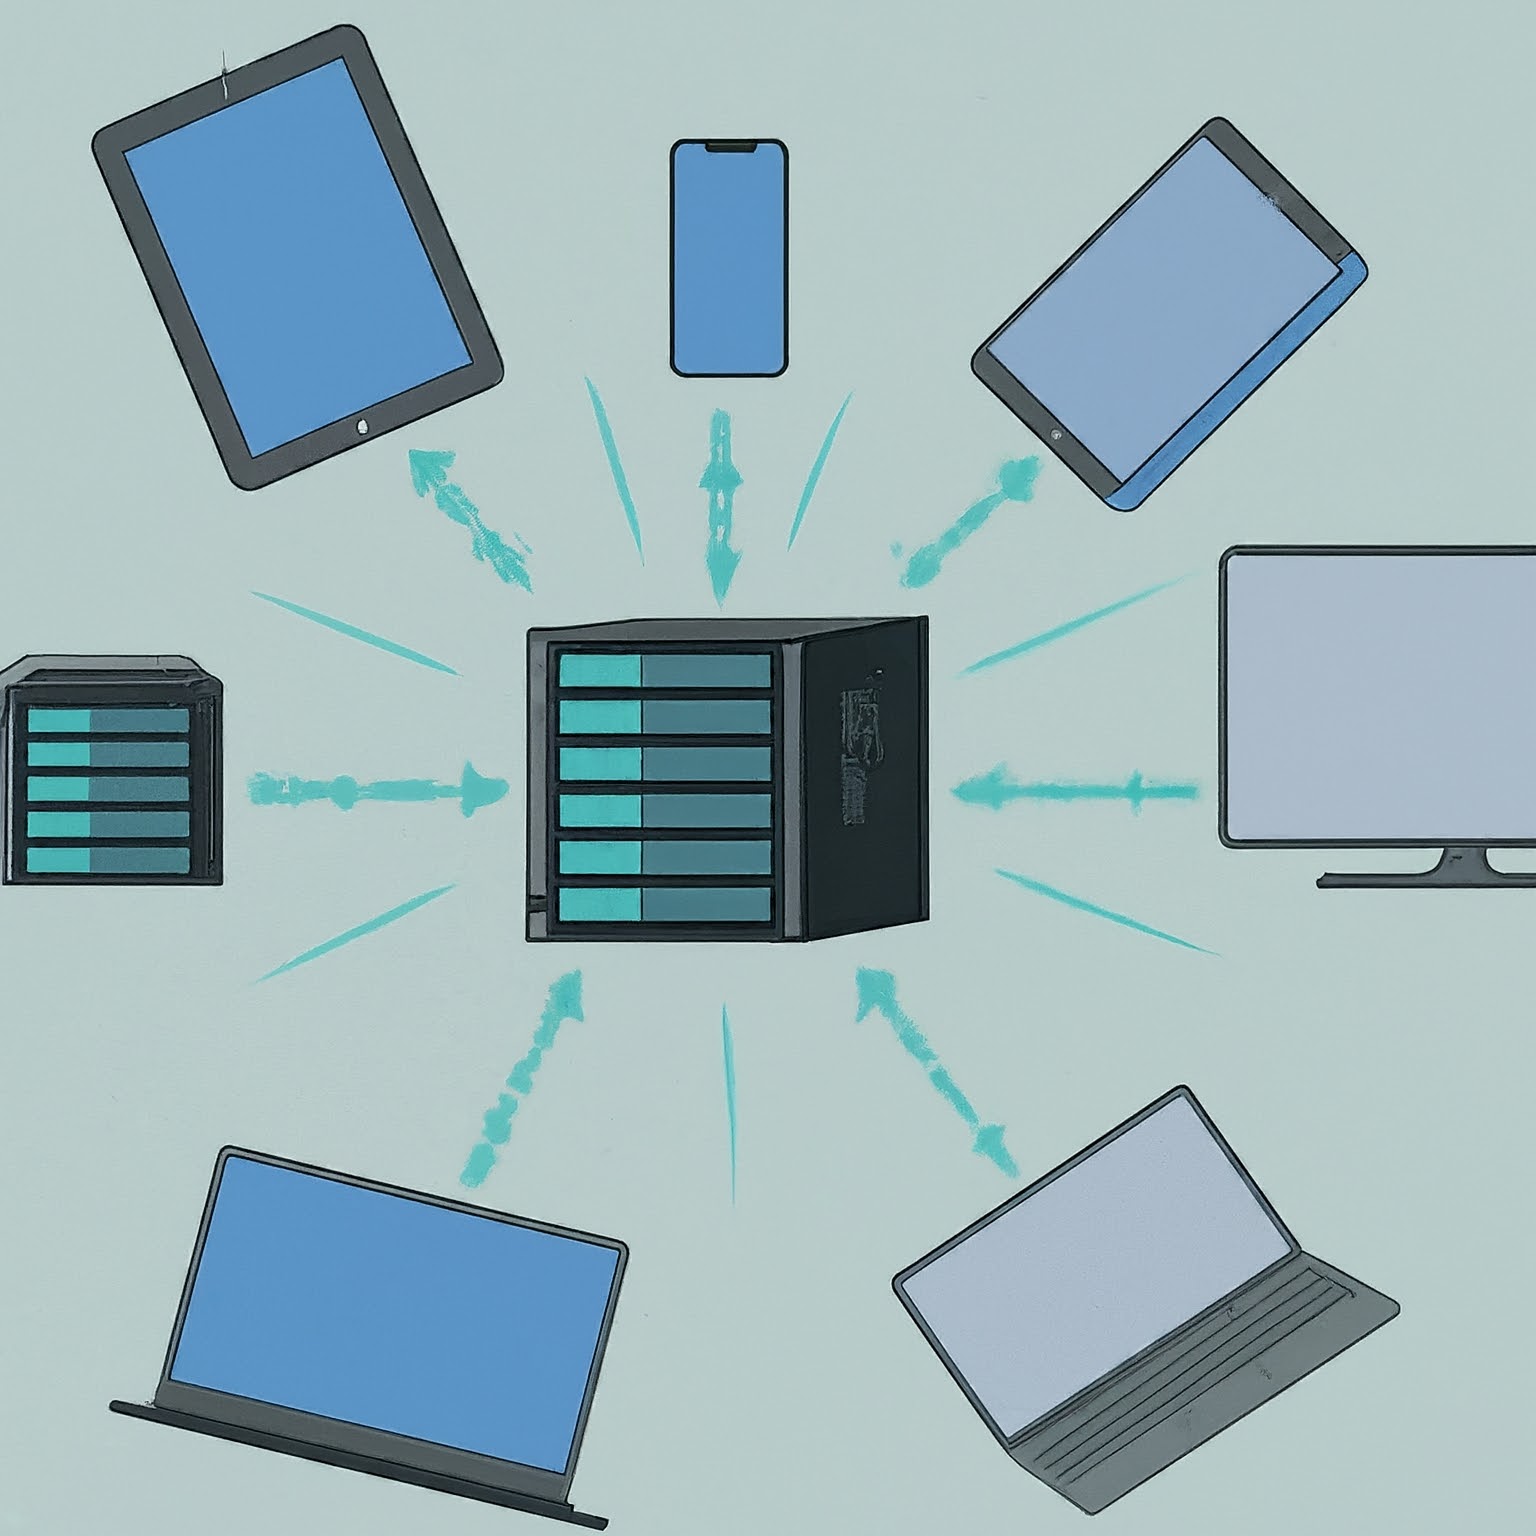
A Network Attached Storage system, or NAS, gives files a central home on your network. It can reduce the confusion of documents, photos and media scattered across computers, portable drives and online accounts. Think of it as a small file server: useful storage and sharing depend on the disks, permissions, software and backup plan you choose.
NAS Explained: Your Personal Cloud
A NAS stores data and serves it to authorised clients. Many appliances provide a web administration interface and companion applications; a home-built NAS depends on the operating system you install. The server normally connects by Ethernet, while phones and laptops may reach it over Wi-Fi. Do not assume every NAS itself has a wireless interface.
“Personal cloud” describes convenient access and sharing, not a guarantee of internet availability or privacy. Remote access requires a deliberate supported method, authentication and maintained software. Local network storage can keep working when the internet is down, but cloud-dependent applications and remote connections may behave differently.
What a NAS Can Help With
- Central files: Give household members suitable shared folders without copying everything between devices.
- Client backups: Store scheduled computer backups when the client software and NAS support the workflow.
- Media: Serve compatible files to a television or media client. Transcoding, if needed, has separate hardware requirements.
- Home-lab storage: Provide a supported share for selected services, while considering latency, permissions and recovery.
- Controlled remote access: Use a supported protected method for the files you need away from home.
These functions are options, not automatic consequences of buying an enclosure. Check the supported applications, update policy and client compatibility for the exact model. A file server with slow network ports or storage can remain useful, but it may not meet a demanding editing or virtual-machine workload.
A Practical Setup Sequence
- Plan storage and recovery first. List important files, expected growth, clients and the separate backup destination. Preserve existing disk data before installation; creating a pool or volume can erase it.
- Install hardware according to the manual. Confirm supported disks, power and ventilation, then connect the NAS to the intended network.
- Complete initial administration. Use the manufacturer's setup process, install supported updates and protect the administrator account. Record the management address and recovery information.
- Create the supported storage layout. Choose redundancy and usable capacity together, understanding the expansion path before filling the system.
- Create ordinary user accounts and shares. Assign only the access each person or application needs. Use separate administrative access.
- Test sharing and backup. Confirm a normal user can read or change the intended files and cannot access protected folders. Restore a small test file from the separate backup.
File Sharing and Client Support
SMB is a common choice for Windows and macOS sharing. Apple recommends SMB when choosing between SMB and AFP for network Time Machine backups, but the NAS must specifically support the Time Machine workflow. A generic file share does not automatically satisfy every backup application's requirements.
NFS can suit compatible Linux or virtualisation workflows. Use the versions and access controls supported by the NAS and clients rather than enabling a specific protocol version on every system by default. Permissions, identity mapping and network exposure need deliberate configuration. Keep file-sharing and management services restricted to the intended local or protected access path.
A share that works from an administrator account is not a complete permission test. Check a household user's account, the application account and any guest access separately. Keep service credentials distinct where practical so a compromised client does not inherit unnecessary administrative reach.
Basic, JBOD, Mirrors and Parity
Basic volumes and JBOD are not interchangeable labels. In Synology's terminology, Basic uses one disk as independent storage, while JBOD combines disks into one storage space without redundancy. Other platforms use their own terminology, so read the actual layout description rather than assuming “JBOD” always means separate volumes.
The following examples use four equal 10 TB drives. Capacities are approximate decimal totals before filesystem overhead, metadata, reserved space and other implementation details. They are capacity calculations, not benchmarks or a promise about the NAS's displayed free space.
| Four-disk arrangement | Nominal capacity | Drive-failure protection |
|---|---|---|
| Four independent Basic volumes | 40 TB across four volumes. | No redundancy; failure affects the data on that volume. |
| One JBOD or RAID 0 storage space | 40 TB. | No drive-failure tolerance; a member failure can make the combined storage unusable. |
| Four-way RAID 1/mirror, where supported | 10 TB. | Can retain a copy while one healthy member remains. |
| Two mirrored pairs combined into a pool/RAID 10 | 20 TB. | One member per pair may fail; losing both members of either pair can lose the pool. |
| Four-disk single-parity layout | About 30 TB. | One member failure in that protected group. |
| Four-disk double-parity layout | About 20 TB. | Two member failures in that protected group. |
RAID 5/6, ZFS RAIDZ and vendor systems such as SHR differ in implementation and expansion features. The table explains the broad redundancy tradeoffs without implying that all have identical performance or minimum-drive rules. Choose from the layouts your system actually supports.
Plan Expansion Before Buying Drives
Some systems can add disks or migrate selected RAID layouts without recreating the storage. TrueNAS documents RAIDZ expansion from its supported 24.10-era implementation onward, adding a disk while retaining the existing fault-tolerance level. It does not change single parity into double parity. Expanded existing blocks can also have different capacity accounting from a freshly created layout.
Read the instructions for the software version you use, ensure the pool is healthy and have a tested backup before a storage change. There is no universal disk-size cutoff that makes single parity suitable or unsuitable for everyone, and rebuild time depends on the disks, workload and system. Consider the consequence of another failure during recovery alongside budget and usable capacity.
Choose Compatible Drives
Check the NAS compatibility list and the drive's exact model specification. Recording technology, workload rating, supported bay count and firmware can matter. CMR drives designed for the intended NAS workload are a useful starting point; SMR behavior is model and workload dependent, rather than one universal sustained-write speed.
Do not assume every desktop drive is automatically unusable or that every NAS drive has identical vibration features. For example, Seagate describes RV sensors on IronWolf 4 TB and higher models and on all IronWolf Pro drives in its referenced guidance. Verify the current datasheet for the actual model rather than treating a brand family name as a complete specification.
Redundancy, Snapshots and Backups
RAID can help keep data available after supported drive failures. It does not create an independent copy that survives theft of the NAS, destructive administration or every ransomware event. A deletion or unwanted write is applied to the live storage; redundancy does not turn it into a recoverable historical version.
Snapshots can preserve earlier file states on supported storage, but snapshots on the same pool do not survive loss of that pool. Read-only is also not a universal guarantee that an administrator cannot delete a snapshot. True immutable retention has platform and configuration requirements that must be checked.
The 3-2-1 strategy means three copies, on two storage mediums, with one offsite. Plan independent recovery locations rather than counting several snapshots on the active NAS as separate disaster-resistant copies. One approach is the live NAS data, a separate protected local backup and an offsite backup. Keep required encryption keys and configuration recovery information available outside the failed system.
Sync is different from retained backup history. TrueNAS documents that SYNC adds, updates and removes destination files, COPY avoids deleting existing files, and MOVE removes source files after copying. A copy or sync job can still overwrite changed data; verify version retention, permissions and restoration rather than assuming an encrypted cloud task provides every backup property.
Costs and Everyday Maintenance
Include disks, backup storage, power, network equipment and your time in the budget. Monitor health alerts, scheduled jobs and remaining capacity, and install supported updates. Regularly restore a small disposable file to a separate location and check that it opens. A successful backup notification is useful, but a working restore demonstrates the recovery path.
Conclusion
A NAS can simplify storage and sharing when the supported features match your needs. Plan permissions, capacity, redundancy and independent backups together, then test the actual clients and restore process. That is how a central file server becomes a dependable part of the home.