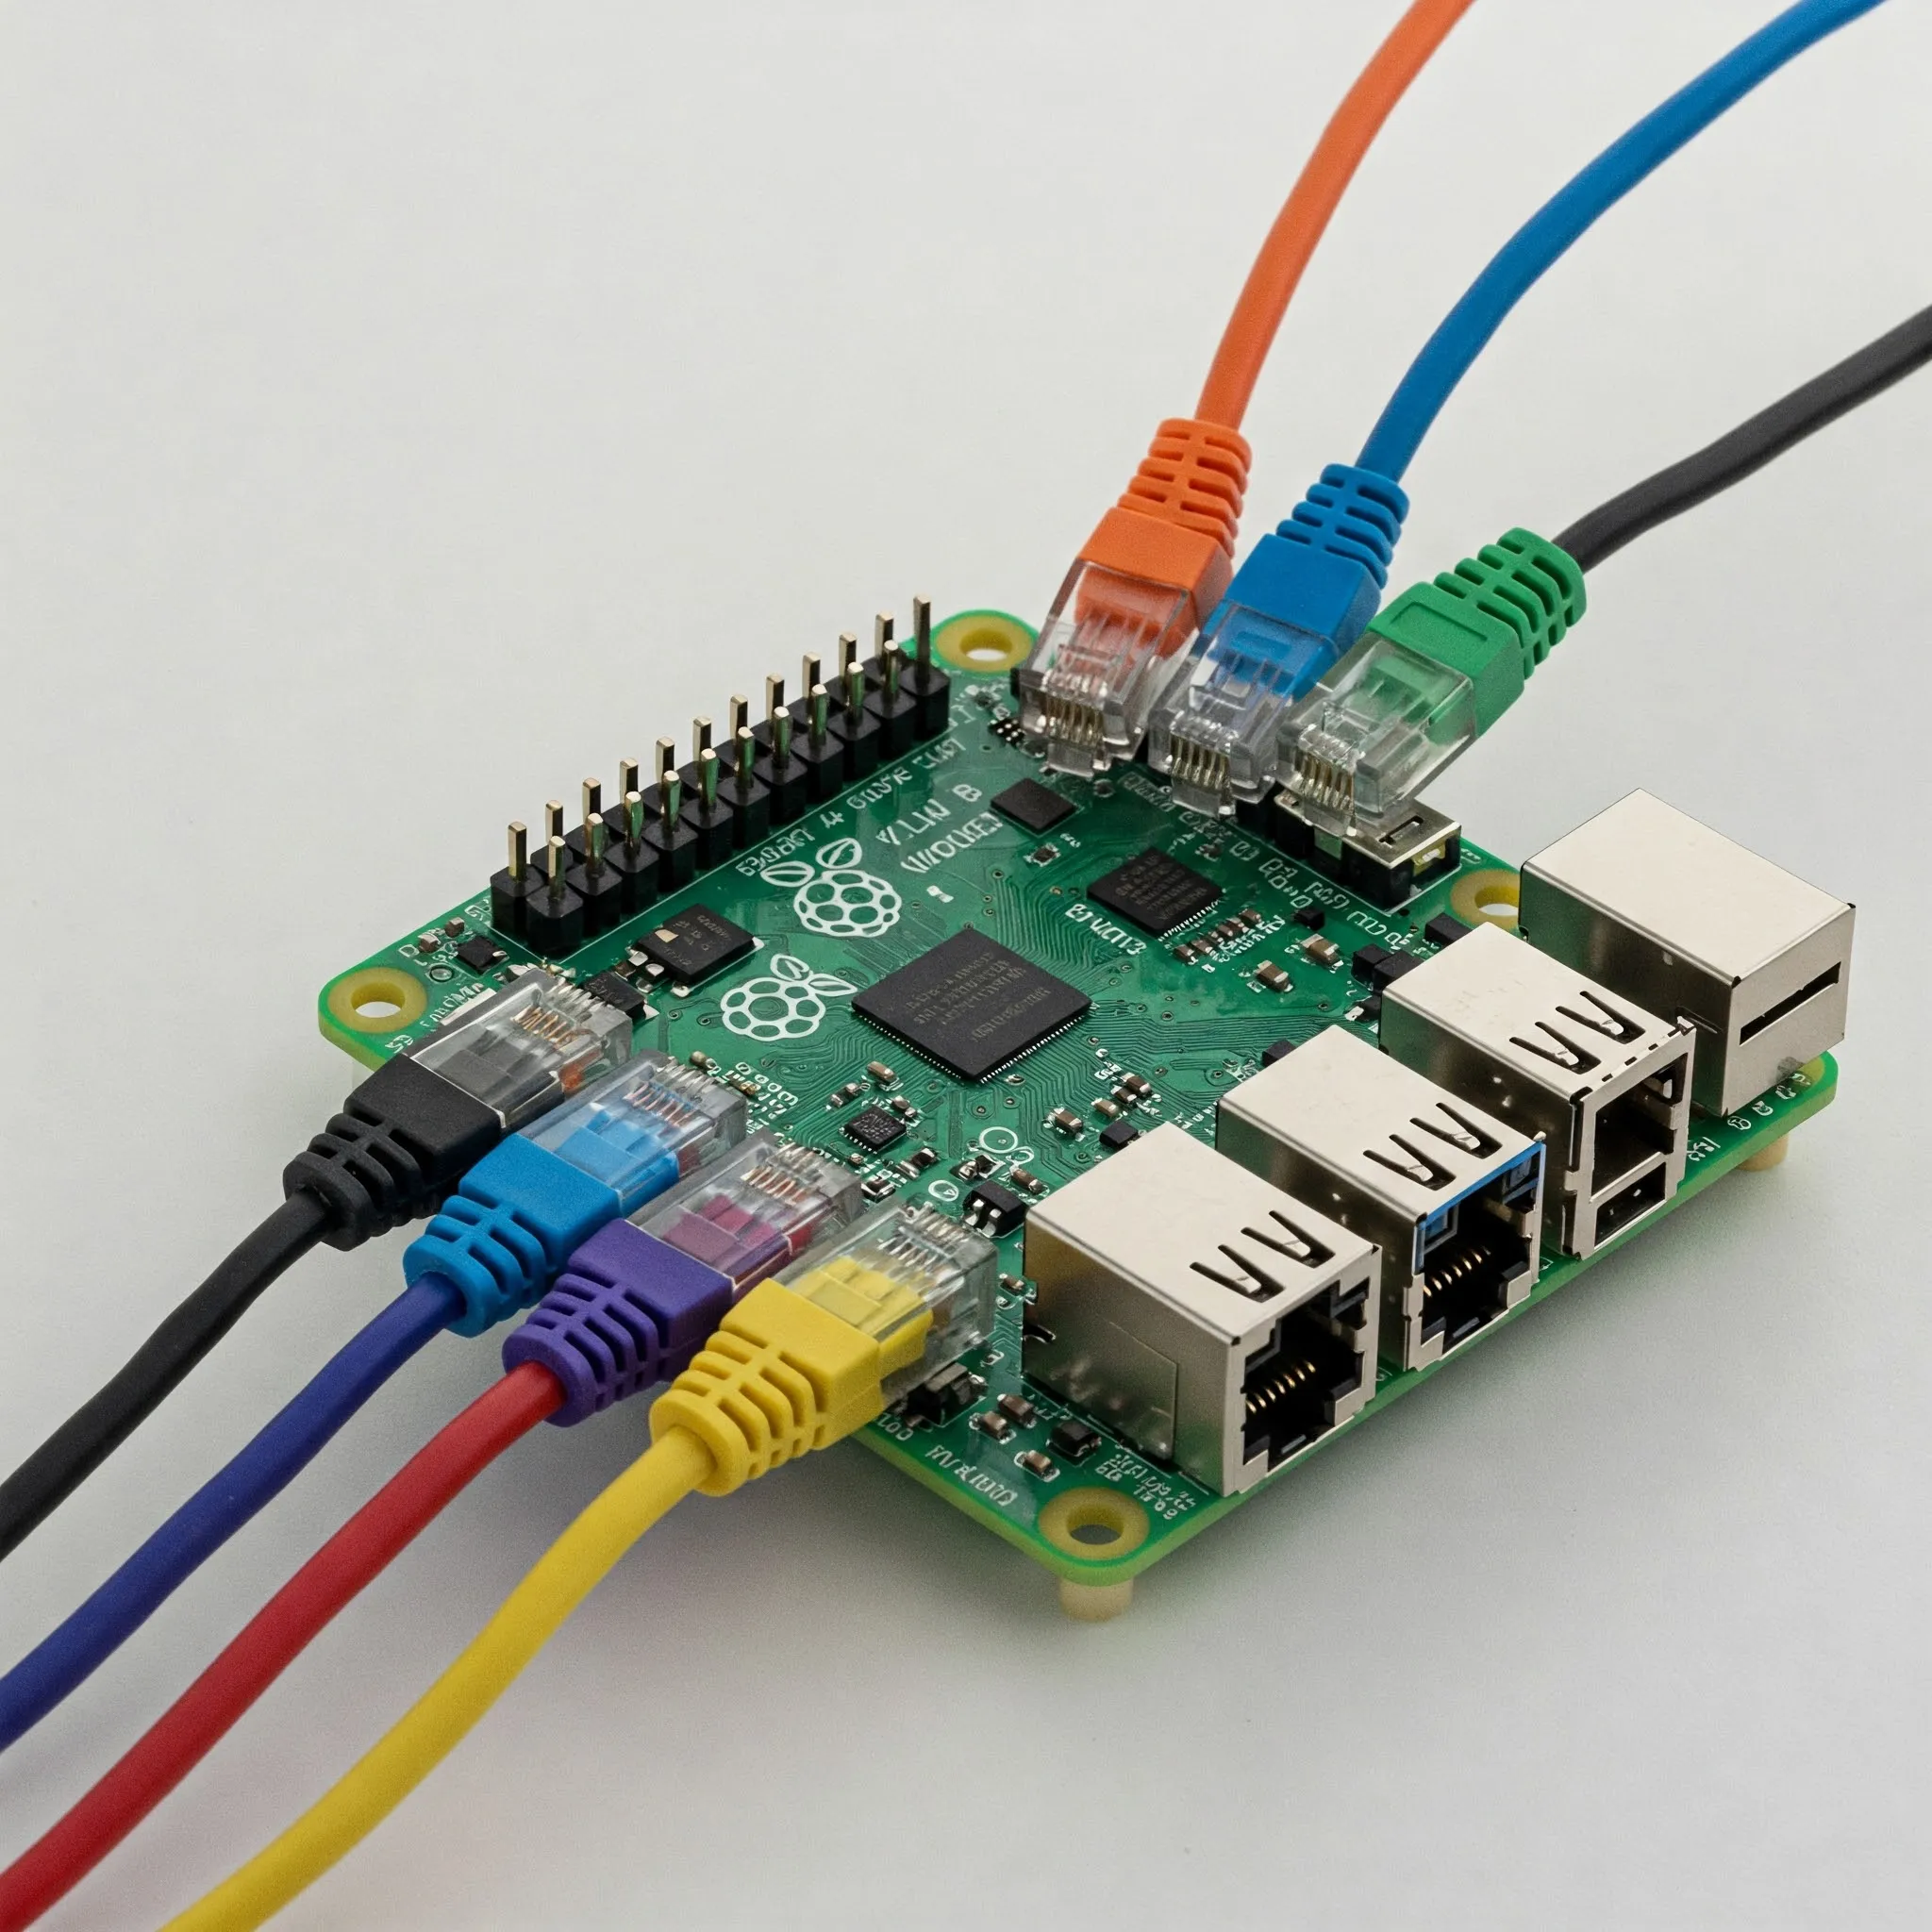
As Raspberry Pi enthusiasts, we wanted to explore whether this small computer could also run OPNsense. A separate firewall is an appealing learning project: it puts routing, rules, VPNs and monitoring in one place. The important distinction is that OPNsense on a Pi relies on a community ARM build, with support and maintenance decisions that differ from an official installation.
What OPNsense provides
OPNsense is a FreeBSD-based firewall and routing platform. It includes a web administration interface, network rules, VPN options, traffic shaping and monitoring. Those tools give you more control than many basic home routers, but enabling them does not automatically secure a network. Configuration, updates and a workable recovery plan remain part of the job.
The original appeal of using a Pi remains its compact size and usefulness for experimentation. If you already own suitable equipment, a lab can be inexpensive to begin. Compare the complete cost of the power supply, storage, case, cooling and extra network interface before assuming it is cheaper than every dedicated router.
Official versus community support
The official OPNsense hardware and installation documentation specifies x86-64, also called amd64. A Raspberry Pi uses ARM hardware, so the official amd64 installer cannot simply be flashed onto it. FreeBSD support for a board is also not the same thing as an official OPNsense image for that board.
One relevant community project is yrzr's OPNsense tools repository. Its published guide identifies its RPI image for Raspberry Pi 3B, 3B+ and 4B. The latest release listed in that repository at this check is 25.7.3-yrzr, published on 29 September 2025, with an RPI image. That date matters for a firewall: finding a bootable image does not establish a current security-update path.
Other ARM projects support different boards. For example, matheusber's current build instructions focus on NanoPi R4S/R5S and Orange Pi 5 Plus. These are not interchangeable Raspberry Pi images. Do not infer Raspberry Pi 5 support from a release mentioning another board with “Pi” in its name.
Before considering an internet-facing deployment, verify the exact board, image, boot procedure, package repository and availability of current fixes with that project's maintainer. If those cannot be established, keep the experiment isolated and use maintained hardware/software for the household gateway.
Prepare a reversible lab
Keep your existing router available and start with a test computer rather than moving the whole home network. Have local console access: an incorrect interface assignment can prevent web access even when the device boots correctly. Record the current ISP connection method and any required VLAN, PPPoE or authentication settings separately.
- Board and storage: choose a board explicitly identified by the image's documentation, and storage suitable for the image, configuration and expected logging.
- Power and cooling: use an appropriate supply and a case/cooling arrangement for sustained operation.
- Network interfaces: plan distinct WAN and LAN paths, either through supported adapters or a correctly isolated VLAN design.
- Recovery: keep known installation media, the existing router and an offline record of interface assignments.
A useful lab arrangement places the test firewall's WAN behind the existing router and its LAN on a separate subnet. That introduces double NAT, so it is a learning topology rather than a complete simulation of every ISP feature. It helps you test administration and rules without immediately replacing the working connection.
Preparing the community image
Download from the named project's release page and read the instructions for that release. Check the published verification material and confirm the exact storage target before writing an image; imaging overwrites that target. A board-specific disk image and an installer ISO are different products with different boot and installation requirements.
For the older yrzr guide, Pi 4 preparation includes copying the supplied config_rpi4.txt to config.txt on the boot partition. It also describes growing the root filesystem after boot. Follow the procedure that applies to your selected release, rather than adding an unrelated UEFI package or assuming every ARM image performs those steps automatically.
Connect and identify interfaces from the local console. The built-in port need not always be WAN: what matters is that the recorded physical port matches its assigned role. Identify a USB adapter by the hardware actually detected, not a guessed interface name copied from someone else's screenshot.
Administration and first checks
The official fresh-install defaults are root with password opnsense, and the LAN web interface is normally https://192.168.1.1/. The original admin username was incorrect. A community image or imported configuration may differ, so confirm its console address and documented credentials before troubleshooting the browser.
Reach administration from the isolated LAN, change the default password and choose a LAN subnet that does not overlap the upstream network. Check interface assignments before completing WAN setup. Preserve administrative access while changing rules, and do not expose the management interface to the WAN as a shortcut.
Test one function at a time: a LAN address, DNS resolution, ordinary internet access and the intended firewall policy. Add a VPN or intrusion-prevention feature only after the routing baseline works. Confirm that the installed image boots from its persistent storage and retains settings after a controlled restart.
USB Ethernet and VLAN alternatives
FreeBSD's axge driver documents ASIX AX88179-family support, while ure documents Realtek RTL8152/RTL8153/RTL8156 families. A chipset appearing in a driver manual is a starting point, not a stability guarantee for every branded adapter, USB controller or community kernel. Check the actual operating-system version and test sustained traffic, link recovery and reboots.
A managed switch can separate WAN and LAN with VLANs over one physical Pi connection. The switch must keep those networks isolated, with a correctly configured tagged trunk to the firewall and access ports for the intended endpoints. Its management interface also needs an appropriate trusted path.
This design shares one physical link and makes switch configuration part of the security boundary. It is not automatically faster or simpler than separate interfaces. Validate isolation with a disposable lab topology before connecting an ISP handoff; an incorrect access-port or VLAN assignment can bypass the firewall entirely.
Evaluate before a household cutover
Remove universal routing, VPN and idle-power numbers from the decision. Performance depends on the board, interfaces, drivers, rules, logging and VPN protocol. AES acceleration is not by itself a WireGuard throughput specification. Measure the configuration you intend to run, including simultaneous traffic and a reboot or link interruption.
Our enthusiasm for a compact networking project remains: a Pi can be worth exploring in a lab. For an everyday gateway, weigh that learning value against maintenance and recovery requirements. Official amd64 OPNsense hardware or another maintained platform may be easier to support, but its exact NICs and features still need checking.