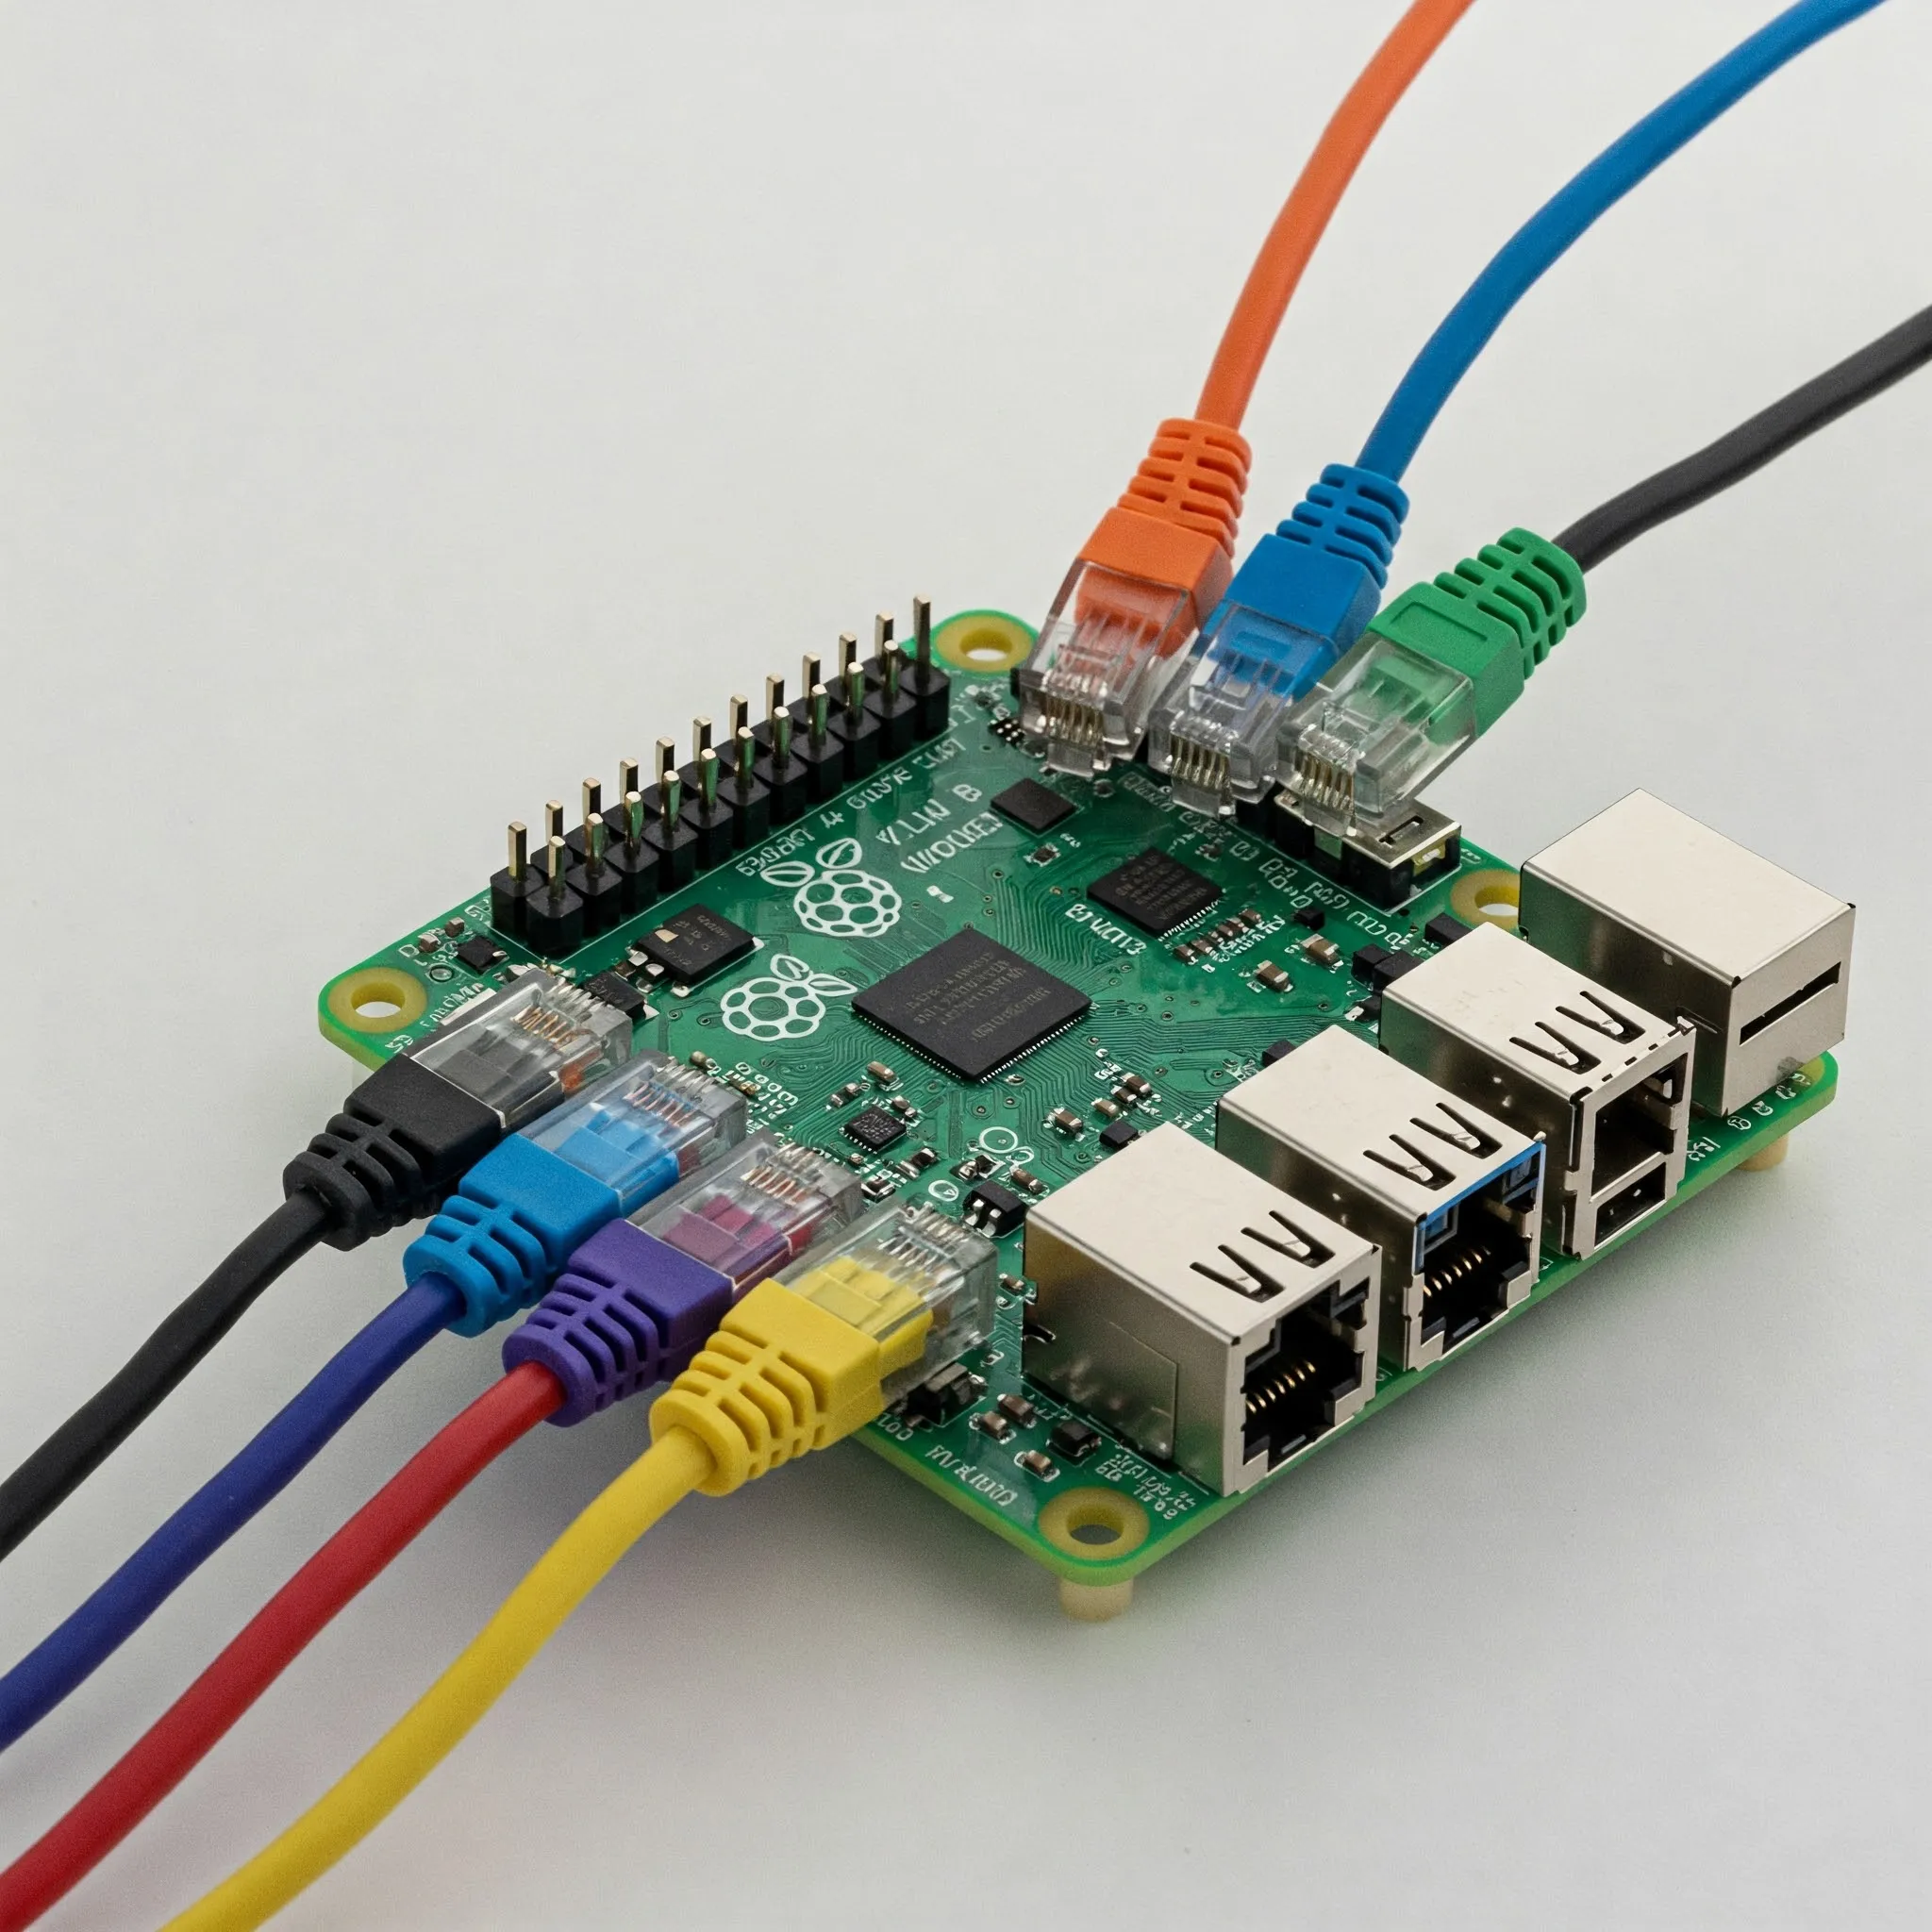
Hopefully by this time you are convinced that running services and apps at home is a great (and easy) endeavour that is really fulfilling and worthwhile. But running so many apps and smart devices on one network requires proper security. Always be watchful of your home network to ensure all of your nodes' and clients' integrity. Today we will look at a great app that can help with watching your network - originally designed for a Raspberry Pi, with a maintained fork targeting Debian-based systems. Virtualized and containerized arrangements need appropriate network access; a Linux guest does not automatically see every device behind the host. Let's get started and take a closer look at Pi.Alert.
Why Monitor Your Home Network?
Knowing which devices appear on a network is useful alongside a firewall, secure Wi-Fi and software maintenance. Remote access does not always require exposing each application through port forwarding; a suitable VPN or other controlled access method can be an alternative. Monitoring helps you notice changes, but it does not replace those access controls.
- Inventory: Discover addresses visible to the configured scans and identify expected devices.
- Availability: Notice when an important always-connected device disappears.
- Investigation: Compare an unfamiliar entry with your router’s client list, DHCP records and household devices before deciding whether it is unauthorized.
- History: Retain observation times and address changes that can help explain a later problem.
Pi.Alert is not a general traffic-analysis, malware-prevention or intrusion-prevention system. It does not prove that nobody is eavesdropping, measure every device’s bandwidth, or block a discovered device by itself. An alert is a prompt to investigate, rather than proof of an attack.
What is Pi.Alert and How Does It Work?
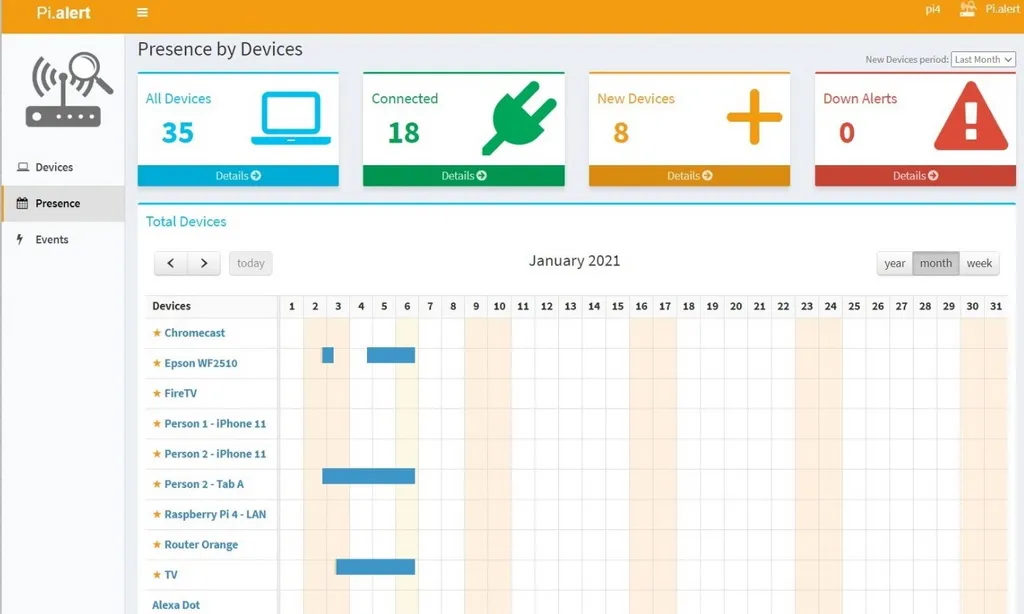
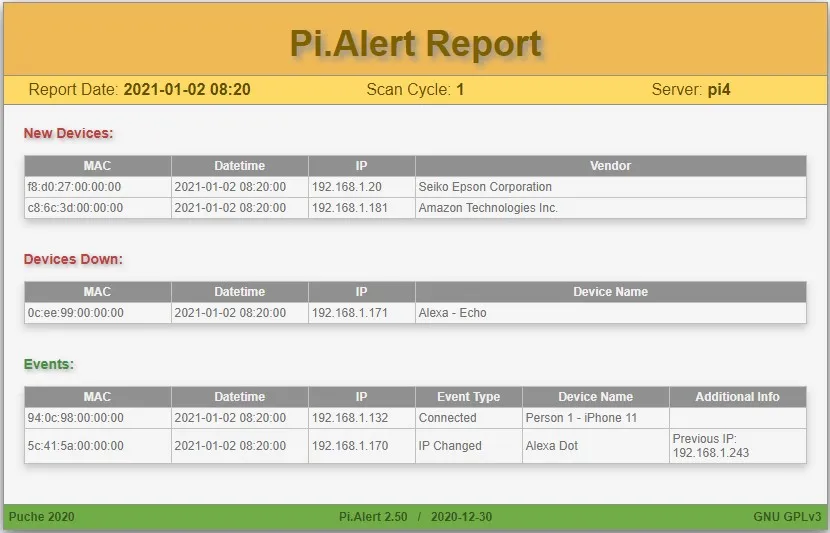
Pi.Alert is a lightweight network monitoring tool designed to run on a Raspberry Pi. It periodically scans and imports device information from configured sources. When it observes a new device or a relevant status change, it can send a notification. Detection time depends on scan intervals, visibility and notification delivery.
How It Works:
- Scanning Your Network: Pi.Alert combines configured discovery methods and imports. Sleeping devices, isolated networks, missing permissions and unsupported sources can leave gaps; the list records observations, rather than a guaranteed complete census.
- Alert System: When a new device is detected, or if something unusual happens, Pi.Alert sends you an alert. This way, you can take action before any potential issues escalate.
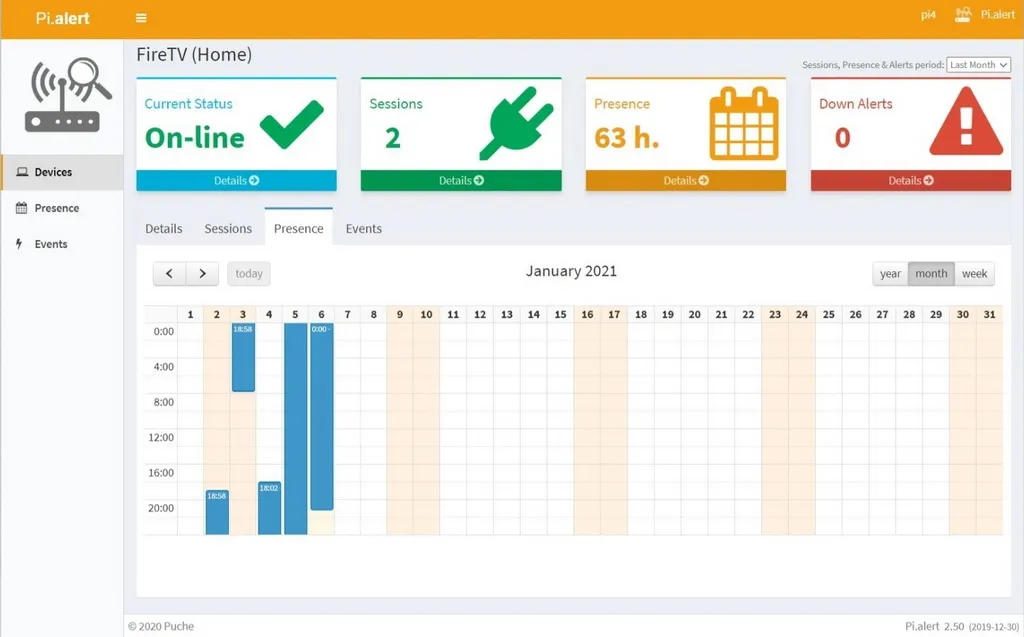
- Logging Activity: The tool stores discovered devices and the events or availability checks it supports. This history helps you understand your network’s behavior and spot any patterns that may be concerning.
The Benefits of Running Pi.Alert on Your Raspberry Pi
Running Pi.Alert on a Raspberry Pi offers several advantages, especially for home users who are not IT professionals:
- Cost-Effective: Raspberry Pis are affordable, and Pi.Alert is open-source, meaning you can add an inventory and availability monitor without paying for its base software. The host, storage, power and maintenance still have costs.
- Low Power Consumption: The Raspberry Pi uses very little electricity, making it a potentially efficient always-on monitoring host; consumption depends on its model and peripherals.
- Customizable Alerts: You decide how and when you get notified. Whether it’s a new device on your network or unusual activity, you’re always in control.
- Easy Integration: In the future, you can integrate Pi.Alert with home automation systems like Home Assistant to create an even smarter home security setup.
- User-Friendly: Designed with simplicity in mind, Pi.Alert comes with an easy-to-follow installation process and a straightforward interface.
Understanding the Three Scan Methods
The original project described up to three complementary sources. The maintained fork supports additional imports and monitoring. These are not three mandatory services that must all be installed:
1. arp-scan
- What It Is: A tool that sends out ARP (Address Resolution Protocol) packets to discover devices on your local network.
- How It Works: Arp-scan actively sends IPv4 ARP requests on an accessible local network and collects replies. ARP is local to a layer-two segment; writing a remote subnet into a configuration does not make those requests cross a router.
- Why It’s Useful: It’s quick and efficient, making it useful for discovering responsive local IPv4 devices. It is not a complete IPv6 or sleeping-device inventory.
2. Pi-hole
- What It Is: Best known as an ad-blocker, Pi-hole also monitors DNS (Domain Name System) queries, which are the requests your devices make to visit websites.
- How It Works: Pi-hole can provide records of clients it sees using its DNS or DHCP service. Cached results, encrypted DNS, another resolver or an inactive device may produce no relevant record. Configure the integration for the installed Pi-hole version.
- Why It’s Useful: Beyond blocking ads, Pi-hole data can supplement device discovery. A DNS record is not a full browsing history or evidence that Pi.Alert inspected the traffic content.
3. dnsmasq
- What It Is: A lightweight tool that acts as a DNS forwarder and DHCP server.
- How It Works: Dnsmasq assigns IP addresses to devices on your network and handles their DNS requests. The original Pi.Alert can import configured DHCP leases. A lease can outlast a device’s current connection, so it is supporting inventory evidence rather than a live presence guarantee.
- Why It’s Useful: It provides an additional layer of monitoring by adding another source of observed addresses. Do not run a second DHCP server just to supply this information.
Choosing a Pi.Alert Version
The original Pi.Alert repository remains useful historical context. The leiweibau fork describes it as currently unmaintained and provides its own installation and update instructions. Do not mix the original installer, a fork’s configuration and another project’s service commands.
For a Docker-based project, see our NetAlertX guide. NetAlertX developed from Pi.Alert but is now independent; it has its own paths, configuration and requirements. A container may need network capabilities or placement that differ from an ordinary web application.
Installation and First Checks
- Check the platform: Read the chosen fork’s distribution notes and first-start guide. Use an appropriate supported Debian-based system, reliable storage and a stable address. Before modifying a host already running Pi-hole or a web server, back up its configuration and review potential port or server conflicts.
- Review the installer: The maintained fork’s current installer is
install/pialert_install.sh, run with root privileges. Review the downloaded script and its release instructions before running it. - Use that installation’s paths: Current configuration examples use
/opt/pialert. Older home-directory layouts need the documented migration procedure; do not assume~/pialertexists or substitute a guessedconfig.ini. - Verify the interface: Use
ip -brief addressto identify the actual network interface. Match the scan configuration to the network you are authorized to monitor and verify that the guest or host has direct access to it. - Open the interface: The first-start guide uses the host’s address followed by
/pialert, for examplehttp://192.168.1.25/pialert. Substitute your real address and use the installer-generated login credentials. Keep the management interface within trusted access arrangements.
The maintained configuration supports an example such as the following. It is a Python-style configuration assignment, not a shell command; use your installation’s documented configuration editor and replace both the subnet and interface:
SCAN_SUBNETS = ['192.168.1.0/24 --interface=eth0']The backend normally runs through cron every five minutes. Check the last completed scan and installation logs before assuming that a working web page means discovery is working. Avoid starting a second manual scan while another is active. A virtual machine using NAT may only observe its virtual segment; monitoring another VLAN requires appropriate direct visibility, a documented import or a satellite. ICMP monitoring of a known remote host can test reachability, but it does not discover every new device behind that router.
Pi-hole 5 and 6 integrations have version-specific configuration. Current examples include a Pi-hole version setting and Pi-hole 6 URL/password options, so toggling one flag and assuming a local database path is not enough for every installation. Notifications are also configured separately; choose one supported channel and test delivery before relying on it.
Making Alerts Useful
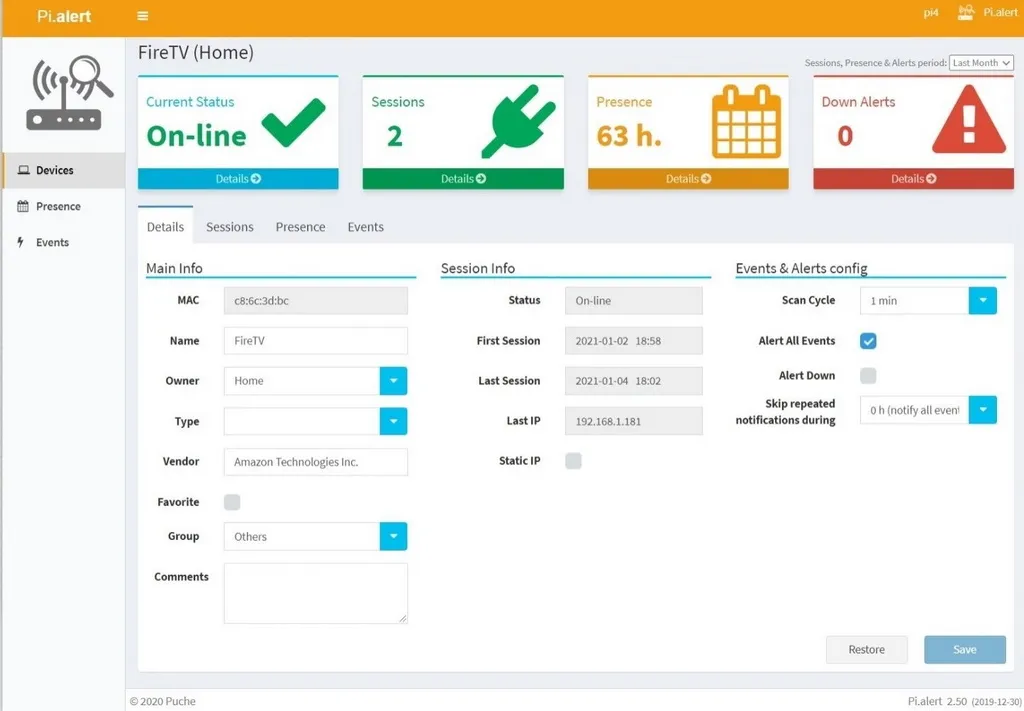
Build a baseline first. Identify computers, phones, smart-home devices and infrastructure, then add owner or location notes. A phone’s private or randomized MAC address may appear as another entry; manufacturer lookup can also be incomplete. Compare the observation with the router and the device’s current network details before labelling it hostile.
Test one known device appearing and disappearing, allowing enough time for the configured scan interval. Verify both the event in the web interface and its delivered notification. An important server can merit a down alert, while a battery-powered sensor that sleeps normally may produce unnecessary noise.
If a new address is unexplained, inspect the access point’s client list and Wi-Fi security, then investigate with the appropriate router controls. Do not block devices solely because their names are unknown. Retain a backup of configuration and inventory data outside the monitoring host, and check that scans and notifications still work after updates.
Integrating Pi.Alert with Home Assistant
For those looking to take their home automation to the next level, Pi.Alert can be integrated with Home Assistant—a popular open-source home automation platform. The maintained fork documents API requests for status and device information that can be used in a Home Assistant dashboard. Configure the endpoint, authentication and polling deliberately; installing both applications does not create an automatic integration.
Note: Follow the fork’s API documentation for your deployed version. Protect API keys and distinguish the reported device status from guaranteed human presence; a sleeping phone does not prove that someone has left home.
Conclusion
Securing your home network is not just for tech experts—it’s essential for everyone in our increasingly connected world. Pi.Alert offers a simple, cost-effective, and efficient way to monitor your network by reporting observed new devices and availability changes for you to assess. By using powerful scanning methods like arp-scan, Pi-hole, and dnsmasq, Pi.Alert keeps a close eye on your home network’s activity.
Whether you’re a beginner or someone looking to boost their network security, running Pi.Alert on a Raspberry Pi provides an accessible solution that can fit a carefully configured home environment. And with future integration into Home Assistant, you can make the inventory easier to inspect alongside your other household systems.
Stay secure, and happy networking!