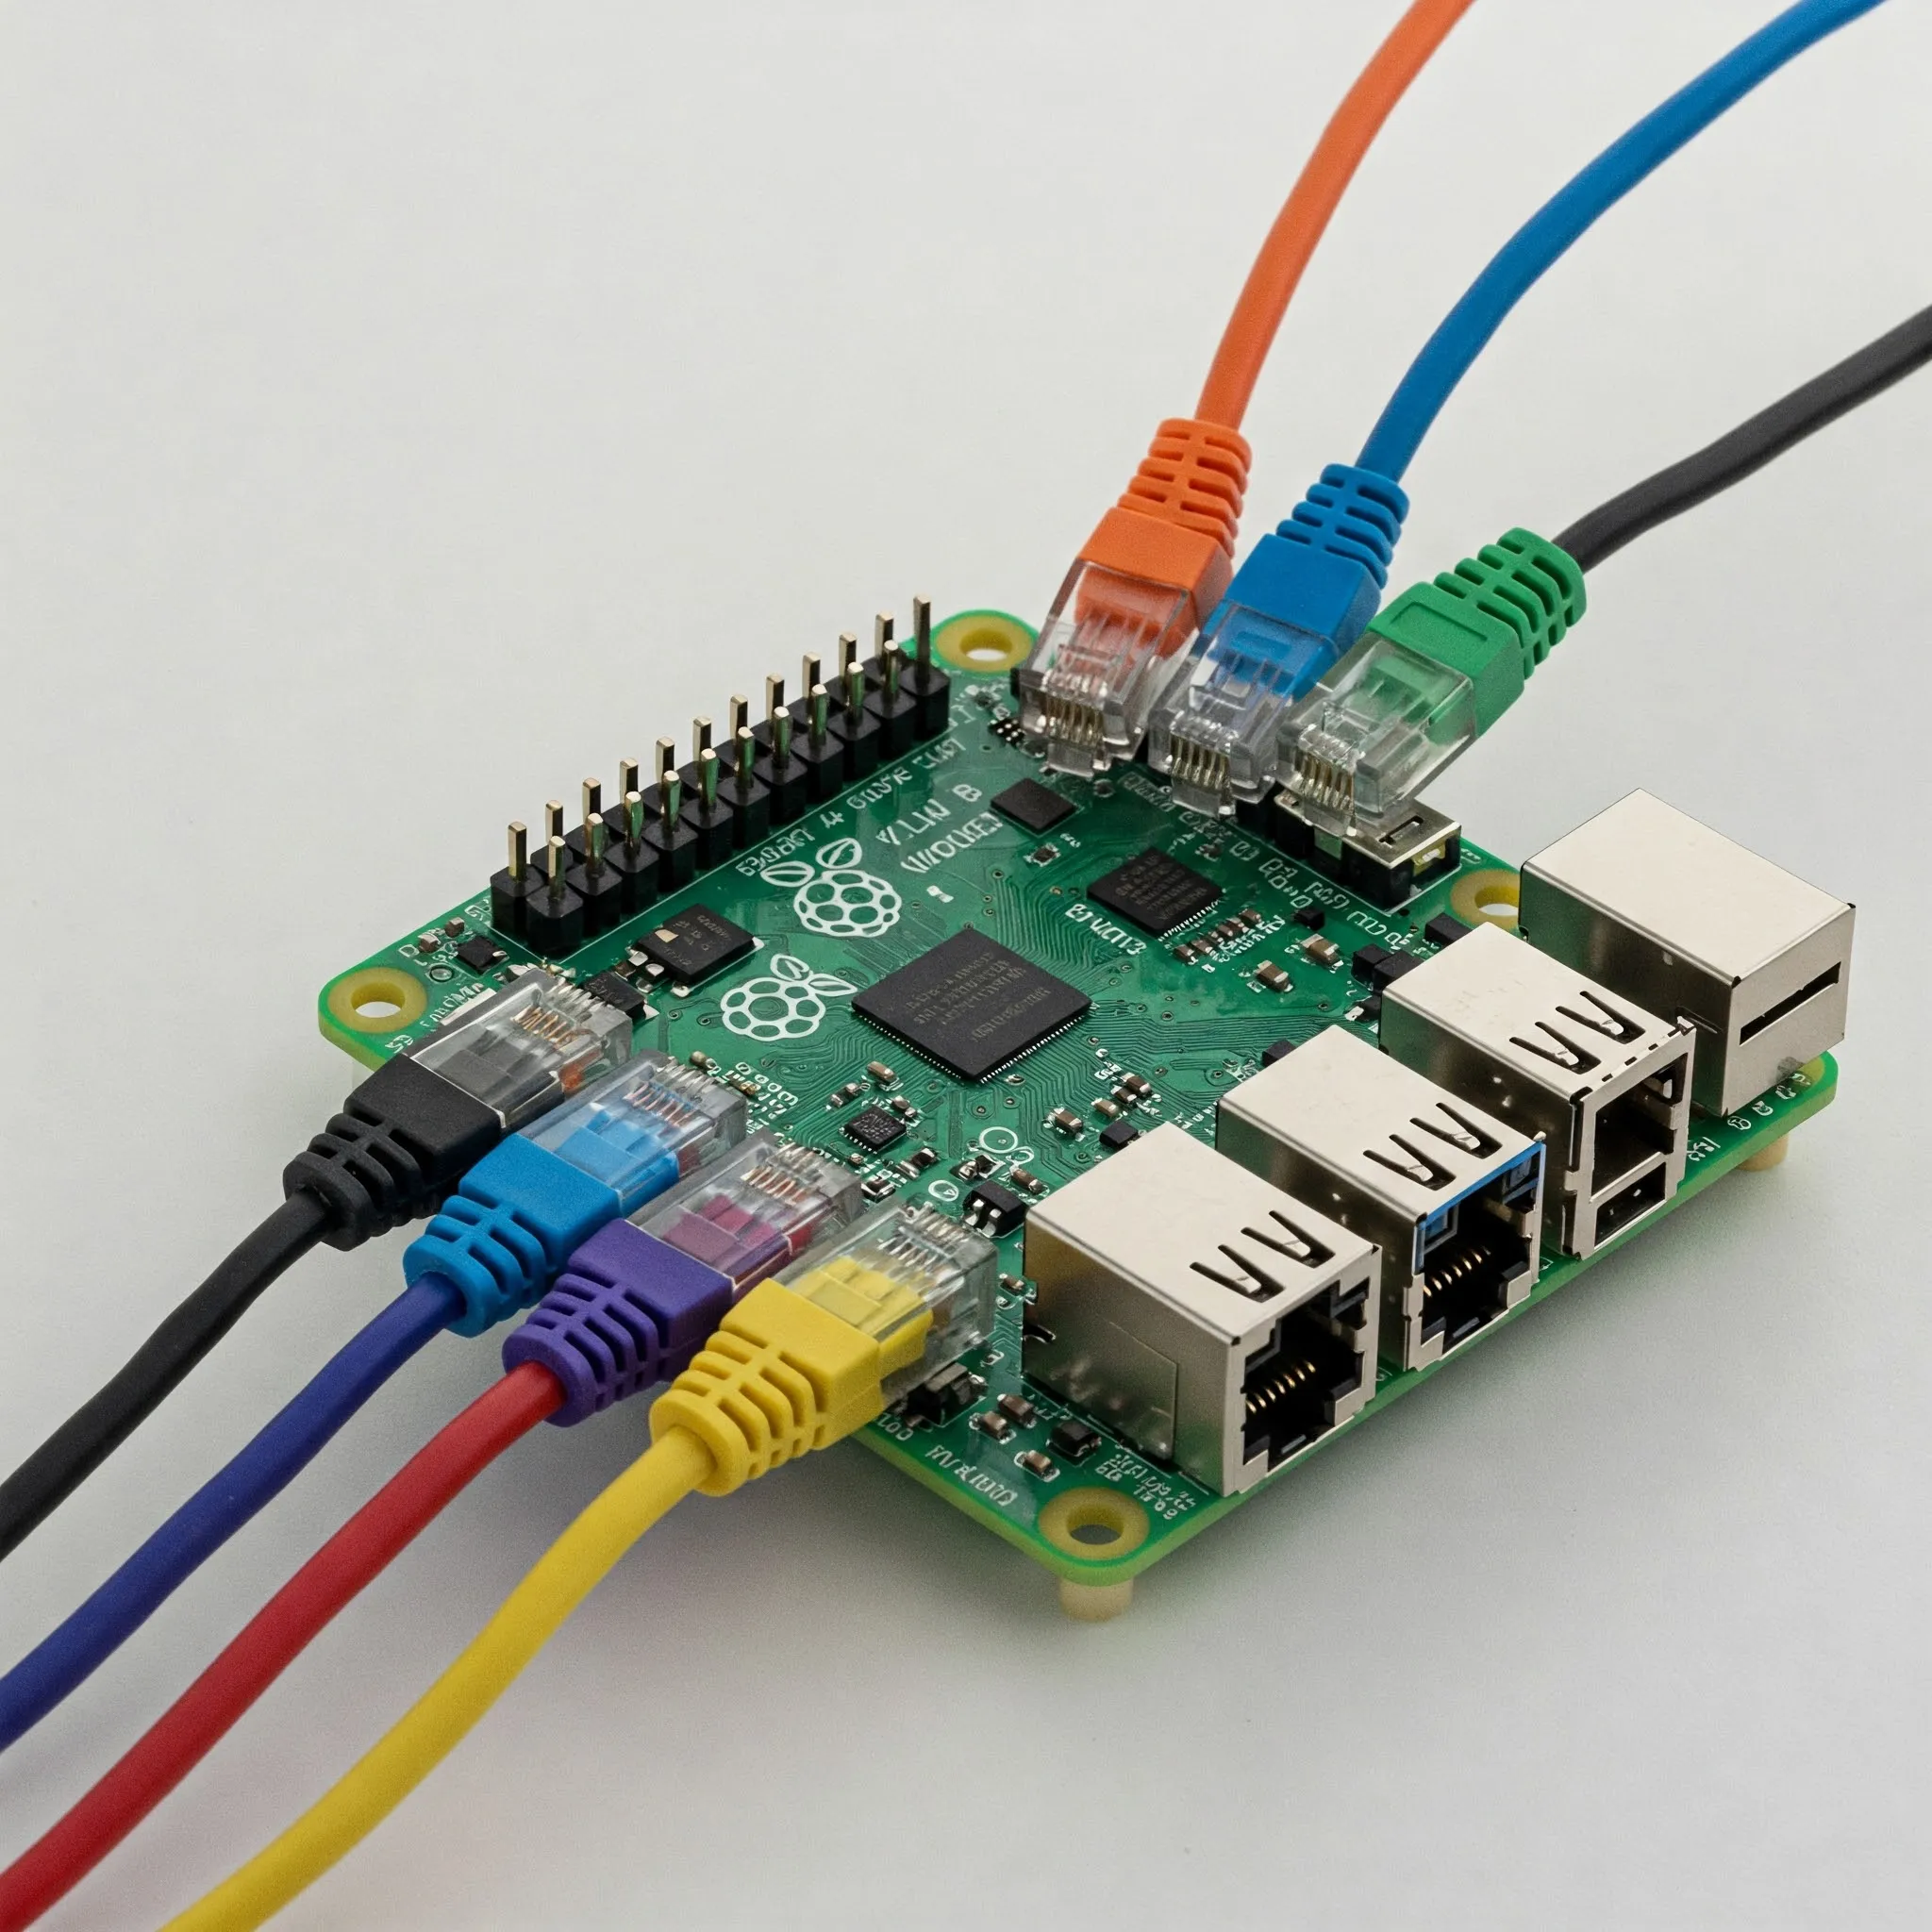
A Raspberry Pi can become a small router and firewall when traffic is deliberately routed through it. Simply connecting it to an existing switch does not place it between other devices and the internet. Here, “hardware firewall” means a dedicated computer enforcing software rules, not a guarantee of hardware acceleration. This guide uses OpenWrt for the main route, explains how Pi-hole differs and gives you a staged acceptance and recovery plan before moving the whole home network.
Start with one test device behind the Pi while the existing router continues serving everyone else. This makes interface or policy mistakes easier to diagnose and keeps a practical way back to the working network. The goal is a firewall whose behavior you can verify, rather than a collection of commands that happen to run.
What You Will Need
- A Raspberry Pi model with a suitable supported OpenWrt image; confirm the exact model in the firmware selector.
- A reliable power supply, microSD card, card reader and a spare card or saved image for recovery.
- Two usable network interfaces, typically onboard Ethernet and a supported USB Ethernet adapter.
- Two Ethernet cables, a setup computer and optionally a downstream switch or access point.
- The current network addressing, DHCP arrangement and router configuration recorded before changes.
Check the adapter's actual chipset and driver support for your selected OpenWrt build. Similar retail names can cover different hardware revisions. USB port speed, drivers, routing workload and additional services affect throughput; a gigabit label does not guarantee gigabit routing. Include the power supply, adapter and storage in your cost comparison with a dedicated router.
Step 1: Choose and Prepare One Operating System
Choose OpenWrt or a custom Raspberry Pi OS router before flashing the card. They are alternative operating systems. OpenWrt is not installed on top of Raspberry Pi OS by flashing a second image later. For the main path here, select a stable OpenWrt image matching the exact board and follow that image’s installation instructions. The official download page currently lists 25.12.5; check it again when installing rather than choosing an untested development snapshot. The release’s image profiles distinguish Pi 4’s bcm2711 target from Pi 5’s bcm2712 target. A Pi 4 image is not a generic Pi 5 image.
Use Raspberry Pi Imager to write the downloaded OpenWrt image through its custom-image option. Select the spare card carefully: writing an image erases that card. Verify the image against its published checksum and do not assume Raspberry Pi OS customization settings configure OpenWrt.
Keep the future WAN cable disconnected during initial setup. The release’s Pi 4/5 network definition assigns onboard eth0 to LAN; use that physical port for the setup computer before any reassignment. Stock configuration uses 192.168.1.1/24, but a customized image can differ. Keep this link separate from an existing router using the same address. Set a strong administrator password and confirm local management before making routing changes.
Step 2: Identify the Interfaces and Addressing
Do not assume that eth0 and eth1 always mean the same physical ports. Check interface names, link state and MAC addresses in OpenWrt, then unplug and reconnect one cable to confirm the mapping. Label the cables WAN and LAN after verification. Keep your setup computer on the management side while editing. Establish management before moving the onboard port to another role. If the USB adapter is missing, verify its chipset’s driver is included in the selected image or use the selector’s package customization; do not reassign your only working interface to WAN first.
Use different subnets on the two sides. For example, if the existing router serves 192.168.1.0/24, the Pi's downstream LAN could use 192.168.2.0/24 with the Pi at 192.168.2.1. These are illustrative addresses, not requirements. Check that they do not overlap a VPN or another network you need to reach.
| Connection | Role | Example arrangement |
|---|---|---|
| Existing router LAN to Pi WAN | Upstream internet route | Pi obtains an upstream address from the existing router |
| Pi LAN to test device or downstream switch | Protected downstream segment | Pi supplies its separate LAN address and DHCP service |
| Downstream Wi-Fi access point | Extends the protected segment | Runs as an access point, with clients using the Pi as gateway |
Step 3: Configure Routing and Firewall Policy
Use OpenWrt for the Main Routing Path
In the interface settings, assign the verified upstream interface to WAN and the downstream interface or bridge to LAN. Configure the WAN according to your upstream service: a connection behind the current router commonly uses DHCP, while a direct ISP connection may require other settings. Confirm the downstream DHCP pool supplies the Pi's LAN address as gateway and the intended DNS server.
In the firewall settings, confirm that the networks belong to the intended zones, LAN-to-WAN forwarding is permitted and unsolicited WAN-to-LAN forwarding is denied unless you intentionally add an exception. Review router-management access separately from forwarded client traffic. Inspect the individual traffic rules as well as zone defaults: the stock template contains DHCP/control-traffic and IPsec exceptions. Keep required control rules and remove optional exceptions only after checking their purpose and testing the resulting policy. IPv4 masquerading is relevant to the example routed setup behind an existing router; it is not an explanation of IPv6 security.
OpenWrt's firewall4 uses nftables. Work through its supported configuration rather than pasting an old iptables recipe beside it. Keep the release's essential DHCP and IPv6 control-traffic rules; deleting everything to create a “clean” firewall can break connectivity. Save a configuration backup before each substantial policy change.
Understand Pi-hole and the Advanced Linux Alternative
Pi-hole filters DNS queries. It is useful alongside a firewall, but installing it does not turn a Pi into a routed, stateful gateway. Its native supported operating systems include Raspberry Pi OS and Debian; OpenWrt is not on that list. For this OpenWrt gateway, run Pi-hole on a separate supported host rather than executing its standard installer on the router. Give that DNS host a stable address and configure clients to use it if you add it. If it supplies DHCP on a segment, disable the other DHCP server on that same segment. Devices using another resolver, encrypted DNS or direct IP connections may not follow its DNS filtering.
A custom Raspberry Pi OS gateway requires a complete plan for persistent interface addresses, DHCP, DNS, forwarding, IPv4 and IPv6 policy, and any required NAT. Keep a local console and a tested rollback method. Applying a default-drop input rule before allowing management can lock you out. A few forwarding rules alone do not supply those components, and saving a rules file does not configure a service to restore it. Use a complete design appropriate to the selected OS before replacing a working router.
Step 4: Prove the Traffic Takes the Intended Path
Connect one test client to the downstream side. Check its address, gateway and DNS settings before opening a browser. Its default route must point at the Pi, not the original router. Devices still on the original router's Wi-Fi usually bypass this new firewall. Place the access point downstream when you want those wireless clients covered. Also distinguish internet routing from traffic between clients in the same LAN: a laptop talking directly to a NAS through their shared switch may never cross the Pi. Separate routed segments are needed when your goal is controlling access between device groups.
The example retains the existing router upstream, which commonly creates two IPv4 NAT layers. That can complicate inbound hosting, gaming and remote access. Do not switch the ISP equipment to bridge mode as an unrelated troubleshooting experiment; first establish the simple test path, then plan any topology change and its recovery separately.
Acceptance Tests for Routing and Policy
- Renew the test client's DHCP lease and verify the intended address, gateway and DNS.
- Check ordinary DNS resolution and access to a known HTTPS site.
- Add one narrow temporary deny rule for a test destination or service you control. Verify that it blocks the intended path, then remove it.
- Confirm administrative access is available from the permitted LAN side and restricted on the upstream side as intended.
- Review IPv6 addressing and rules independently if IPv6 is enabled. An IPv4-only test cannot establish the IPv6 policy.
- Restart during the test window and repeat the checks to prove that configuration persists.
Record the observed results. For an internet failure, separate missing DHCP, a wrong gateway, failed DNS and a rejected forward path before changing several rules together. Check rule counters and logs for the specific test. A quiet log is not proof of protection if the client never sent its traffic through the Pi.
Step 5: Maintain and Recover the Gateway
Use OpenWrt's supported upgrade process for OpenWrt; Raspberry Pi OS uses its own package and OS update procedures. Do not run an APT update command as though it upgrades OpenWrt. Read image and release notes, preserve the configuration backup and verify adapter support before upgrading the gateway everyone depends on. OpenWrt 25.12 uses apk for packages, while 24.10 uses opkg; choose instructions for the installed release. A package update is not a substitute for the supported firmware sysupgrade process. Check that a replacement image includes your additional packages and drivers.
Keep a spare boot medium and written cable/address mapping. A configuration backup is not a full copy of the installed OS, all packages or added files; retain the known-good image and a list of additions separately. Test returning a client to the original router, then test restoring the Pi's saved configuration in a controlled window. Move more devices only after the single-client setup survives restart and recovery. If the Pi fails, that recovery plan matters more than an extra optional filtering feature.
Choose Rules with a Clear Purpose
A guest segment might allow internet access while denying access to the NAS and management interface. A server segment might allow a specific application port from trusted devices. Define source, destination, protocol and purpose for each exception, then test both allowed and denied behavior. MAC filtering and domain blocking alone do not establish strong device identity or complete application control.
When the Project Is Useful
This is a worthwhile way to learn routing, zones and recovery, or reuse hardware for a modest network. Measure capacity with your actual connection and services before making it the household gateway. A dedicated appliance may fit better when you need more interfaces, predictable support or less maintenance work.
Conclusion
Choose one supported operating system, establish separate WAN and LAN networks and verify that protected clients actually route through the Pi. Treat DNS filtering, firewall policy and IPv6 as distinct checks. Keep a tested backup and bypass route so the new gateway remains recoverable as well as configurable.
Sources and Further Reading
- OpenWrt firmware selector
- Official Raspberry Pi image profiles
- OpenWrt firewall4 policy template
- OpenWrt firewall4 package
- OpenWrt sysupgrade service
- Pi-hole client DNS and DHCP configuration
- Pi-hole firewall prerequisites
More detail is available from the OpenWrt project, its release-specific Pi network definition and firewall4 package definition.