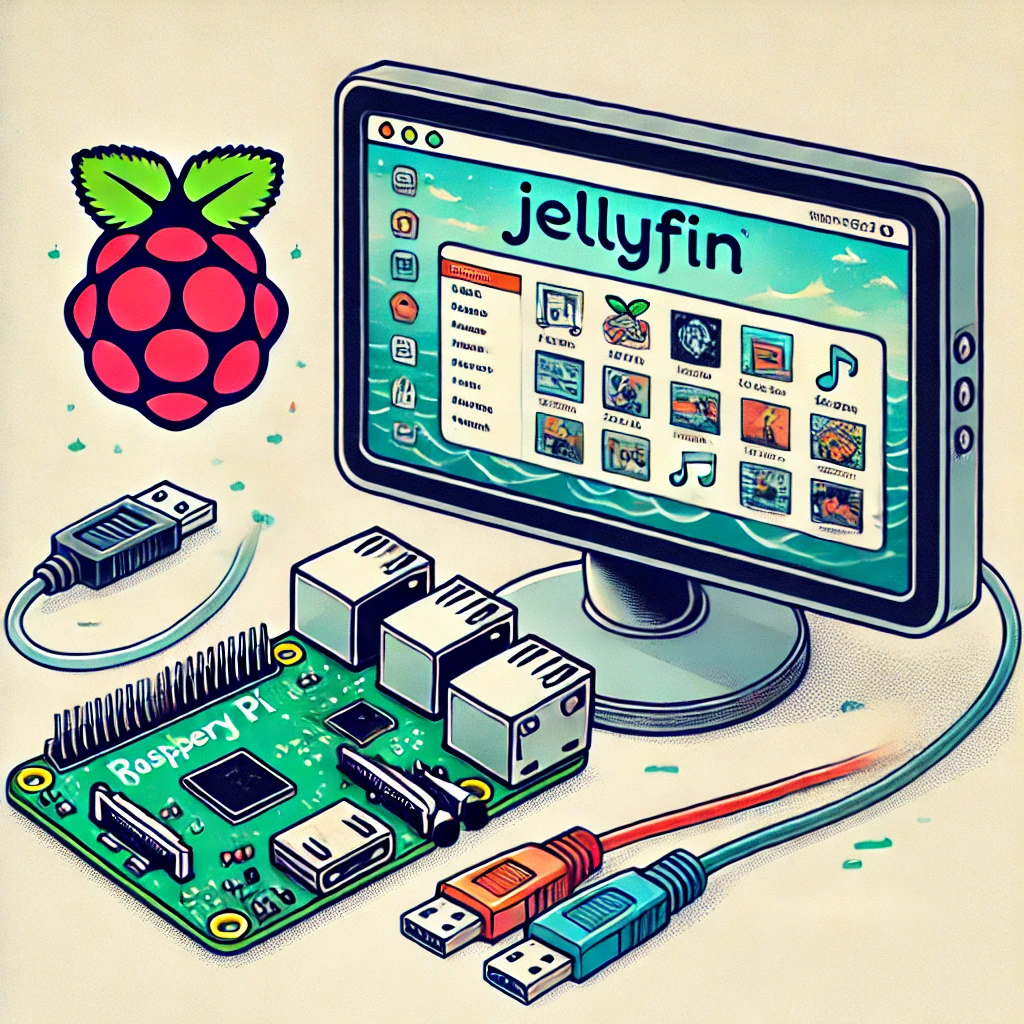
Setting up a media server at home can seem like a daunting task, but with tools like Jellyfin and the affordable Raspberry Pi, it's easier than you might think! In this guide, we’ll explain what a Raspberry Pi and Jellyfin are, why you’d want to use them together, and how to get Jellyfin up and running on a Raspberry Pi. We’ll also cover storage considerations and some useful tips to get the most out of your media server.
What Is a Raspberry Pi?
The Raspberry Pi is a low-cost, credit-card-sized computer that plugs into a monitor or TV and uses a standard keyboard and mouse. It’s a versatile device often used for educational purposes, DIY projects, and tech experiments. Despite its small size, it is surprisingly powerful, making it suitable for a wide range of tasks, including running a media server.
What Is Jellyfin?
Jellyfin is a free, open-source media server software that allows you to organize, stream, and share your media files such as movies, TV shows, music, and photos. Unlike commercial media server software, Jellyfin doesn't require any subscription fees and lets you keep complete control over your data. For more in-depth information, read our article on Jellyfin.
Why Run Jellyfin on a Raspberry Pi?
Running Jellyfin on a Raspberry Pi has several advantages:
- Cost-Effective: The Raspberry Pi is an affordable device compared to traditional media server hardware, making it a great budget-friendly option for setting up a home media server.
- Low Power Consumption: It consumes very little power, which is perfect for a media server that you might want to run 24/7.
- DIY Learning Experience: If you enjoy learning about technology and setting up your own projects, running Jellyfin on a Raspberry Pi is a rewarding experience.
- Compact Size: The small form factor of the Raspberry Pi means it takes up little space, making it easy to integrate into your existing home setup.
- Open-Source Flexibility: Using open-source software like Jellyfin lets you customize your server as you see fit without being locked into a specific ecosystem.
However, running Jellyfin on a Raspberry Pi comes with some considerations.
Considerations When Running Jellyfin on a Raspberry Pi
- Performance Limitations: While powerful for its size, the Raspberry Pi is not as capable as a full-fledged computer or server. You may experience performance issues with heavy workloads or 4K streaming.
- Networking: If you're planning to stream media over your home network, a wired Ethernet connection is preferable over Wi-Fi for stable performance.
- Storage: The Raspberry Pi’s onboard storage is limited, and SD cards, while convenient, aren't the most reliable for long-term use. We’ll discuss storage options later in this guide.
- Transcoding: The Raspberry Pi may struggle with transcoding high-definition content (converting media to a different format on-the-fly). It's better suited for direct playback.
How to Run Jellyfin on a Raspberry Pi
There are several ways to install Jellyfin on a Raspberry Pi, but the most common options are using Docker, Raspberry Pi OS, or a pre-configured image like DietPi. We’ll go through these methods step by step.
Option 1: Installing Jellyfin on Raspberry Pi OS
- Set Up Raspberry Pi OS
- Download the 64-bit Raspberry Pi OS image from the official website.
- Use a tool like Raspberry Pi Imager to write the OS to an SD card.
- Insert the card, boot the Pi, and configure your own username and network connection. Current Jellyfin on ARM requires an ARM64 operating system; a 64-bit-capable Pi running a 32-bit image is insufficient. Check
dpkg --print-architecturereportsarm64. - Complete the initial setup, including updating the system.
- Add the Official Jellyfin Repository & Install Jellyfin
- Add the publisher's repository using the official Debian installation instructions. Download the installer and its published checksum, verify the download, then inspect it before running it:
Continue only if verification succeeds and the script supports your distribution. The checksum checks against the publisher's download; it does not replace reviewing a privileged installer.sudo apt update sudo apt install -y curl curl -fsSLO https://repo.jellyfin.org/install-debuntu.sh curl -fsSLO https://repo.jellyfin.org/install-debuntu.sh.sha256sum sha256sum -c install-debuntu.sh.sha256sum less install-debuntu.sh sudo bash install-debuntu.sh - Once installed, Jellyfin will start automatically. You can access the web interface at
http://<Your-Pi-IP>:8096in a browser.
- Add the publisher's repository using the official Debian installation instructions. Download the installer and its published checksum, verify the download, then inspect it before running it:
- Configure Jellyfin
- Follow the on-screen instructions to set up your media libraries, add users, and customize settings.
Option 2: Using Docker to Run Jellyfin
- Install Docker for your actual operating system. Follow Docker's Debian repository instructions for 64-bit Raspberry Pi OS. Docker describes its convenience script as an option for development or testing; it is not an upgrade procedure for an existing Docker host.
- Prepare persistent folders. Create config and cache directories owned by the account whose numeric UID/GID will run Jellyfin. Make your mounted media directory readable by that account, including execute/traverse permission on parent directories. Do not solve access errors by granting everyone write access.
- Run the official image. This example assumes your media drive is already mounted at
/srv/mediaand Docker works for the current account:
The unversioned image tracks the stable release. Before adopting this for long-term use, select an explicit release tag from the container documentation and review its upgrade notes. The read-only mount allows playback but prevents Jellyfin from changing source media. Addmkdir -p "$HOME/jellyfin/config" "$HOME/jellyfin/cache" docker run -d --name jellyfin \ --user "$(id -u):$(id -g)" \ -p 8096:8096/tcp \ -v "$HOME/jellyfin/config:/config" \ -v "$HOME/jellyfin/cache:/cache" \ --mount type=bind,source=/srv/media,target=/media,readonly \ --restart unless-stopped \ jellyfin/jellyfin/mediain the library wizard, rather than the host's/srv/mediapath. - Access and verify. Open
http://PI-LAN-IP:8096, replacing the descriptive address with the actual Pi address. Complete the administrator and library setup, then check the container logs and play a test file.
If you choose Docker group membership, use your actual username and start a fresh login session afterward. The group grants root-level control of the host; retaining sudo docker is another option. Native installation, Docker, and DietPi are alternatives: do not start all three on the same port.
Option 3: Using DietPi for a Pre-Configured Setup
- Install DietPi
- Download DietPi from the official website.
- Use Raspberry Pi Imager or Balena Etcher to flash the DietPi image onto an SD card.
- Insert the SD card, boot the Raspberry Pi, and complete the initial DietPi setup.
- Install Jellyfin Using DietPi's Software Optimized Installers
- Run the DietPi-Software tool
dietpi-software - Select Jellyfin from the list of available software and install.
- Choose a 64-bit DietPi image supported by your Pi. DietPi documents a different default Jellyfin port, 8097; check the installer output if you changed it. Follow the instructions to configure Jellyfin, and access the web interface at
http://PI-LAN-IP:8097.
- Run the DietPi-Software tool
Bonus: Storage Options for Jellyfin on Raspberry Pi
1. External Hard Drive or SSD
- A USB hard drive or SSD can provide more capacity and keep library activity off the operating-system card. Reliability depends on the drive, enclosure, power supply and backups.
- If preparing an empty drive, choose a suitable filesystem such as ext4. Formatting erases data: back up an existing library first and identify the correct disk.
- Mount the drive and configure Jellyfin to use it for media storage.
2. Network Attached Storage (NAS)
- If you have a NAS device, you can configure Jellyfin to access media stored on it.
- Use network protocols like SMB (Windows Shares) or NFS to connect the Raspberry Pi to your NAS.
3. USB Flash Drives
- A USB flash drive can work for a small media collection, but endurance and speed vary; its connector alone does not make it more reliable than a good SD card.
- Be sure to regularly back up your data, as flash drives have limited write cycles.
Overcoming the Limitation of SD Cards
- Use a Quality SD Card: Invest in a high-endurance SD card to reduce the risk of data corruption.
- Limit Write Operations: Configure Jellyfin and other software to minimize unnecessary writes to the SD card.
- Regular Backups: Keep your media backed up to avoid losing data if the SD card fails.
Conclusion
Running Jellyfin on a Raspberry Pi is a great way to set up a budget-friendly, energy-efficient media server at home. It’s perfect for users who want to experiment with DIY projects or learn more about server software. While the Raspberry Pi has some limitations, such as storage and processing power, the versatility of Jellyfin combined with a few storage enhancements can provide a satisfying media experience. Whether it's worth your time depends on your needs—if you’re looking for a cost-effective way to organize and stream your media, then Jellyfin on a Raspberry Pi is certainly worth considering!
Now that you have a clear idea of the process and what to expect, you can decide if this setup aligns with your media server needs and technical comfort level.
Direct Play, Remux and Transcoding
Jellyfin lists the active playback mode in its dashboard. Direct Play sends the original file; remuxing changes the container without changing its audio or video; Direct Stream converts audio while retaining the video; video transcoding is the expensive case. Compatibility depends on the particular player, codecs, subtitles, container and bitrate. An Apple TV, browser or phone label alone does not prove HEVC or AV1 support.
Test representative files on the clients you actually own, including subtitles and HDR material. Subtitle burn-in and HDR-to-SDR conversion can introduce video processing even when a plain file plays directly. Disabling permission for video transcoding can protect a small server from expensive jobs, but incompatible videos may then fail instead of becoming playable. It does not force every client to accept every file.
Choosing Hardware for Your Playback Needs
A Pi remains an appealing learning project, particularly if you already own one and your files play directly. However, Jellyfin's hardware guide cautions against Raspberry Pi systems for demanding server use. Pi hardware acceleration is deprecated, and the Pi 5 lacks a hardware encoder. Its video decoder is not a substitute for an encoder used to create a different output stream.
| Platform | Useful starting point | Check before relying on it |
|---|---|---|
| Pi 4 or Pi 5 | Experiment with compatible Direct Play media. | Client compatibility, peak file bitrate, storage and CPU load during scans. |
| Intel N100-class mini PC | Investigate supported Intel Quick Sync for transcoding. | Actual GPU access, operating-system drivers, tone-mapping and codec support. |
No fixed stream count or wall-power figure applies to every library. Measure an actual movie during its demanding scenes, then add the other users you expect concurrently. Record buffering, playback mode and CPU load rather than assuming a resolution label predicts success.
Storage and Recovery Checks
Confirm the media mount exists before starting Jellyfin and after a reboot. A missing NAS mount can otherwise look like an empty library, while a USB disk with inadequate power can disconnect during access. Keep media backups separate from the server's database and configuration backup: recreating a container does not restore watched status, accounts or library settings. Before a major update, read the release-specific migration requirements and retain a recoverable backup.
For a first trial, use the local network and a non-administrator playback account. Add remote access only after deciding how to authenticate users and protect transport; publishing port 8096 directly to the internet is not a complete secure-access design.