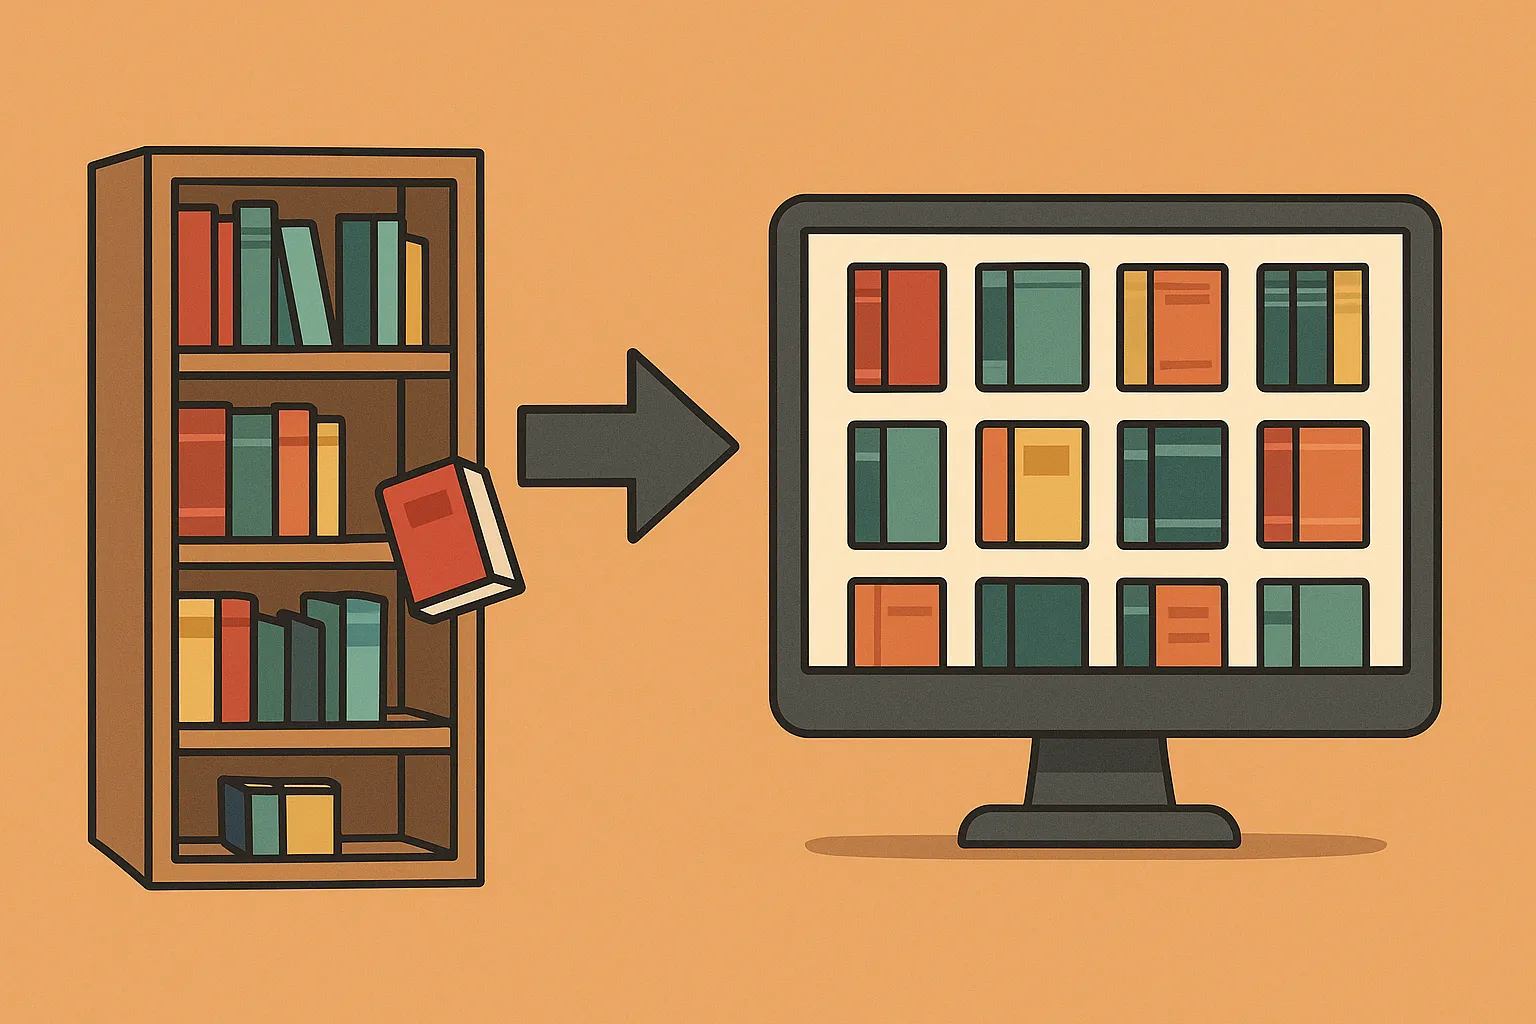
Ever wanted your own Netflix server with your choice of content? Let's look at an alternative, called Jellyfin, that allows you to stream your movies, TV shows, music, and photos to supported clients, from phones to TVs, subject to each client’s media capabilities.
What is Jellyfin?
Jellyfin is a free, open-source media server that allows you to manage, organize, and stream your personal collection of movies, TV shows, music, and photos. Think of it as your own private Netflix or Spotify, where you control everything. Unlike streaming services, Jellyfin runs on your own hardware, meaning you keep control of your data and don't have to pay monthly subscription fees.
Key Parts of Jellyfin and What They Do
To understand how Jellyfin works, let's break it down into its main components:
- Server:
This is the "brain" of Jellyfin, where your media files are stored, organized, and processed. It handles tasks such as reading metadata (information about your movies, like title, cover art, and synopsis), streaming media to your devices, and managing user profiles. - Media Library:
The library is where you categorize your media files into different types such as movies, TV shows, music, or photos. You can create separate libraries for various categories or groups, making it easier to organize and find your content. - Clients:
These are the devices you use to access your Jellyfin server, such as smartphones, tablets, smart TVs, streaming devices (like Roku or Chromecast), or web browsers. The client is what you interact with to browse and play your media files. - Plugins:
Jellyfin supports plugins to extend its capabilities. For example, you can add plugins for subtitles, different themes, or integrating live TV. Plugins help customize Jellyfin to your liking. - Metadata Fetchers:
Metadata fetchers are tools that help pull in information about your media, such as movie descriptions, cast lists, and cover art, from online databases. They make your library look polished and organized.
How Jellyfin Works
- Media Management:
You start by adding your media files (movies, TV shows, music, etc.) to the Jellyfin server. Jellyfin then scans these files and uses metadata fetchers to gather information, organizing your collection with cover art, descriptions, and other details. - Streaming:
When you want to watch a movie or listen to music, you use a client device to connect to the Jellyfin server. The server streams the media to your client, allowing you to watch or listen on your device. - User Profiles and Settings:
You can create multiple user profiles with different permissions. For example, parents can set up profiles for kids with age-appropriate restrictions.
Getting Started with Jellyfin: A Step-by-Step Guide
Here’s a simple step-by-step guide to setting up Jellyfin:
Step 1: Set Up the Jellyfin Server
- Choose Your Device:
Jellyfin can run on various devices, including Windows, macOS, Linux, or even a Raspberry Pi. Decide where you want to host the server. - Download and Install Jellyfin:
- Go to the Jellyfin website and download the appropriate version for your device.
- Follow the installation prompts to set up the server.
- Add Your Media:
- After installation, access the Jellyfin dashboard by opening a web browser and going to
http://localhost:8096(or the IP address of your server). - Follow the setup wizard to add your media folders (movies, TV shows, music, etc.) to the library.
- After installation, access the Jellyfin dashboard by opening a web browser and going to
Step 2: Access Jellyfin from Client Devices
- Choose Your Client Device:
You can access Jellyfin from various client devices, such as:- Web Browser: Just type in the server address (e.g.,
http://localhost:8096if on the same device as the server). - Mobile Apps: Install the Jellyfin app on your Android or iOS device.
- Smart TVs and Streaming Devices: Use the Jellyfin app available on platforms like Roku, Fire TV, or Apple TV.
- Kodi Plugin: Integrate Jellyfin with Kodi if you’re already using it.
- Web Browser: Just type in the server address (e.g.,
- Log In and Start Streaming:
Once the client is set up, log in with your Jellyfin credentials, and you can browse and play your media.
Step 3: Customize Your Setup (Optional)
- Add Plugins:
Go to the plugins section in the Jellyfin dashboard to install plugins compatible with your server version. Live broadcast features also require an appropriate supported source; installing a plugin does not supply a television service. - Set Up Remote Access:
If you want to access your Jellyfin server when you're away from home, you can set up remote access. This may involve port forwarding on your router to allow access from outside your home network.
Alternatives to Jellyfin
There are other media server options out there. Here are some popular alternatives:
- Plex:
- Pros: Polished user interface, large community, and many features.
- Cons: Some features require a subscription (Plex Pass), data may be shared with Plex's servers.
- Emby:
- Pros: User-friendly in our assessment, with optional Emby Premiere features.
- Cons: Certain features require a subscription (Emby Premiere), not fully open-source.
- Kodi:
- Pros: Highly customizable, large number of add-ons, can be used offline.
- Cons: Not as straightforward for beginners, lacks a central server for easy streaming across devices.
Pros and Cons of Jellyfin
Pros
- Free and Open-Source:
Jellyfin does not charge a server subscription; hardware, storage, electricity and any independently chosen services still have costs, and its open-source nature means it can be modified or extended by anyone. - Privacy-Focused:
You control the server and library. Optional metadata providers, plugins and client features can contact external services; review those settings if privacy or offline use is a priority. - Customizable:
The use of plugins and themes makes Jellyfin highly adaptable to different needs. - Multi-Platform Support:
Works across a wide range of devices and operating systems.
Cons
- Setup Can Be Tricky for Beginners:
Setting up the server and configuring everything may be overwhelming for non-technical users, especially when it comes to remote access. - Not as Polished as Plex:
While Jellyfin is powerful, it may not have the same level of polish or user-friendliness as Plex. - Less Official Support for Devices:
Although Jellyfin works on many devices, some apps may not be as refined as their Plex counterparts.
Conclusion
Jellyfin is a fantastic choice for anyone looking to take control of their media collection without paying for subscriptions. Its open-source nature and privacy-focused design make it a standout option. Whether you're a casual user or an enthusiast, Jellyfin provides the flexibility to build a personalized streaming experience.
By following the steps in this guide, you can start enjoying your personal media library through a configured access path on compatible clients. If Jellyfin seems a bit challenging, you can explore alternatives like Plex or Emby, which might offer an easier setup but may come with limitations or fees.
A Linux Docker starting point
Docker is one documented installation method, rather than the only maintainable choice. The official container guidance supports Linux hosts; for Windows or macOS, use the documented native installation. Choose an actual published Jellyfin image version and set JELLYFIN_IMAGE, plus the intended numeric host user/group in JELLYFIN_UID_GID, before using this example. Ensure that user can write the configuration/cache directories and read the media directory.
services:
  jellyfin:
    image: "${JELLYFIN_IMAGE:?Set a published jellyfin/jellyfin version}"
    user: "${JELLYFIN_UID_GID:?Set the intended numeric UID:GID}"
    restart: unless-stopped
    ports:
      - "127.0.0.1:8096:8096/tcp"
    volumes:
      - ./config:/config
      - ./cache:/cache
      - ./media:/media:ro
Create the host directories with appropriate permissions and use the container’s /media path when adding the library. Replace the host-side media path if your files already live elsewhere. The example binds HTTP to loopback for host-local setup or a host-side reverse proxy. LAN clients need a deliberately configured reachable address; another container cannot reach this mapping via its own localhost.
DLNA is an optional first-party plugin since Jellyfin 10.9. Host networking can be required for its local discovery, but does not install or enable the plugin automatically. Decide whether you actually need DLNA before changing networking. Ordinary authenticated client access and DLNA have different behavior and exposure.
Verify hardware acceleration separately
For supported Intel hardware on Linux, the official guide covers the render device, host group ID and QSV/VA-API configuration. Query the actual device/group permissions; the numeric render-group ID is not always 109. Pass the intended render device to the container and grant the matching supplemental group, then enable only supported codecs in Jellyfin’s transcoding settings. Mapping /dev/dri alone does not prove acceleration works.
Follow the guide’s driver/runtime checks and inspect a real playback’s transcoding log. Nested Docker in a VM or LXC also needs appropriate device access at those layers. No fixed “multiple 4K streams under 10% CPU” promise applies to every N100 or Core processor: codecs, tone mapping, subtitles, driver versions and simultaneous sessions all matter.
Why the exact client matters
Jellyfin documents four playback types. Direct Play sends the original file. Remux changes the container while leaving audio and video intact. Direct Stream converts audio while preserving video. Full transcoding converts video and is normally the heaviest task. Look at the dashboard to identify the actual mode before changing quality settings.
Original media is not necessarily lossless simply because the server passes it through. HDR formats, audio passthrough and subtitles also depend on the player and display chain. A subtitle requiring burn-in can trigger video conversion even when the client otherwise supports the video codec. Test representative files in the exact app rather than only its platform’s marketing description.
Metadata, permissions and recovery
A clear title/year and a correct metadata-provider identifier can improve matching, but cannot guarantee every poster or episode is correct. Review a small sample after scanning, including remakes and multi-episode files. Use the documented Identify workflow or identifiers to correct mismatches instead of assuming the first result is right.
Use a separate administrator account for management and ordinary accounts with the library access you intend. Age restrictions rely on accurate metadata, so inspect the actual items in a child’s library. A read-only media mount reduces accidental modification from the server; it does not replace backups or access control on the host.
Keep configuration and your own media backed up, and read the exact version’s upgrade requirements before updating. Major releases can migrate databases and limit rollback. Prove a backup restores in a separate test environment and retain an earlier working image/configuration pair. Test local playback before remote access, then use the documented HTTPS reverse proxy or private access arrangement, with authentication and suitable firewall rules.
The original appeal remains a personal library under your control without a Jellyfin subscription. Its difference from Plex and Emby is useful when that control matters, while our original view that client polish varies still stands. Choose based on the actual devices, formats and maintenance effort in your household.