If you are following along with our Build your Homelab series, you might start to wonder how we will be able to access our services when we are not at home. Although we have already set up NGINX and Dynamic DNS to access a service when not at home, there is a blanket solution as well, and in this case it is setting up a VPN server. We will look at setting up a VPN server as a service inside our homelab in a future article, but for today, we are going to use the built-in VPN service of our router.
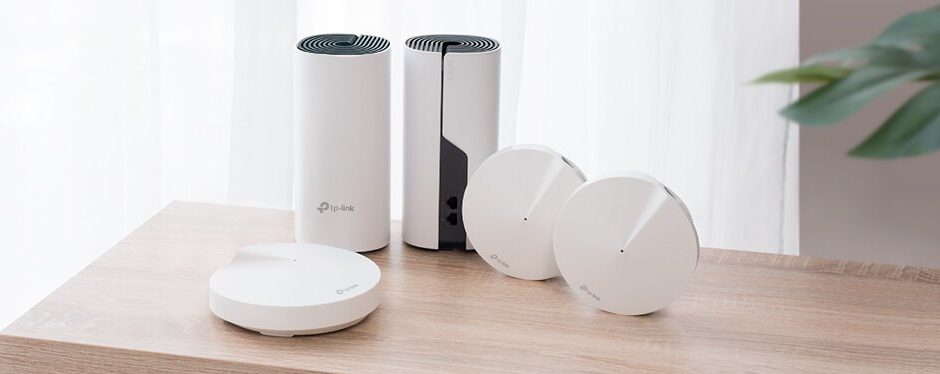
We are using a TP-Link Deco BE65 (read our full TP-Link Deco BE65 review here) and the screenshots below show that setup. Other Deco models need VPN-server support for their exact hardware revision and firmware; menu names can also differ.
Step 1: Set up the server
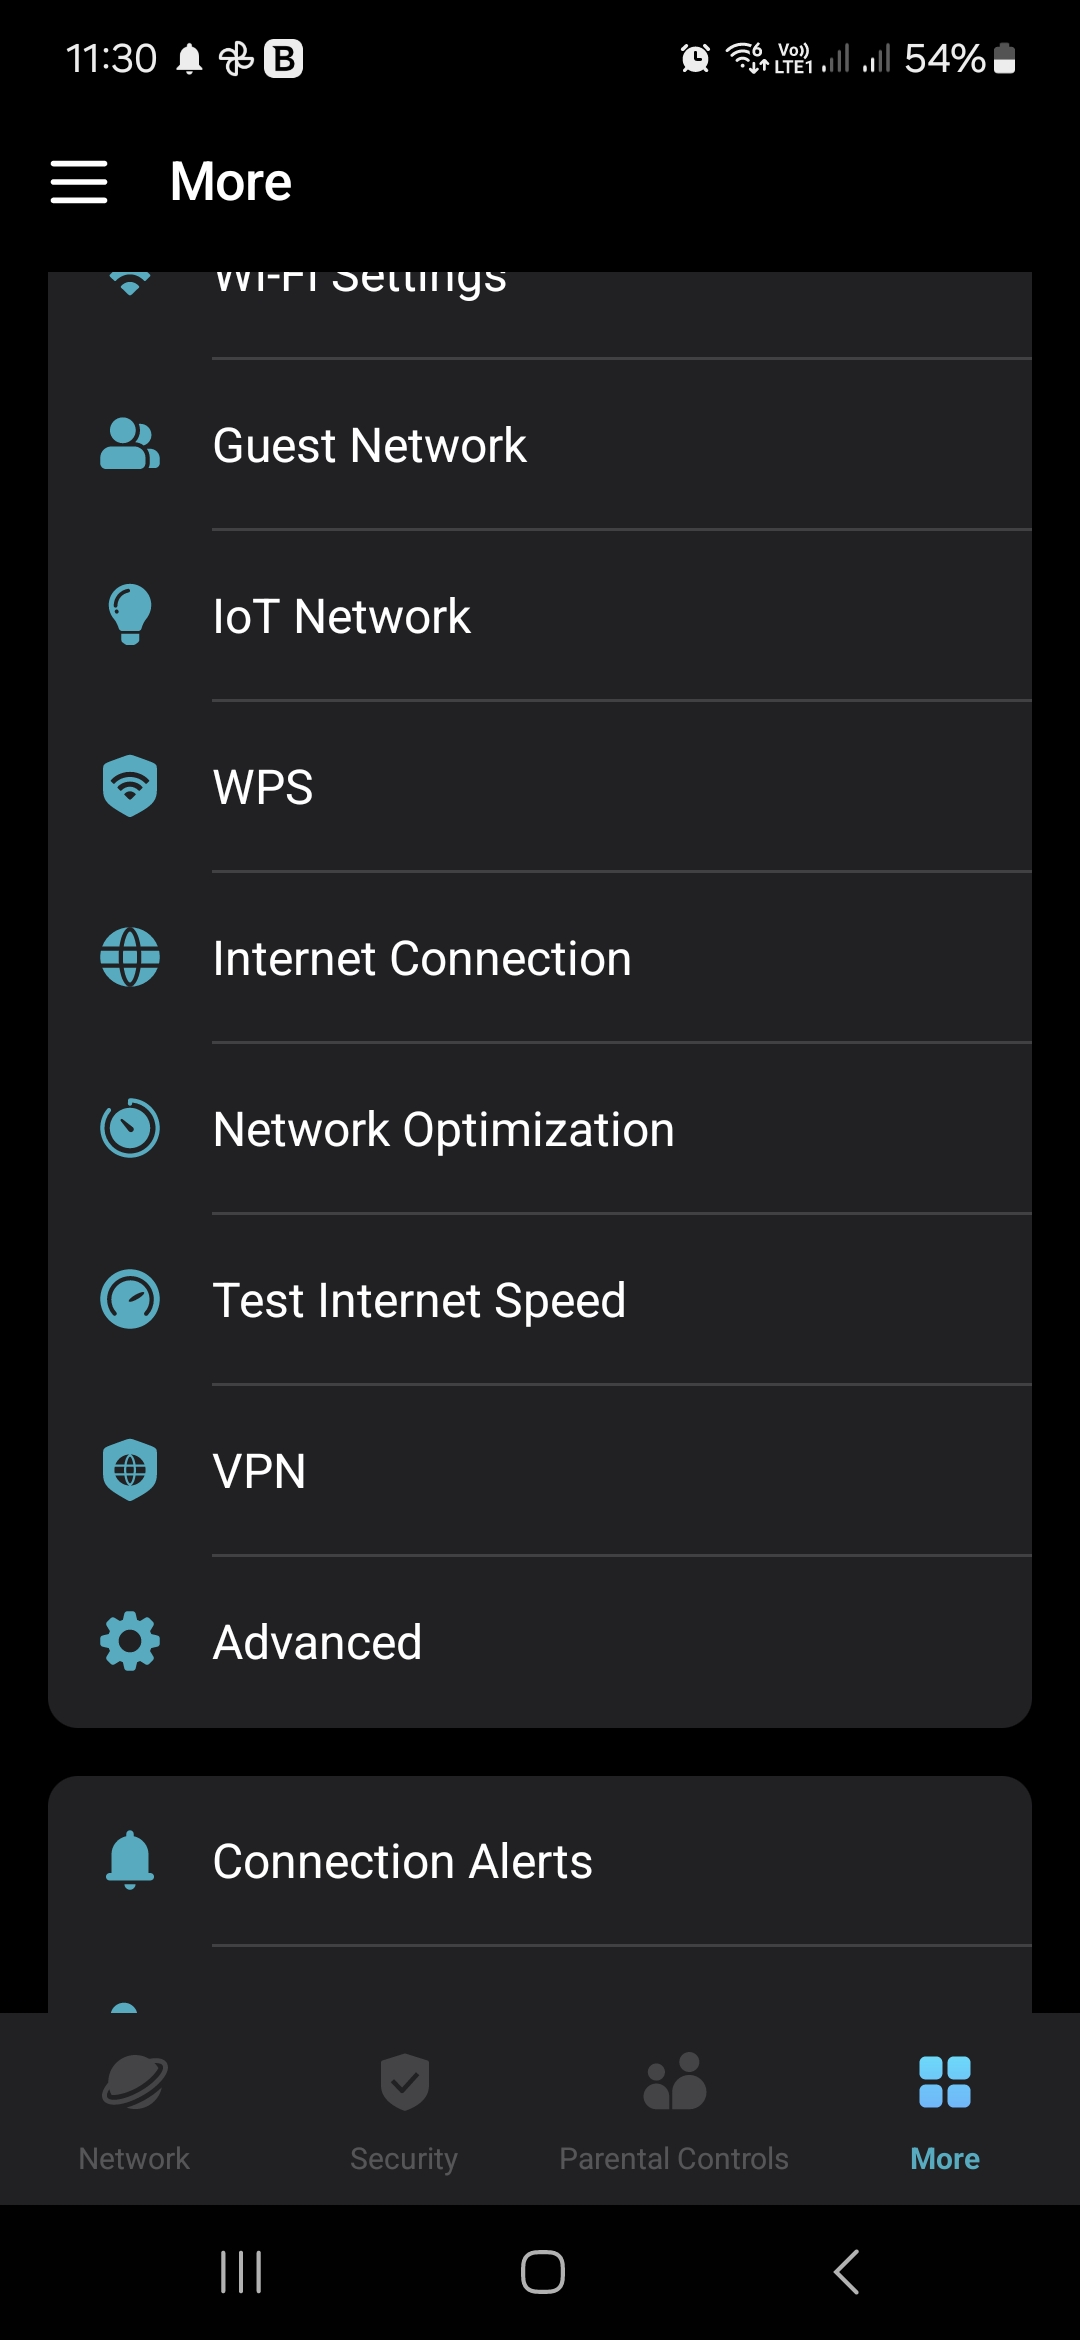
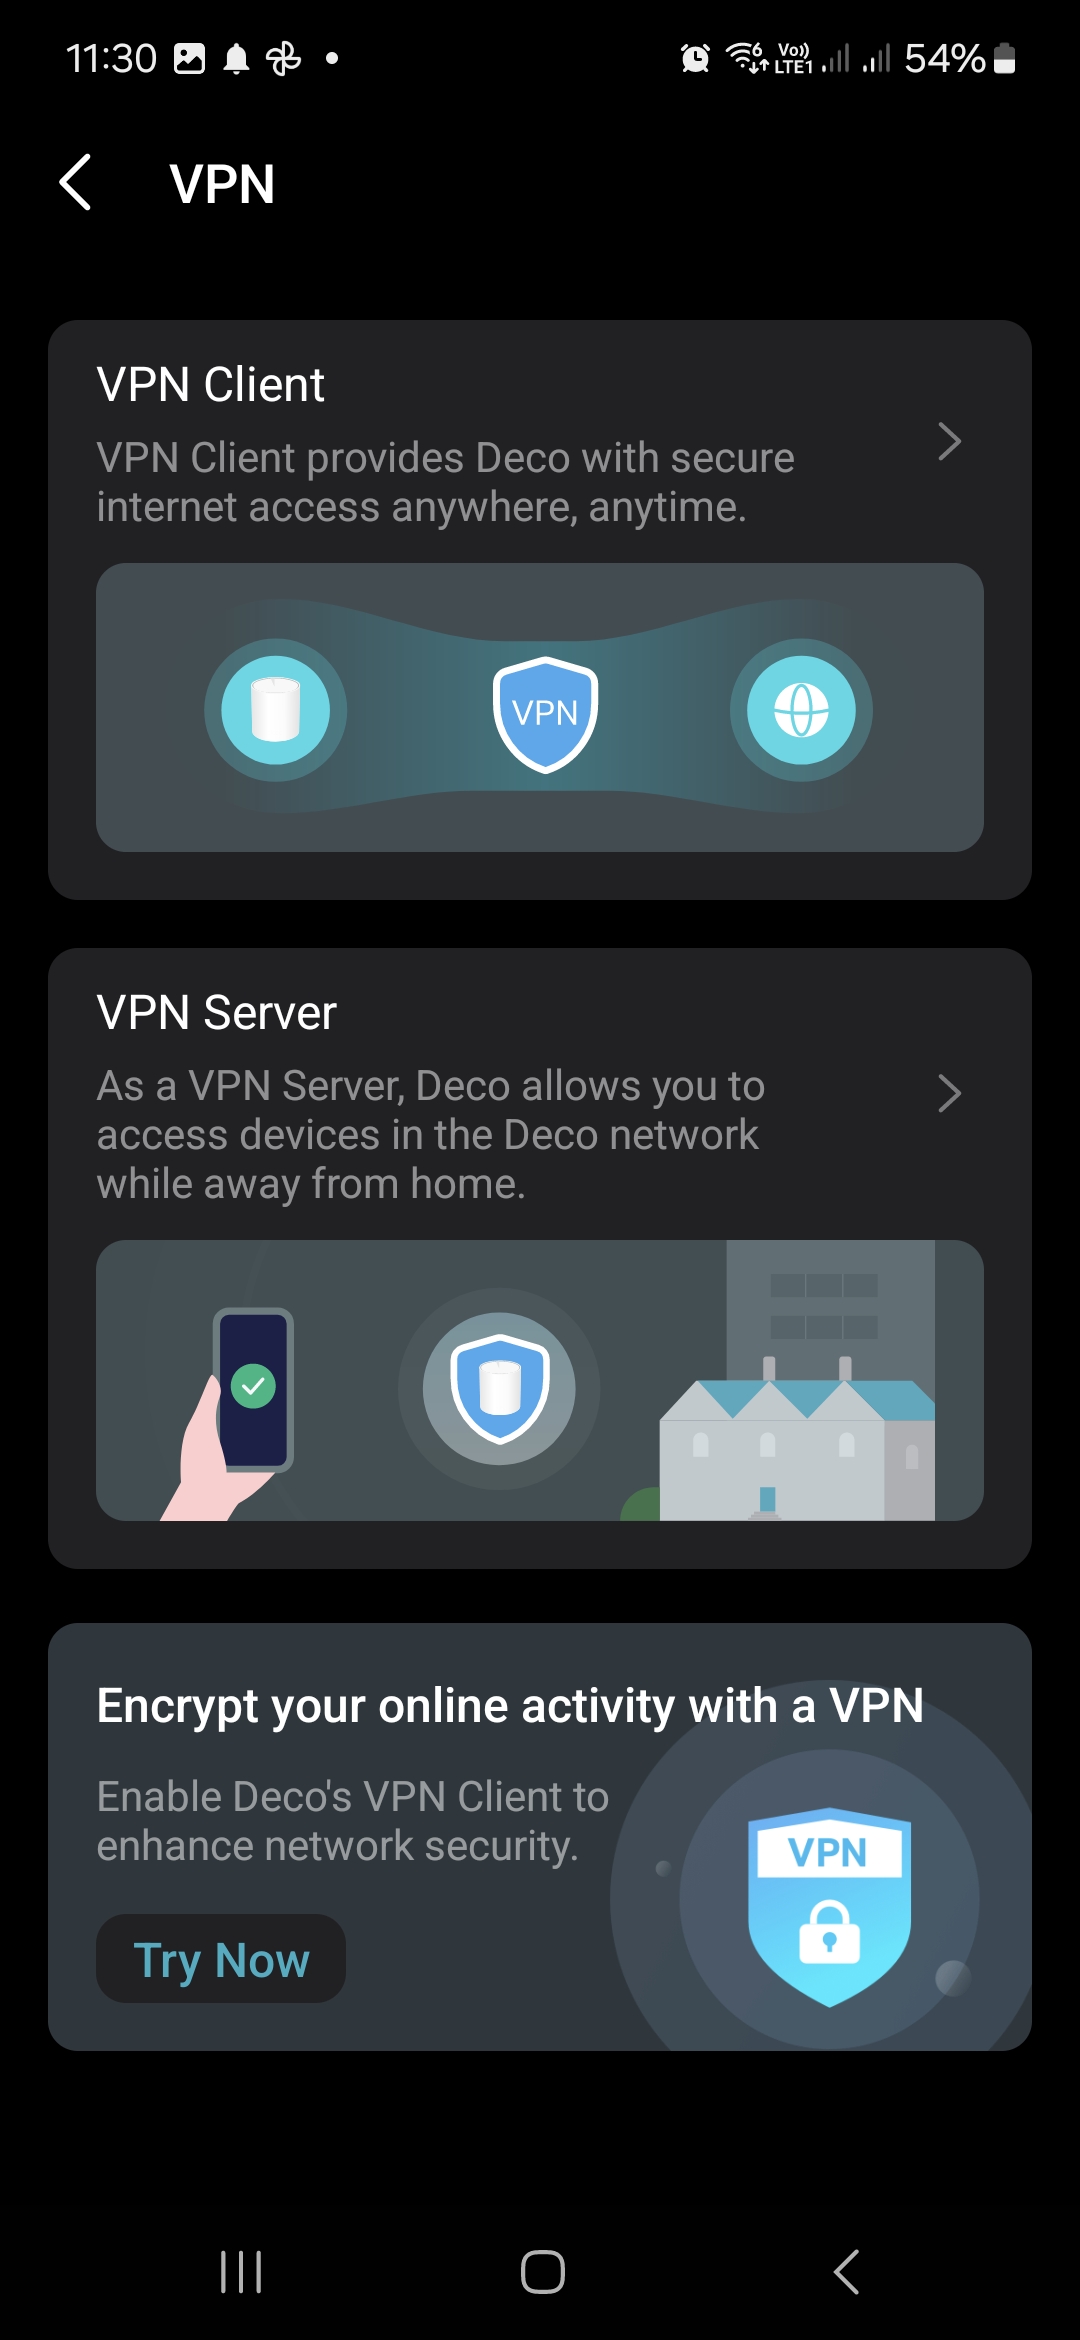
We have looked previously at what a VPN is and how it works and today we are going to enable the included VPN-server service on our Deco unit, without a commercial VPN subscription. The installation is very straightforward. First, open your Deco smartphone app and go to More, then tap VPN. You will be given two options, one for VPN Client and one for VPN Server. The VPN Client option connects selected home devices through an external VPN server. The VPN Server option serves a different purpose: remote devices connect back to our home network. The VPN Server option will allow us to create a new VPN Server on the Deco so that other clients can connect to it. The description also tells us that we will be able to see our home network:
As a VPN Server, Deco allows you to access devices in the Deco network while away from home
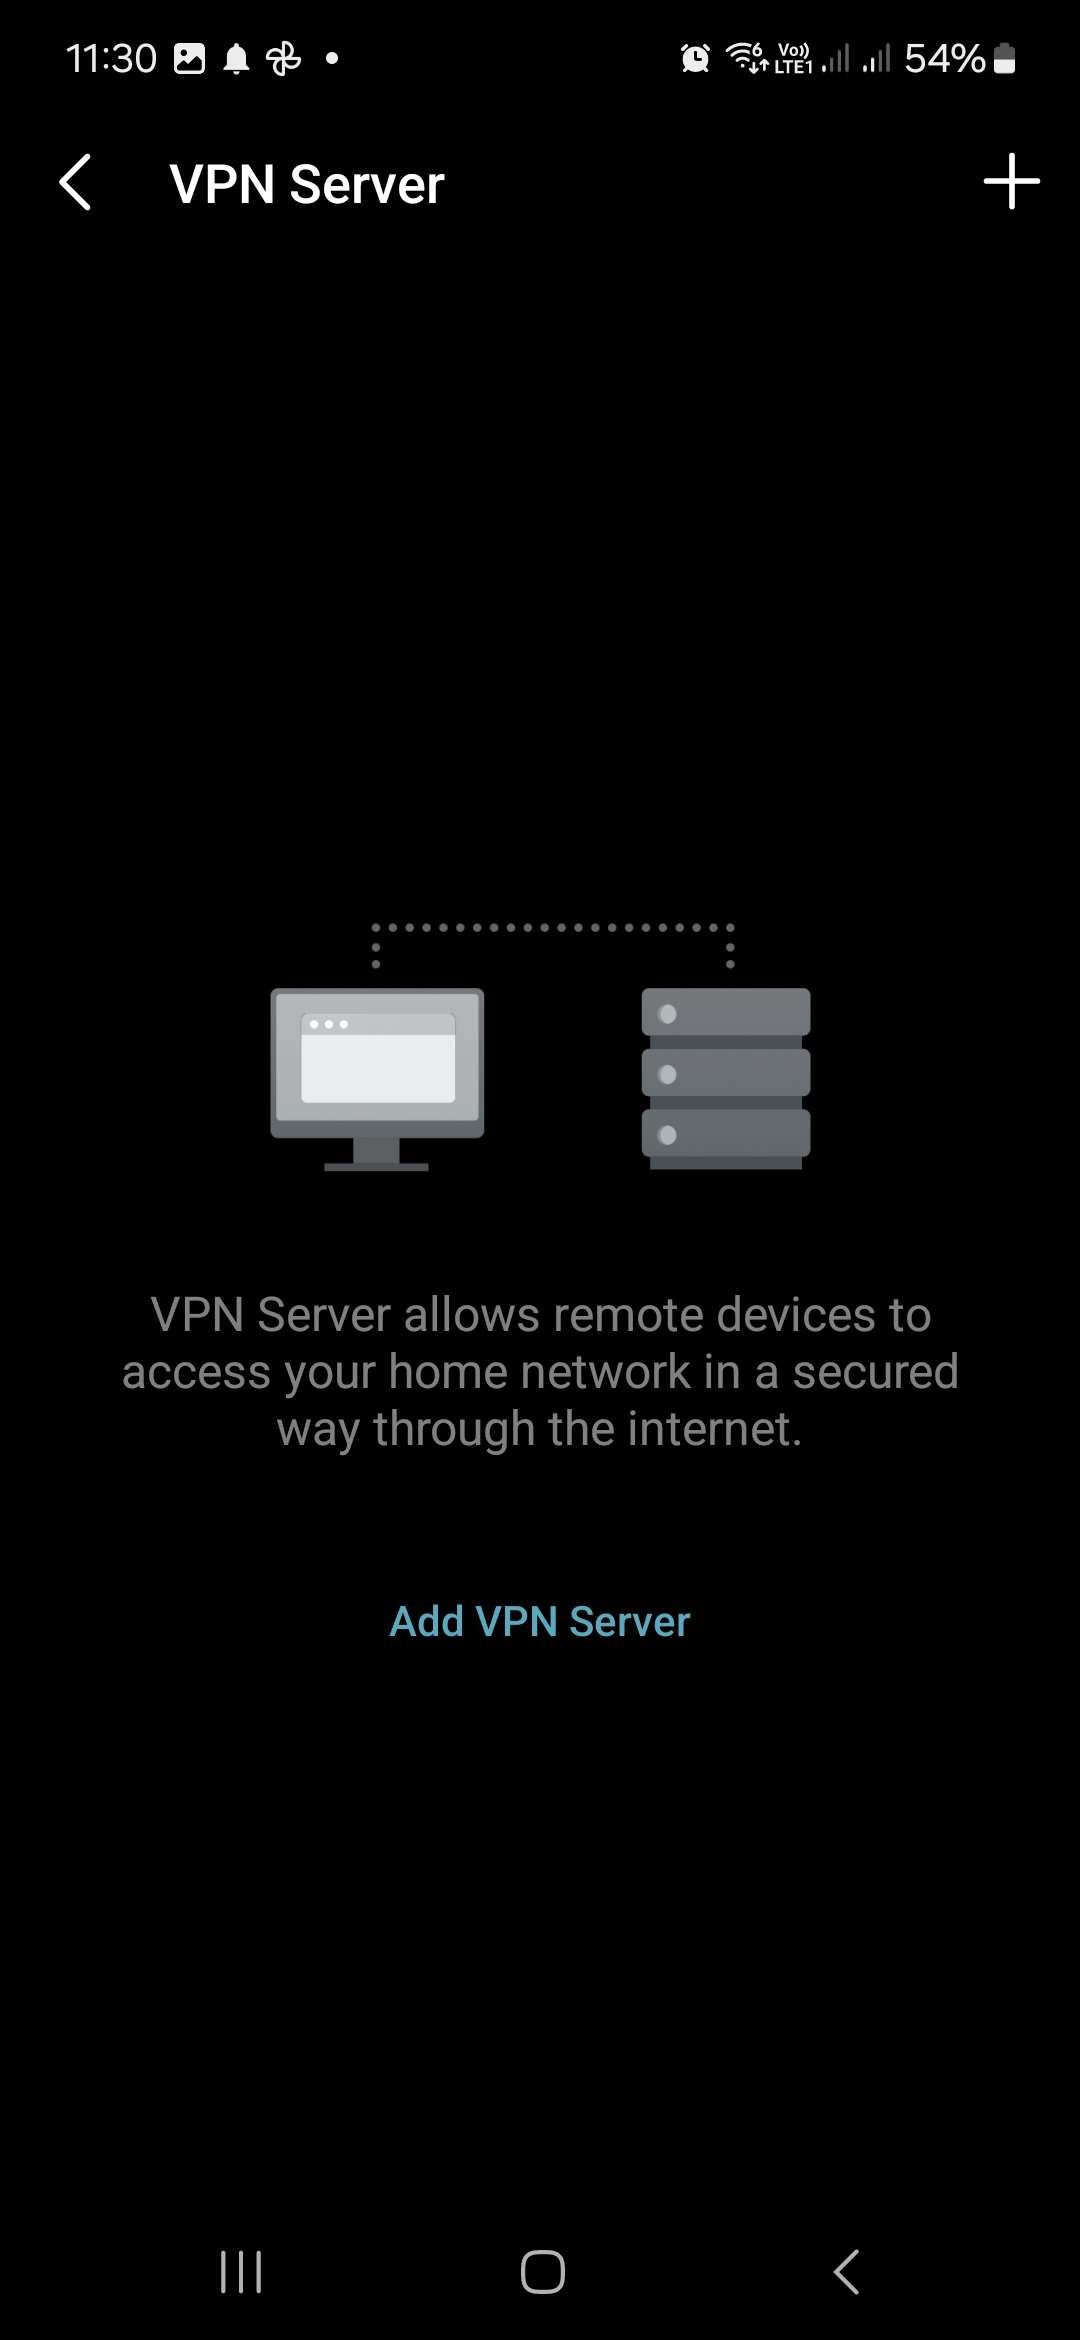
We want to add a new VPN server, so tap on it. The next screen will show you all the VPN Servers already active. Tap Add VPN Server or the PLUS in the top right corner.
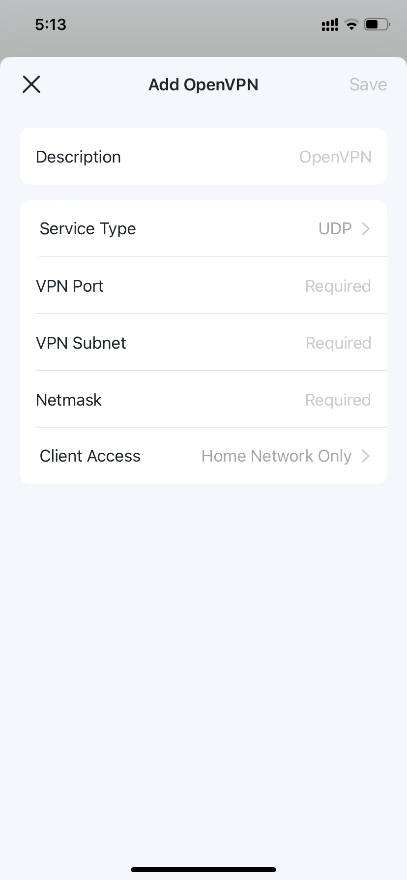
The next screen will have all the details of the VPN server. On our setup, the main choices were a name and whether clients could access the home network only or both the home network and its internet connection. Also check the OpenVPN service type, port, VPN subnet and netmask shown by your firmware before saving. Once completed, you will be able to download the configuration file for this VPN connection. Our exported .ovpn profile carries the certificates and private key used for this connection. These are TLS credentials, not SSH keys. This demonstrated certificate-based setup does not require a separately created VPN username and password. The Deco app did not allow us to capture this configuration page, so we used an image from TP-Link.com. Your window might look different.
Step 2: Connect from client devices
To connect to your VPN network, your devices will need an app installed. For Windows, you can use the app at https://openvpn.net/community-downloads/ The Windows screenshots show the community OpenVPN installer and its OpenVPN GUI client. Choose the current installer for your Windows architecture; the pictured version is the one used for this walkthrough:
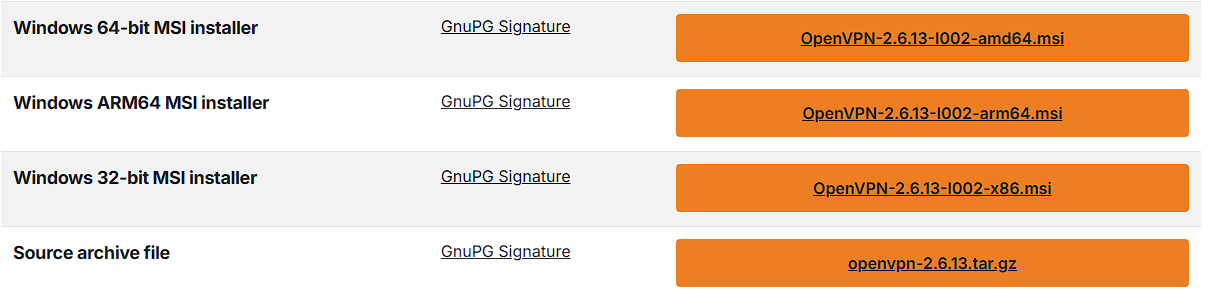
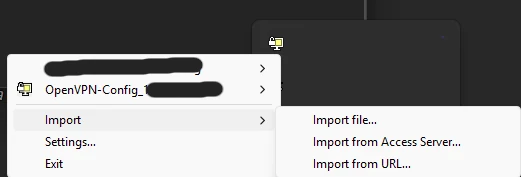
Download the installer and double-click it to install OpenVPN GUI. Start the client if needed, then right-click its icon in the notification area beside the clock. Select Import > Import file, browse to the profile exported by Deco and import it. Select that profile and connect. OpenVPN Connect is a separate client with a different interface; do not look for the pictured tray menu in that app.
For Android or iOS, go to the respective app store and search for OpenVPN Connect.
| Android | iOS |
| https://play.google.com/store/apps/details?id=net.openvpn.openvpn | https://itunes.apple.com/us/app/openvpn-connect/id590379981?mt=8 |
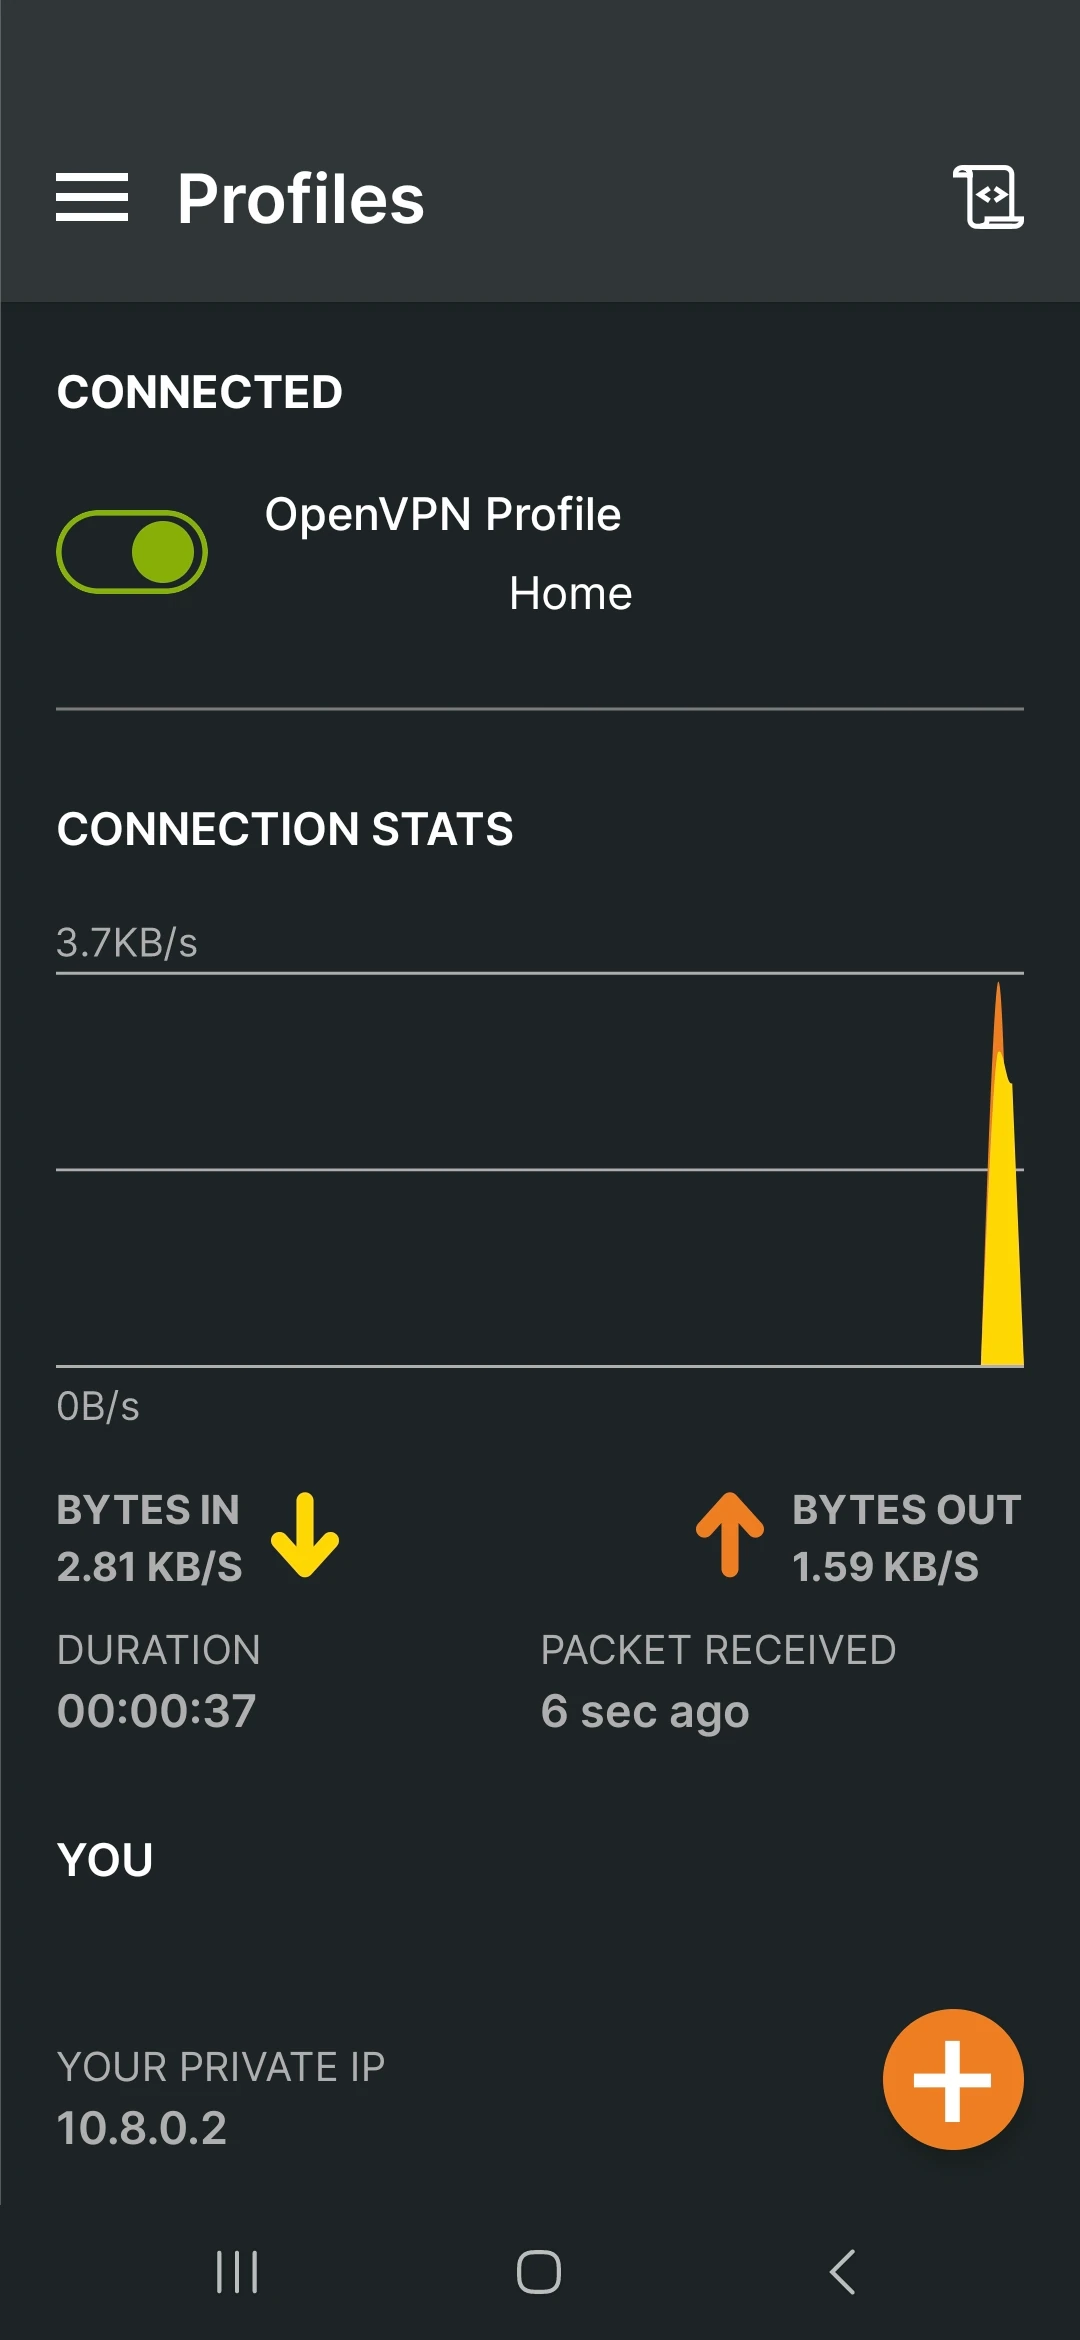
Once installed, open OpenVPN Connect and import the settings file exported by Deco. The Android screenshot below shows our connected profile. With a reachable server and a working connection, you can access your home network while away.
Check the server settings before exporting
The illustrated TP-Link form has required fields left blank because it is an example image. Your app may supply defaults, but a name alone is not enough when the port, subnet or netmask is empty. Select OpenVPN for this walkthrough, confirm UDP or TCP, and use the same protocol and port in any upstream forwarding rule. The VPN subnet must be separate from your home LAN. Overlapping address ranges can also cause routing trouble when the network you are visiting uses the same LAN range as your home.
TP-Link documents both More > VPN > VPN Server and, on other app versions, More > Advanced > VPN Server. The retained screenshots use the first path. Check the support page for your actual model and revision if the feature is missing, rather than assuming every Deco exposes the same protocols. Optional WireGuard support is a separate workflow using a WireGuard client and profile; it does not replace the OpenVPN steps shown here.
Home Network Only suits access to a NAS or another private service. Internet and Home Network additionally lets the remote device use the home's internet connection for routed traffic. The latter consumes home upload capacity and makes the home connection the internet exit; it does not make the user anonymous. Service logins, file permissions and application updates still matter after the tunnel connects.
A reachable address, DDNS and upstream NAT
If your home public address changes, DDNS provides a hostname that can track it. TP-Link's documented path is More > Advanced > DDNS; available providers and menus depend on firmware. After enabling it, inspect the exported OpenVPN profile's remote line privately and confirm that it points to your intended hostname or current public address and port. Do not assume that enabling DDNS automatically changes every already exported profile. Re-export and re-import a profile when its endpoint settings change.
Compare the Deco WAN address with a public-address lookup such as icanhazip.com. A difference means there is an upstream translation or gateway to investigate; it does not by itself prove carrier-grade NAT. An ISP router ahead of Deco can create ordinary double NAT. If you control that router, the chosen VPN port and protocol may need forwarding to Deco, or a supported bridge arrangement. Forward the VPN service needed for this setup, not every homelab application's port.
The 100.64.0.0/10 shared-address range, from 100.64.0.0 to 100.127.255.255, is a clue to carrier-grade NAT. Ask the ISP how inbound connections are supported. DDNS does not bypass CGNAT. A reachable public address may be needed for this router-hosted server. An independently configured overlay such as Tailscale is another option, but it requires authenticated devices and appropriate routes; it can use a relay when a direct connection is unavailable.
Test the connection away from home
- Keep a private copy of the exported profile. It contains connection credentials; do not publish it, place it in a public repository or share screenshots of its keys.
- Turn off the phone's home Wi-Fi and connect using mobile data, or use another external network. TP-Link specifically documents that its UDP OpenVPN server cannot be tested through NAT loopback from the local LAN. A failed local test is therefore not enough to conclude that the remote server is broken.
- Connect the profile, then open one intended home service using its LAN address. A connected indicator establishes the tunnel; it does not prove that every service is reachable. Check the service's login and permissions as well.
- If the address works but the normal hostname does not, investigate DNS and name resolution separately. If neither works, check the client log, server settings, overlapping subnets and any upstream forwarding rule.
- Repeat the test after a public-address change or router restart, and disconnect when access is no longer needed. For Internet and Home Network mode, separately confirm which traffic actually exits through home.
Conclusion
Using the built-in VPN server on our Deco BE65 gives us a straightforward way to reach home services without adding a VPN server to the homelab itself. The original OpenVPN setup and connected phone example remain the basis of this guide. A reachable endpoint, carefully kept profile and a real service test make that convenience more dependable when we leave the house.
For the manufacturer's current instructions, see TP-Link's OpenVPN-server guide. For the pictured Windows client, see the OpenVPN GUI documentation.