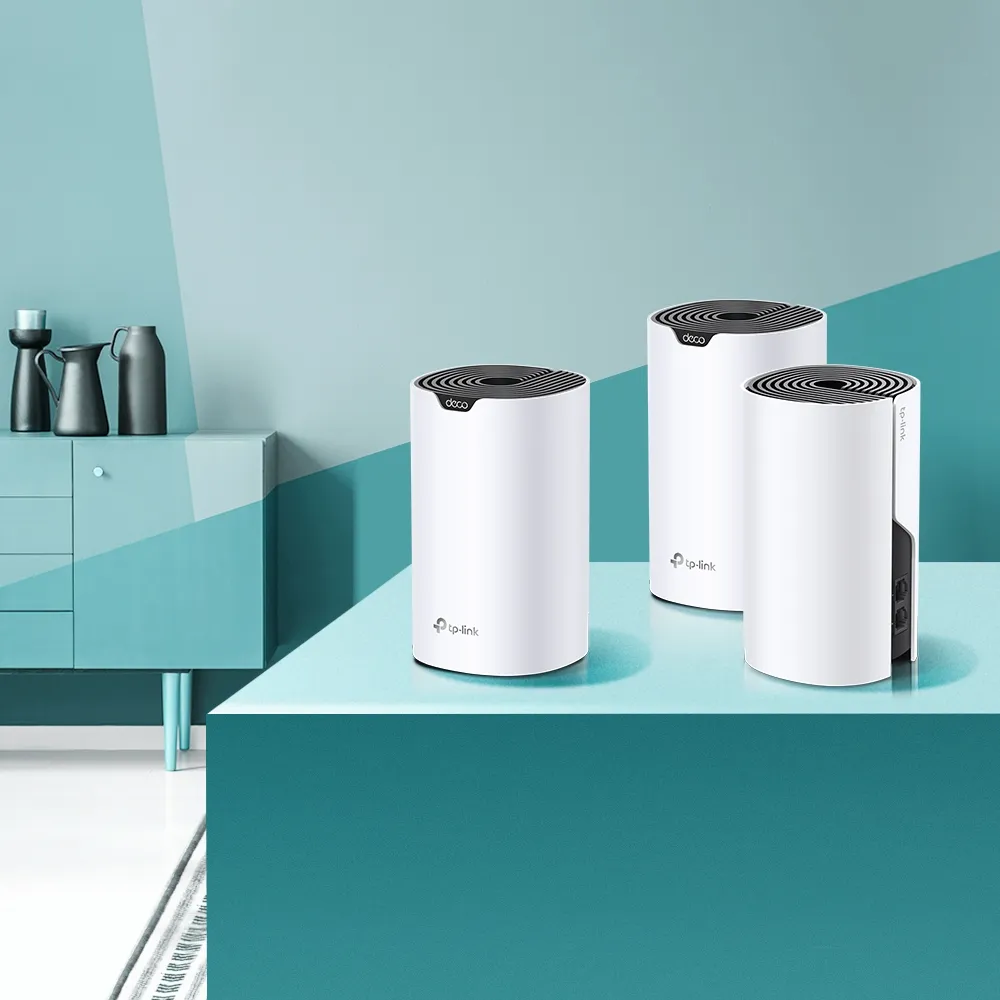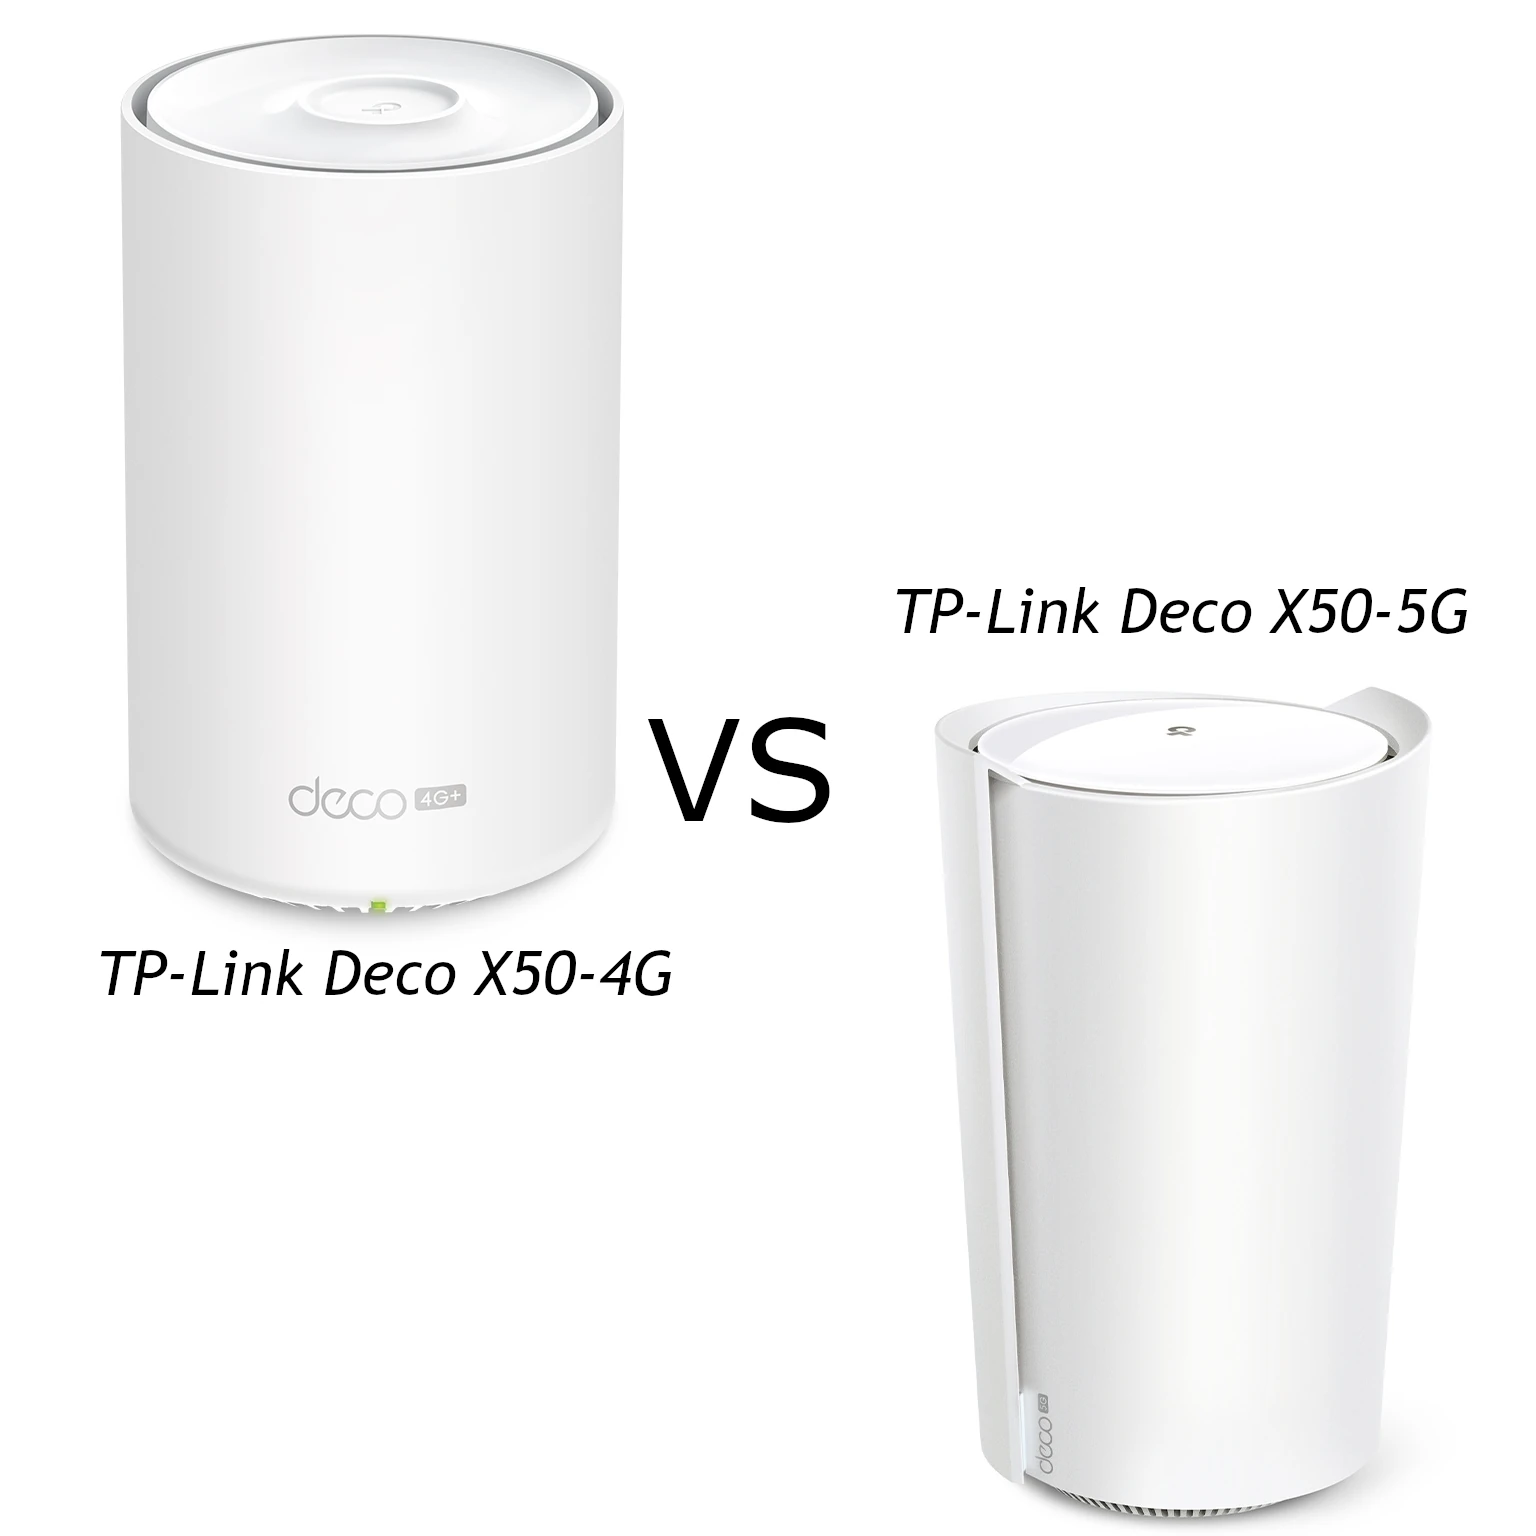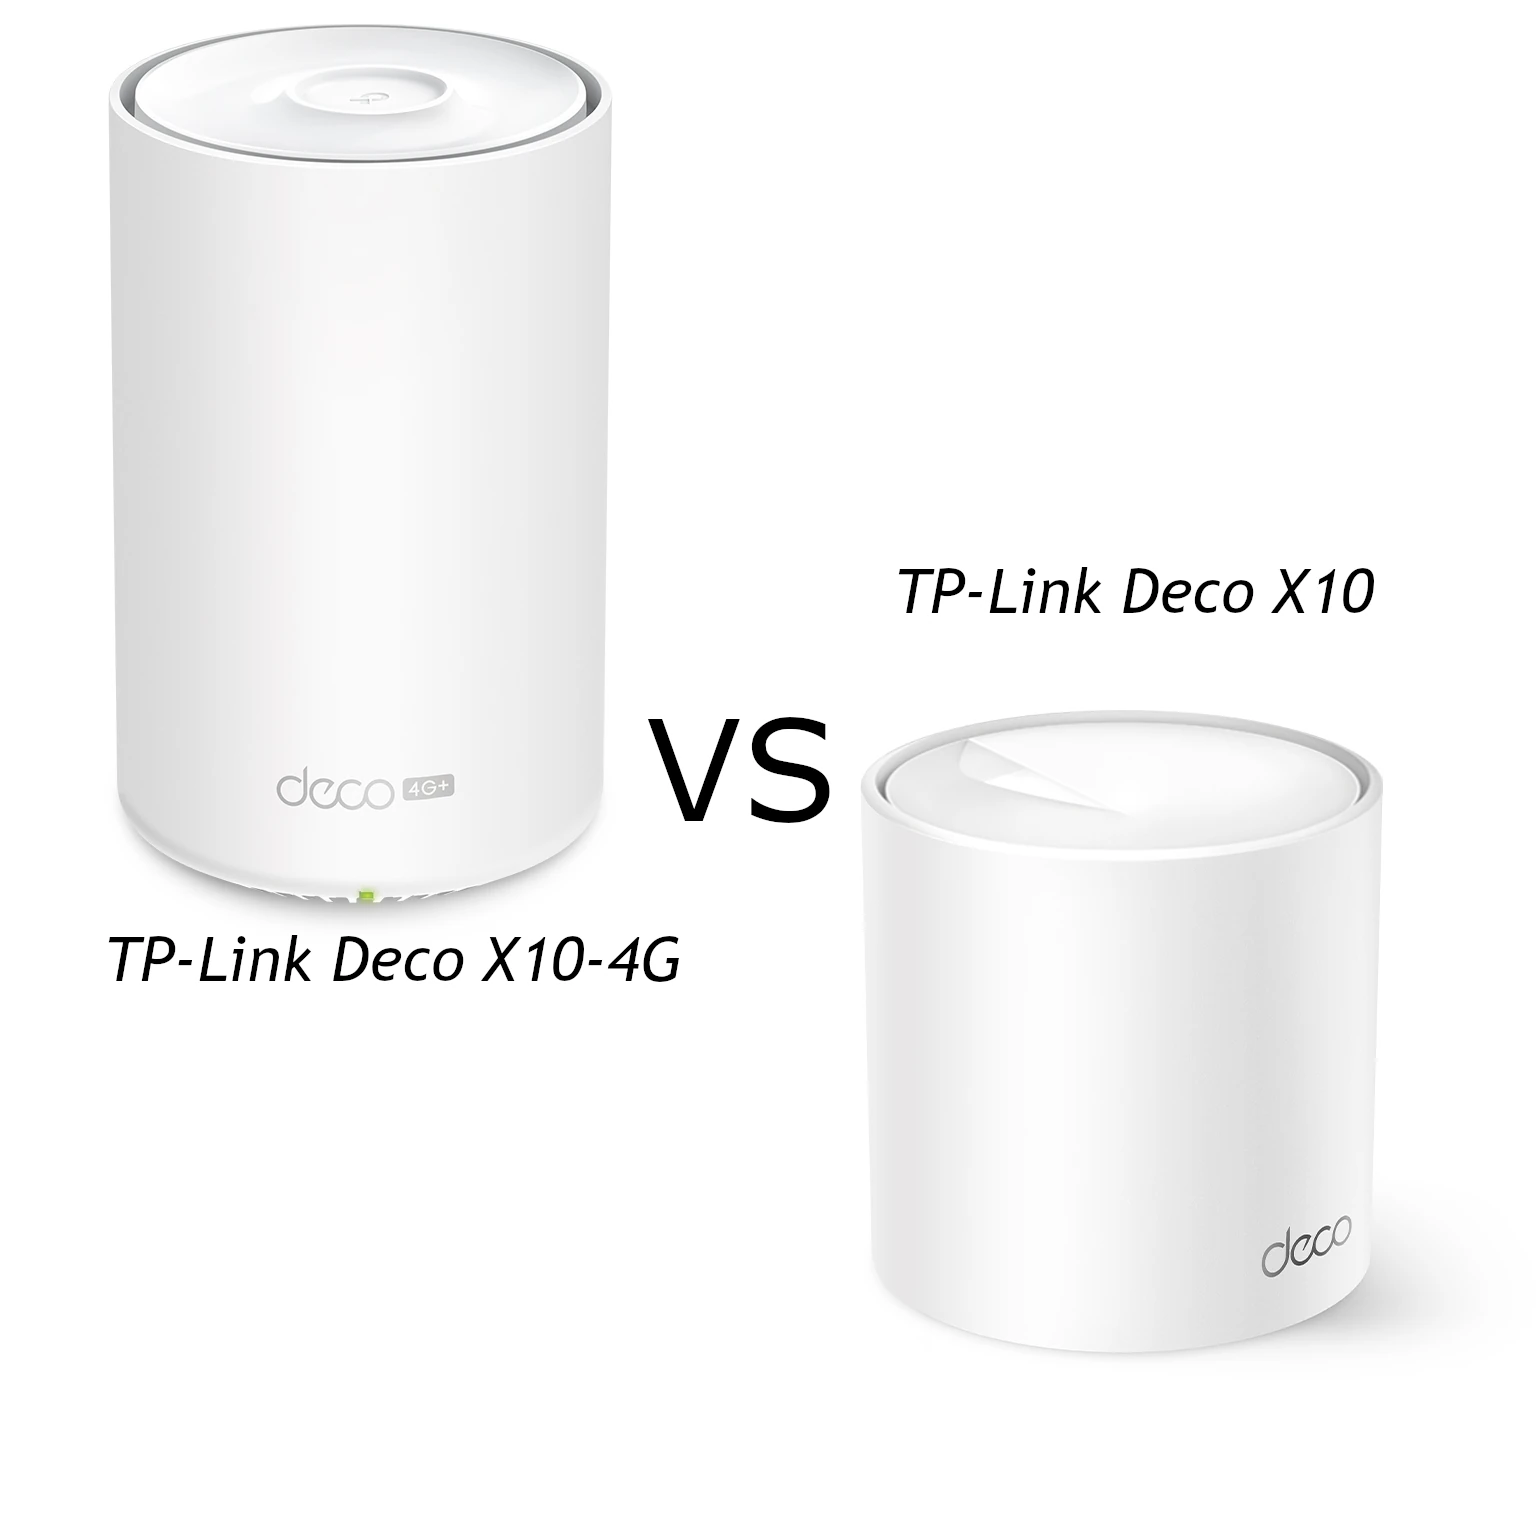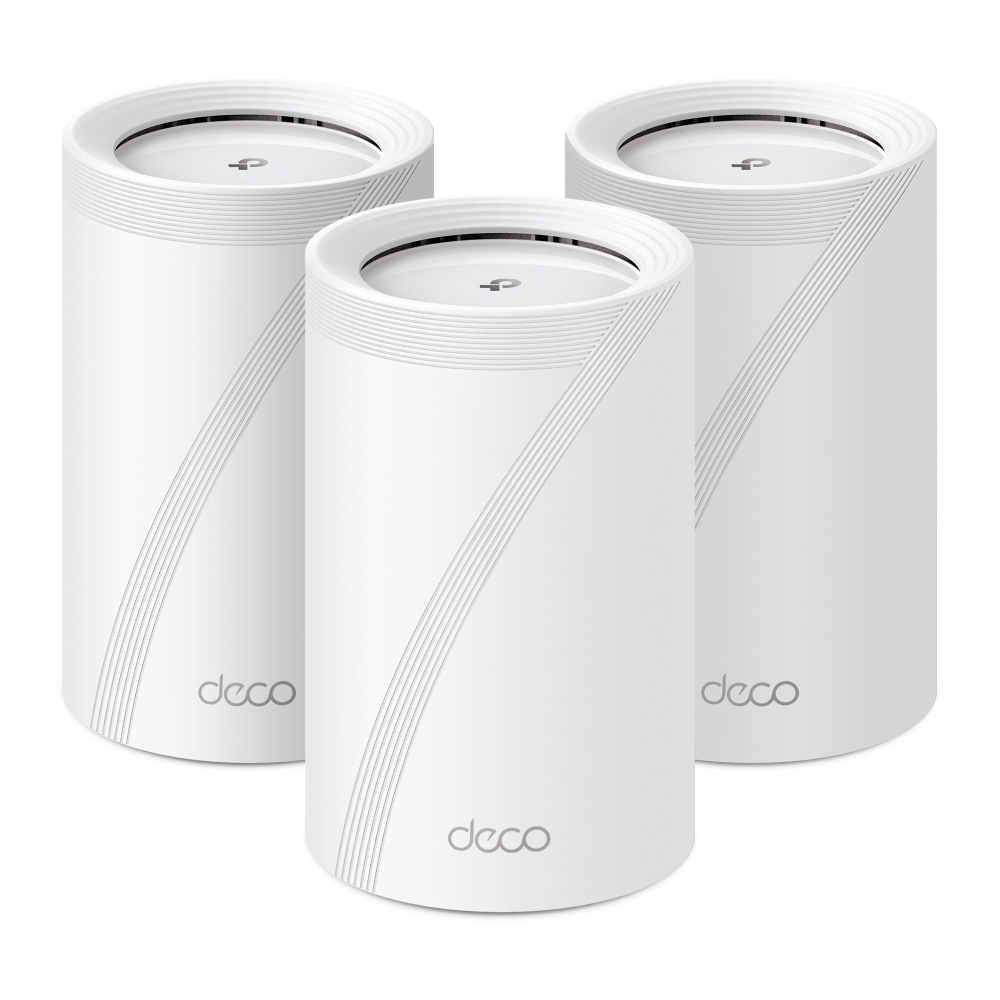
We’ve written plenty about mesh Wi-Fi as well as network hardware, but this time, we're getting our hands dirty - figuratively, of course. Today, in our first hands-on review, we're diving into the TP-Link Deco BE65 v1. This Wi-Fi 7 mesh system promises faster speeds, better coverage, and fewer buffering wheels ruining your binge-watching sessions. But does it live up to the hype? Let’s find out.
Introduction to the TP-Link Deco BE65
We got our hands on the v1 BE9300 version. That hardware identity matters: other revisions and regional products can carry different speed classes, including BE11000. Check the label and the correct regional support page before applying another version's specifications to this review. The TP-Link Deco BE65 v1 is a next-gen mesh Wi-Fi system designed to bring the speed and reliability of Wi-Fi 7 to your home. Equipped with a tri-band setup (one 6GHz, one 5GHz, and one 2.4GHz band), BE9300 speeds, four 2.5G Ethernet ports (with WAN/LAN Autosensing), and AI-driven mesh optimization, this unit is built for seamless streaming, gaming, and smart home connectivity. Whether you're upgrading from Wi-Fi 6 or just want to future-proof your network, the Deco BE65 v1 packs serious performance into a sleek package. Some features include MU-MIMO, beamforming, MLO and 320 MHz channels. TP-Link's original EU v1 datasheet identifies the BE9300 model, four 2.5 Gbps ports and a USB 3.0 port. BE9300 is an aggregate wireless speed class, not a download speed for one device. Using MLO or 320 MHz also needs compatible clients and permitted regional spectrum.
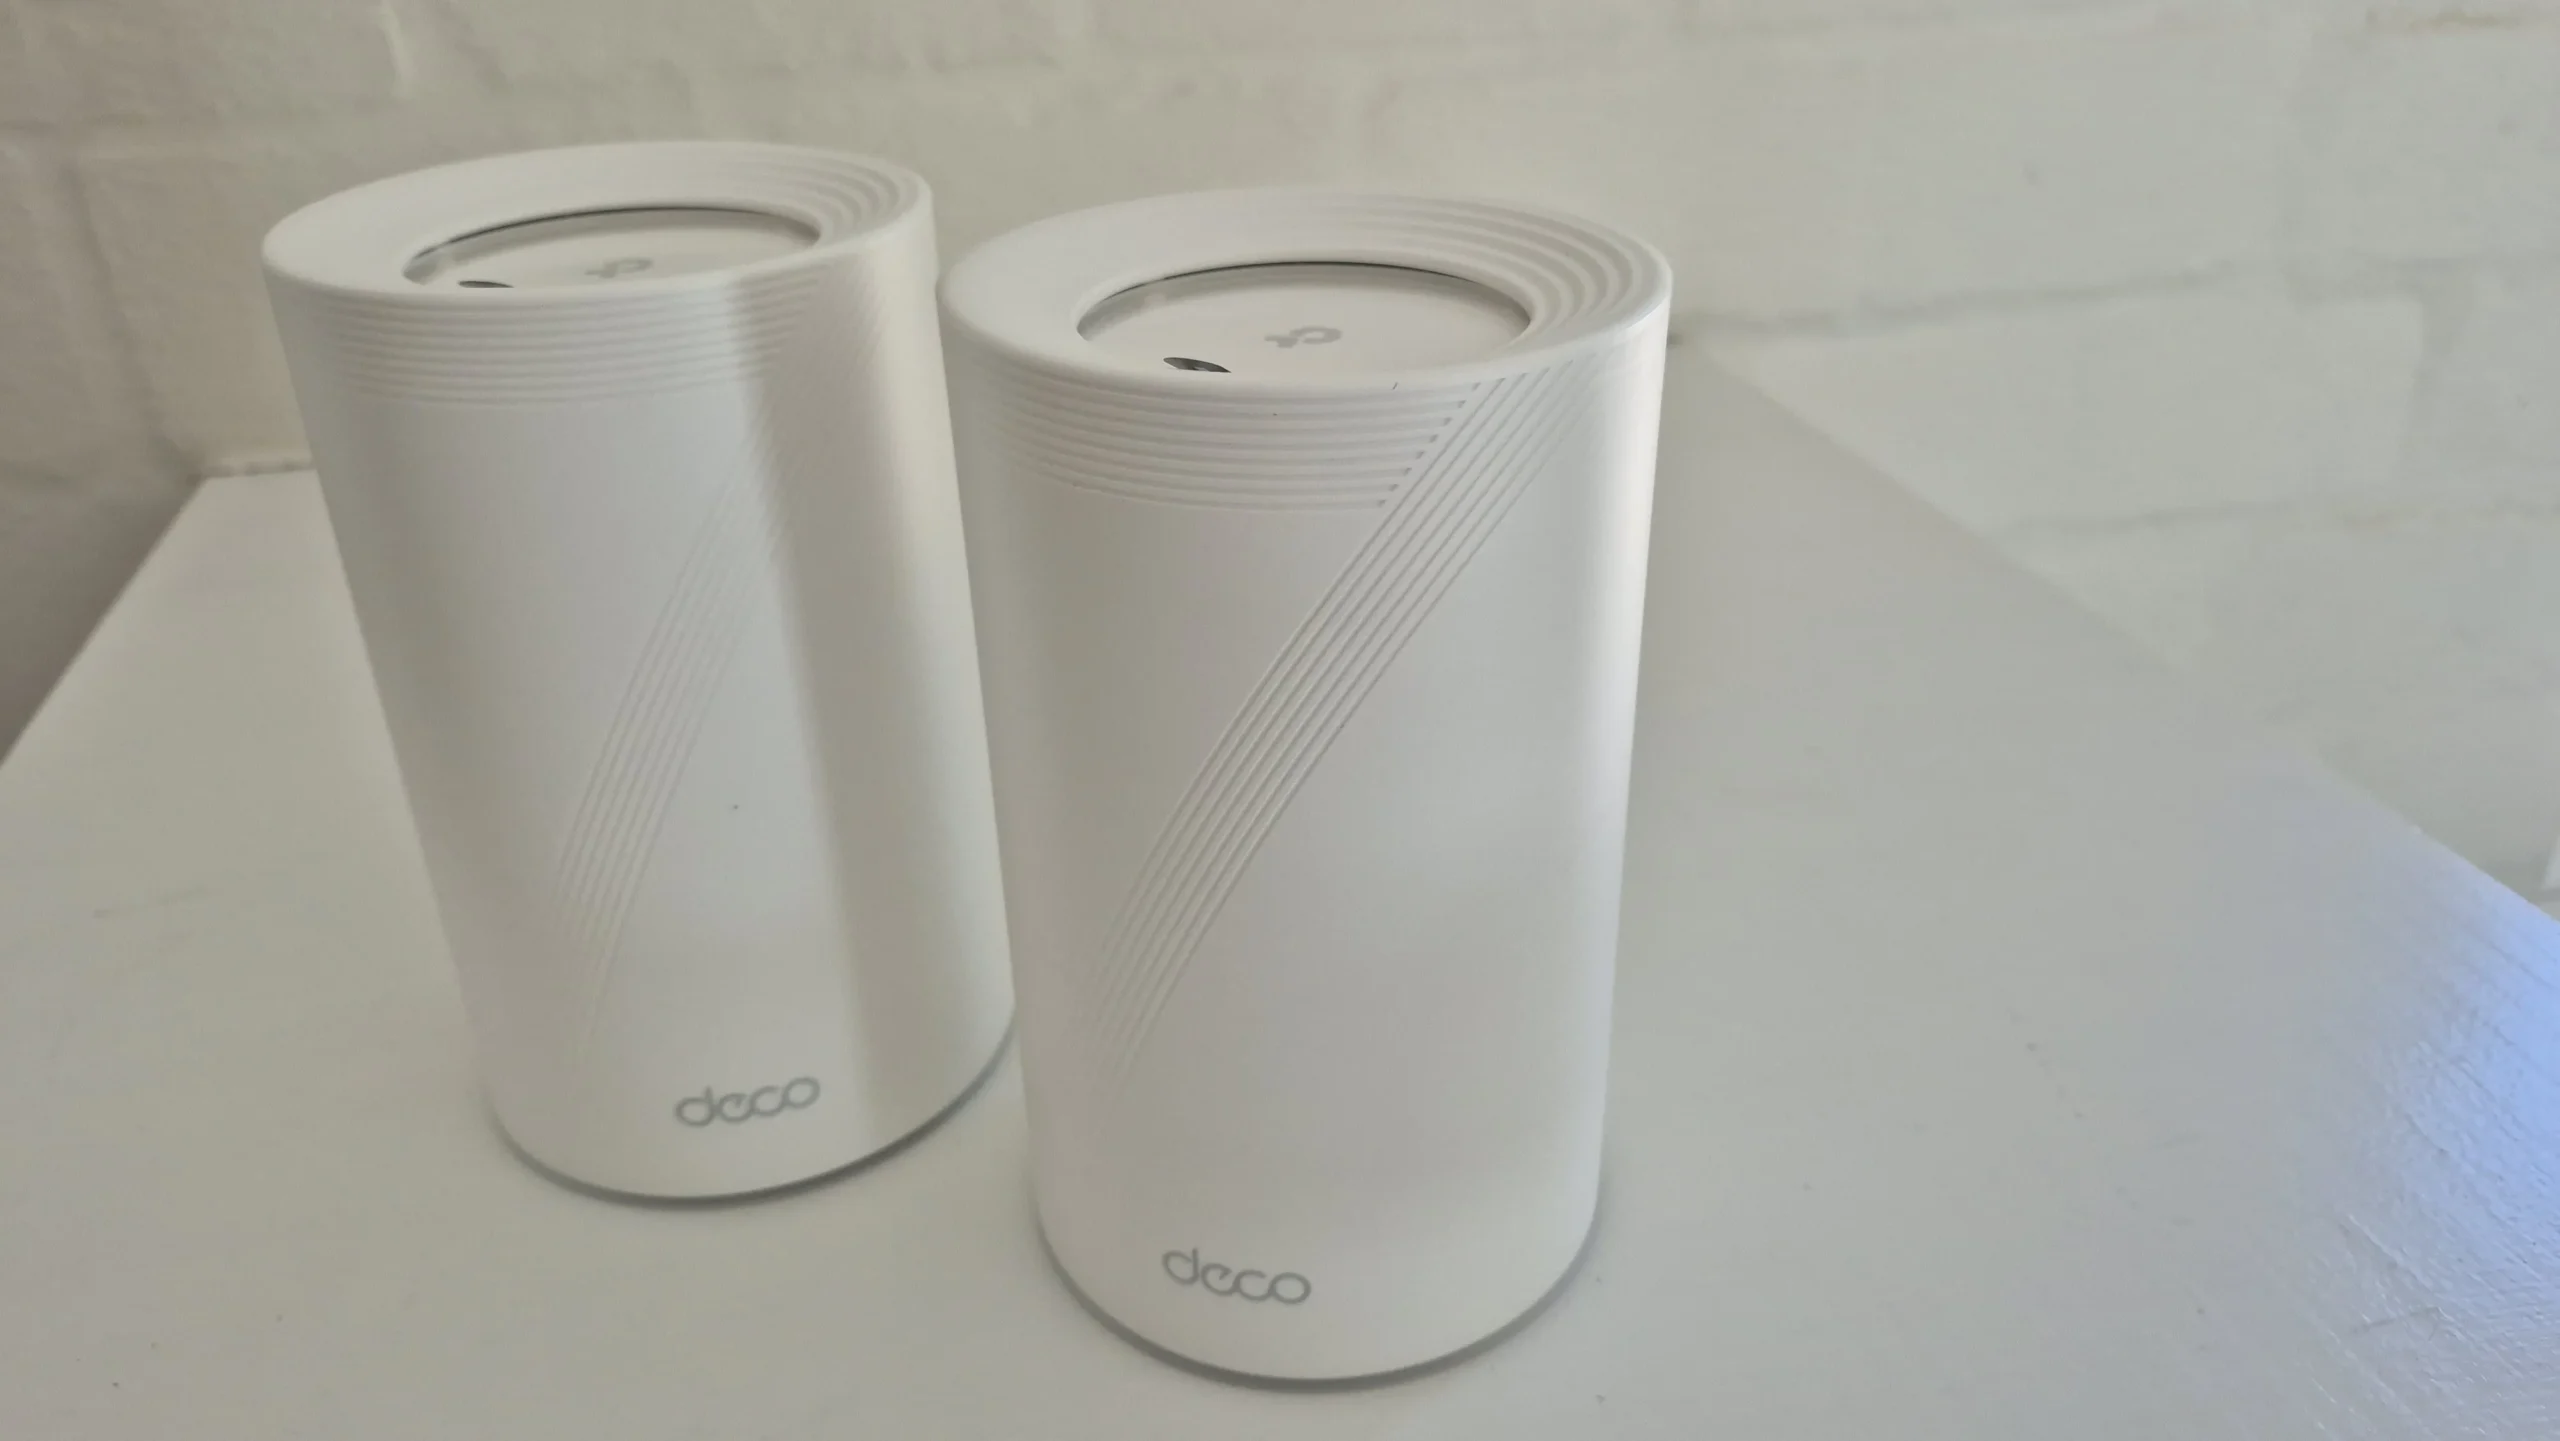
Unboxing and Hardware Impressions
We got the 2-unit pack as the space we are using it in does not need any more. We should actually be fine with just one unit, but we did not know that these units will have such great coverage compared to Wi-Fi 5 or older network infrastructure, which we are upgrading from. The units arrived neatly packed and displayed in good quality packaging.
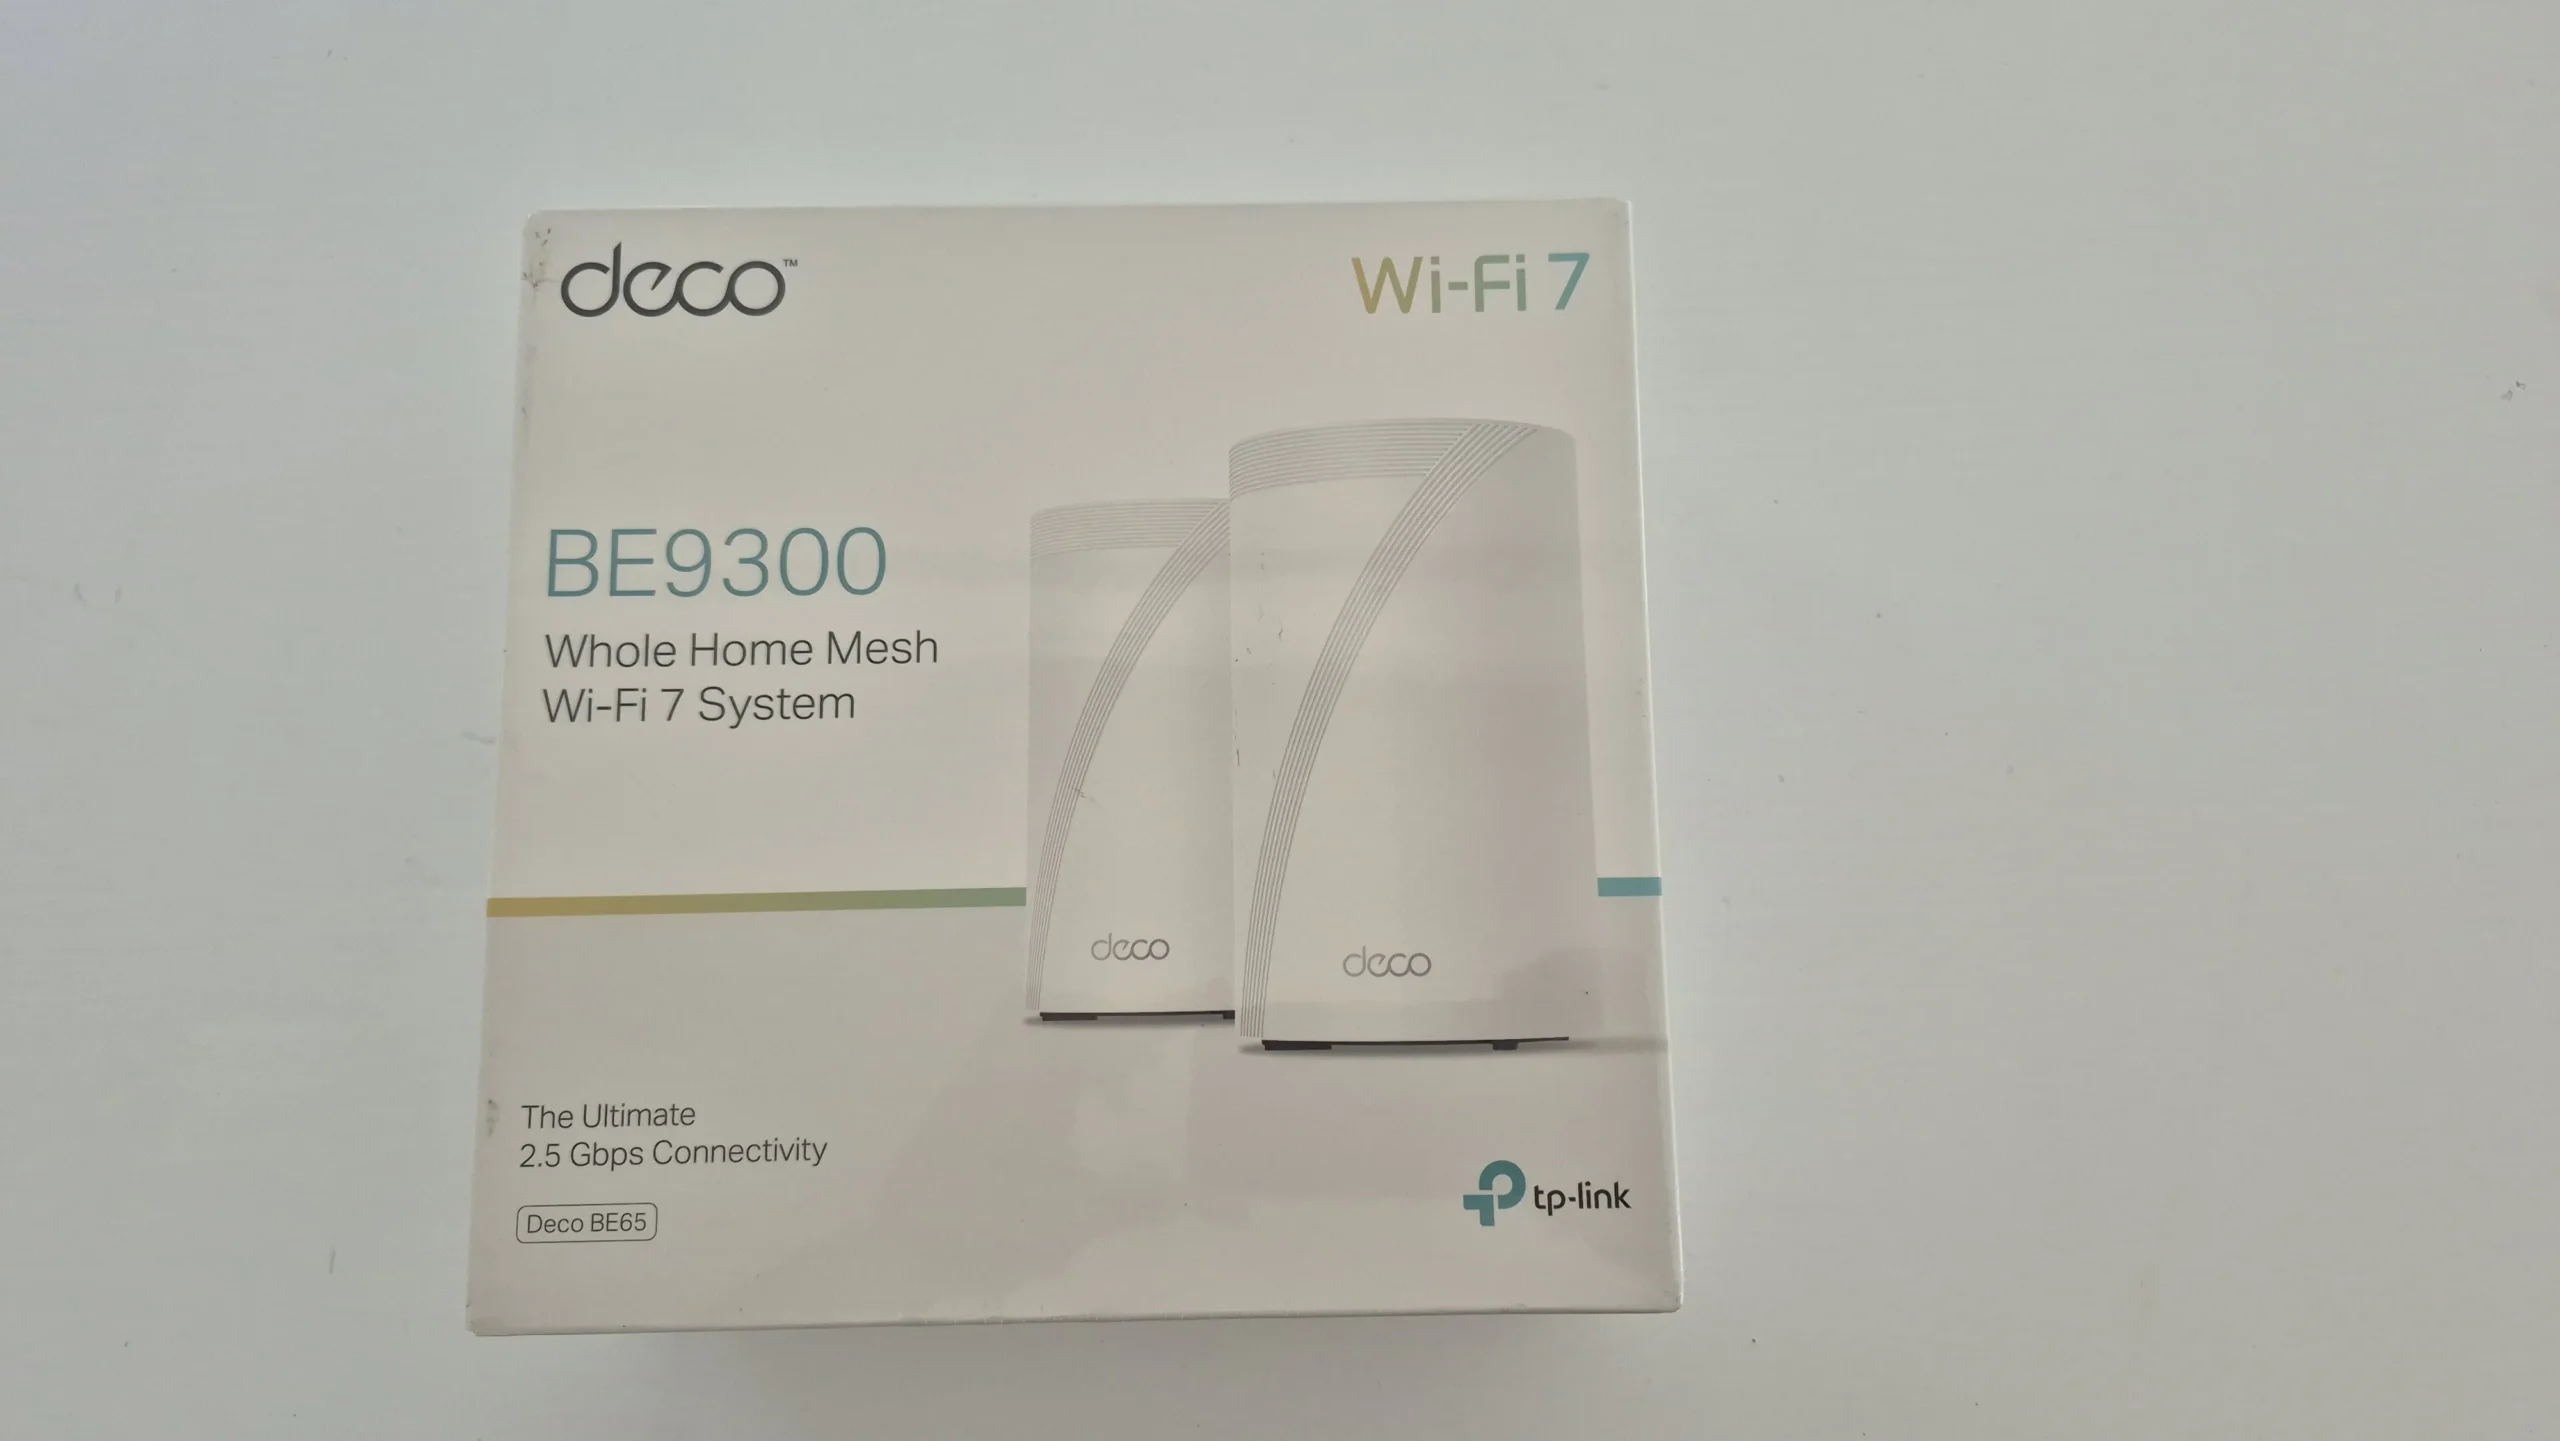
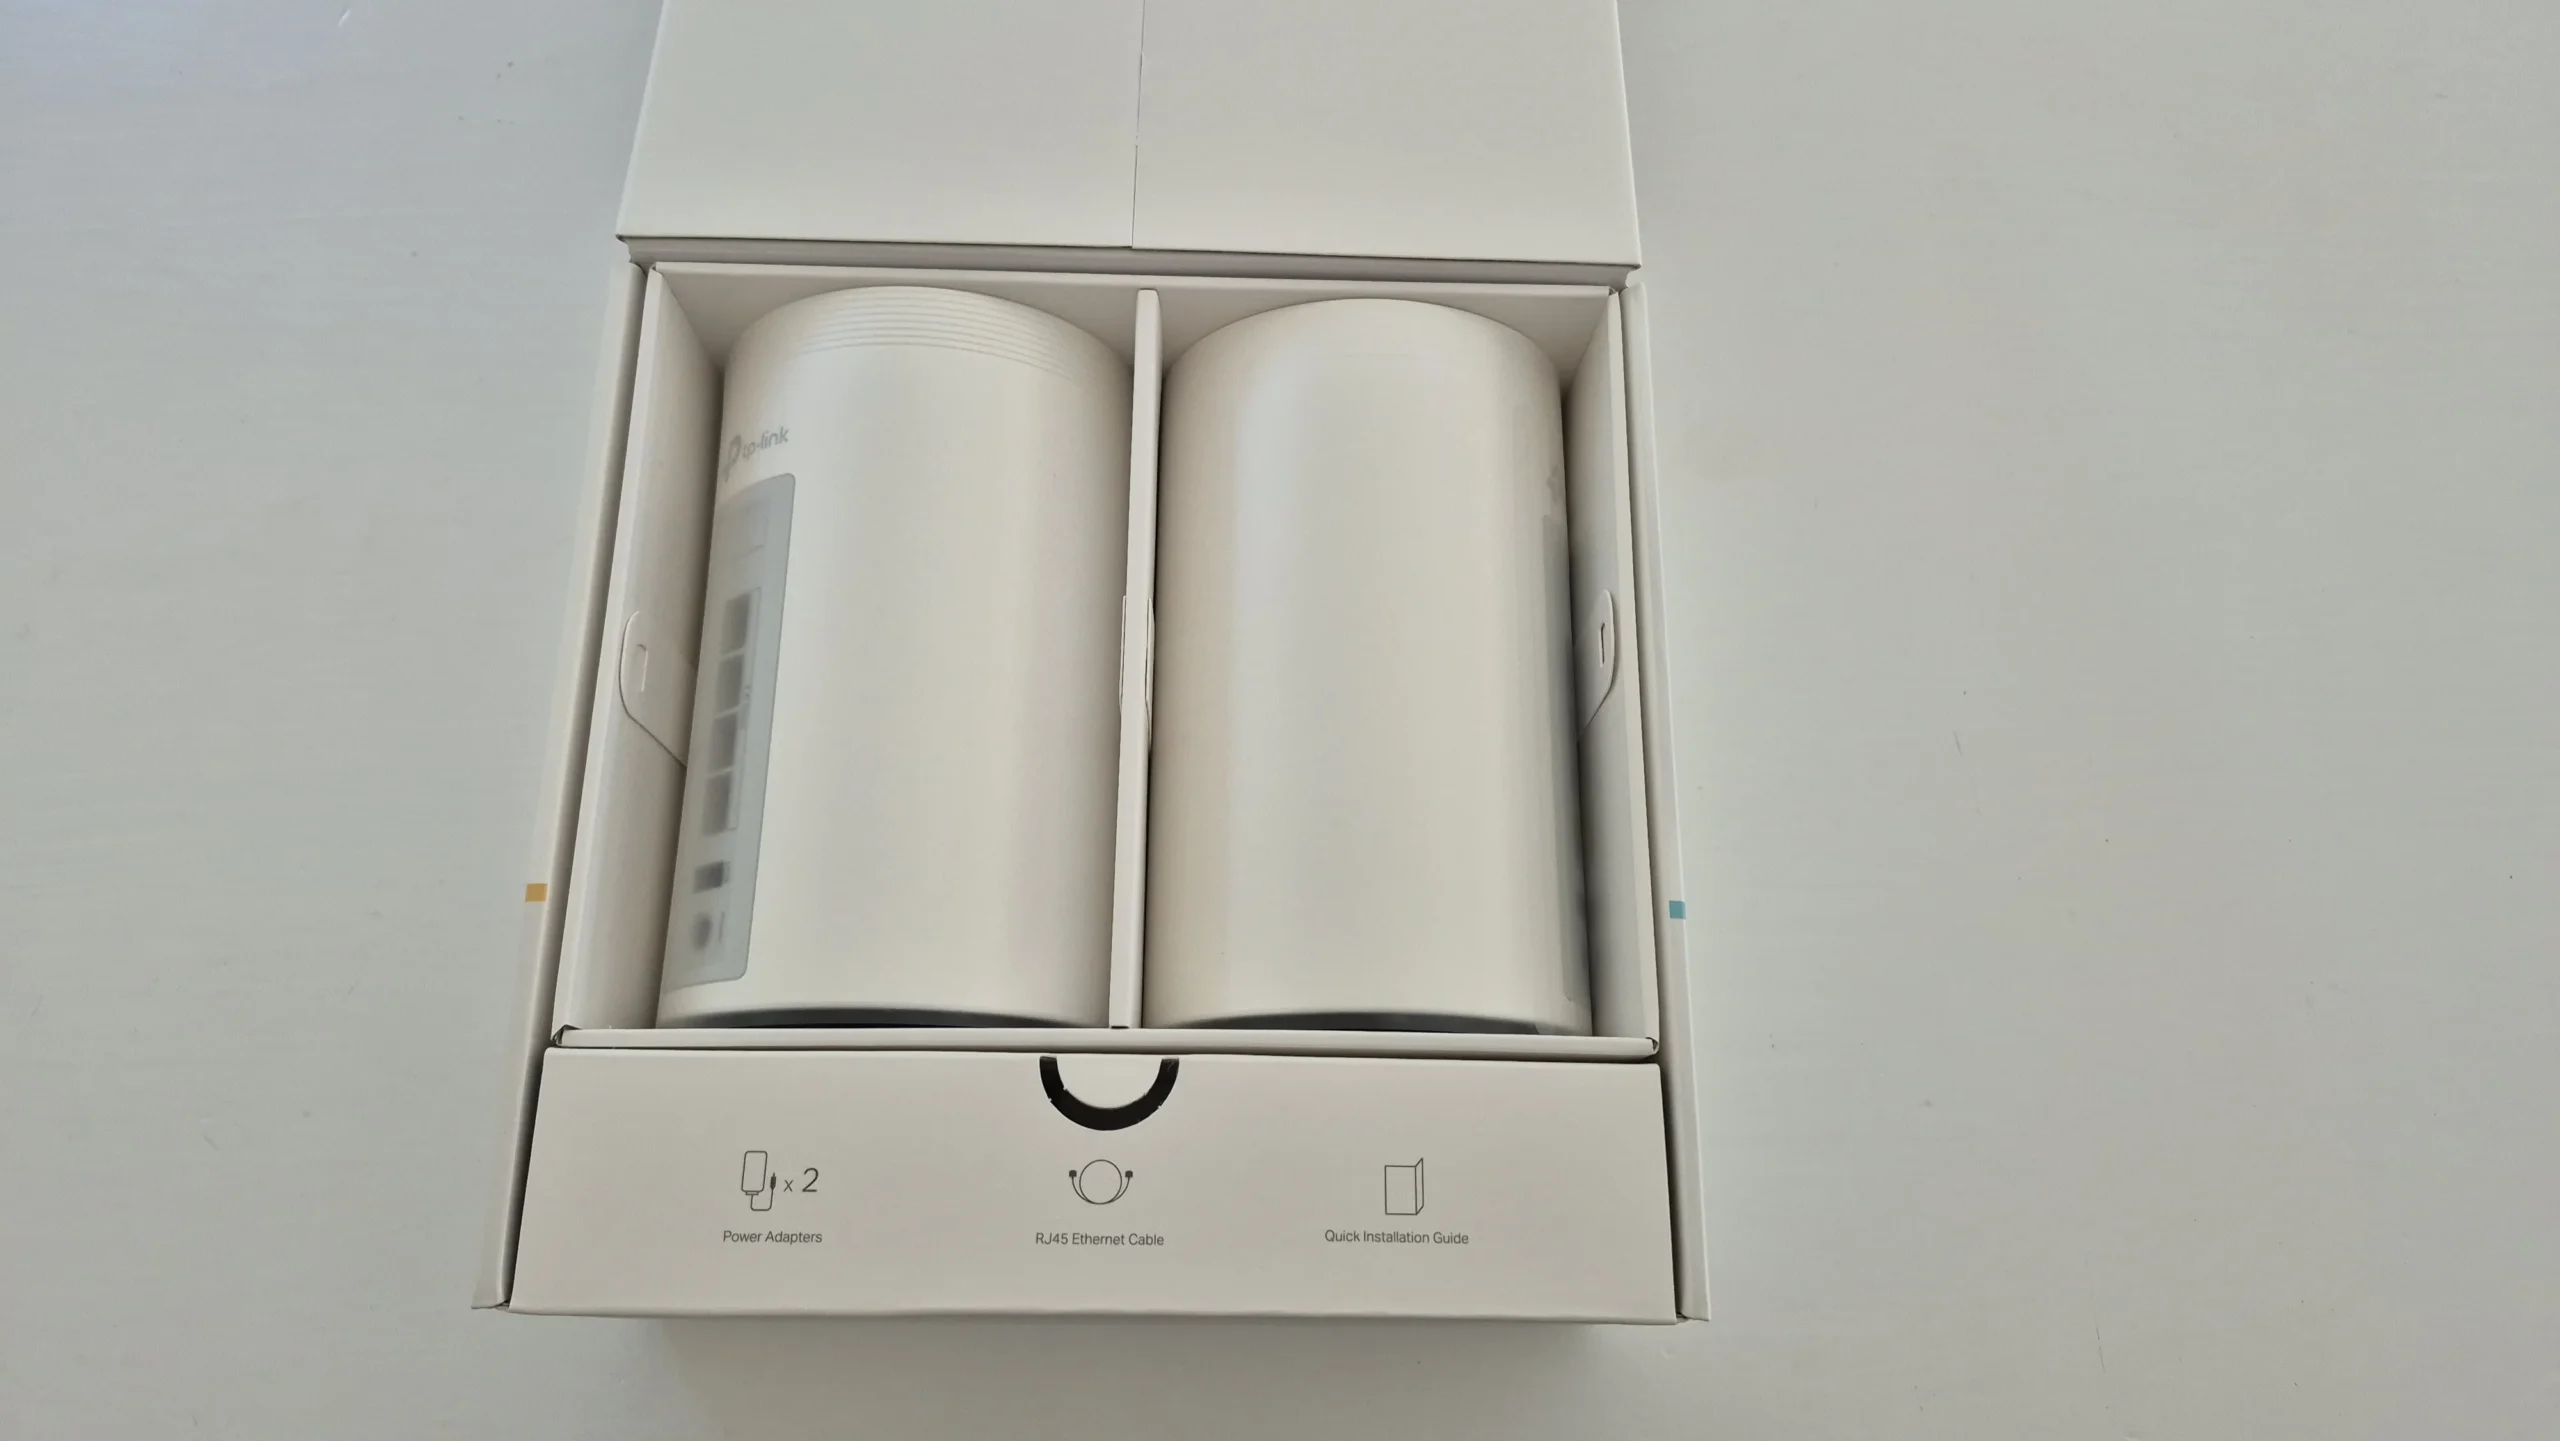
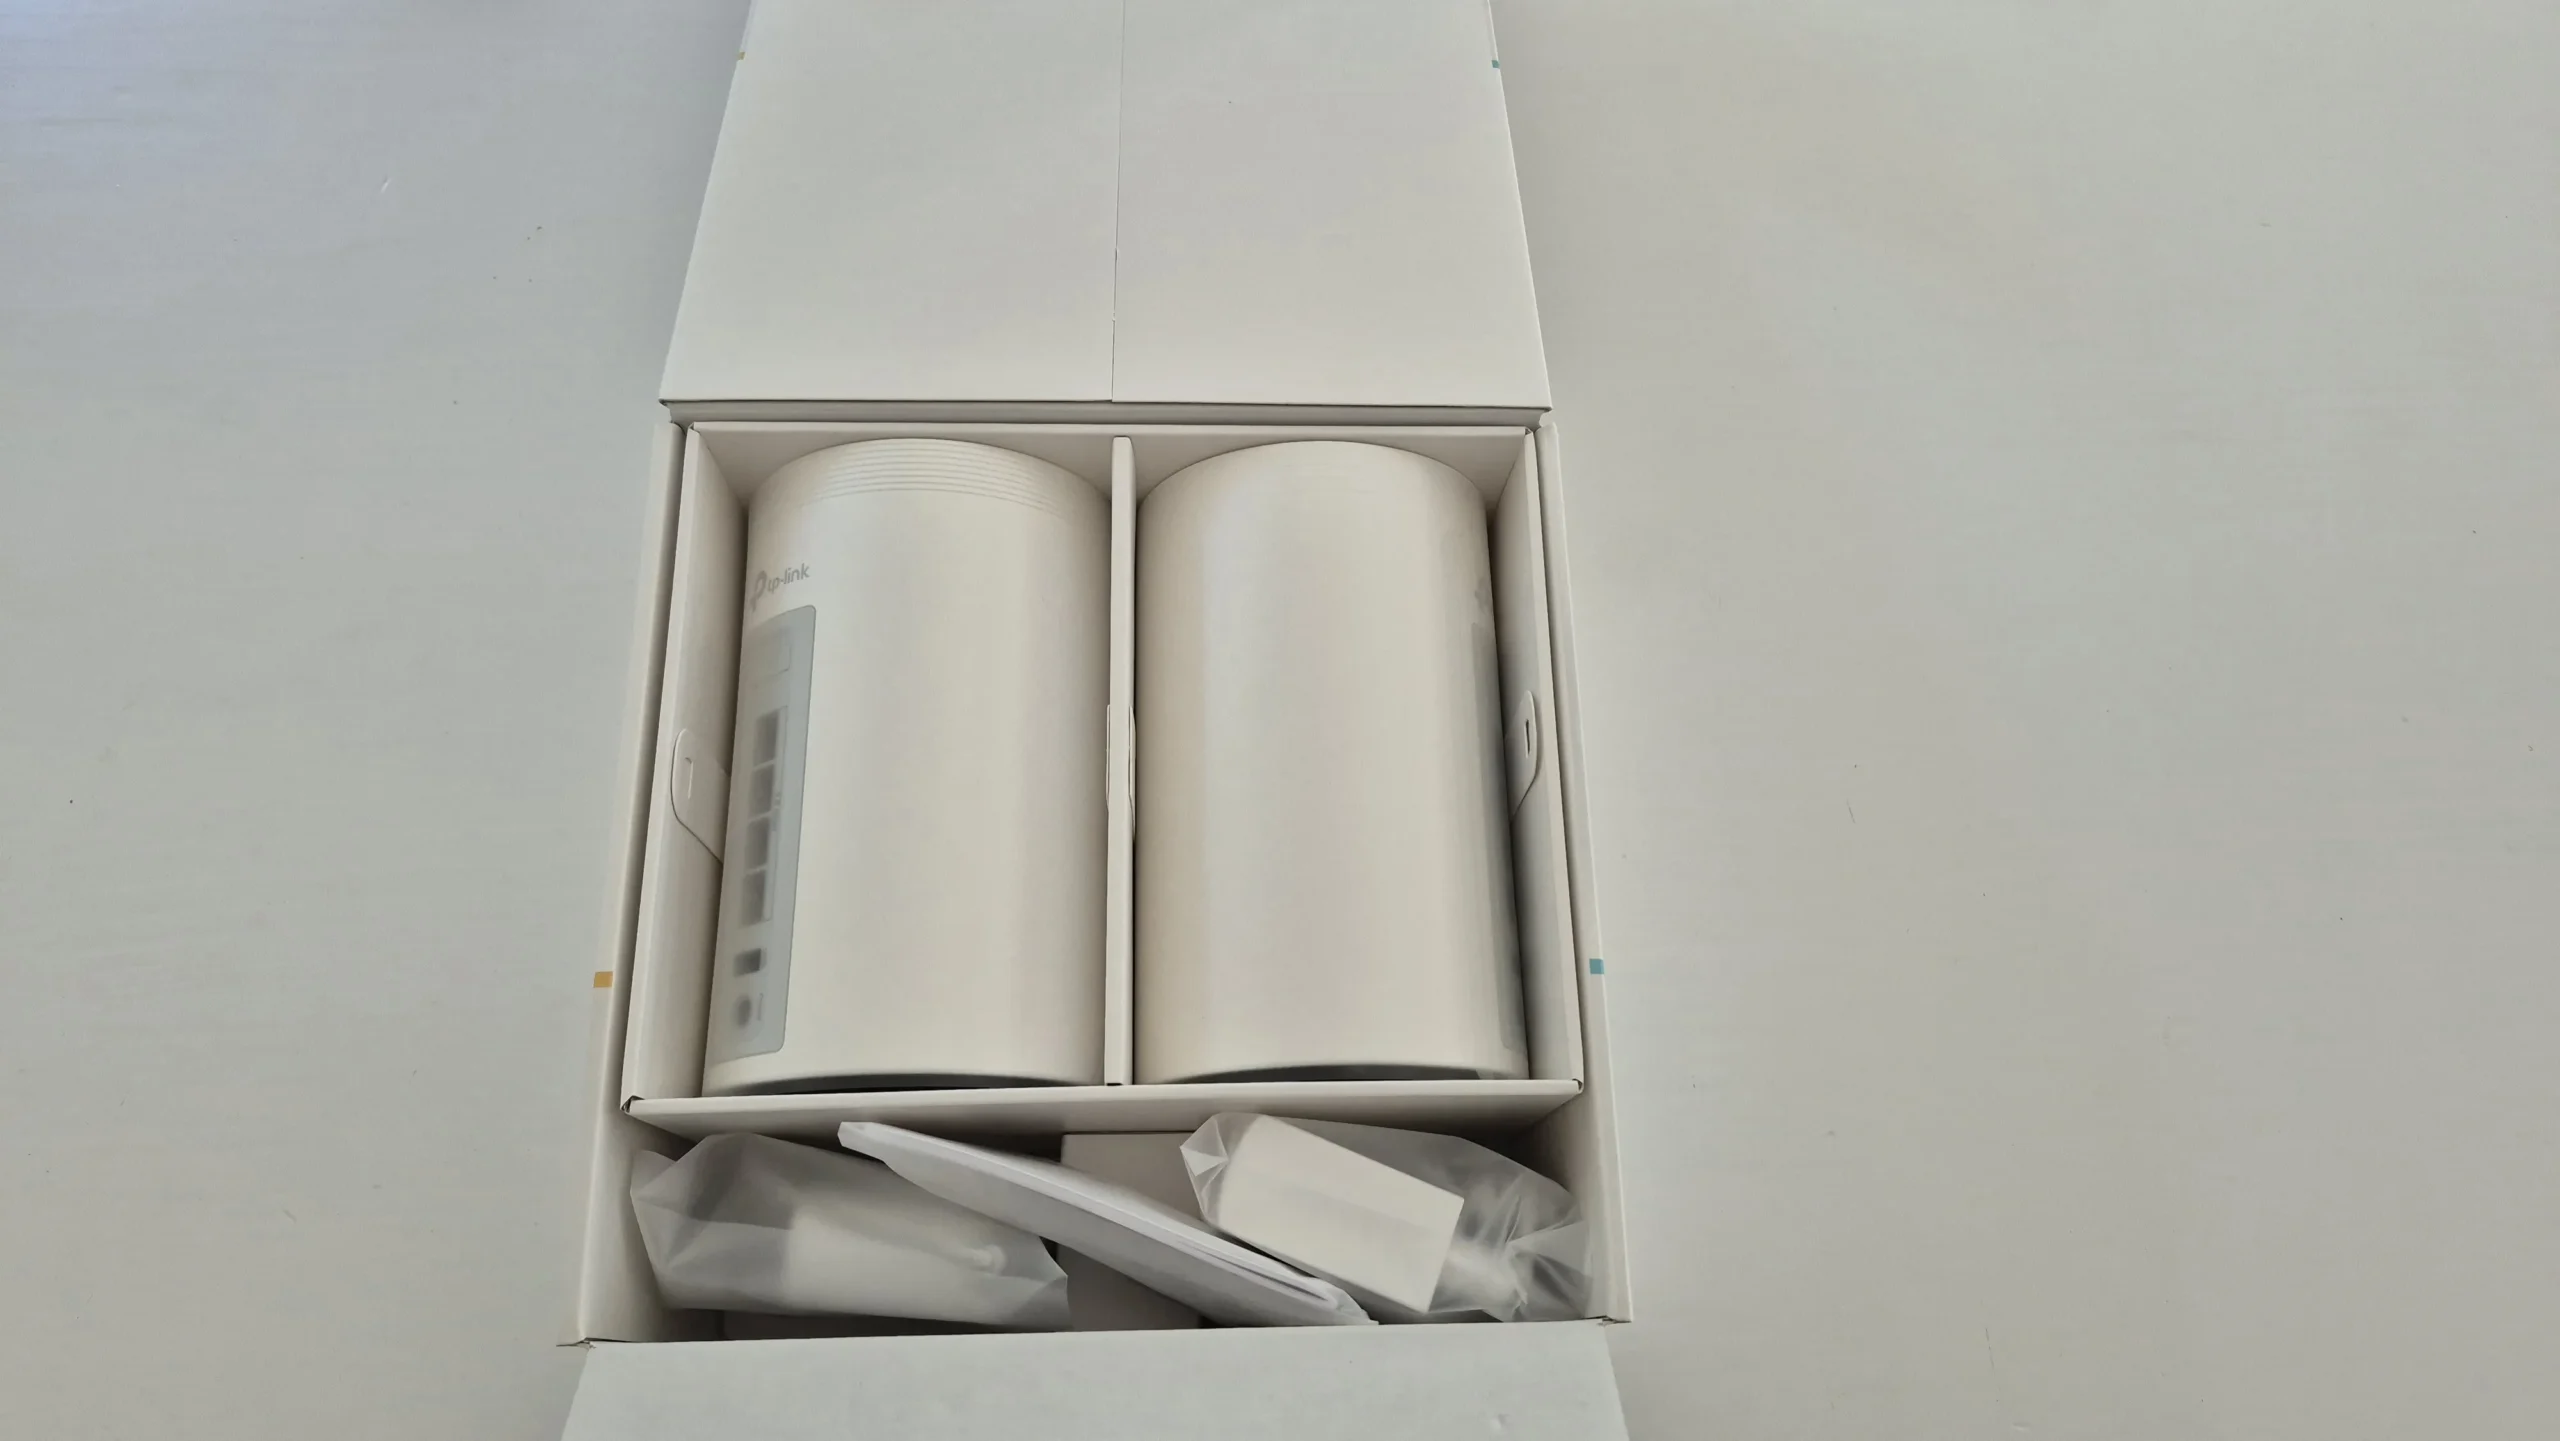
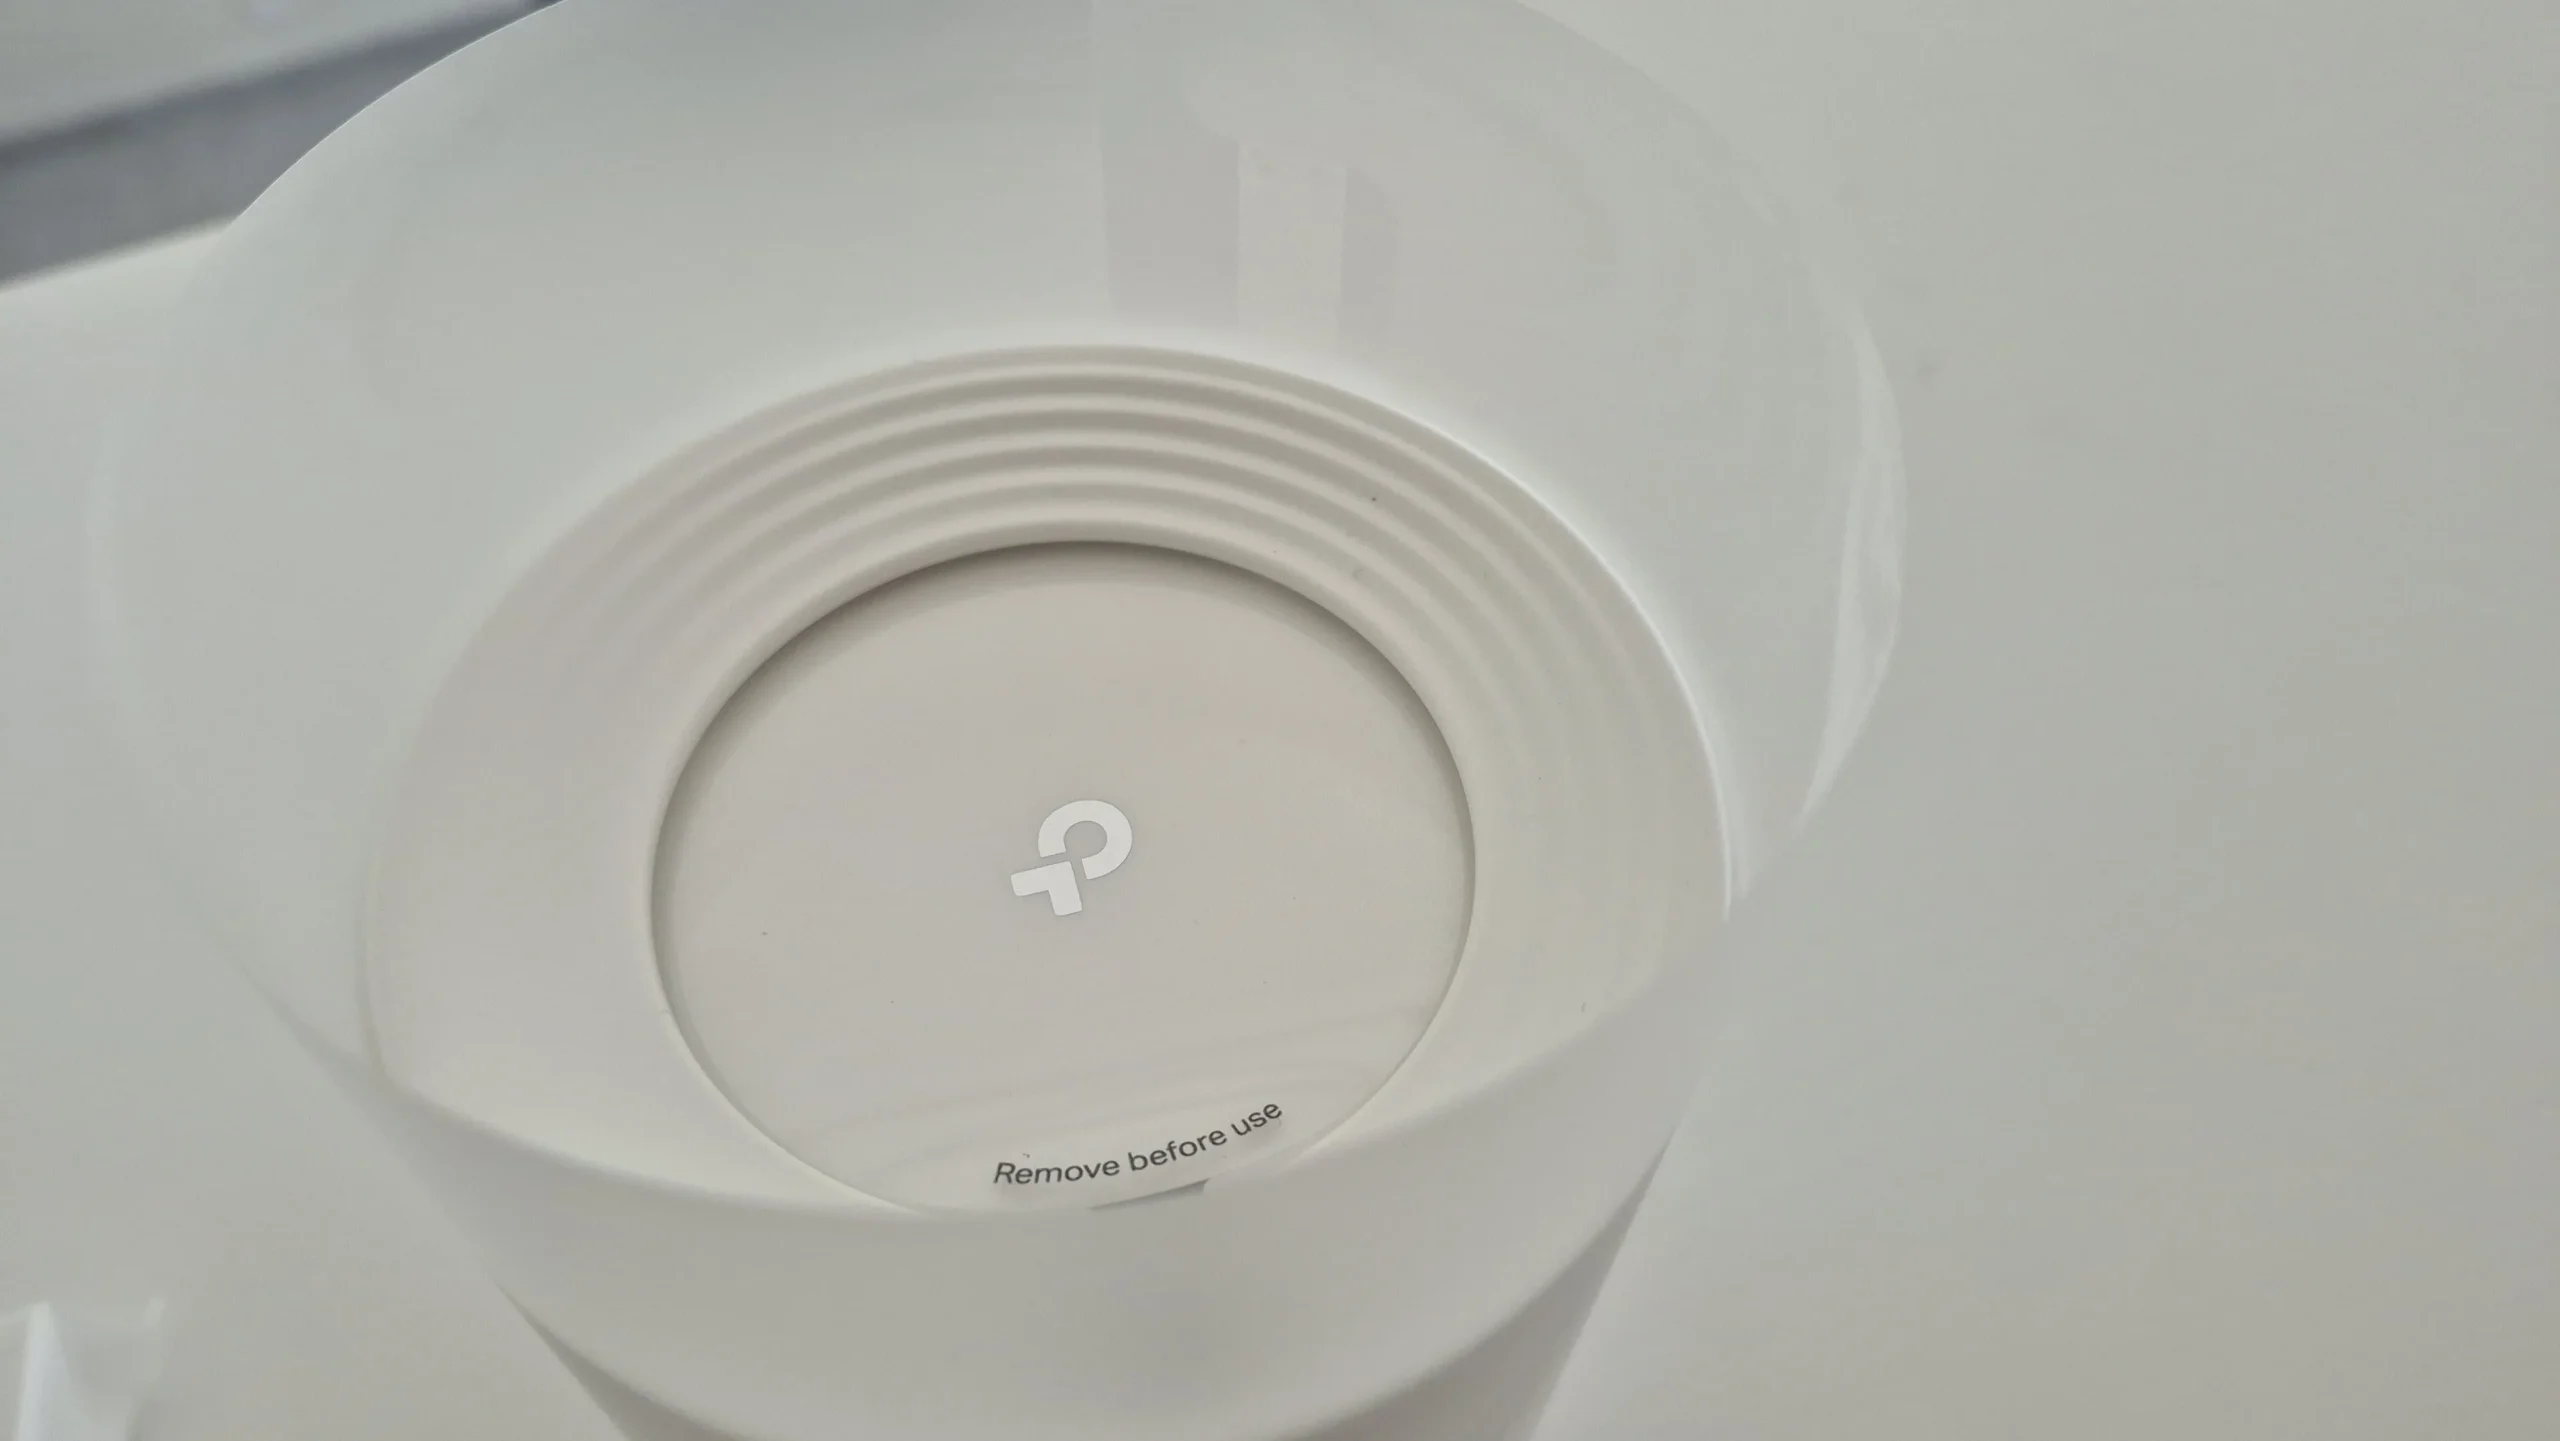
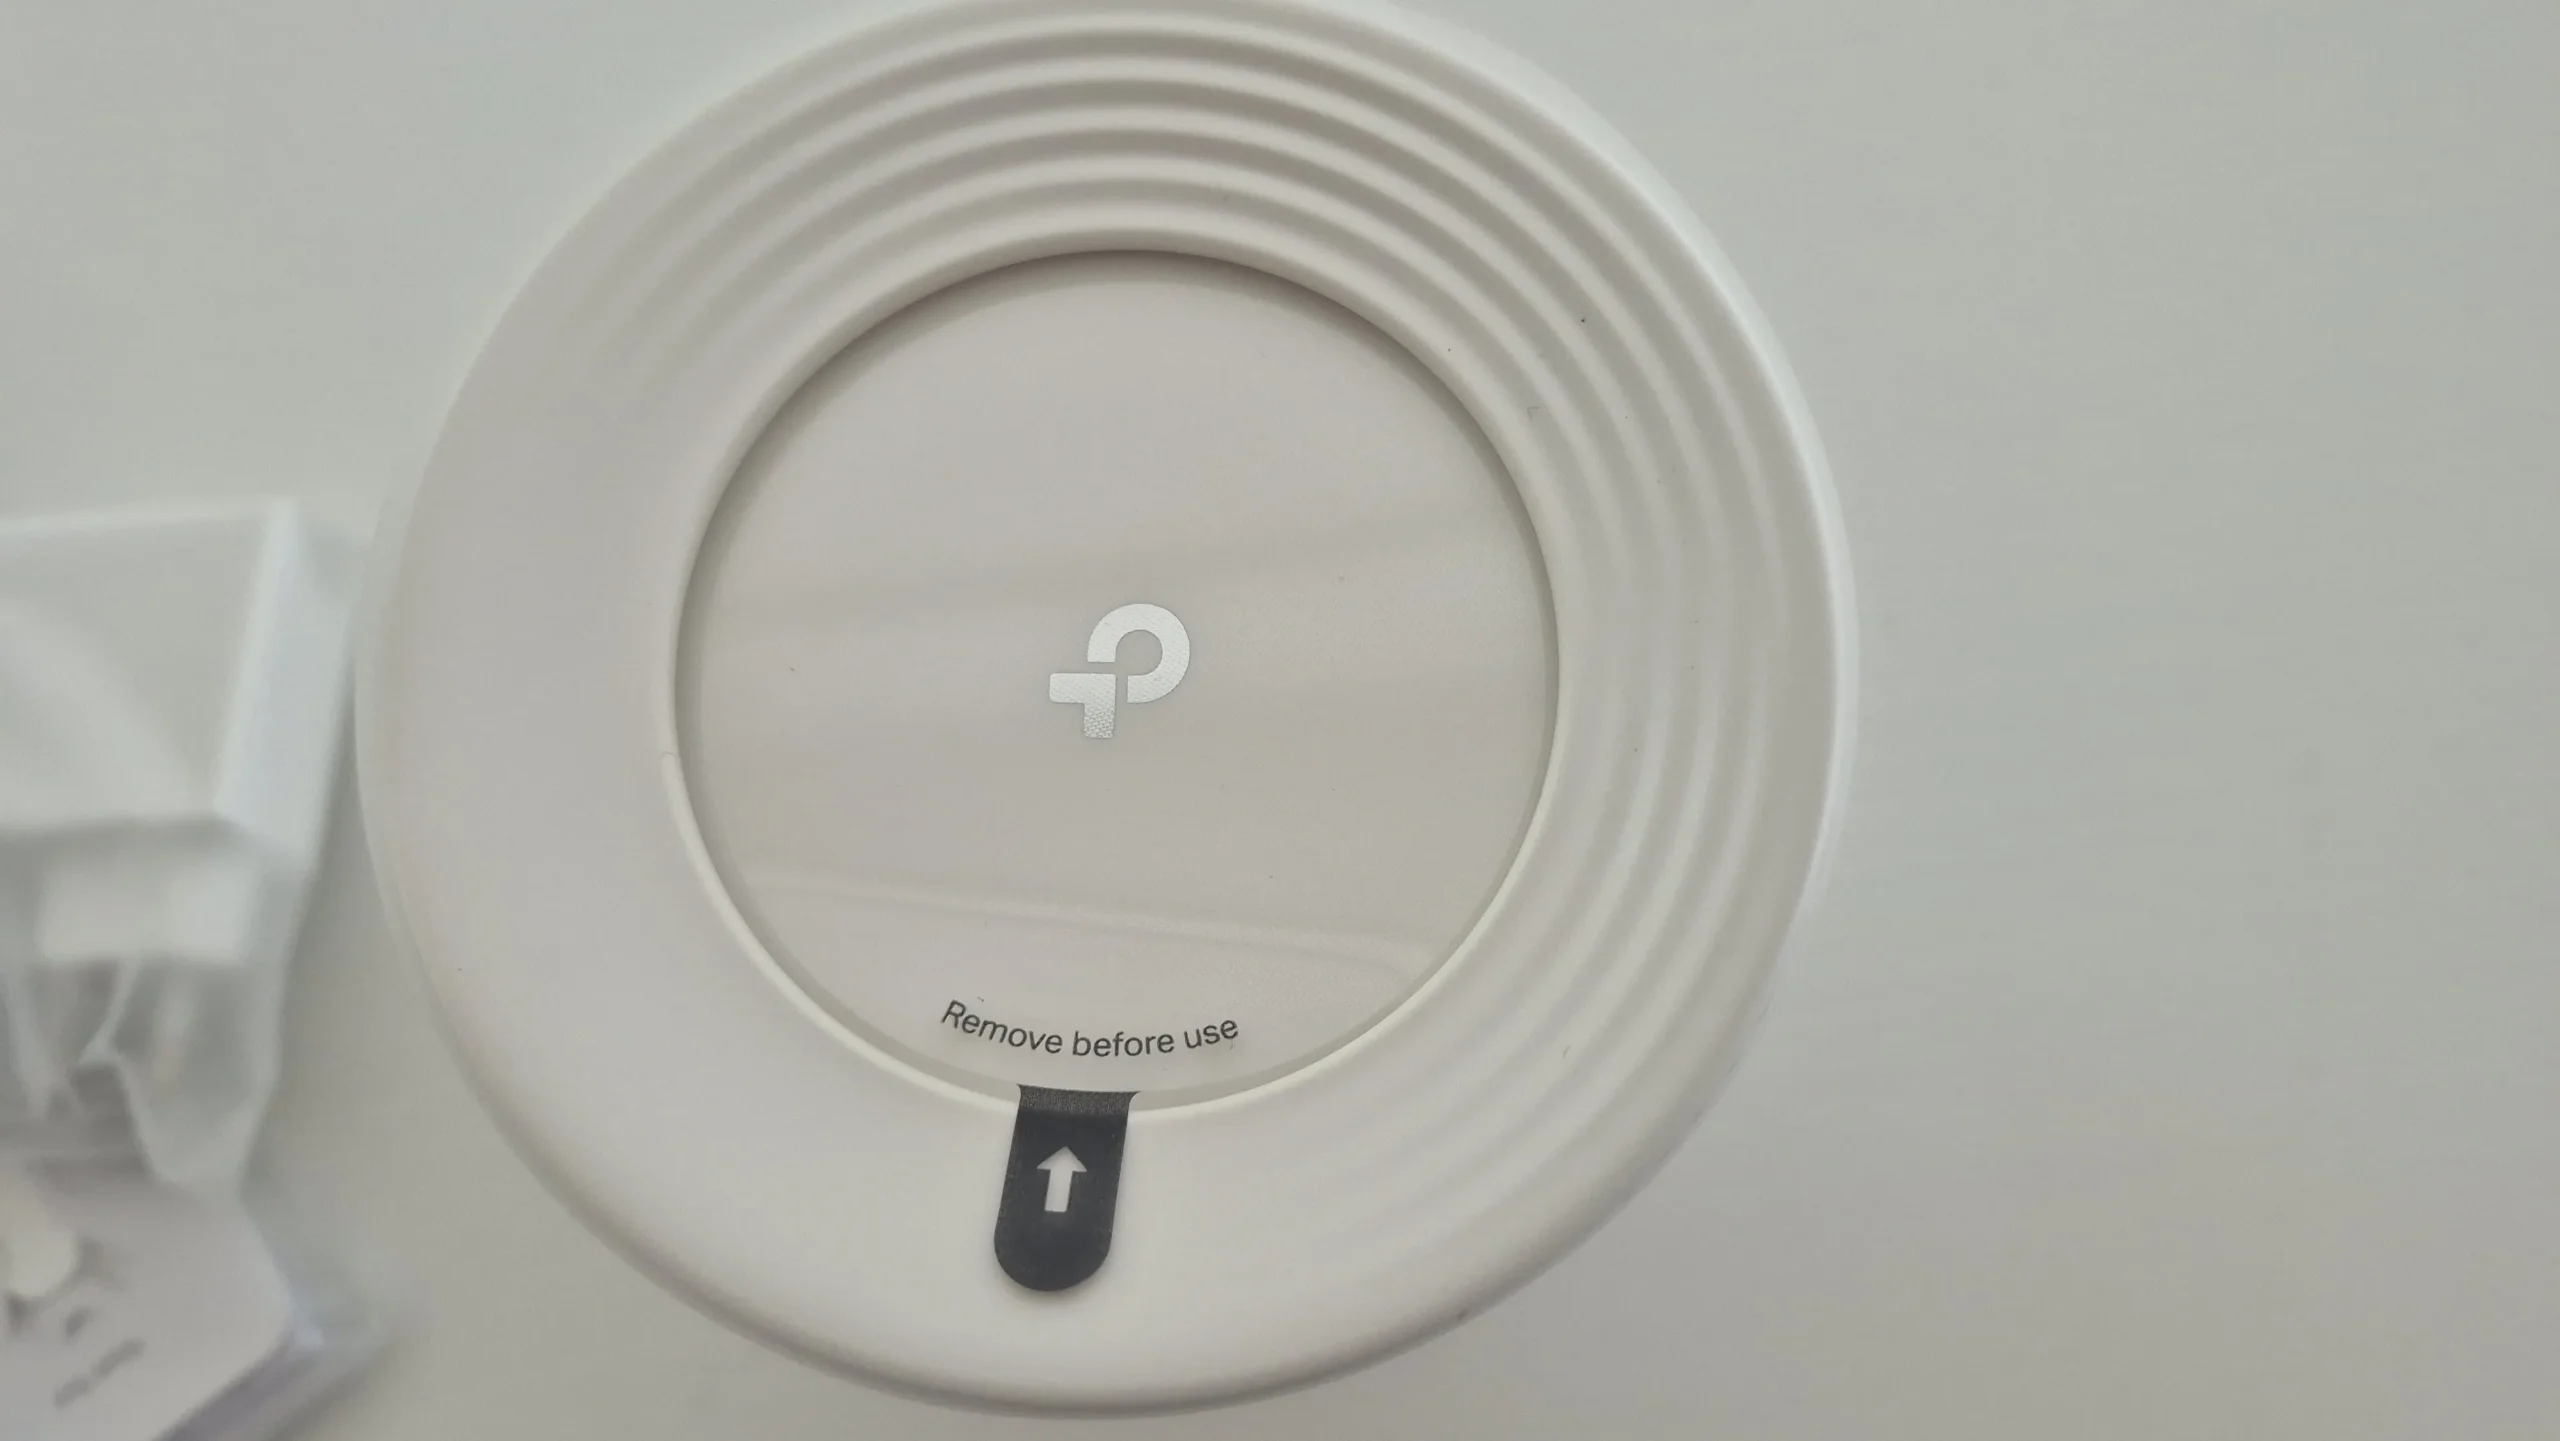
Each of the units also had a sleeve around it to support it further as well as a protective film on the top to avoid scratches. It was easy to remove everything and get it good to go for installation and setup.
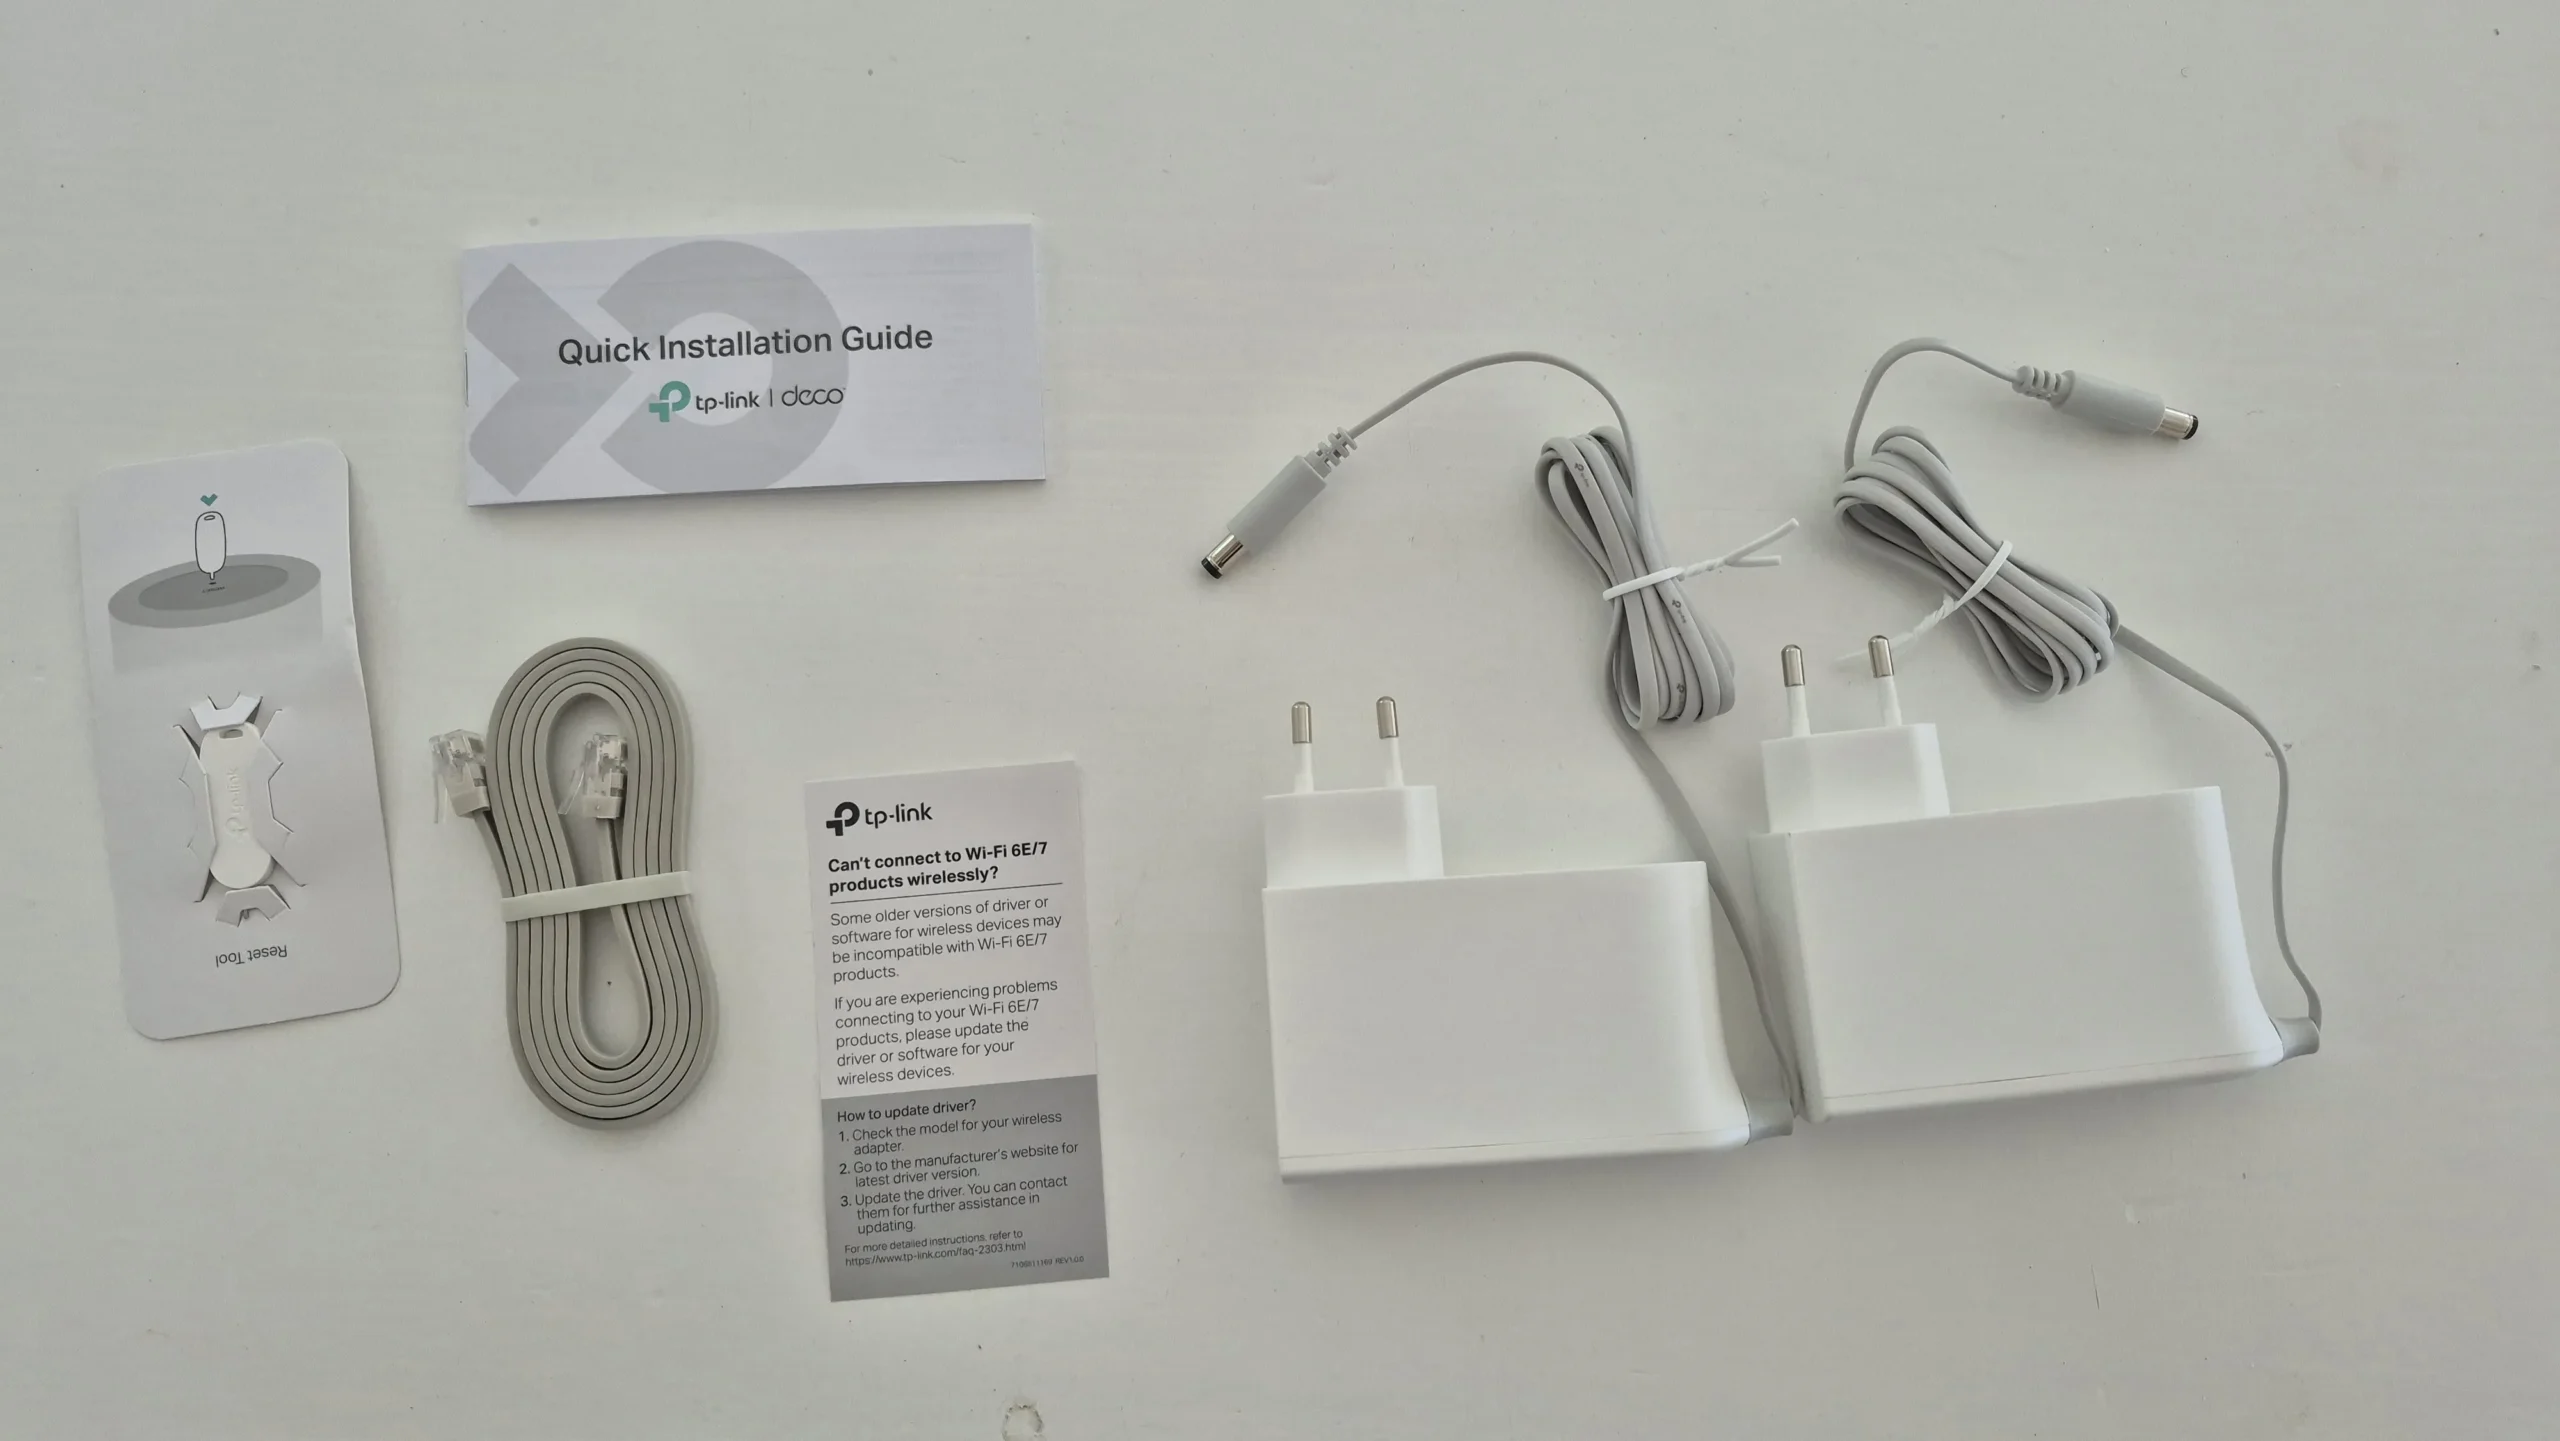
The two-pack also comes with two fairly large power adapters. We used a 12 V DC battery backup solution to keep connectivity during power interruptions. If doing the same, match the actual unit's required voltage, current, connector and polarity; a supply merely labelled 12 V is not enough information. Keep the modem or fibre ONT powered too if you need the internet connection during an outage. Our pack also included an Ethernet cable and a pin for the reset socket.
Setting Up the TP-Link Deco BE65
The included quick-start guide helps you install the Deco app on your smartphone, where the instructions continue. First, connect the main unit to power and the internet connection. Its four ports are 2.5 Gbps and support WAN/LAN auto-sensing, so there is no single permanently assigned WAN socket; one becomes the WAN connection.
For our router-mode layout, the internet connection goes to the main Deco, and the household switch sits behind its LAN side. Keep satellite units on that LAN side too. This describes the intended topology, rather than a universal claim that a switch can never carry an upstream connection. Specialist managed-switch arrangements are outside this review.
The app asks you to select your internet connection type and any required details, such as an ISP username and password. If unsure, ask your ISP. Creating the main Wi-Fi network was straightforward, and after that we were up and running.
Wired Backhaul and Switch Integration
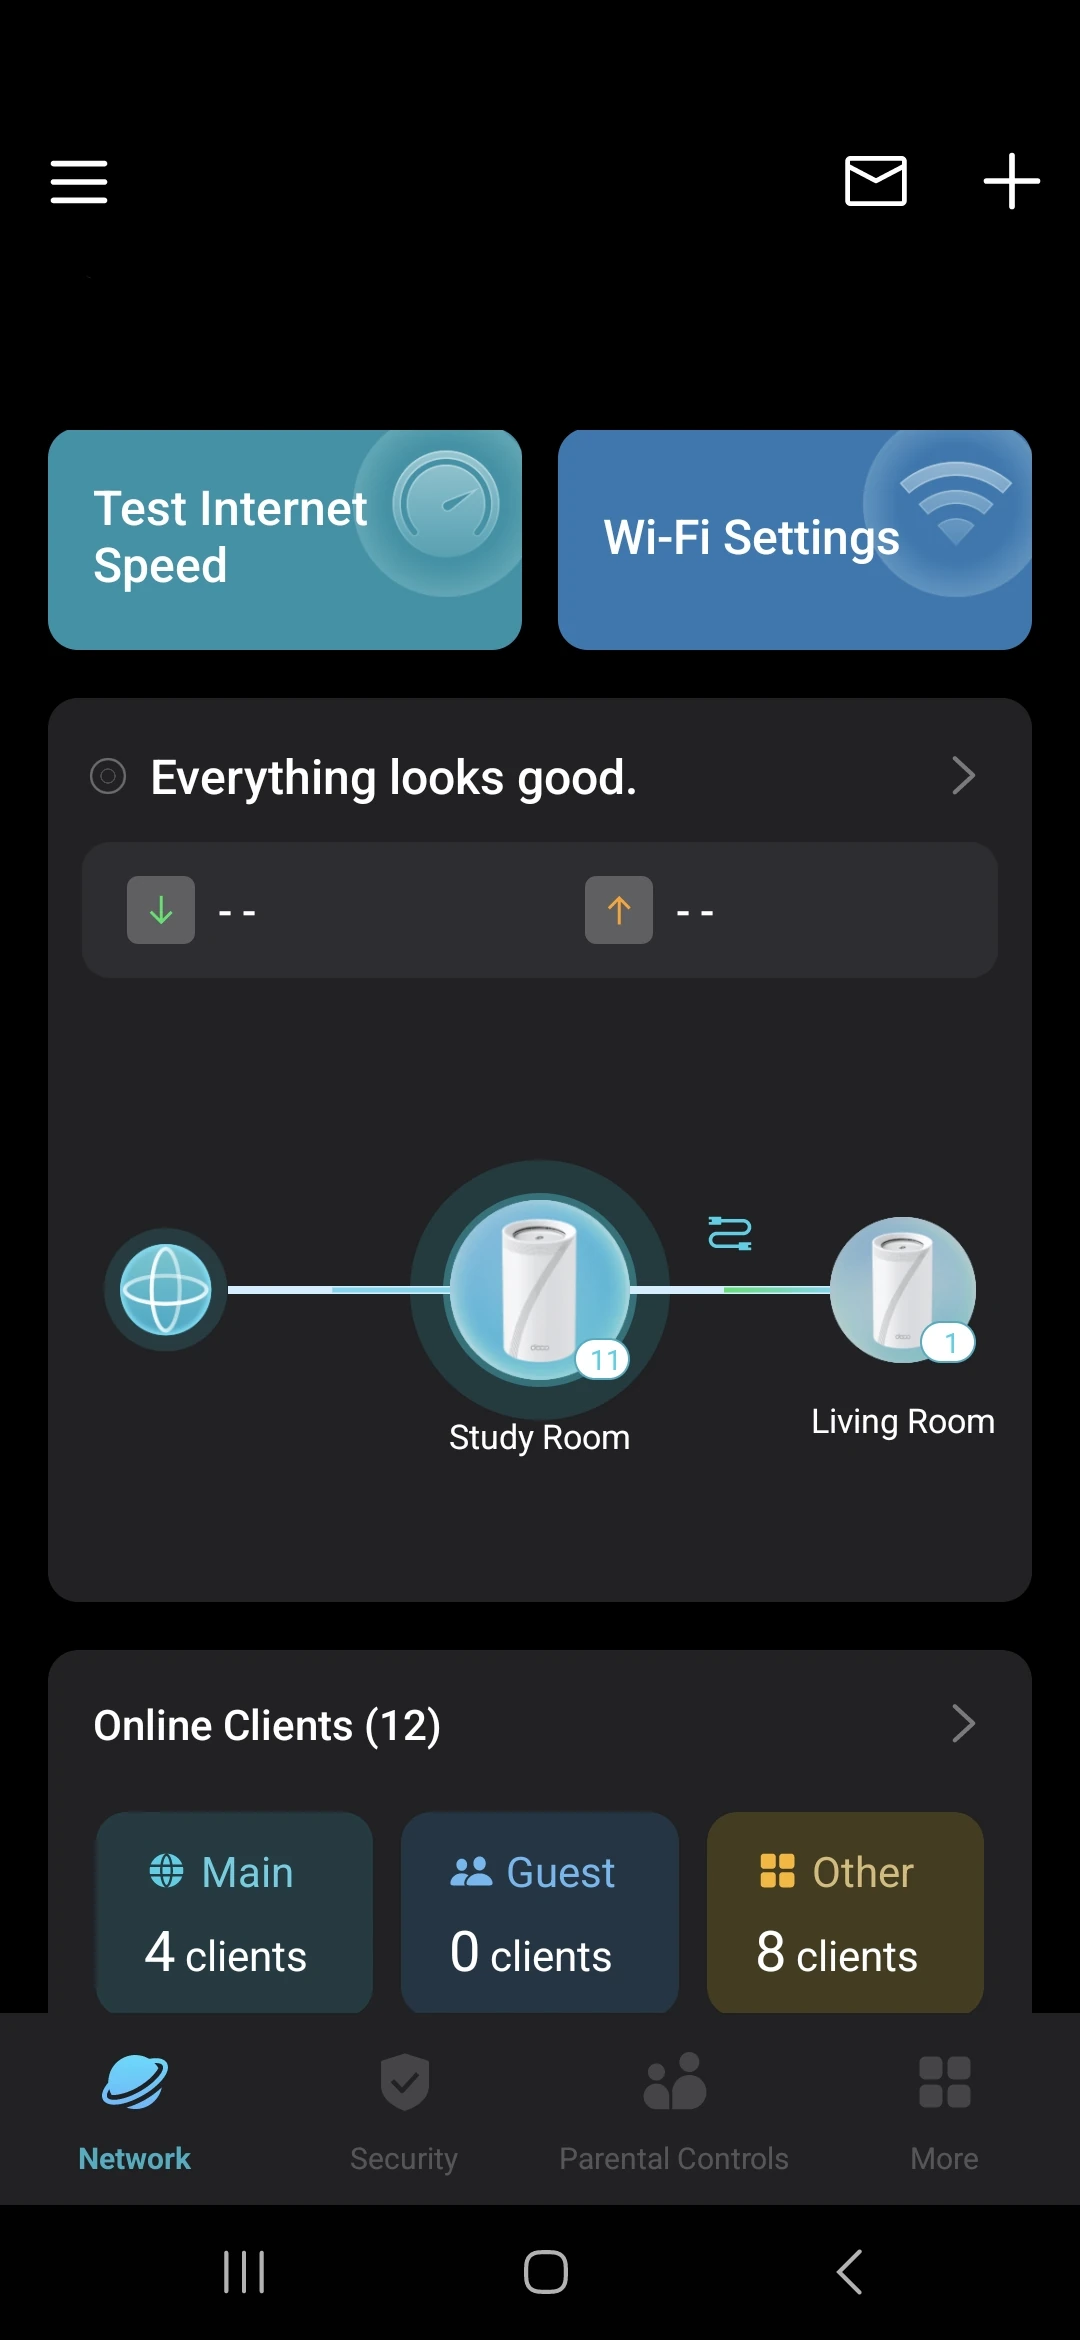
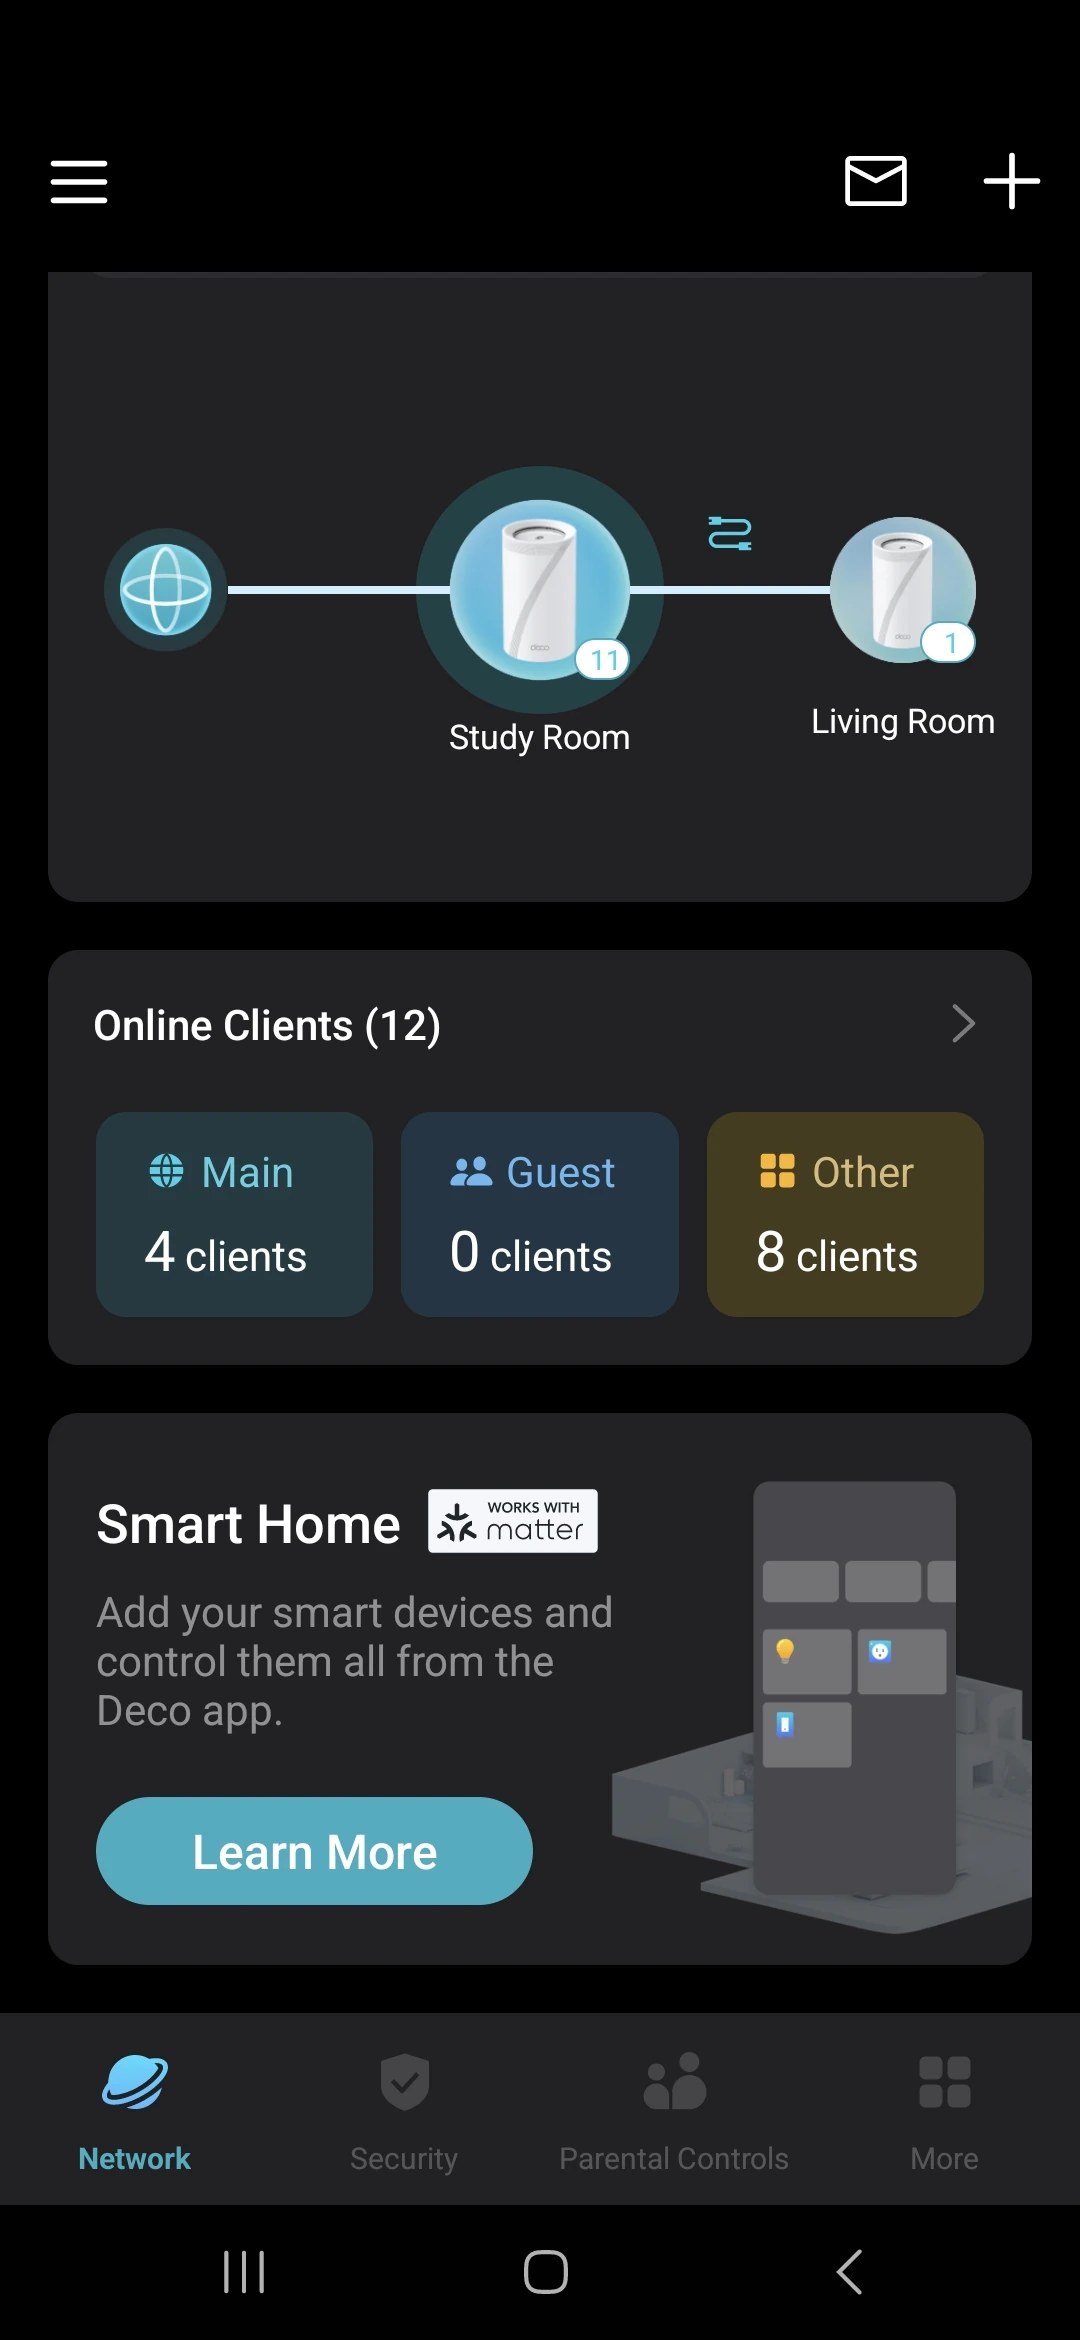
We chose to run a wired backhaul to the second unit, to make sure that we have a stable connection between the two. This time, however, we first ran the cable from the main Deco to an unmanaged switch, and from there to the second Deco unit. Again, no issues here, it just works. The unit was picked up and adopted into the network directly.
Four 2.5 Gbps ports per unit give useful flexibility, but budget for the WAN connection on the main unit and any backhaul cable. A Gigabit switch or client port can still limit a path to 1 Gbps. Our successful switch-assisted setup shows that the topology worked here; it does not establish a measured NAS transfer rate. TP-Link's Ethernet backhaul guidance explains the router-mode LAN wiring, AP-mode differences and how to check the satellite's connection in the app.
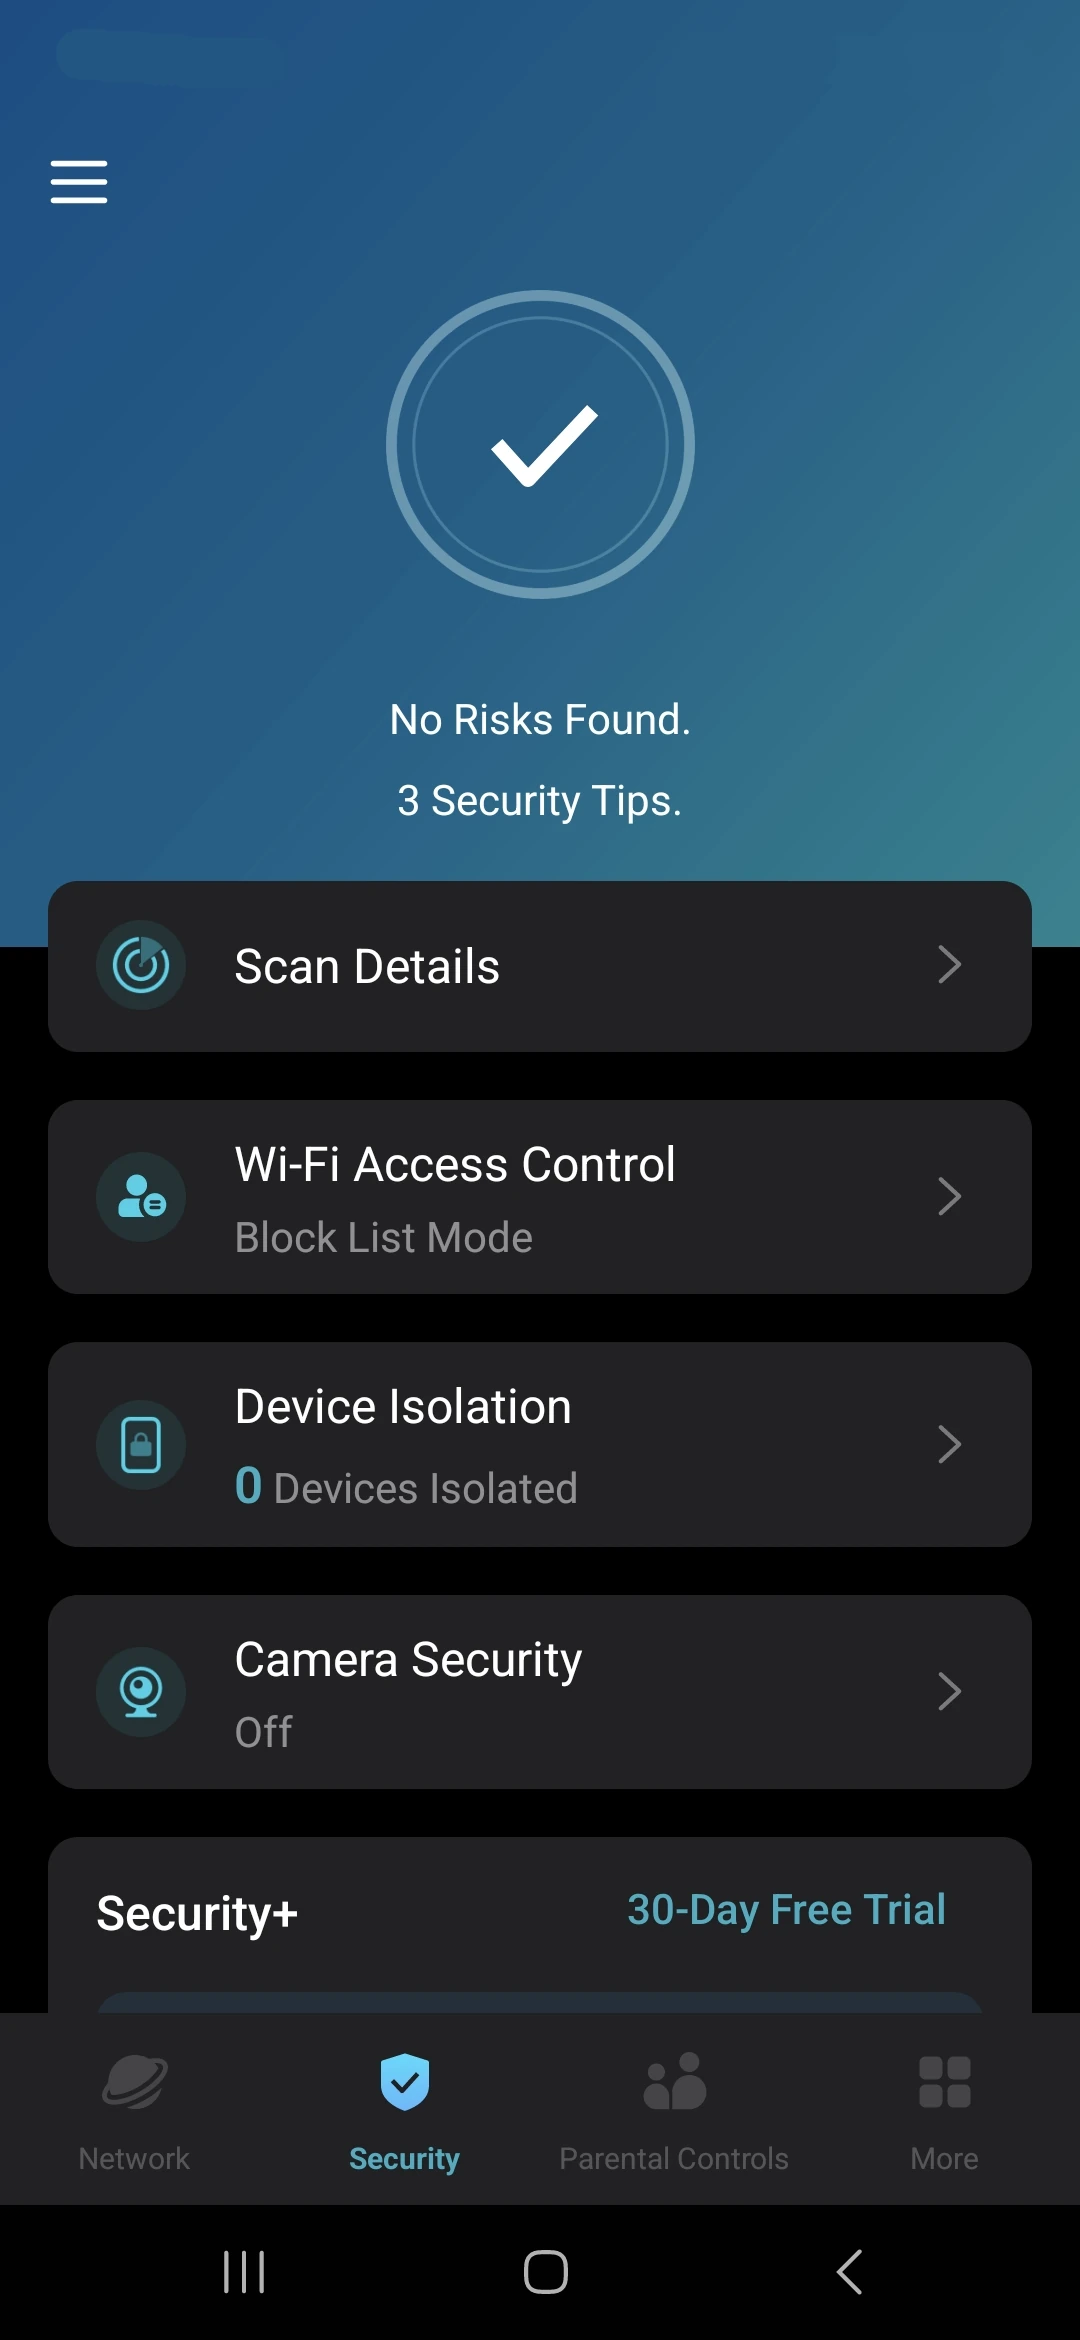
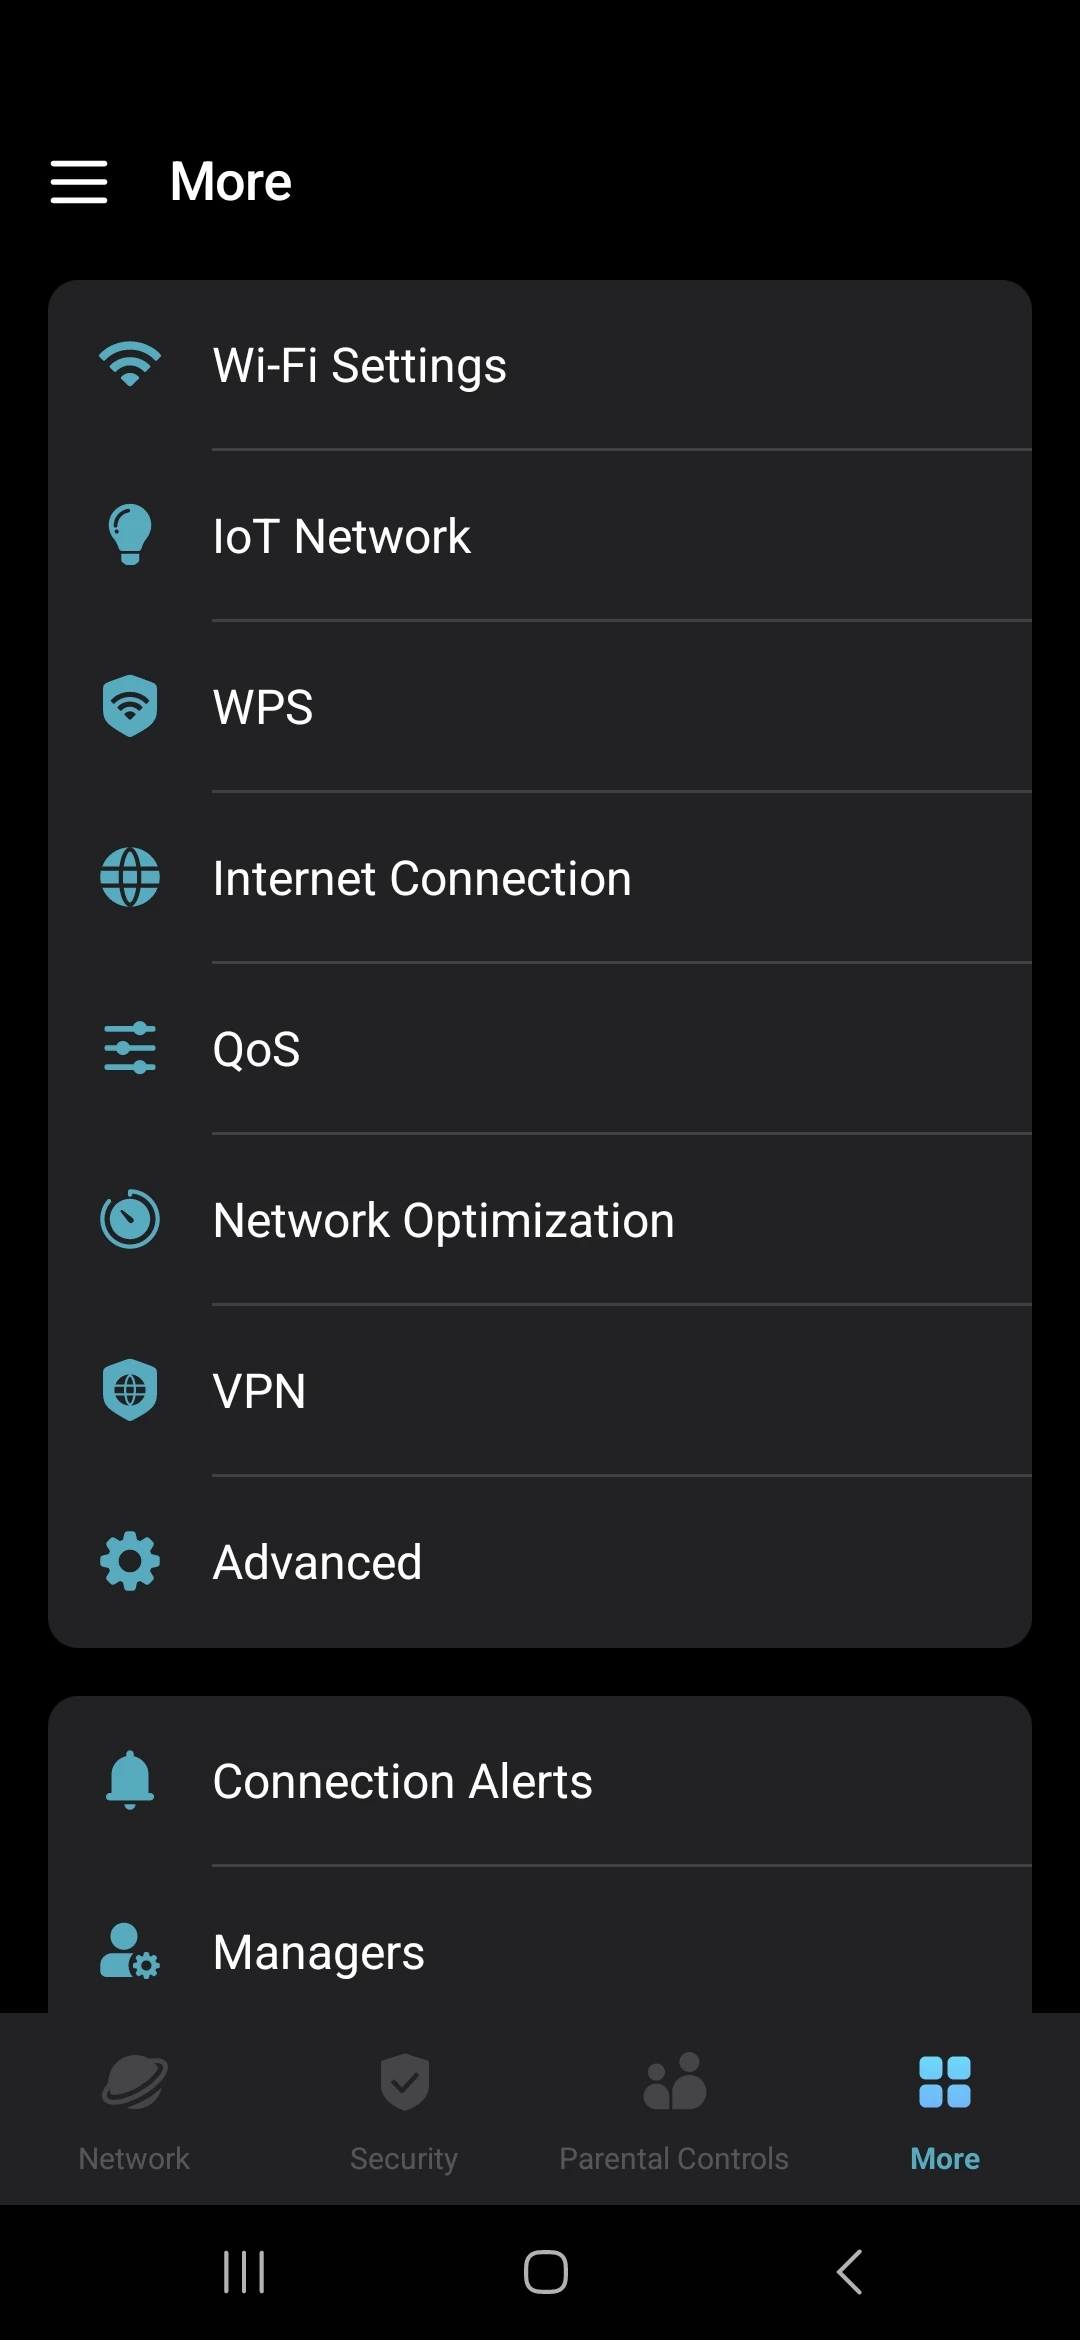
We could not capture the initial setup screens because screenshots were disabled, but we saved these views afterwards.
Guest, IoT, and 6 GHz Network Features
The guest network was off by default. We enabled it on 2.4 GHz and 5 GHz for range, keeping 6 GHz for the main network. Our 2.4/5 GHz guest settings used WPA2/WPA3 compatibility; this offers WPA2 support alongside WPA3, rather than proving every capable client chooses WPA3. Do not extend that fallback assumption to 6 GHz: password-protected 6 GHz networks use WPA3.
TP-Link documents guest-to-main isolation in router mode; in AP mode, check the Allow Local Access setting. Guest isolation does not by itself prove that every guest is isolated from every other guest, or that the app provides enterprise-style configurable VLANs. Test the access you intend to permit.
We used the IoT network on 2.4 GHz for our smart light switches and heaters, and it works a charm. A separate SSID lets us choose settings suited to those clients without changing the main Wi-Fi credentials. Prefer a supported modern security setting such as WPA2-AES rather than enabling older WPA simply because it appears in a menu.
The separate name does not automatically create a security boundary. TP-Link separates the IoT SSID from Device Isolation policies. If you isolate smart devices, verify that their controller can still reach them; local control and discovery may depend on that communication.
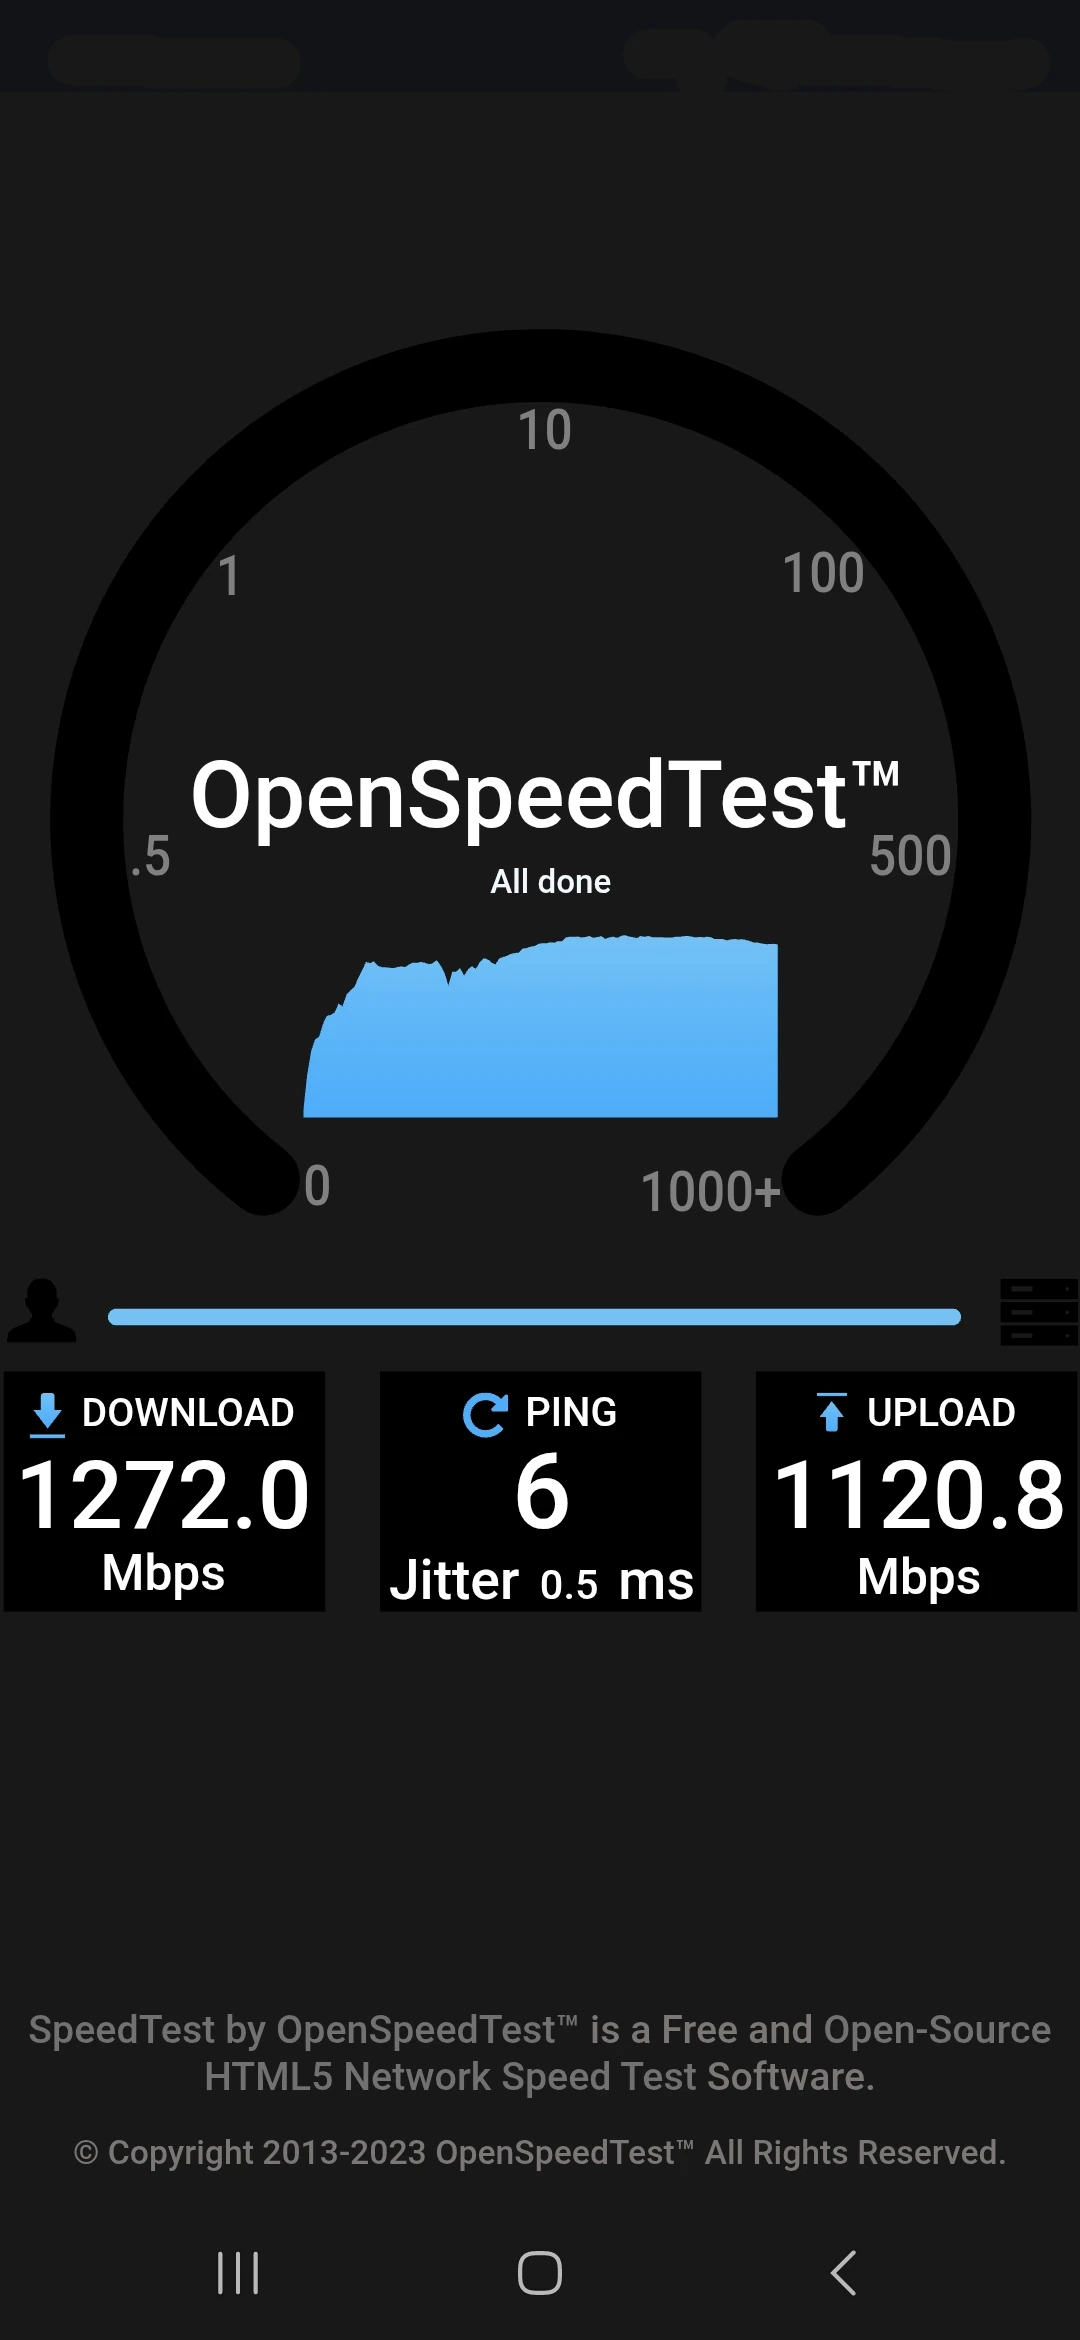
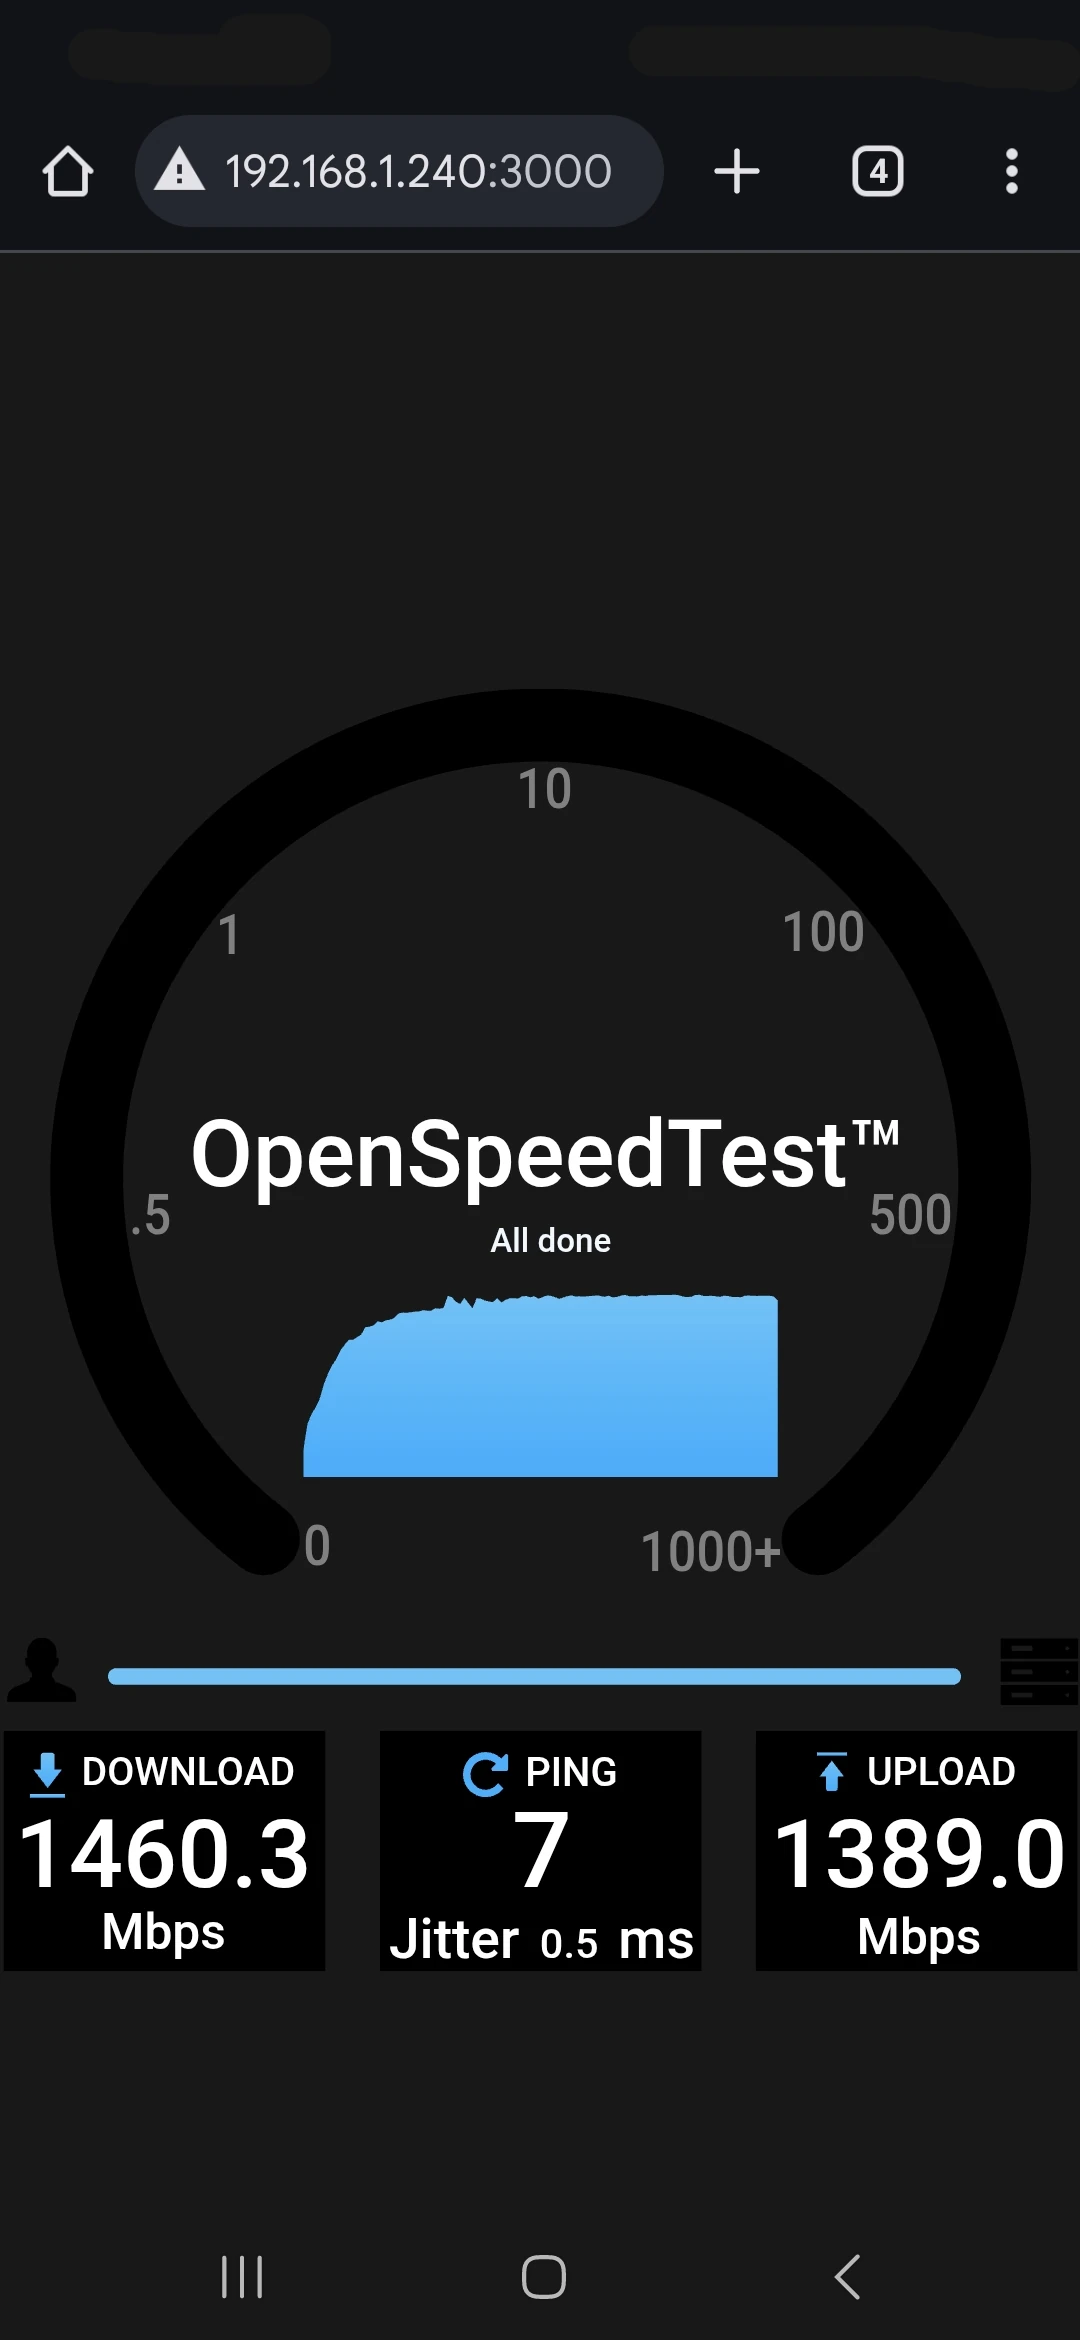
The 6 GHz channel has fairly decent performance by itself. We tested it with an internal speed test and got very good results. The original OpenSpeedTest screenshots show the following local measurements:
| Position in our original test | Download | Upload | Ping | Jitter |
|---|---|---|---|---|
| Across the room, in the main Deco's room | 1,272.0 Mbps | 1,120.8 Mbps | 6 ms | 0.5 ms |
| Next to the main Deco | 1,460.3 Mbps | 1,389.0 Mbps | 7 ms | 0.5 ms |
These are our original 6 GHz-only samples to an internal test server; the nearby screenshot shows a private LAN address. They are not ISP speed tests, a sustained multi-gigabit benchmark, or a guarantee for another room or client. The review does not record a complete client specification or repeated-test distribution, so compare them as two useful observations in this installation.
Real-World Pros, Cons, and Daily Observations
Here are some other pros and cons after using the Deco for an entire month. They are in no particular order:
- SSID limitations: We mainly used three network roles: main, guest and IoT. This felt limited beside enterprise equipment. Separate 6 GHz or MLO settings can add distinctions, so our observation should not be read as a universal three-name ceiling across all firmware.
- Dynamic DNS: Dynamic DNS is added and very easy to set up.
- Parental controls: We found bedtime and general blocking options useful within the free features available to us. Current HomeShield plans distinguish basic controls from advanced paid features. Check the exact options and subscription prompt in your app rather than assuming every schedule or category filter is free.
- Instant Alerts: You get a notification on the app when someone joins your network for the first time.
- Port Forwarding vs DMZ: No virtual server/DMZ option. You do have port forwarding though.
- Web interface limitations: In our review, the web interface was very limited: some statistics and date/time settings, with configuration concentrated in the app. Remote app management is a pro for us. This is our experience with the installed version, not a promise that every later interface stays identical.
- LED Schedule: LEDs on units can be switched on, off or to adhere to a schedule (Ex. switch off at 10PM and on at 6AM).
- WPS app control: We used WPS through the app, which helps when a unit is out of reach. Our original concern about its security still stands. The v1 datasheet also lists a rear WPS button, so app control should not be taken to mean the hardware lacks one. Use WPS only when needed.
- Device isolation: Client isolation is useful for IoT and other devices. The documented policy restricts access to the main network while allowing communication among isolated clients. Check support for the actual model/firmware and verify both allowed and blocked access; it is not a claim that every isolated client is separated from every other one.
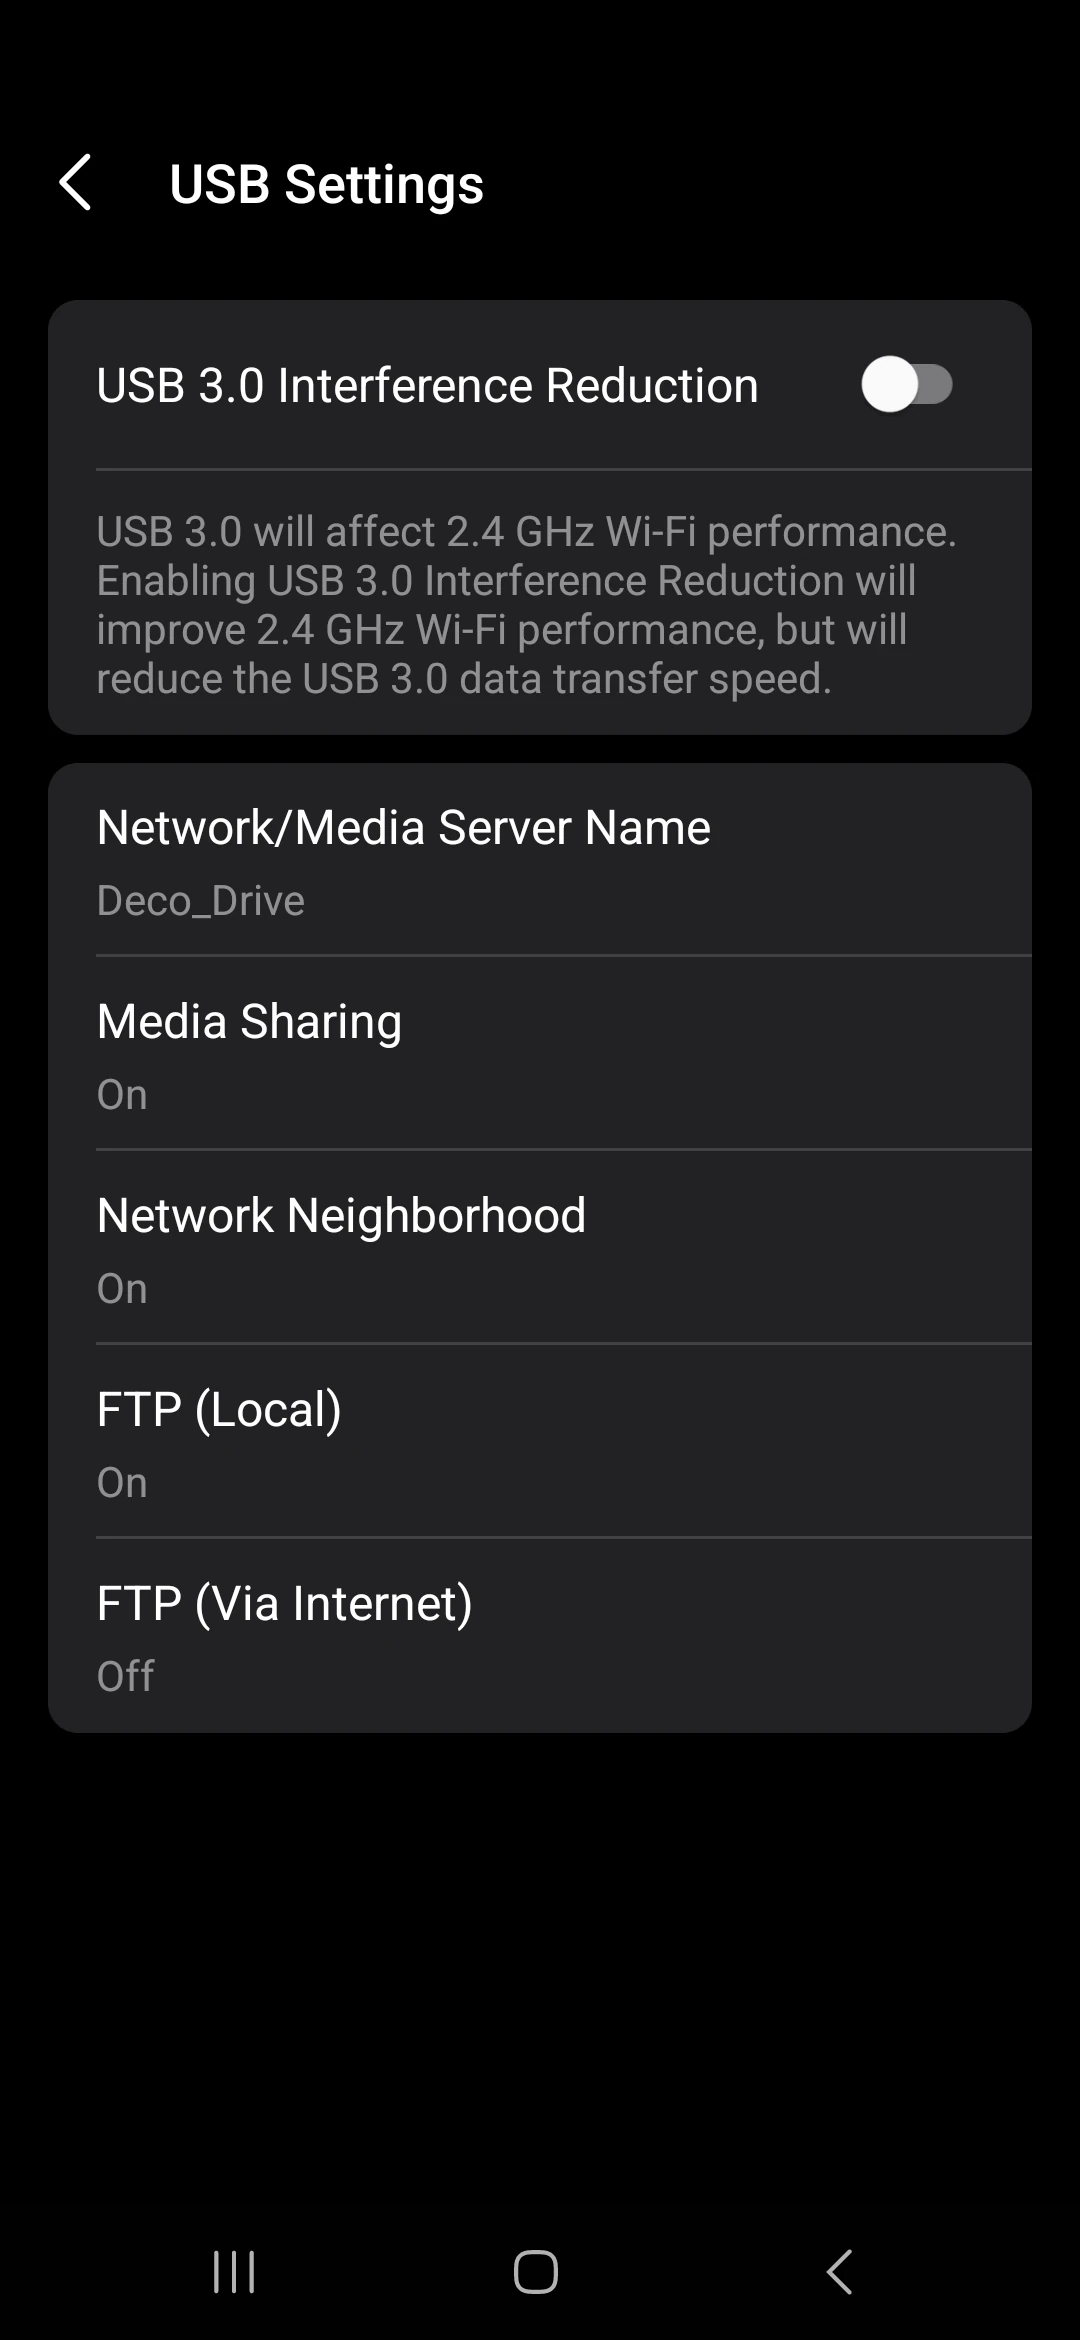
- USB storage sharing: Our BE65 has USB sharing with network, media and FTP options; not every Deco model has a USB port. The original screenshot shows local FTP enabled and internet FTP off. TP-Link's USB sharing guide explains access authentication and the separate sharing switches. DDNS is convenient for a changing address, but it neither encrypts FTP nor guarantees reachability through provider NAT. Standard FTP sends passwords in clear text, so keep internet FTP off for private files and consider protected remote access such as a VPN instead.
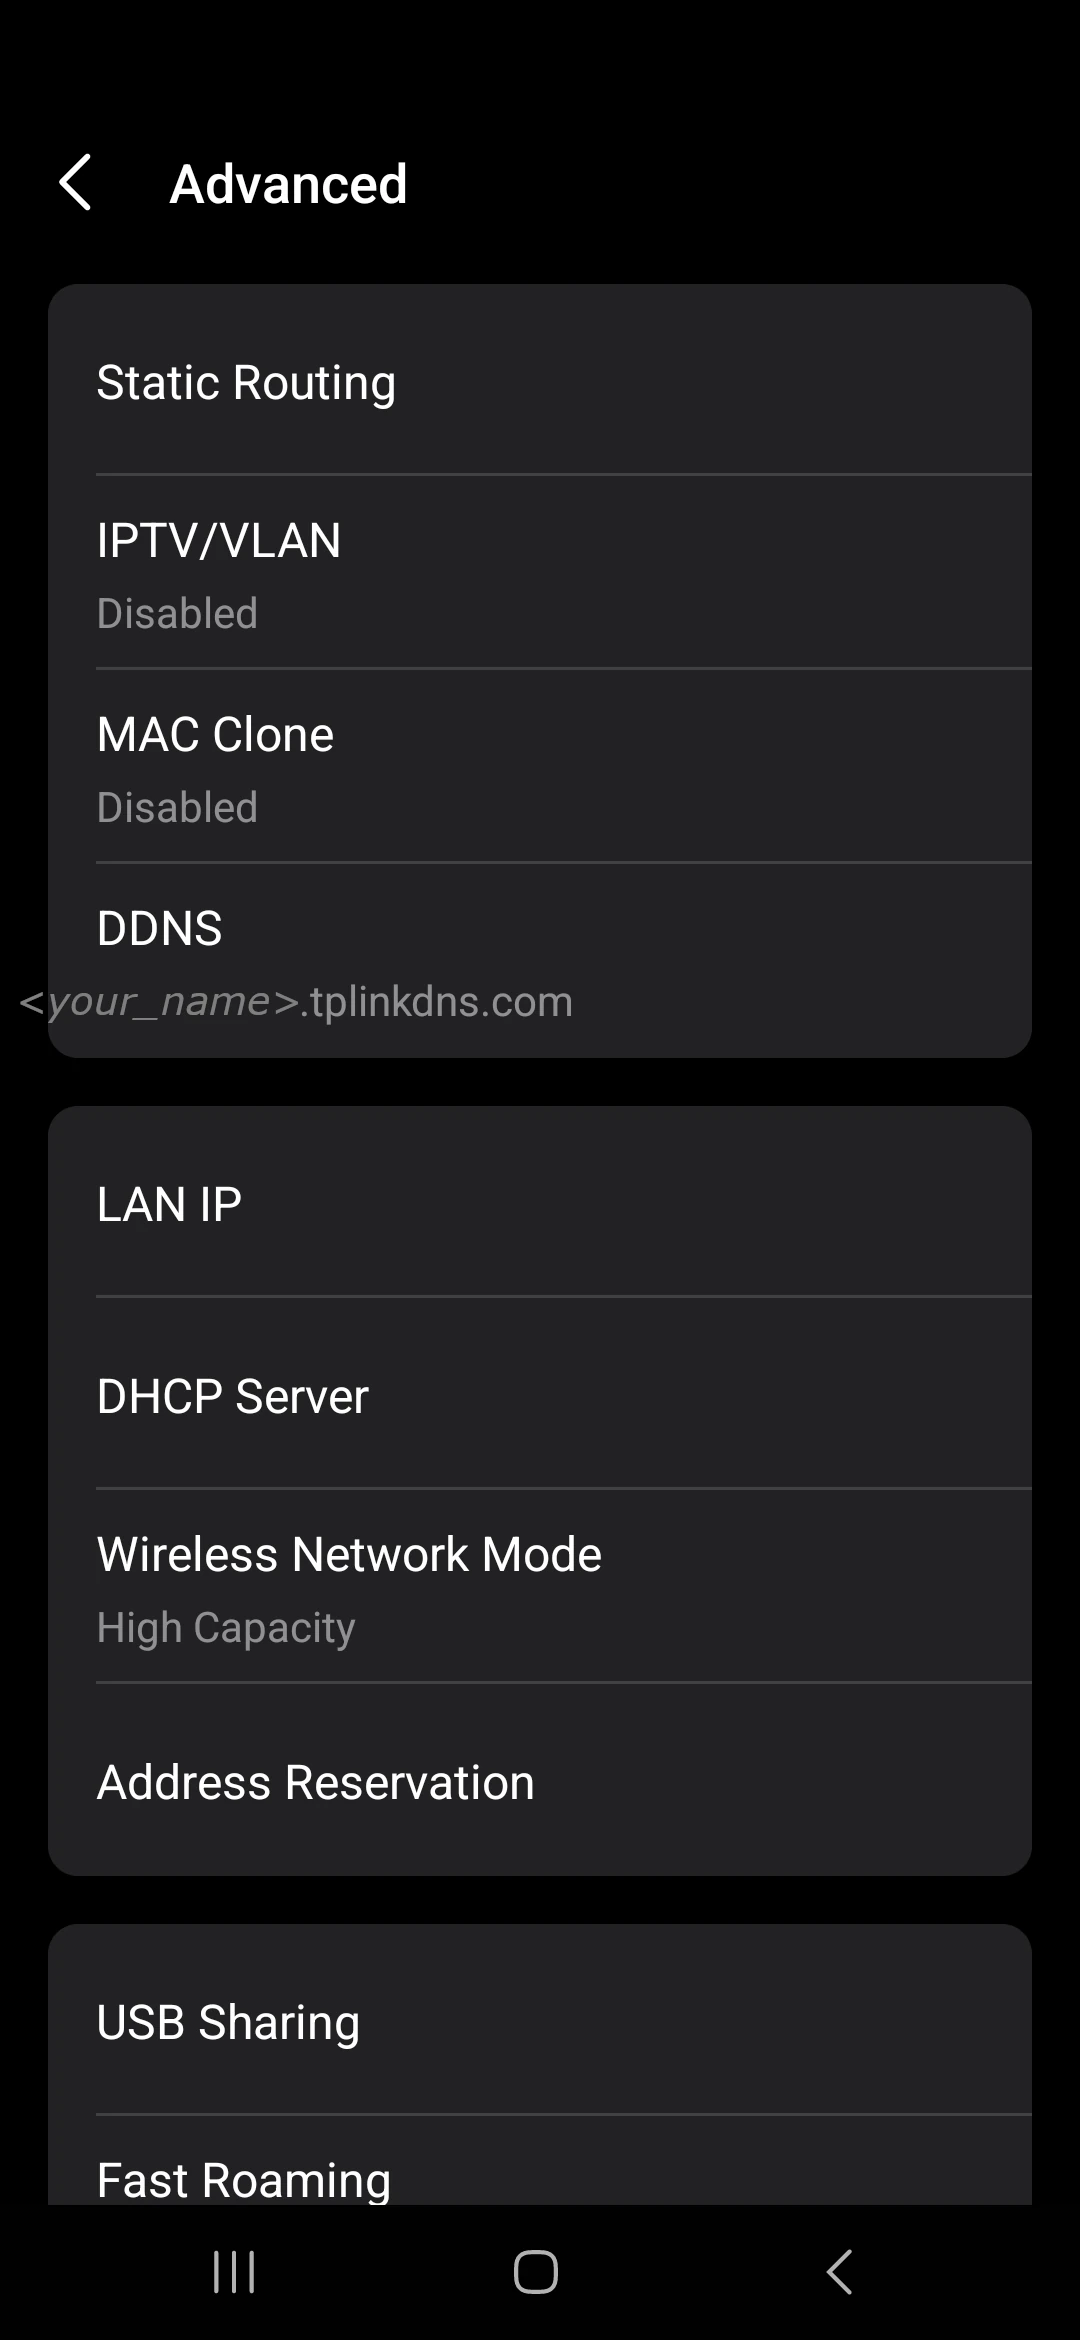
- DHCP Reservation Nuance: The DHCP Server can be set up to hand out from a certain range, like 192.168.1.50 - 192.168.1.250. However, in the app version we used, address reservations had to stay inside that range. This means you have to change the DHCP range every time you want to add your IoT devices on 192.168.1.11 - 192.168.1.40 and all your networking gear from 192.168.1.2 - 192.168.1.10.
What Our Month-Long Experience Establishes
Our month of everyday use gives us a useful view of setup, coverage, app controls and the smart devices we actually connected. The two screenshots add real local speed measurements. This review contains no measured uptime, thermal or roaming statistics, so those observations should not be turned into a universal reliability guarantee.
If you are evaluating a similar installation, check the satellite's wired connection, try your usual calls while moving between rooms, and verify access from the guest and IoT networks using your own devices. Repeat after a firmware change and keep a note of the version. Restore unsuccessful setting changes rather than change several options at once. Those checks help establish whether the equipment suits your home while keeping our recommendation grounded in the experience described here.
Conclusion: Our Homelab Verdict After One Month
The TP-Link Deco BE65 is a fantastic networking set with amazing range and penetration and a full feature set. Although some power-user features are lacking, it does not mean that the unit is at all bad. For any home user, this is a perfect setup and highly recommended. We chose this as the planned base for our homelab setup and install series, and we feel it delivers more than enough for a proper advanced setup. For absolute new users, the setup process is extremely easy and straightforward, although the internet settings might be a bit daunting - just phone your ISP for assistance on which selection to make here. This unit will stay our main config for the foreseeable future and we can definitely recommend it.