Now that we have a couple of services up and running for our home lab, it is time we start setting up everything so that we can access our services from outside of the local area network. This will enable us to access some apps and services when we are not at home, which can be a great gain for our setup. We have two options. The first is setting up an external address to get or home network and then use one of our services to redirect traffic. The second is setting up a VPN server on our home network so that we can access our entire network as if we are connected to it, even when we are not. Today we will look at the first option as it is a lot easier and quicker to set up. We also have everything ready to go for the setup.
We will need to access our home router, so please check how to access the settings of your router. This normally involves going to a web address, normally something like http://10.0.0.1, http://192.168.0.1 or http://192.168.1.1 . Most modern routers also have some sort of smartphone app connected to it where one can set up all the settings. We are going to use our TP-Link Deco BE65 Mesh Network setup at home to set up the forwarding.
Step 1: Set up External DNS
If you have not had a look at our Dynamic DNS article, let's refresh what a Dynamic DNS is. Dynamic DNS (DDNS) is a service that automatically updates the IP address associated with a domain name when a device's public IP changes. This is especially useful for users with internet connections that have dynamic IPs, meaning their IP address can change periodically. With DDNS, you can maintain a consistent hostname (e.g., myhome.ddns.net) that always points to your current IP, making it easier to remotely access devices like security cameras, home servers, or VPNs without needing to check and update the IP manually.
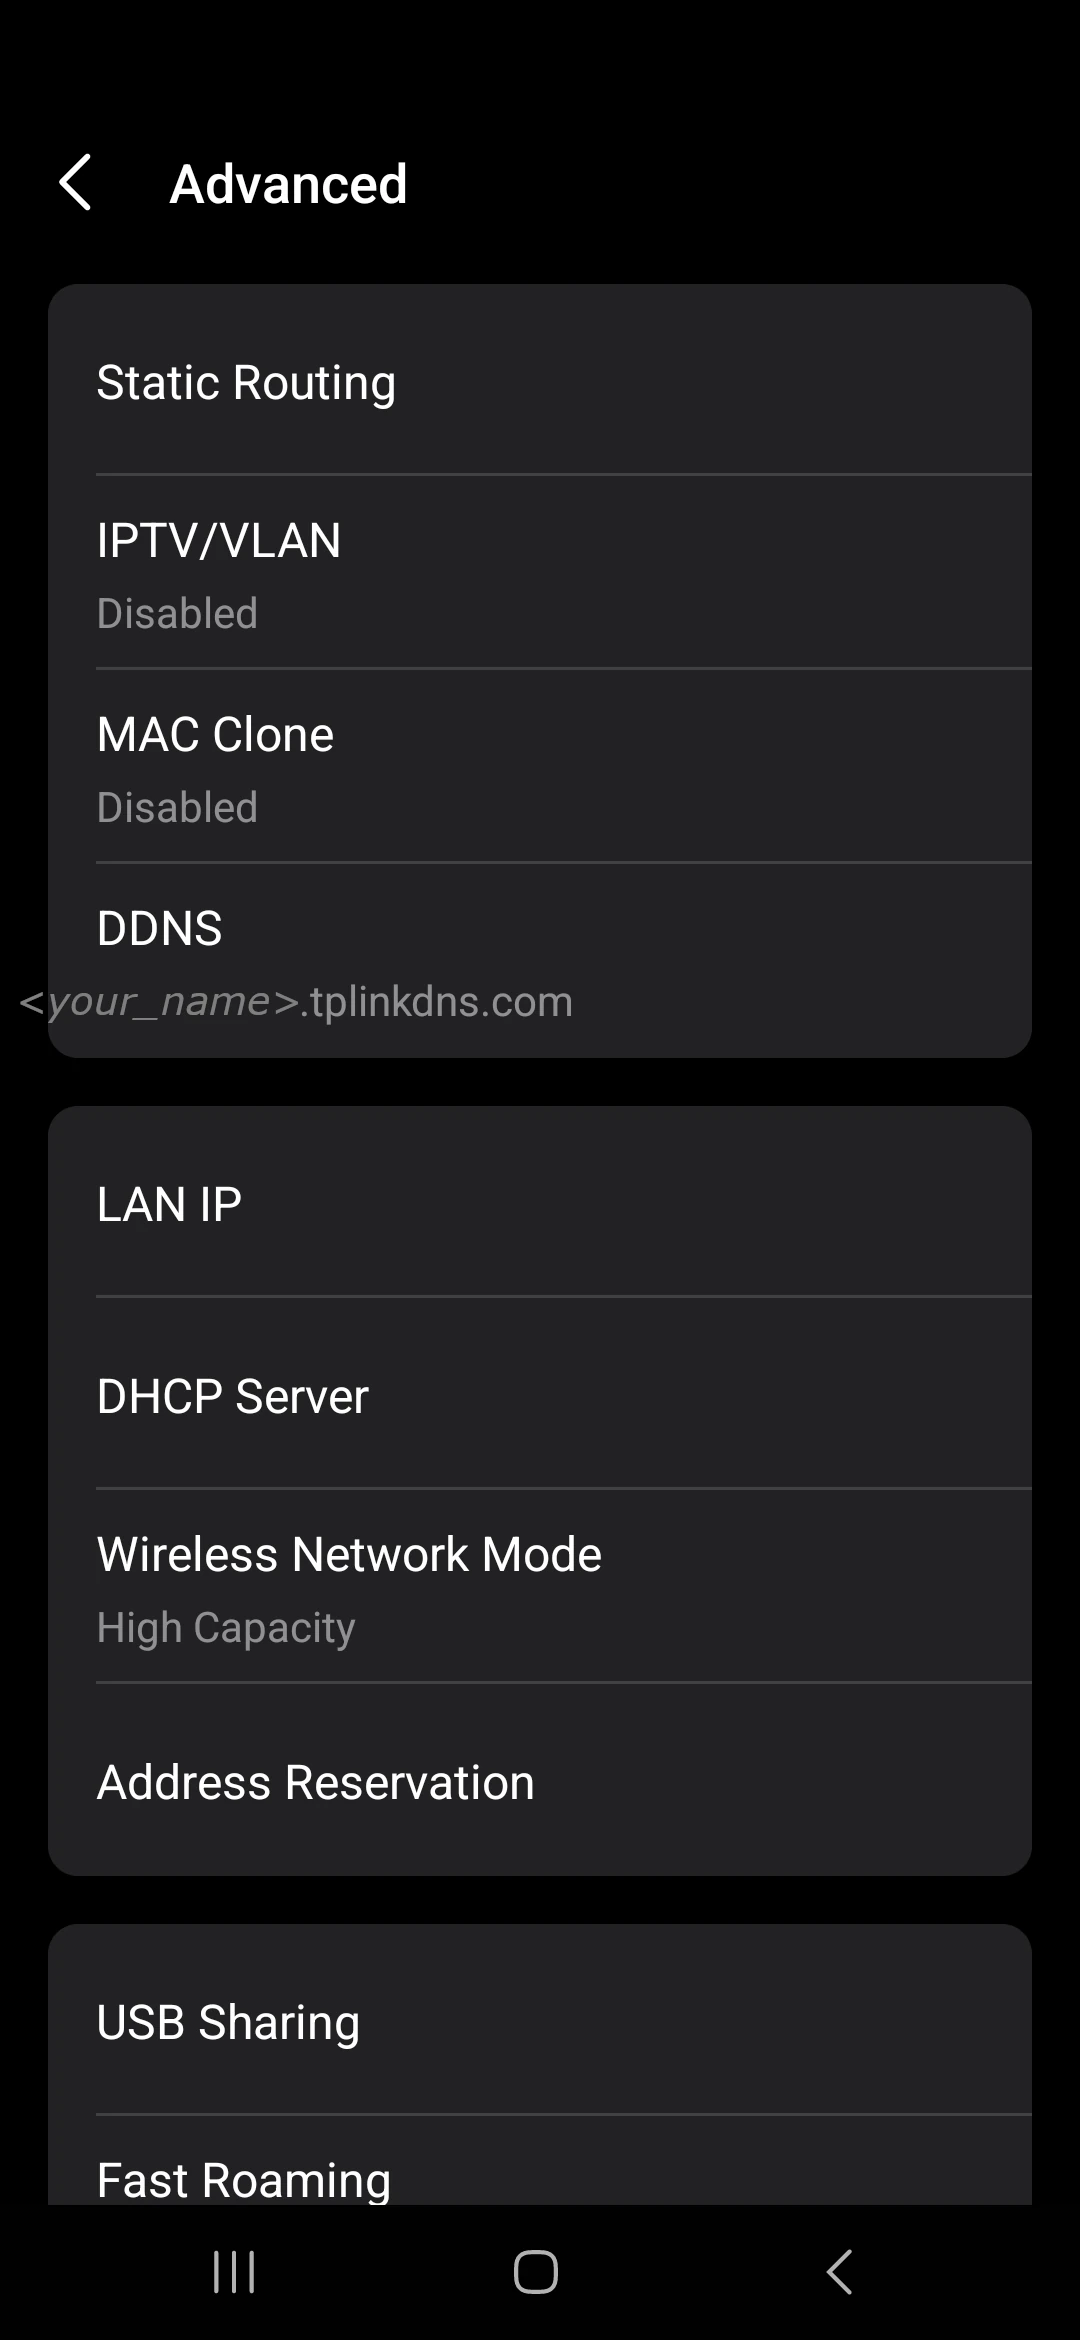
From your router's firmware we are looking for two things. Firstly the setup of a Dynamic DNS (DynDNS, DDNS) setting. This can be supplier specific, or use a general service like dyndns.org. Set up a name you can remember and enter it in the relevant section.
Step 2: Port Forwarding
Secondly, we need to port forward from an external source, to an internal source. Look for Port Forwarding or Virtual Server settings. Do not use the exposed-host/DMZ option: it can forward unsolicited traffic broadly to the device. Create only the specific port rules needed for the service, with authentication, updates and HTTPS planned before public use. Port forwarding is a router setting that directs incoming traffic on specific ports to designated devices on your local network. A virtual server is essentially another term for port forwarding, typically used to group or simplify rules for directing traffic to internal servers. In contrast, a DMZ (DeMilitarized Zone) exposes one device to all incoming internet traffic, bypassing the router's firewall rules for that device, which can be useful for certain applications but also poses higher security risks.
We need to forward port 80 (http) and port 443 (https) to a specific IP. In the example below, we are using our Wordpress site's IP address.
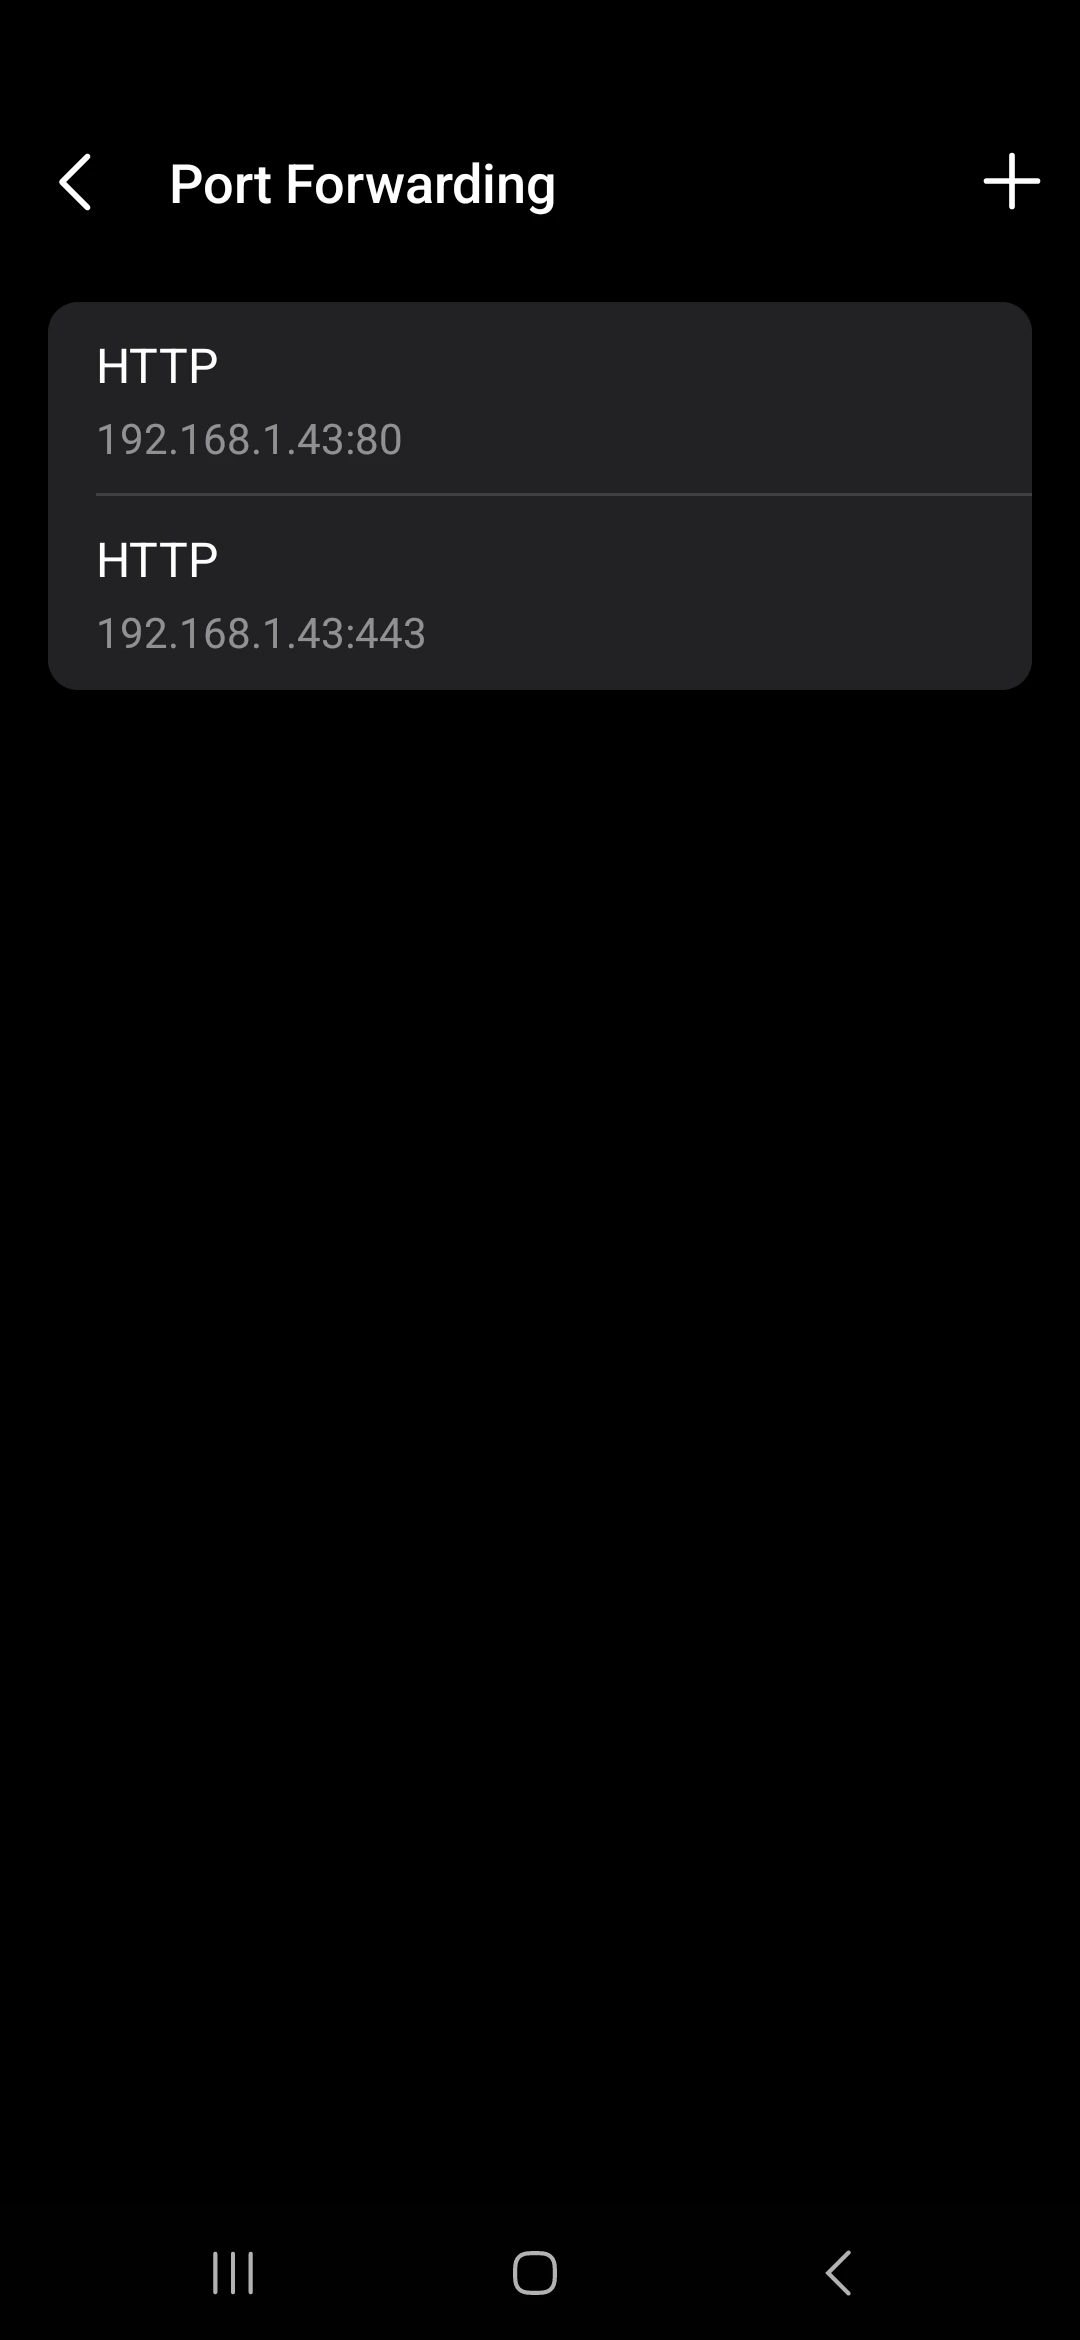
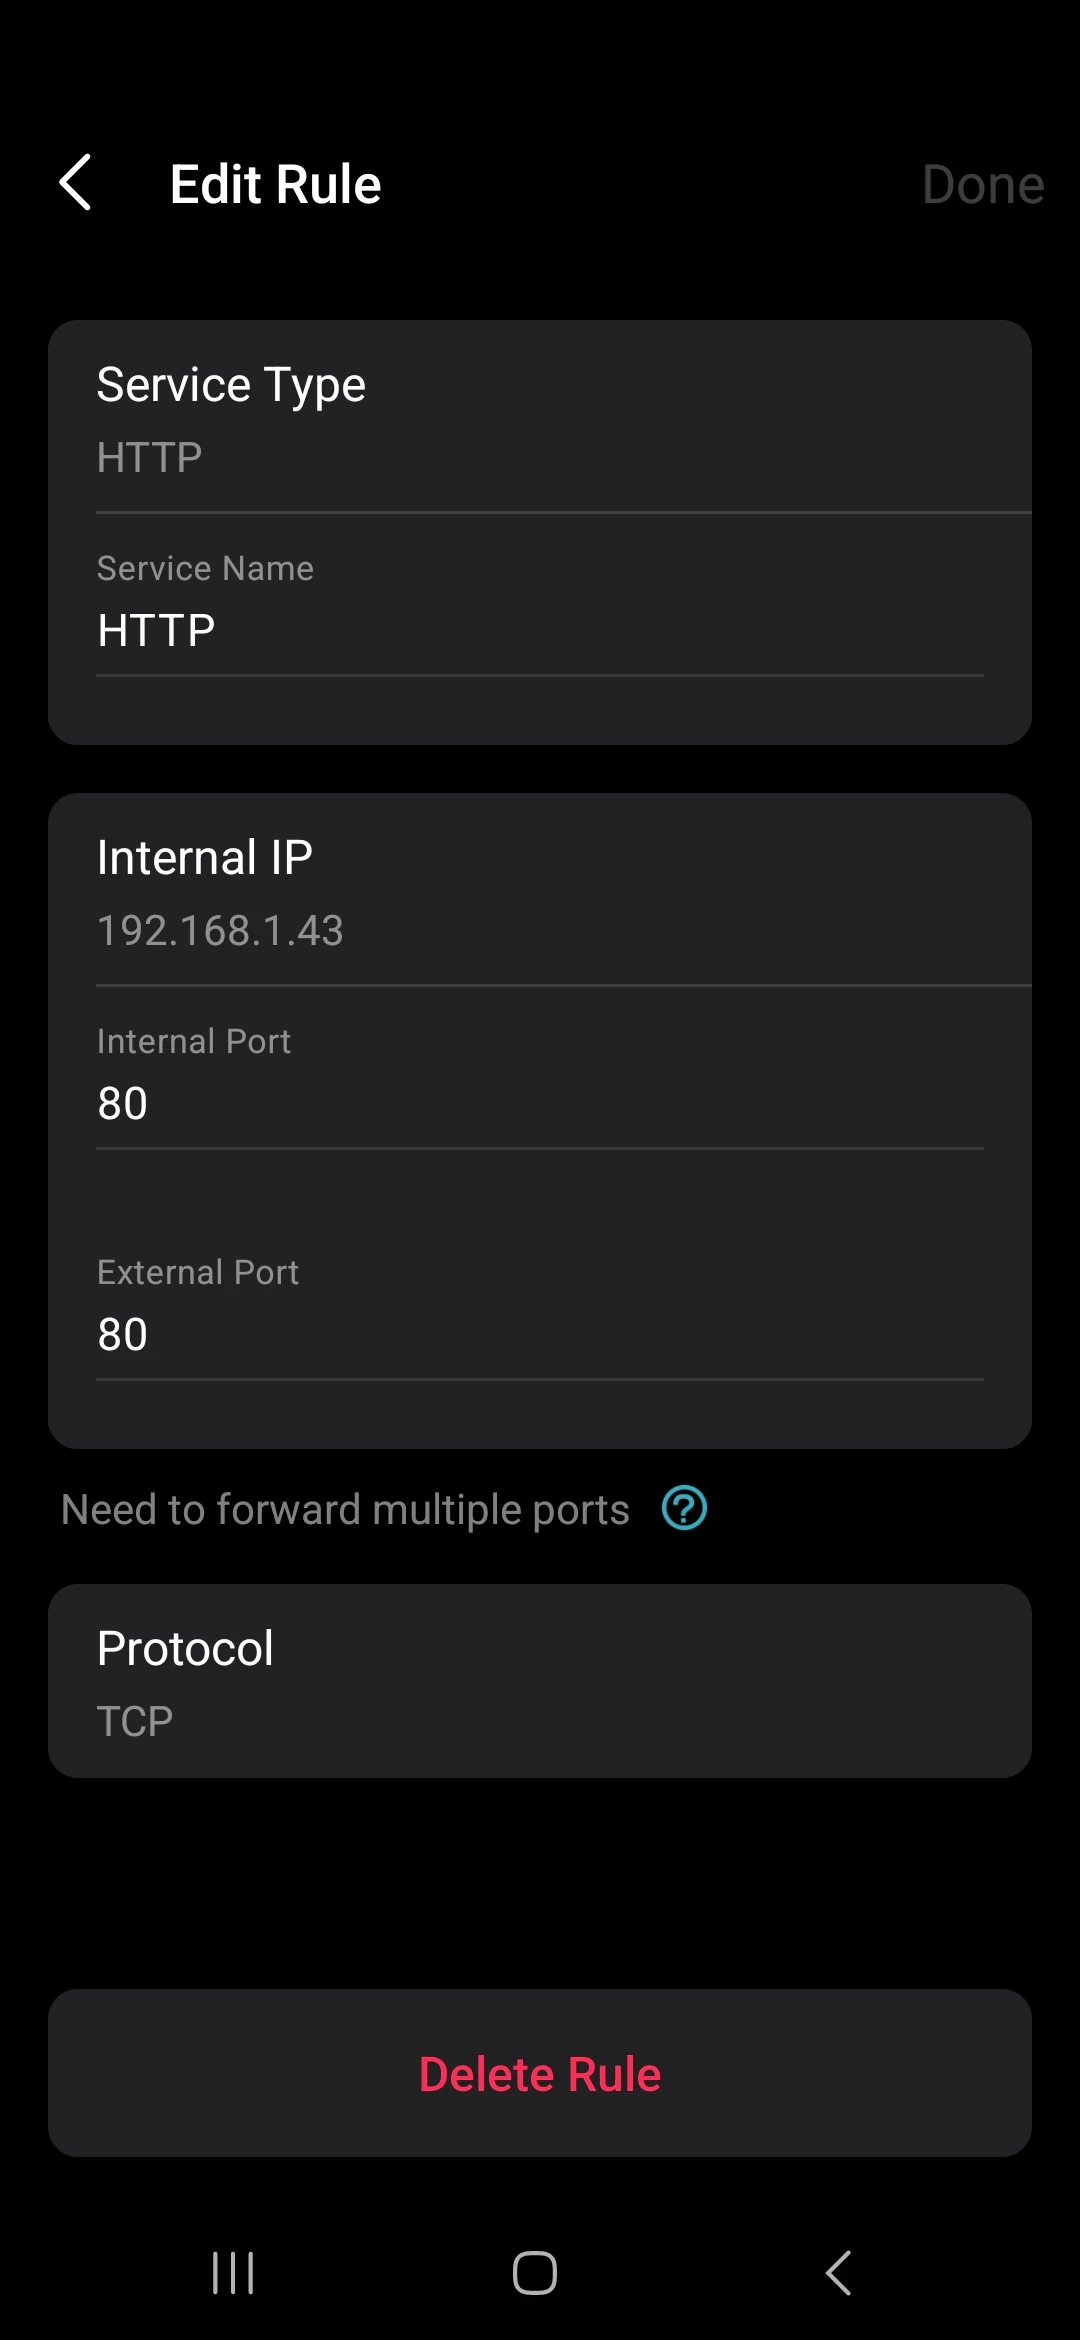
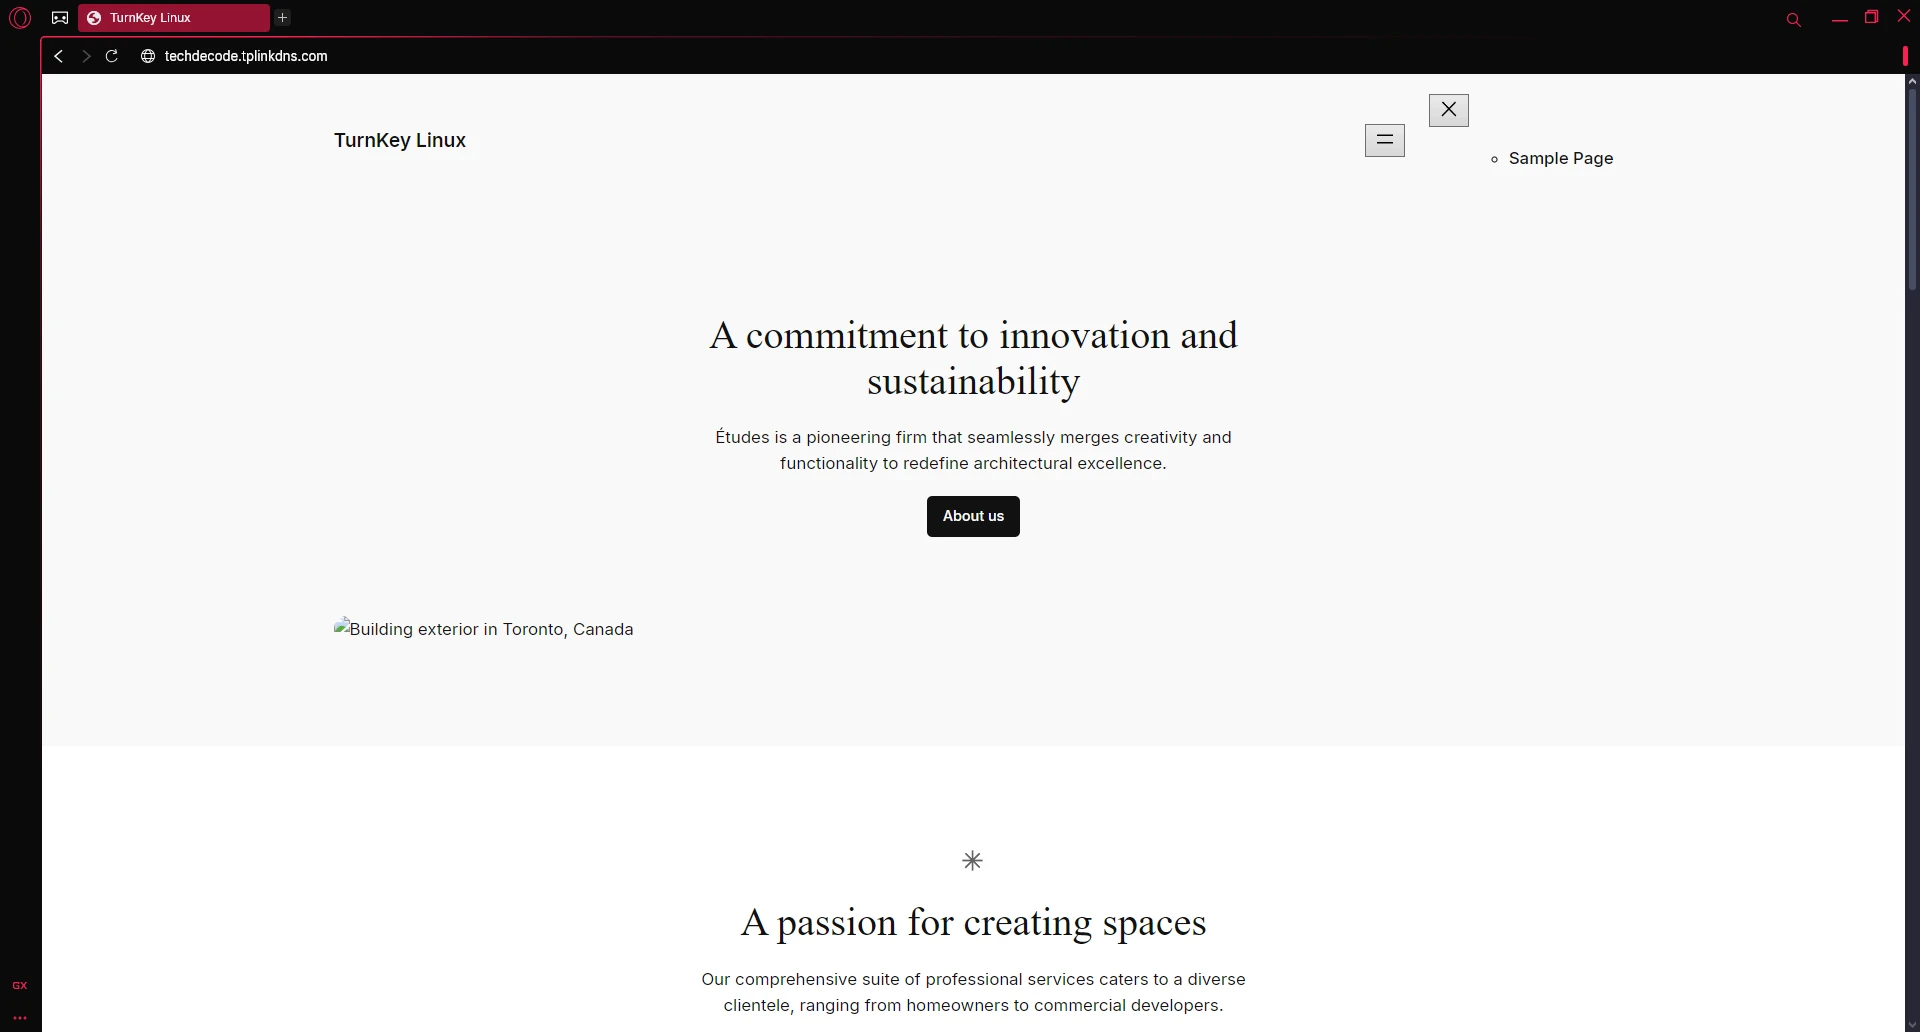
Once the setup is complete, you should be able to go to your DynDNS address, in our case techdecode.tplinkdns.com, and see the Wordpress site. It might not look correct as the site was set up to be wordpress.local, but we are now accessing it with techdecode.tplinkdns.com.
Optional After the Walkthrough: Public Reachability and the Next Routing Step
This article demonstrates forwarding to WordPress first. Part 9 moves the entry point to NGINX so one public address can route requests to the appropriate service. Keep that order while following the screenshots. Before changing the forwarding destination, record the working rule and confirm that the new NGINX address is stable.
Dynamic DNS changes a hostname's address record; it does not open a firewall or supply a public address when the ISP uses carrier-grade NAT. Compare the router's WAN address with the address seen from outside. A private or shared-range WAN address, including 100.64.0.0/10, suggests an upstream NAT arrangement. A mismatch alone may also be caused by another router you control, so trace the equipment before assuming the ISP is responsible.
Test from a separate external connection, such as mobile data with Wi-Fi turned off. Failure from inside the house can be caused by missing NAT loopback even when external access works. A timeout can also mean a stopped service, incorrect forwarding destination, host firewall or ISP filtering. Check those layers separately rather than treating one symptom as proof of CGNAT.
If the ISP cannot provide suitable inbound connectivity, choose an access method that explicitly supports that network arrangement. A self-hosted WireGuard server still needs a reachable endpoint; simply installing it behind the same CGNAT does not create one. Overlay services can use outbound connections and relay paths, with their own requirements and trade-offs.
Avoid a consumer router's exposed-host/DMZ shortcut for this setup. Its exact behaviour depends on the router, but it commonly forwards unsolicited traffic much more broadly than the one service being tested. Forward only the ports you need and verify their destination. HTTPS is introduced later in Part 12; do not treat the temporary public HTTP demonstration as a finished login or publishing setup.
Further reading: RFC 6598 shared address space, Tailscale connection types.
Conclusion
Although this was a short article that might not seem like it accomplished much, we have now set up connectivity from outside of our home network. We will now look at getting our reserve proxy, NGINX, into the mix to have more granular control over the services and addresses we provide. This will also enable us to have other services up and running from outside the home network and even some game servers. Now we can start to focus on getting useful apps running rather than getting connections and security up and running.