It's been a while since we installed a service in our Build Your Own Homelab series, so today we look at a completely different service to our normal ones. Although security is important, and accessing our network via VPN is probably necessary, let's take a break and look at a service that can help us manage our plants at home by logging care events, photos and reminders. These records support your decisions; they do not determine when a particular plant needs water.
Version Used in This Walkthrough: Plant-it 0.10.0
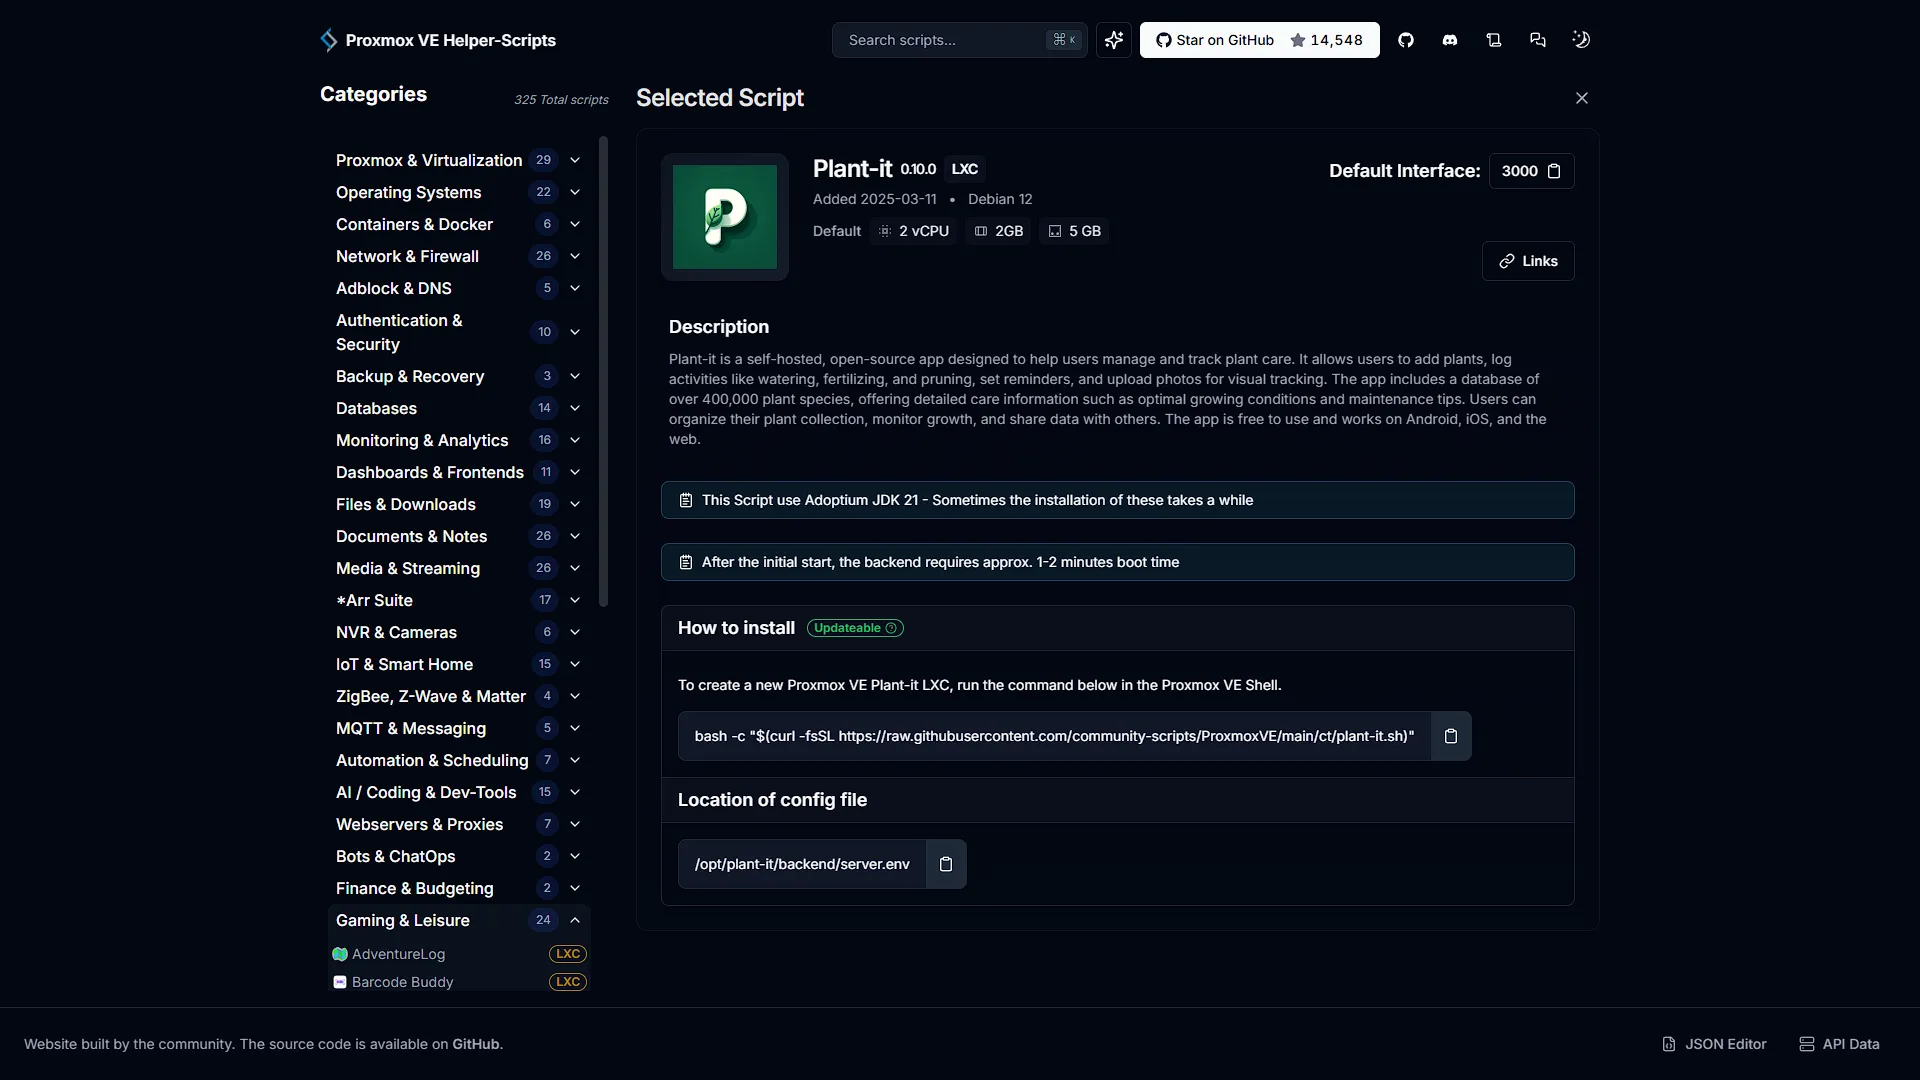
The helper screenshot identifies Plant-it 0.10.0, Debian 12, two vCPUs, 2 GB of memory and a 5 GB disk, with the web interface on port 3000. Those are the documented defaults for this installation, not promises about a later helper revision. The steps below retain that server-backed web workflow.
The current upstream Android architecture is covered in a separate note after the walkthrough. If using the legacy web edition, record the installed version and follow the matching configuration steps in this series. Check the helper's current release notes before a new deployment or upgrade.
Step 1: Getting the Helper Script
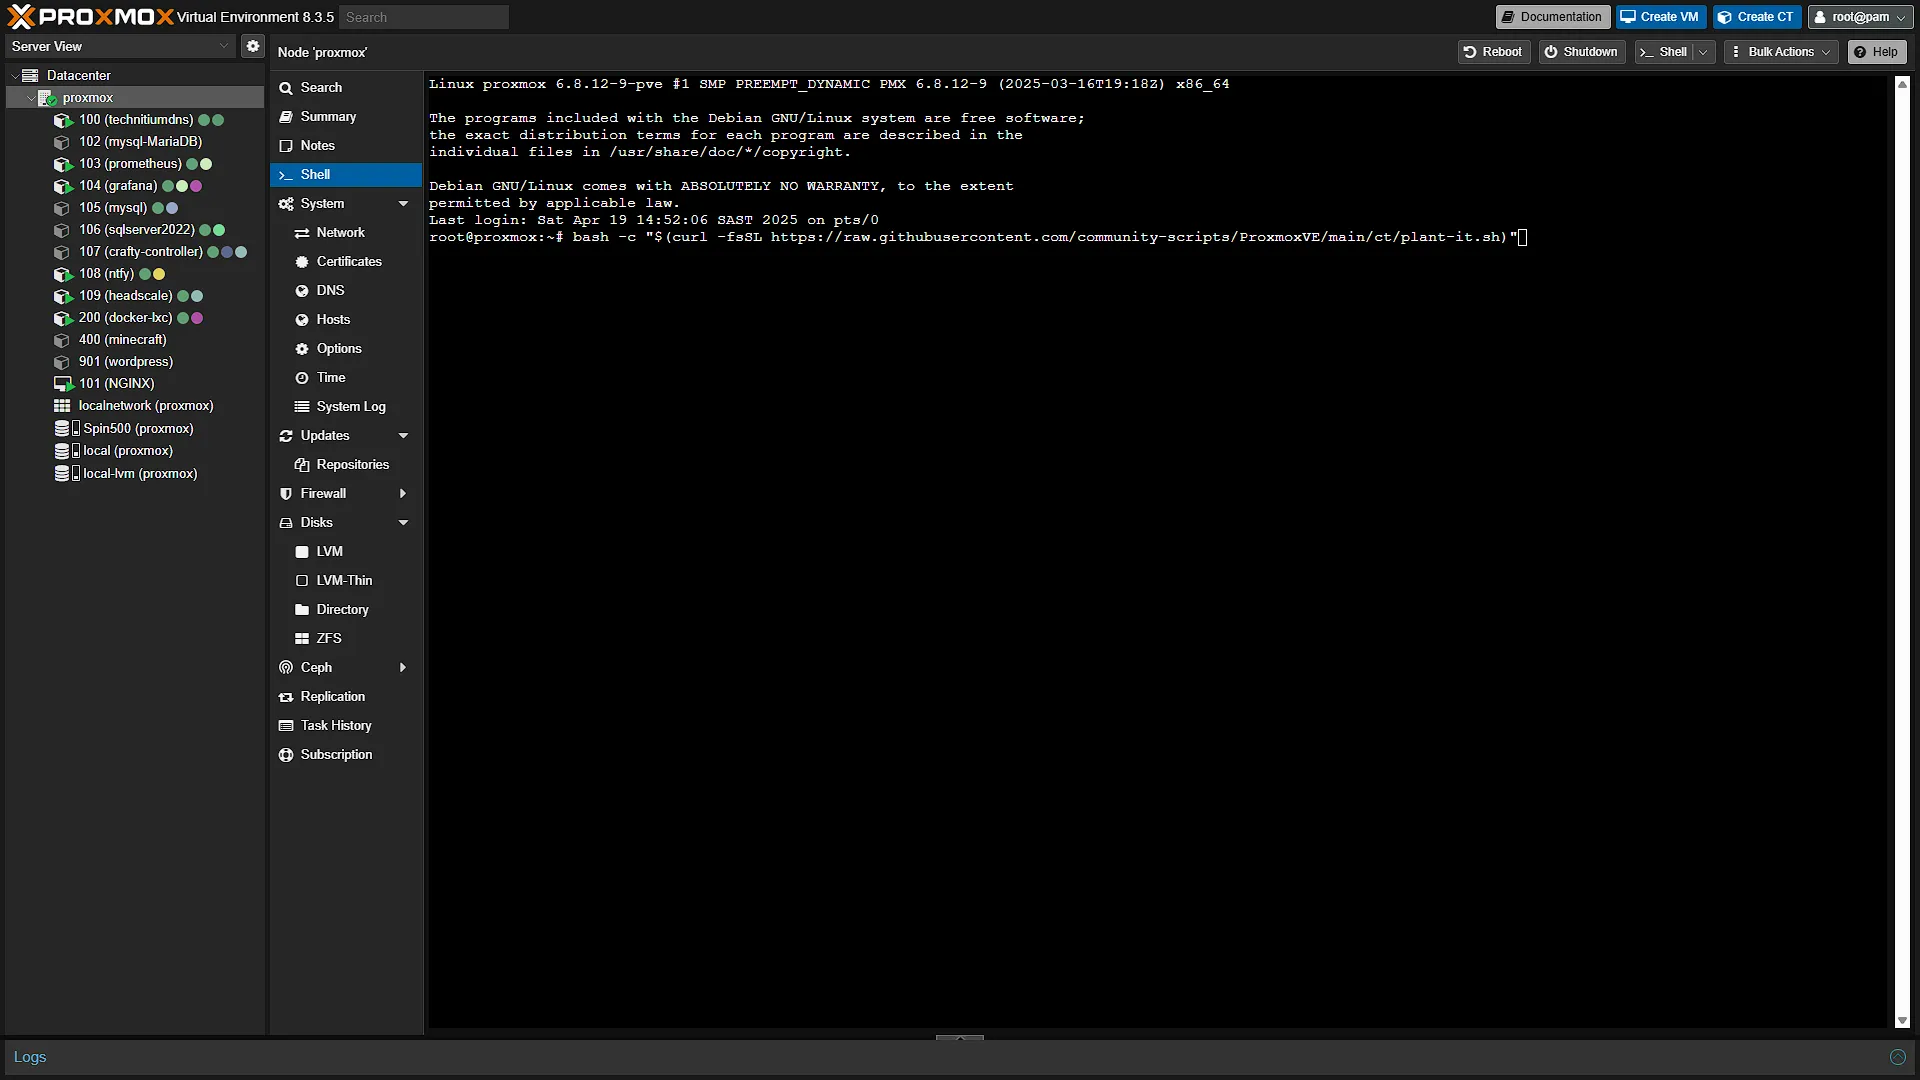
You guessed it, we are again using the amazing Proxmox VE Community Scripts. Go to the community website and search for Plant-it. There should be only one result, an LXC container. That is the one we need. Click on it and get the install command:
bash -c "$(curl -fsSL https://raw.githubusercontent.com/community-scripts/ProxmoxVE/main/ct/plant-it.sh)"The helper page shown in the screenshot uses Adoptium JDK 21. Downloading and installing Java can extend installation time; the original walkthrough allowed roughly four or five extra minutes, depending on hardware and downloads. After initial startup, the helper notes approximately one to two minutes for the backend to boot. If the web page is not immediately available, allow that startup time before investigating or reinstalling.
The same helper screenshot lists the configuration file as /opt/plant-it/backend/server.env. Retain that path for this demonstrated installation. For a materially different helper revision, inspect the installed service definition rather than assuming the layout is identical.

Step 2: Install the LXC Container with Plant-It
With the helper script ready, open and log in to your Proxmox installation. In the left navigation window, expand Datacenter, and then select the Proxmox server you want to install Plant-it on. In the middle navigation pane, select  . Paste the command and press enter to start installation.
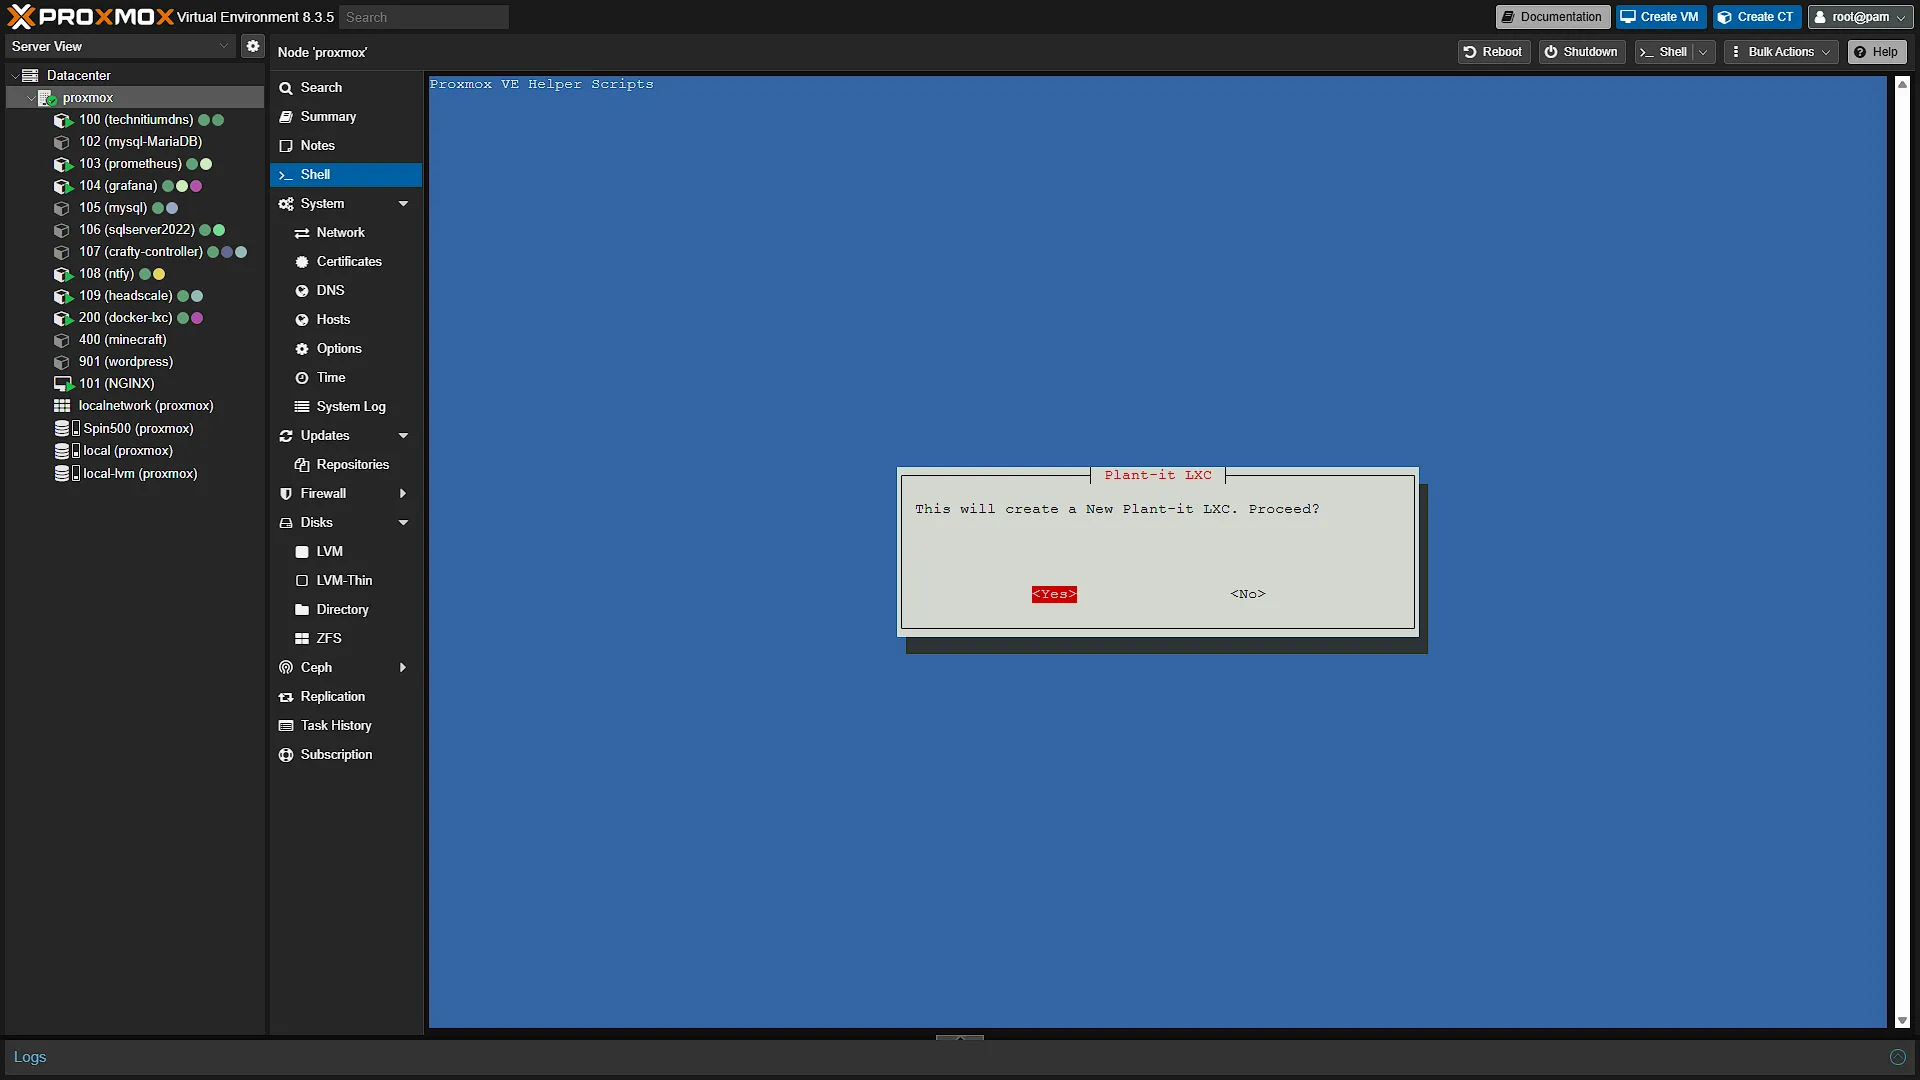
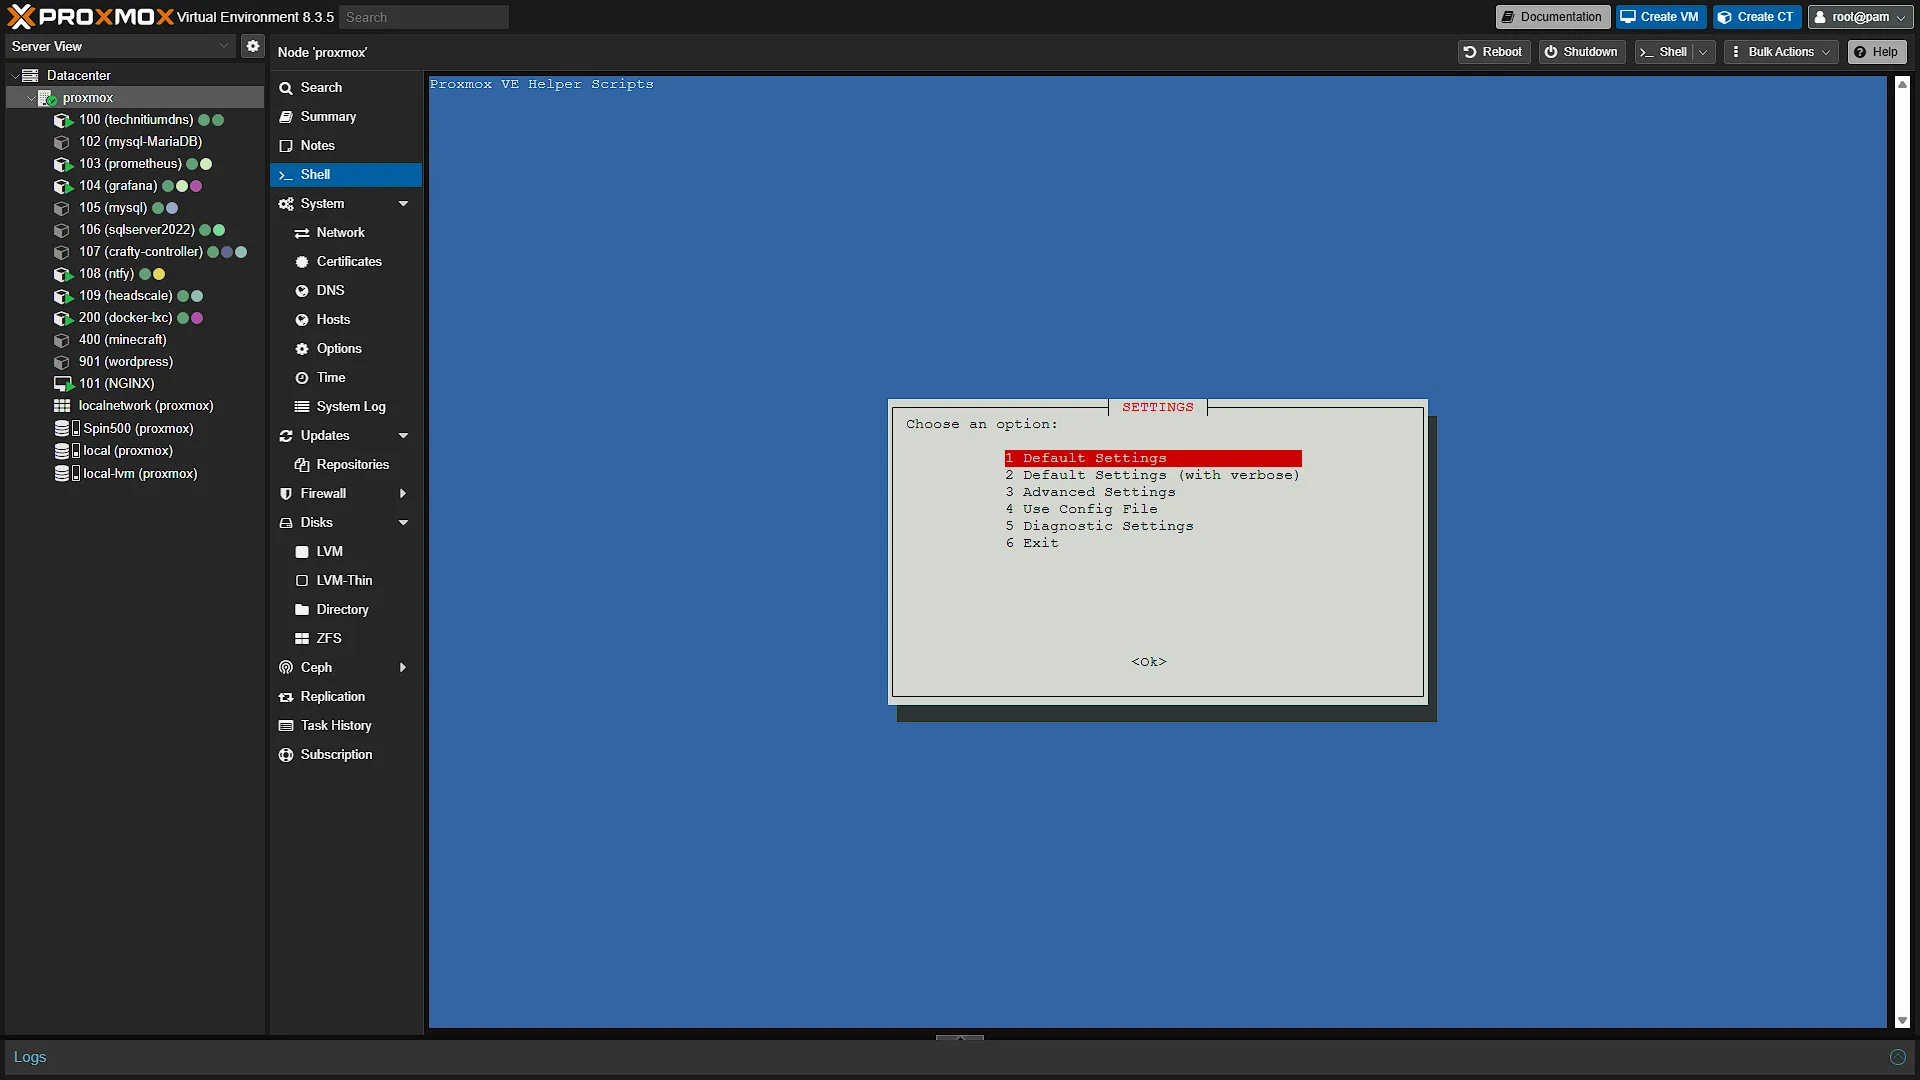
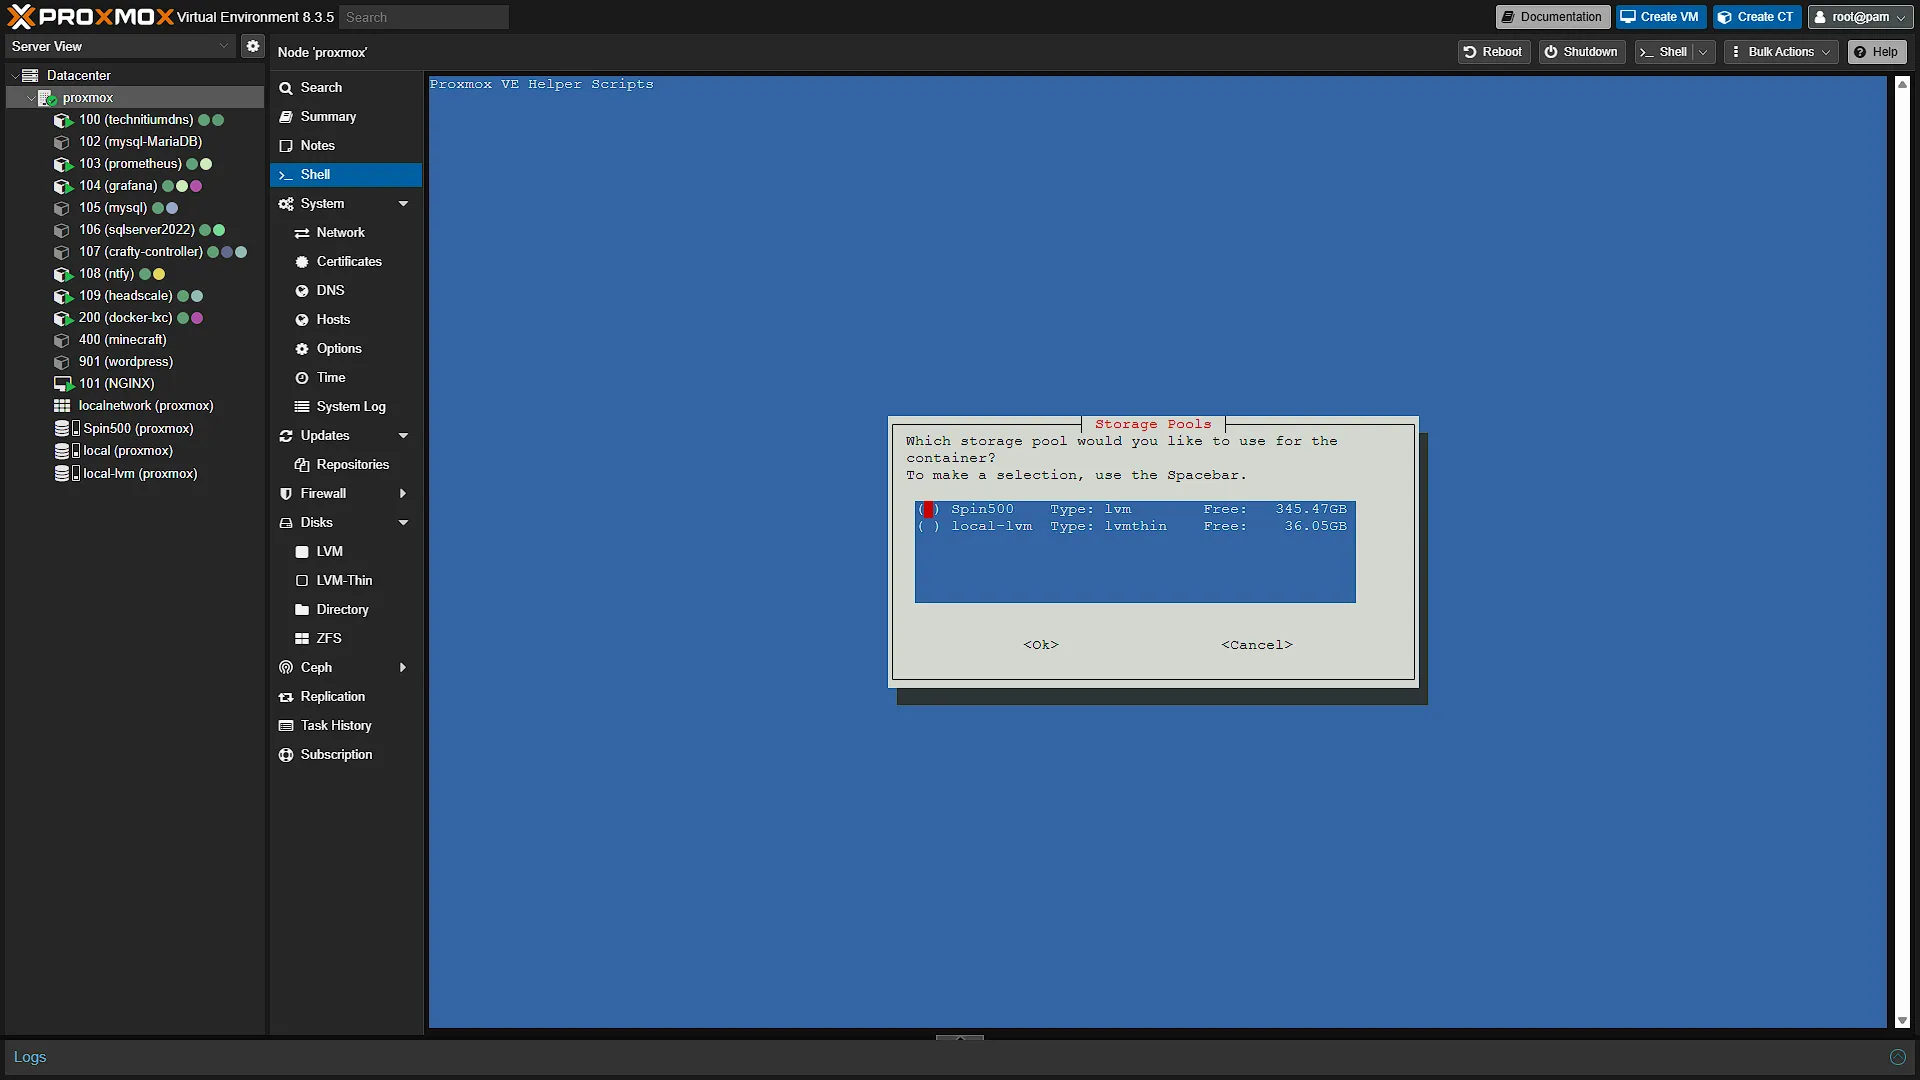
The first screen will be a confirmation making sure that we want to install Plant-it. Press enter. The second will again be our settings. You are welcome to select Advanced if you wish, we are just sticking to the default and pressing enter. If you have multiple storage disks in your Proxmox Server, you will be asked to select which disk you wish to install to.
The install will now start. It will take quite some time to complete, so please be patient. Once done, you will get a notification of the address where Plant-it can be accessed.
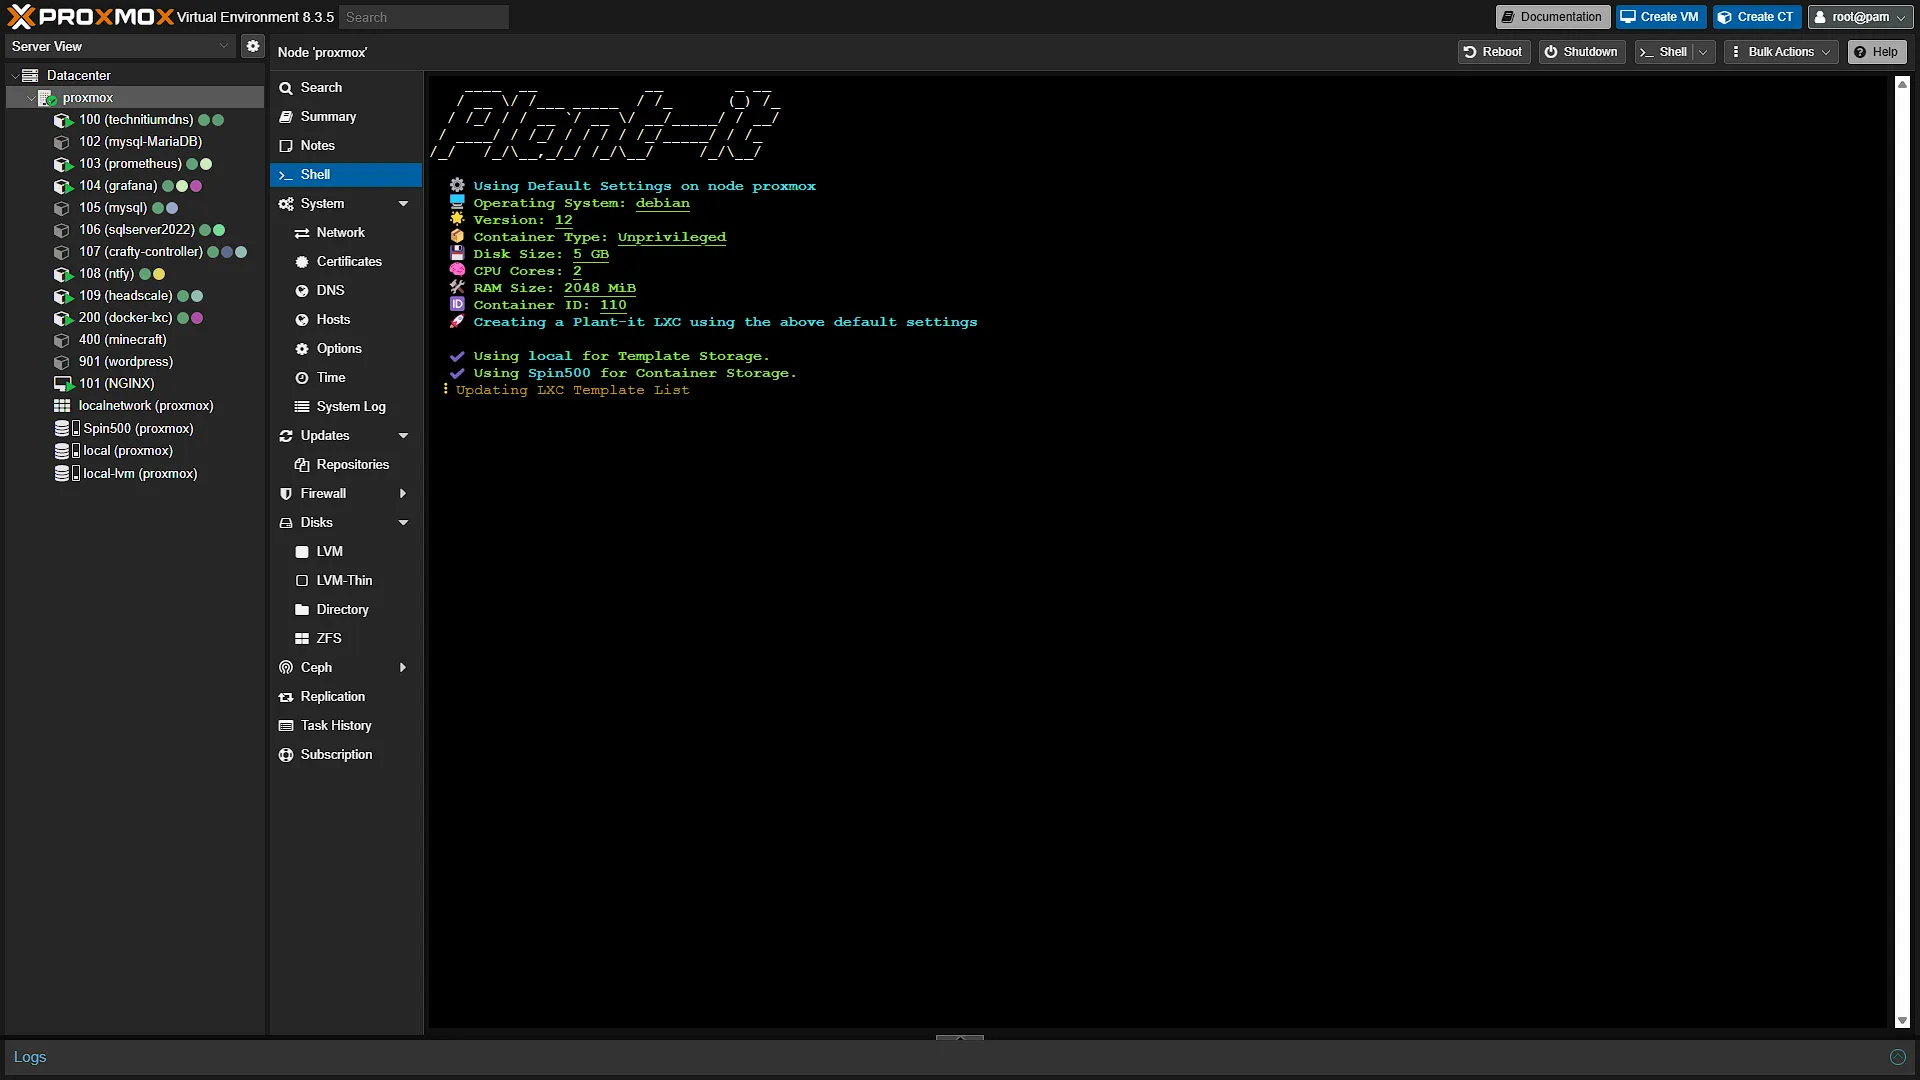
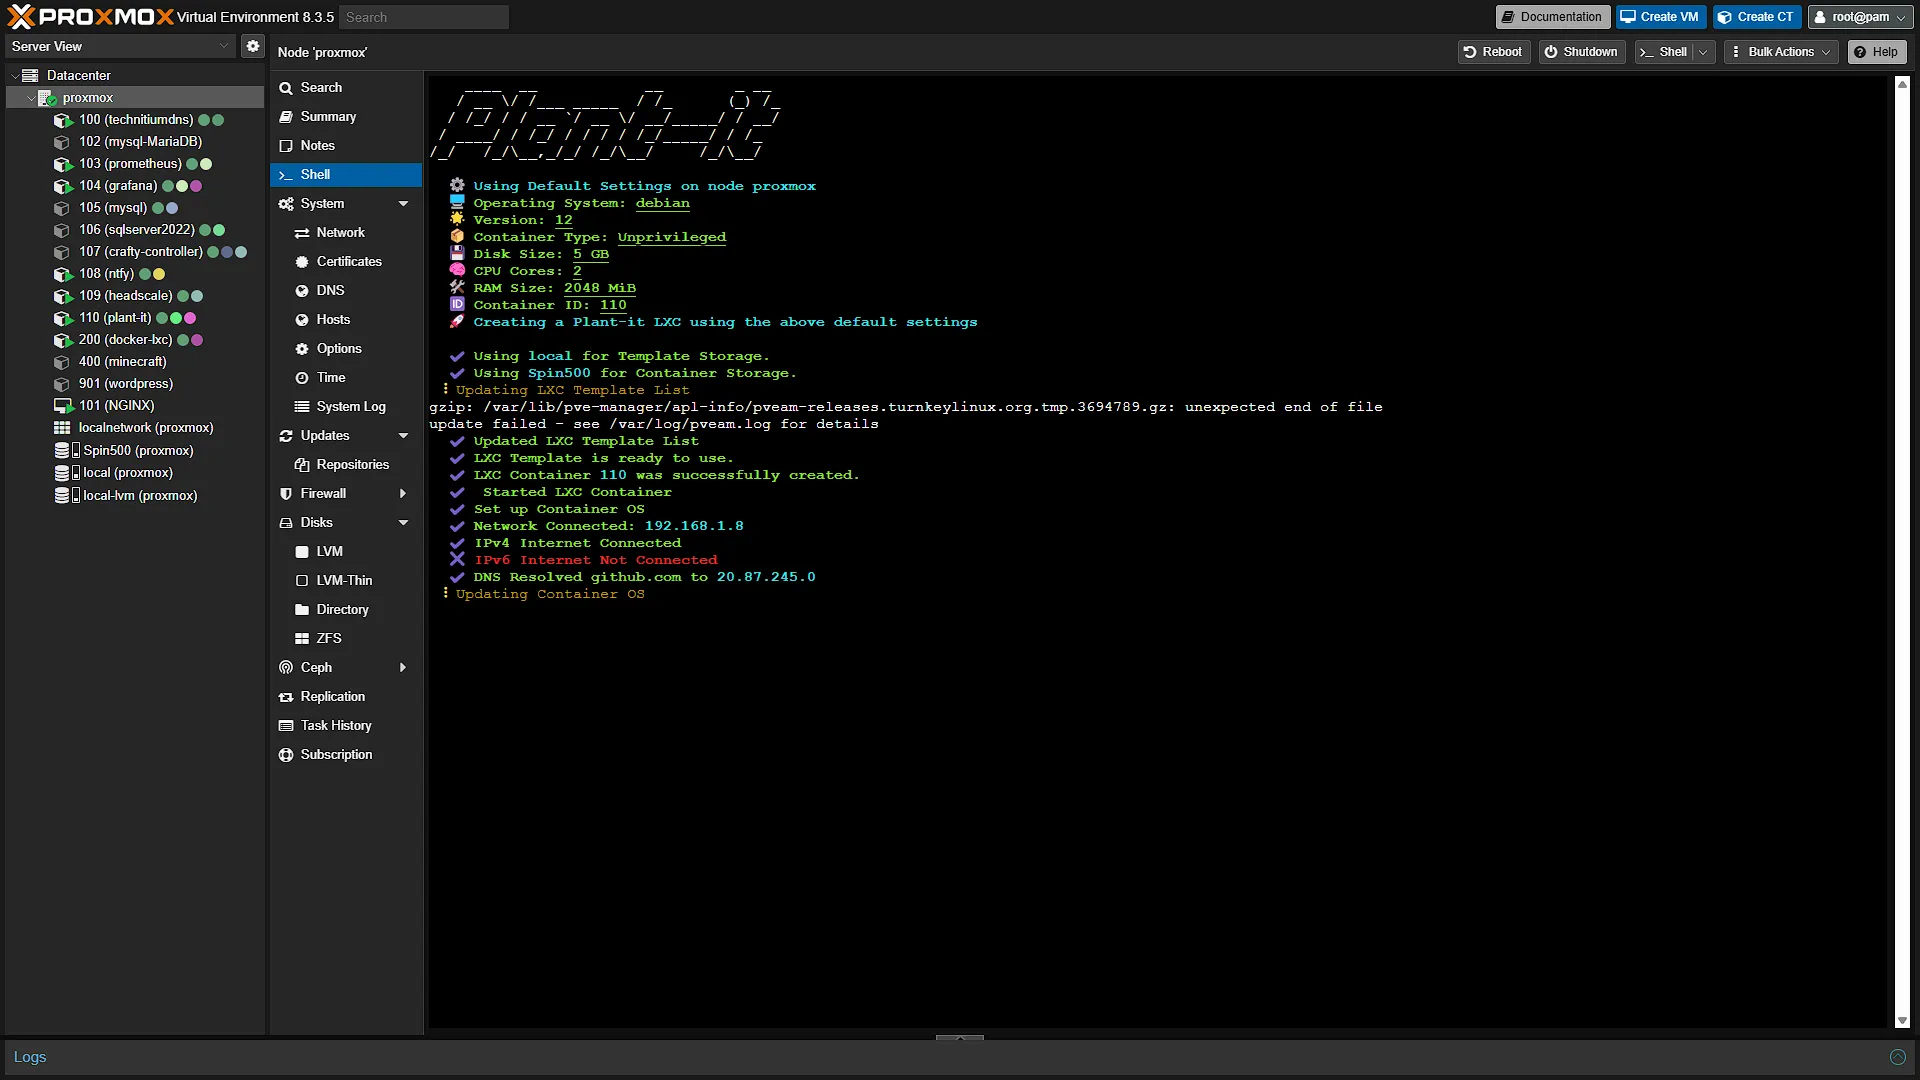
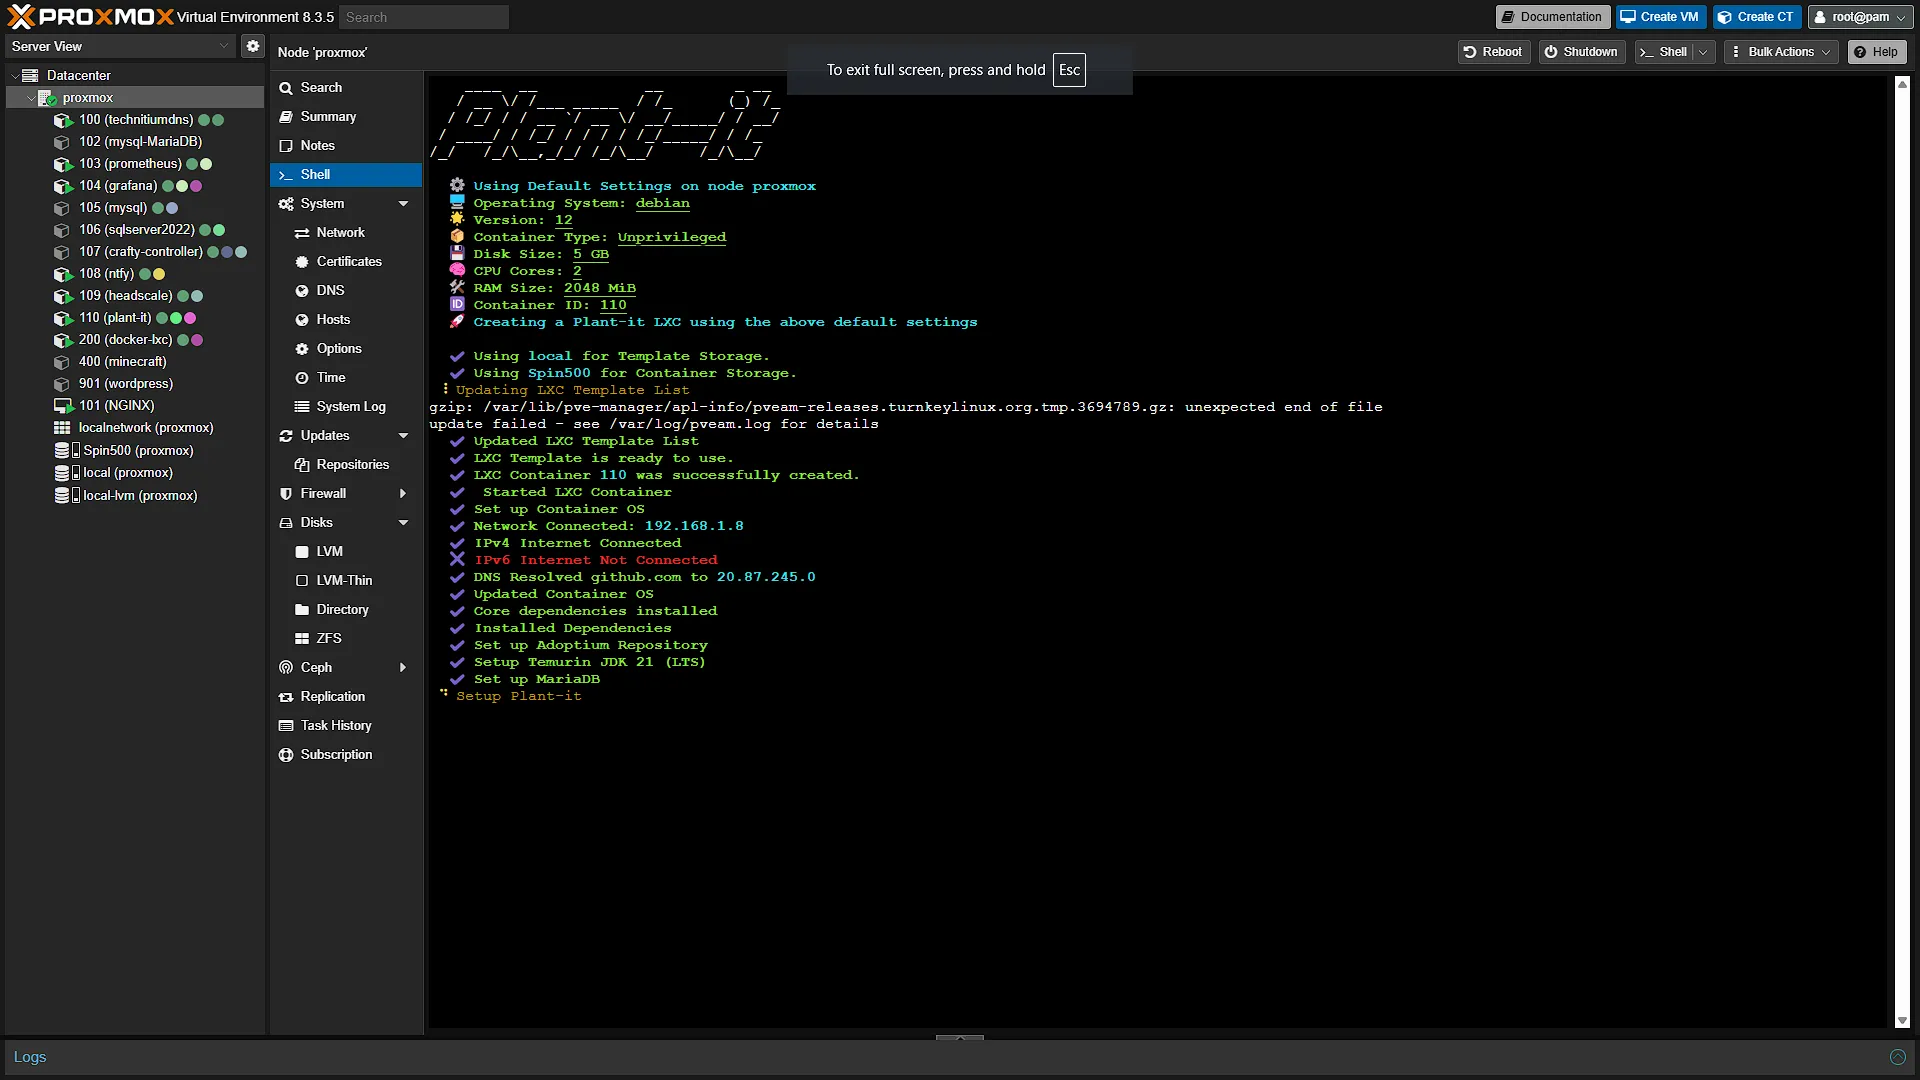
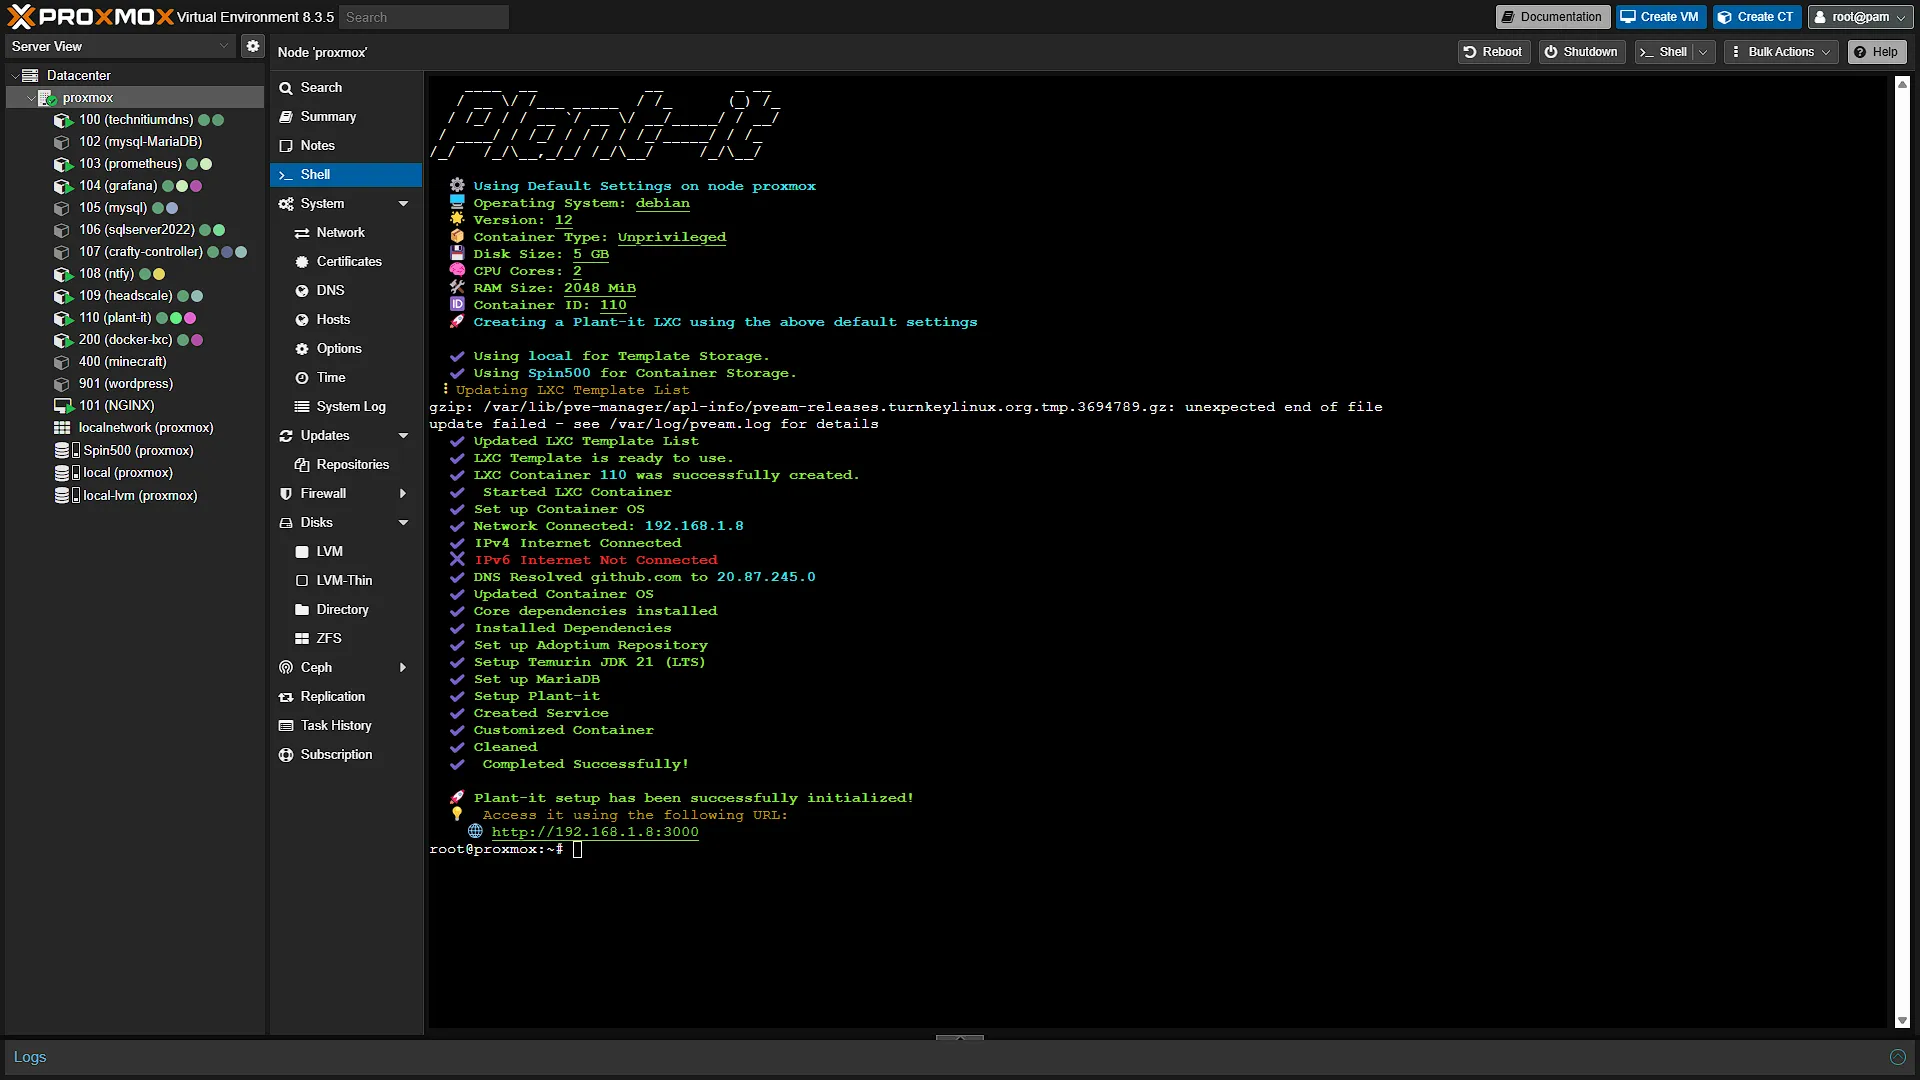
Step 3: Log in and configure
Once installed, you will get the address where Plant-it can be accessed. In our case, the address is:
http://192.168.1.8:3000For this legacy helper deployment, port 3000 is the documented web entry point. However, it is necessary to know that two services were installed. The first was on port 3000 - this is the front end. The server was installed separately and runs on port 8080.
Access Plant-it with the provided address and the first screen you will see will be the server selection screen. Enter the IP address of the LXC container, but on port 8080, so in our case:
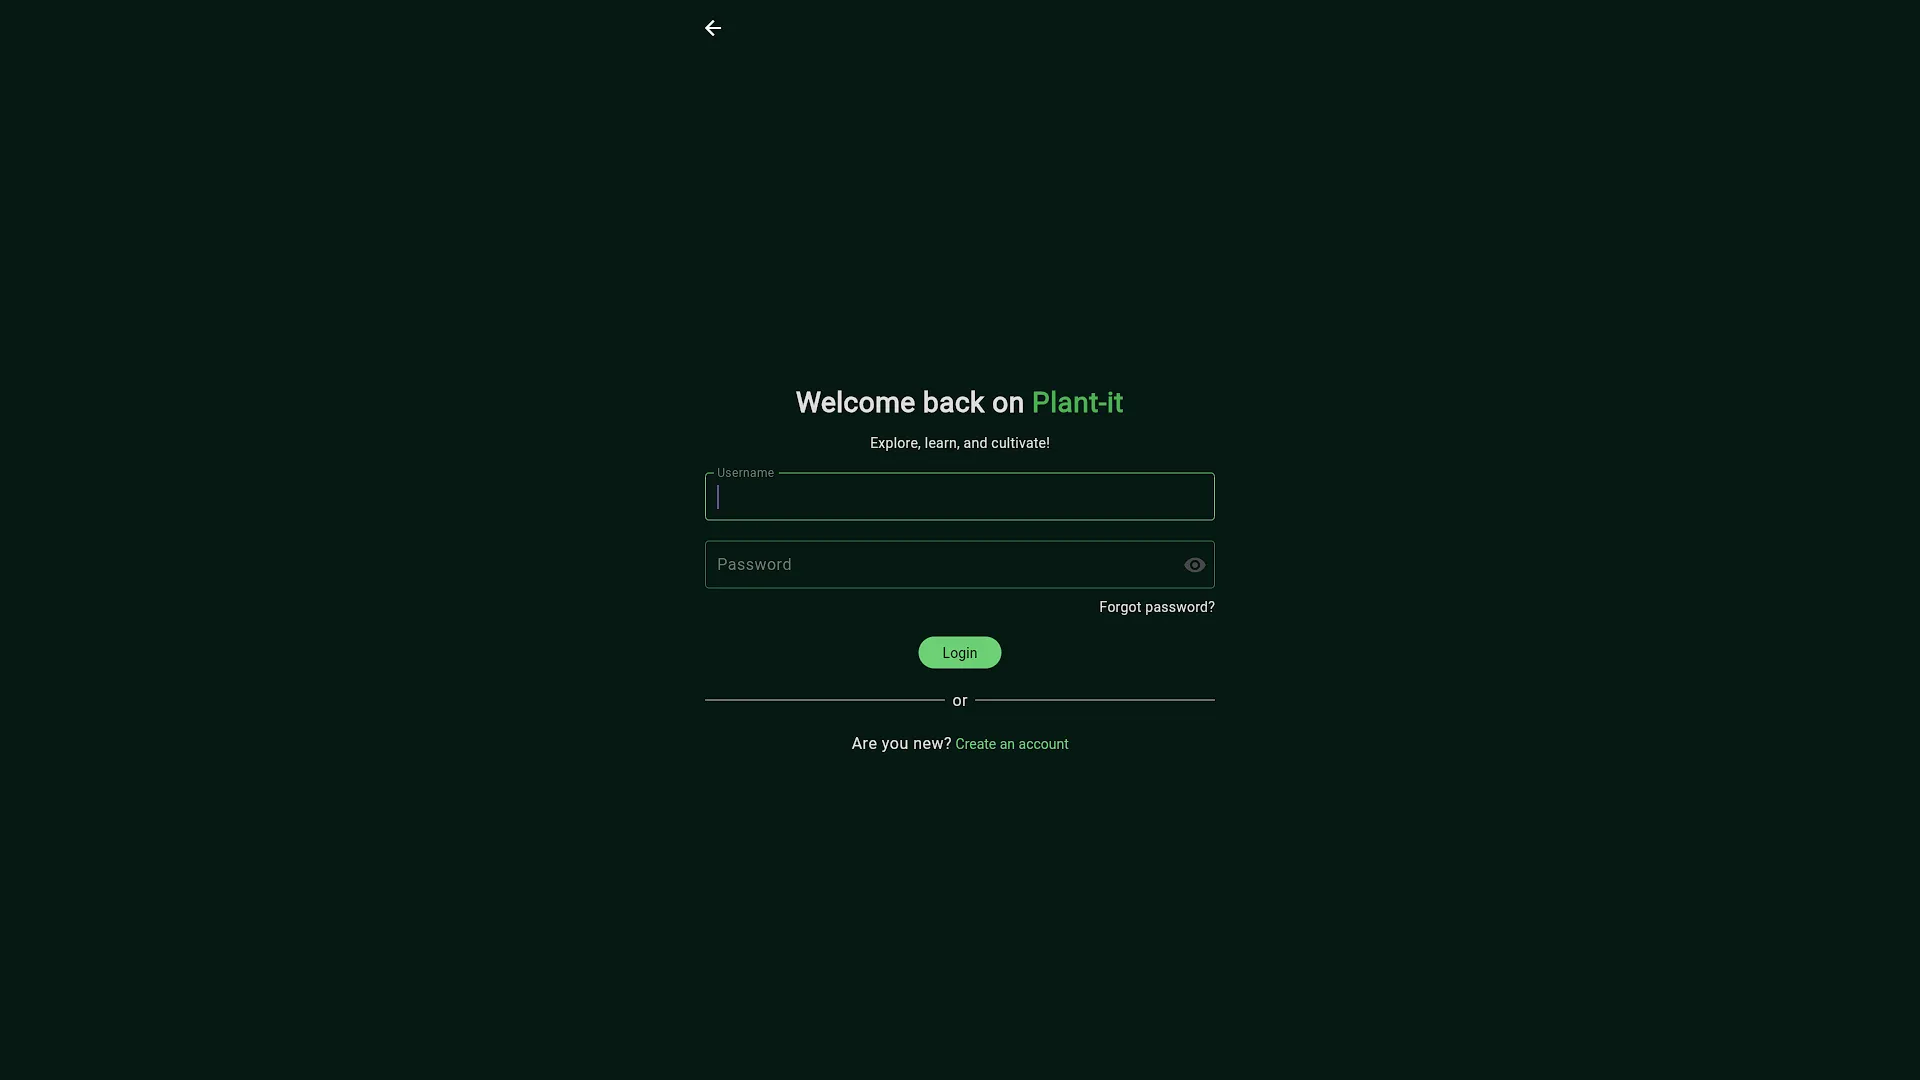
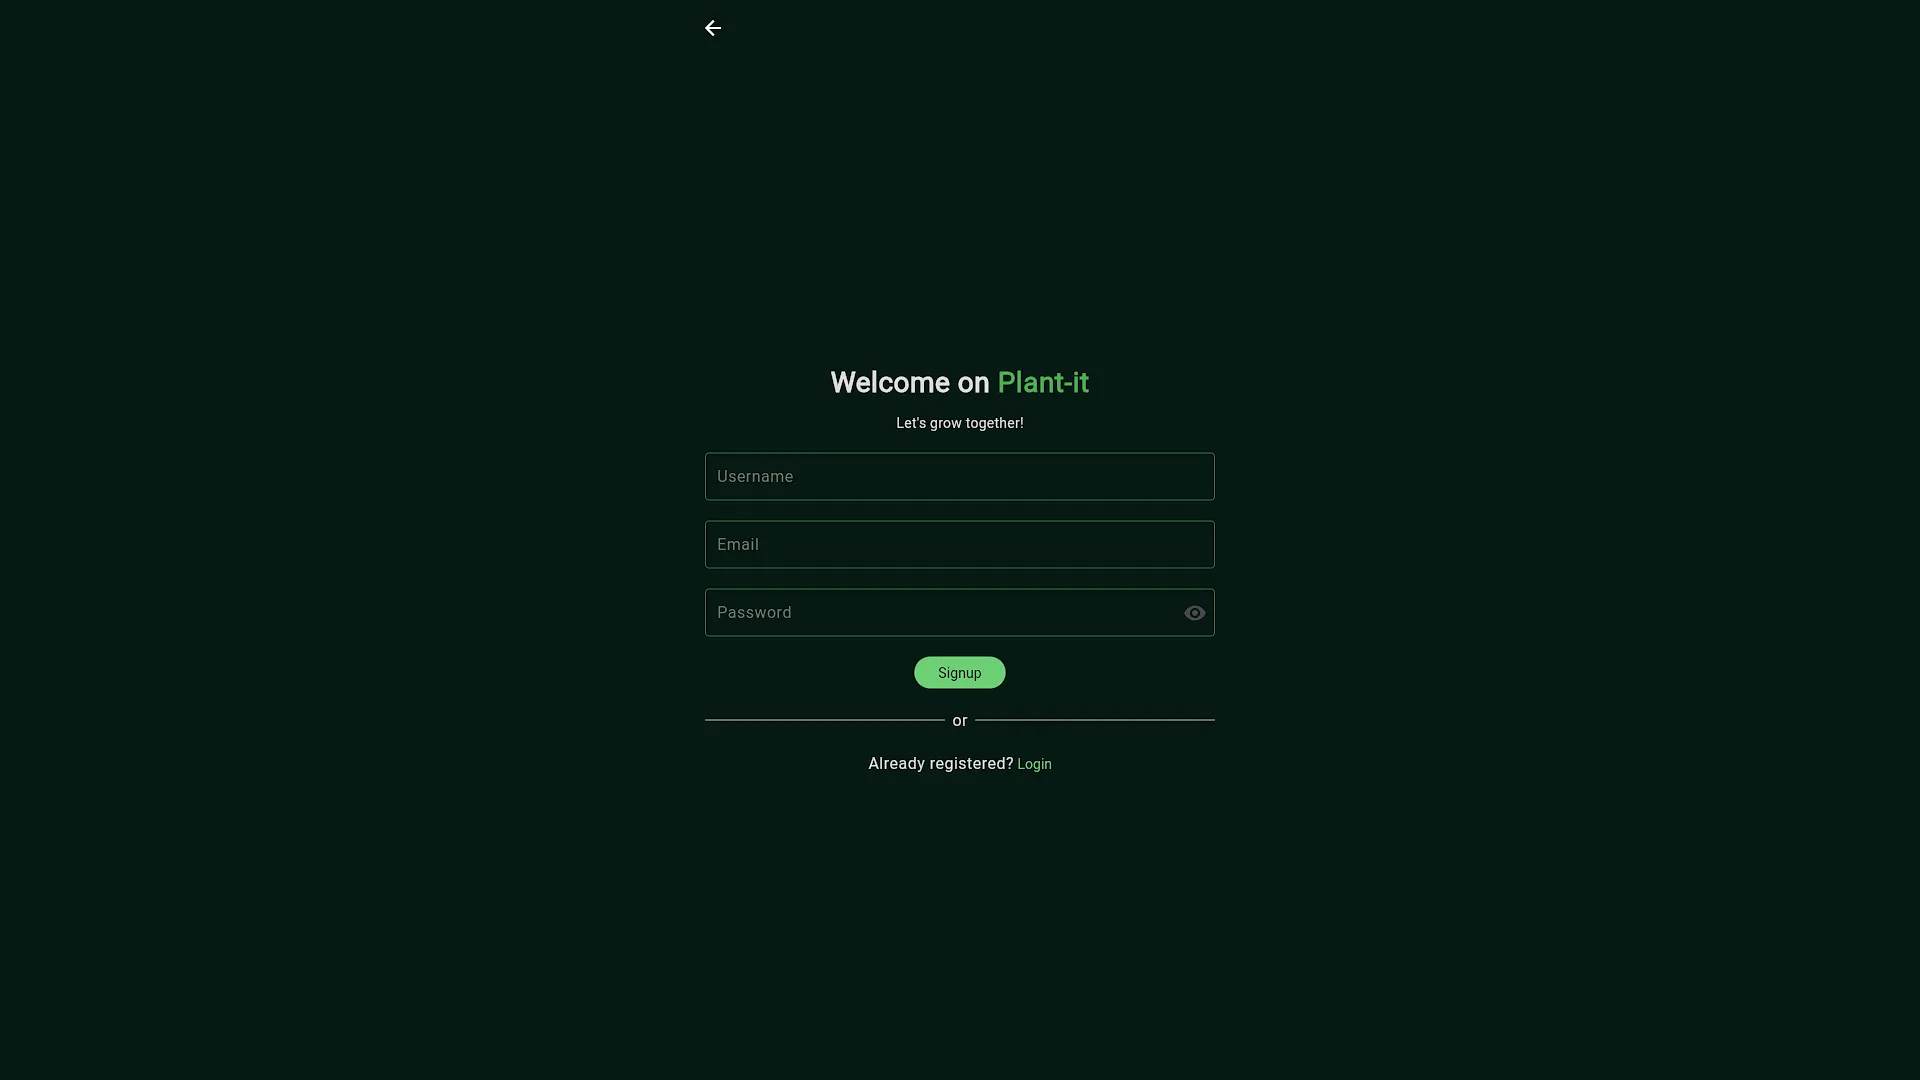
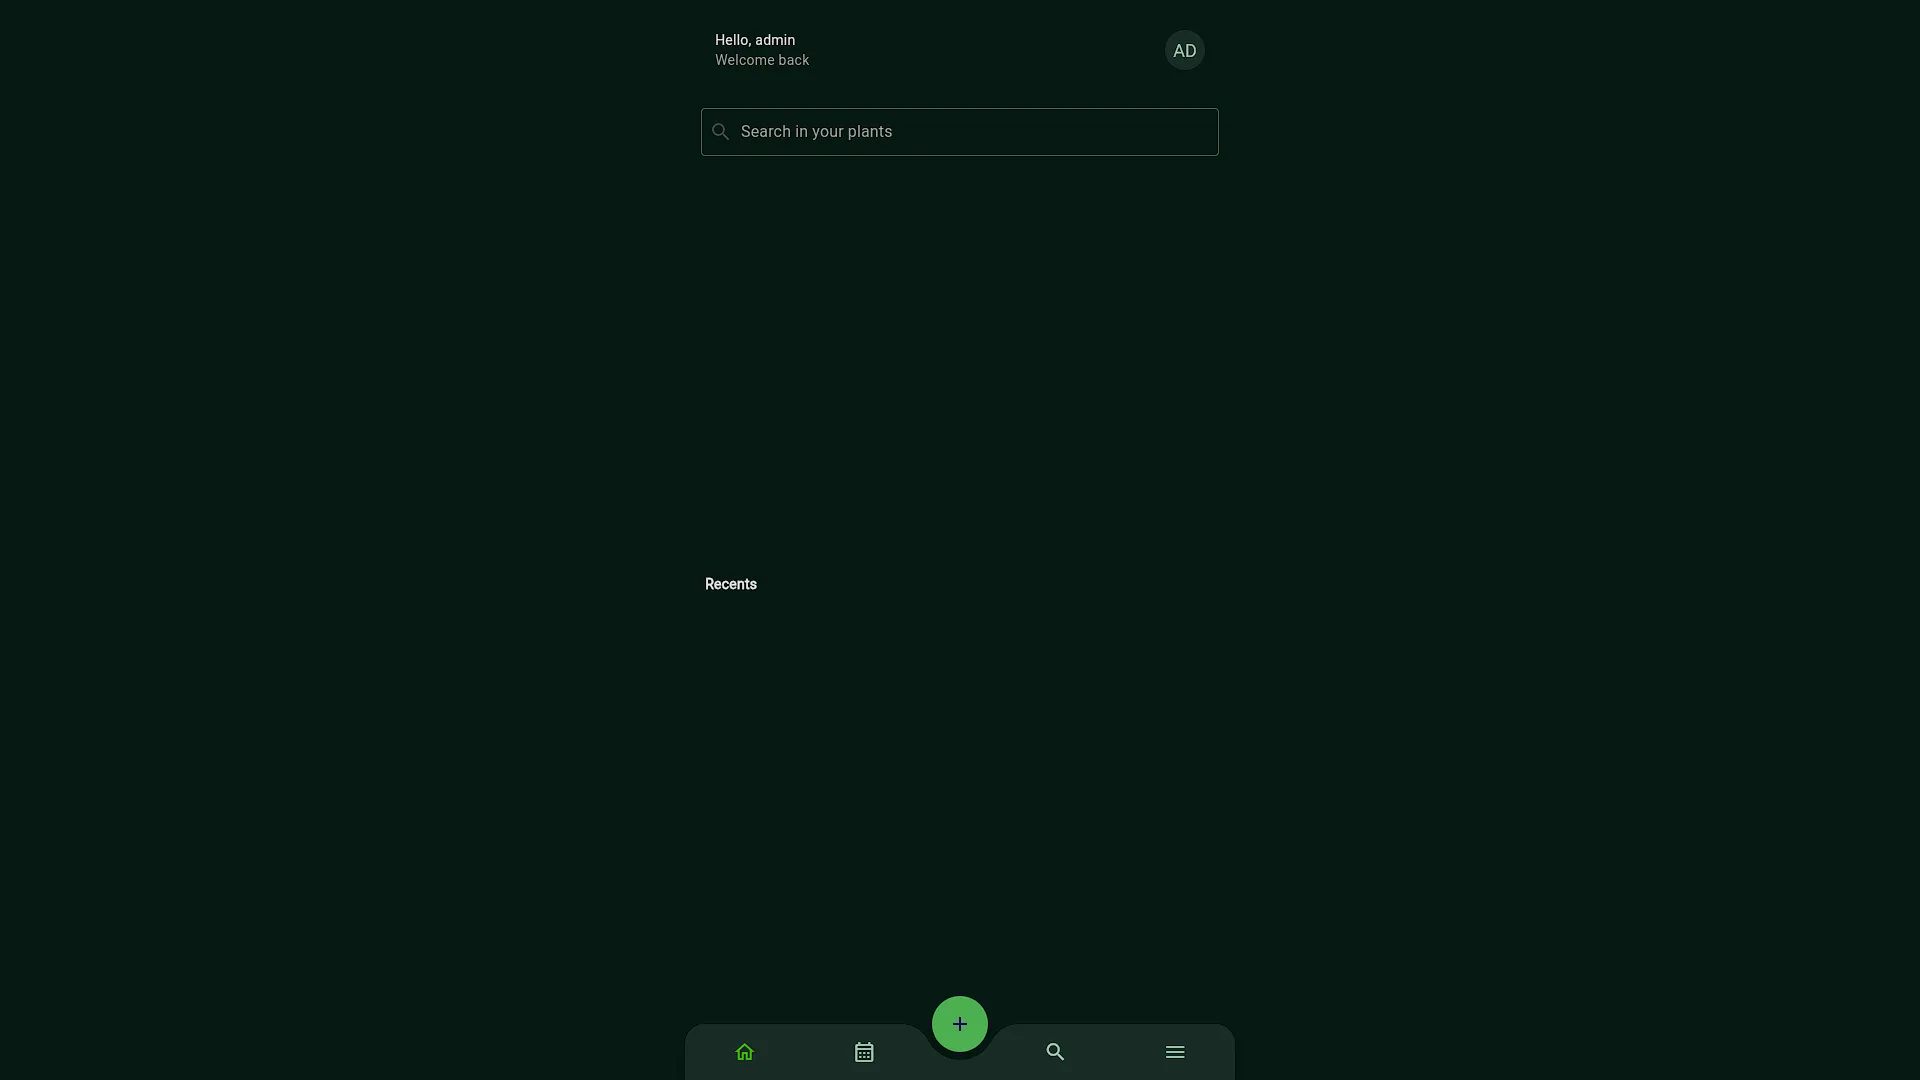
http://192.168.1.8:8080This will connect to the server and ask for a username and password. Seeing as we have not added one, select to create a new user and fill in the details. You will then be able to access Plant-it.
Use the container address assigned in your own installation. The backend URL must be reachable from the device running the browser, not just from inside the LXC. On a phone, localhost means the phone itself. Keep registration and test traffic private while you establish the legacy service.

After the Walkthrough: Understand Plant-it State and Configuration
The installation and login screenshots above complete Part 35. Part 36 shows the Docker alternative, and Part 37 configures the installed application. The checks below supplement those steps; they do not require switching to the current Android app.
The old edition separates a Flutter browser interface from a Spring Boot backend. The helper also manages database dependencies. Use the photographed Debian 12 and resource settings for the demonstrated setup. Inspect actual service names if diagnosing a different release; the next configuration article uses plant-it.service for this helper installation.
| Part | Legacy role | What to verify |
|---|---|---|
| Browser frontend | Displays plants, photos and care records | It loads at the helper's advertised web address |
| Backend API | Handles account and plant operations | The configured API address is reachable from the browser device |
| Database | Stores application records | The backend has the intended database connection and persistent data |
| Photo storage and configuration | Preserve uploads and service settings | Identify actual paths, ownership and backup coverage |
The browser calls its selected API endpoint; serving the frontend does not automatically proxy every API request. A working page with a failed login or empty collection can therefore indicate a separate backend or browser-connectivity problem.
Use Records and Reminders Thoughtfully
Give each plant a recognizable name and location, then log one care event and a photo. Use reminders as a prompt to inspect the plant, soil and conditions. A repeating seven-day notification is a schedule you selected, not evidence that watering is required. Seasonal light, substrate, pot size and the plant's actual condition still inform the decision.
If your legacy version supports an external botanical lookup or notification integration, configure it using that release's documentation and check the returned fields. Do not assume every species includes complete light and water advice. Keep external API keys and notification credentials private and test delivery with a harmless reminder.
Configuration Path and Optional Service Checks
The demonstrated helper's configuration file is /opt/plant-it/backend/server.env. Part 37 explains which values to edit. You can inspect it now without changing the application configuration:
cd /opt/plant-it/backend/
ls -l server.env
systemctl status plant-it.service --no-pager
journalctl -u plant-it.service -n 50 --no-pager
After a deliberate configuration change in Part 37, the demonstrated restart command is systemctl restart plant-it.service. This differs from guessed backend/frontend unit names; use the matching unit for this installation. If your helper release uses another unit, discover it with systemctl list-unit-files --type=service and inspect its configuration.
The environment file can hold database passwords and integration keys, so protect it. Identify the actual photo and database storage paths separately; the configuration-file location does not prove that every uploaded image is stored beside it. Check backup coverage for external storage and Proxmox bind mounts.
Test a Complete Plant Record and Recovery
Create a clearly labeled test plant, record a watering event, attach a photo and sign out. Sign back in from the device you expect to use day to day and confirm that all three remain visible. Restart the container during a maintenance window and repeat the check. This separates persistent state from a page that merely loads successfully.
For an API connection error, compare the URL entered in server selection with the container's actual address and port. Check backend logs at the same time as the failed request. If you later put HTTPS in front of the browser interface, inspect whether the API still uses HTTP: browsers can reject mixed active content. Align both endpoints and their allowed origins rather than disabling browser security checks.
Back up the database consistently, uploaded images and configuration together. Protect environment files because they may contain database passwords or integration keys. Restore to an isolated test container and verify a sample plant, photo and event before declaring the backup usable. Keep a brief inventory of the version, storage paths and external dependencies alongside the backup.
Optional Compatibility Note: The Current Android App
This version note does not alter the 0.10.0 instructions above. The community helper pins its web installation to the last web version; upstream 1.0 removed the backend and web/iOS editions. Its release notes explicitly warn that the new architecture does not provide a database-copy migration and that users need to re-enter data. Do not point an old deployment at the latest release and expect its records to appear. Preserve the legacy service and its backup while evaluating the replacement app.
Inventory the plants, important event dates and photos you want to retain. Test the new workflow with one plant before rebuilding the full collection. Keep originals in a readable independent location where appropriate. If staying on the legacy web edition, document that choice and its lack of future updates so a later routine maintenance pass does not silently turn into an incompatible upgrade.
Conclusion
Plant-it 0.10.0 is installed with the web interface on port 3000 and backend on port 8080, following the screenshots. Part 36 covers installation through Docker and Portainer if you prefer that alternative. For the LXC already installed here, continue to Part 37 to configure the service, then Part 38 for the demonstrated external-access setup. Consider that exposure separately in light of the legacy version's maintenance limitations; a private VPN remains an option. Keep the newer Android edition as a separate migration choice.