Now that we have Plant-it configured as part of our Build your own homelab series, it is time we set it up so that we can access it when we are not home. It doesn't help that we have all the information on our plants but when we are at the nursery, we can't access that information to decide on plants or supplements to get. So today we are going to get nginx configured for outside access and give some tips on getting the Plant-it app installed.
Prerequisites
Before we can start, there are a couple of articles that need to be completed. Firstly, we need a way to access our home network in general. Should you not have a static IP address from your ISP, set up a Dynamic DNS Service. If you want to access multiple services from the web, you will also need a way to differentiate them in terms of address. For this a custom domain name will be required and set up. For us to route to the correct service, we also need an nginx service running - we recommend running nginx in a separate VM. For securing our services, we need to be ready to install SSL certificates on our nginx Virtual Machine. For this setup we do not need a DNS server or VPN access, so no worries there.
We also need to add two subdomains on our custom domain that points to our static IP or Dynamic DNS Address. One for the front end and one for the server. The names are up to you, we are going with:
plantit.techdecode.online
plantitserver.techdecode.online
Step 1: nginx Config
For us to get the nginx config ready, we need to remember that we have both the front-end of Plant-it as well as the backend (server) - they run on two separate ports on our installation. Depending on whether Plant-it was installed as a separate LXC container or if it was installed in Docker, your ports may be different. The defaults will be:
Front-end app: port 3000
Backend server: port 8080
As part of our installation on Docker with the help of Portainer, we changed these default ports to 3033 and 8088 respectively. Please take this into account for screenshots as your ports may be different.
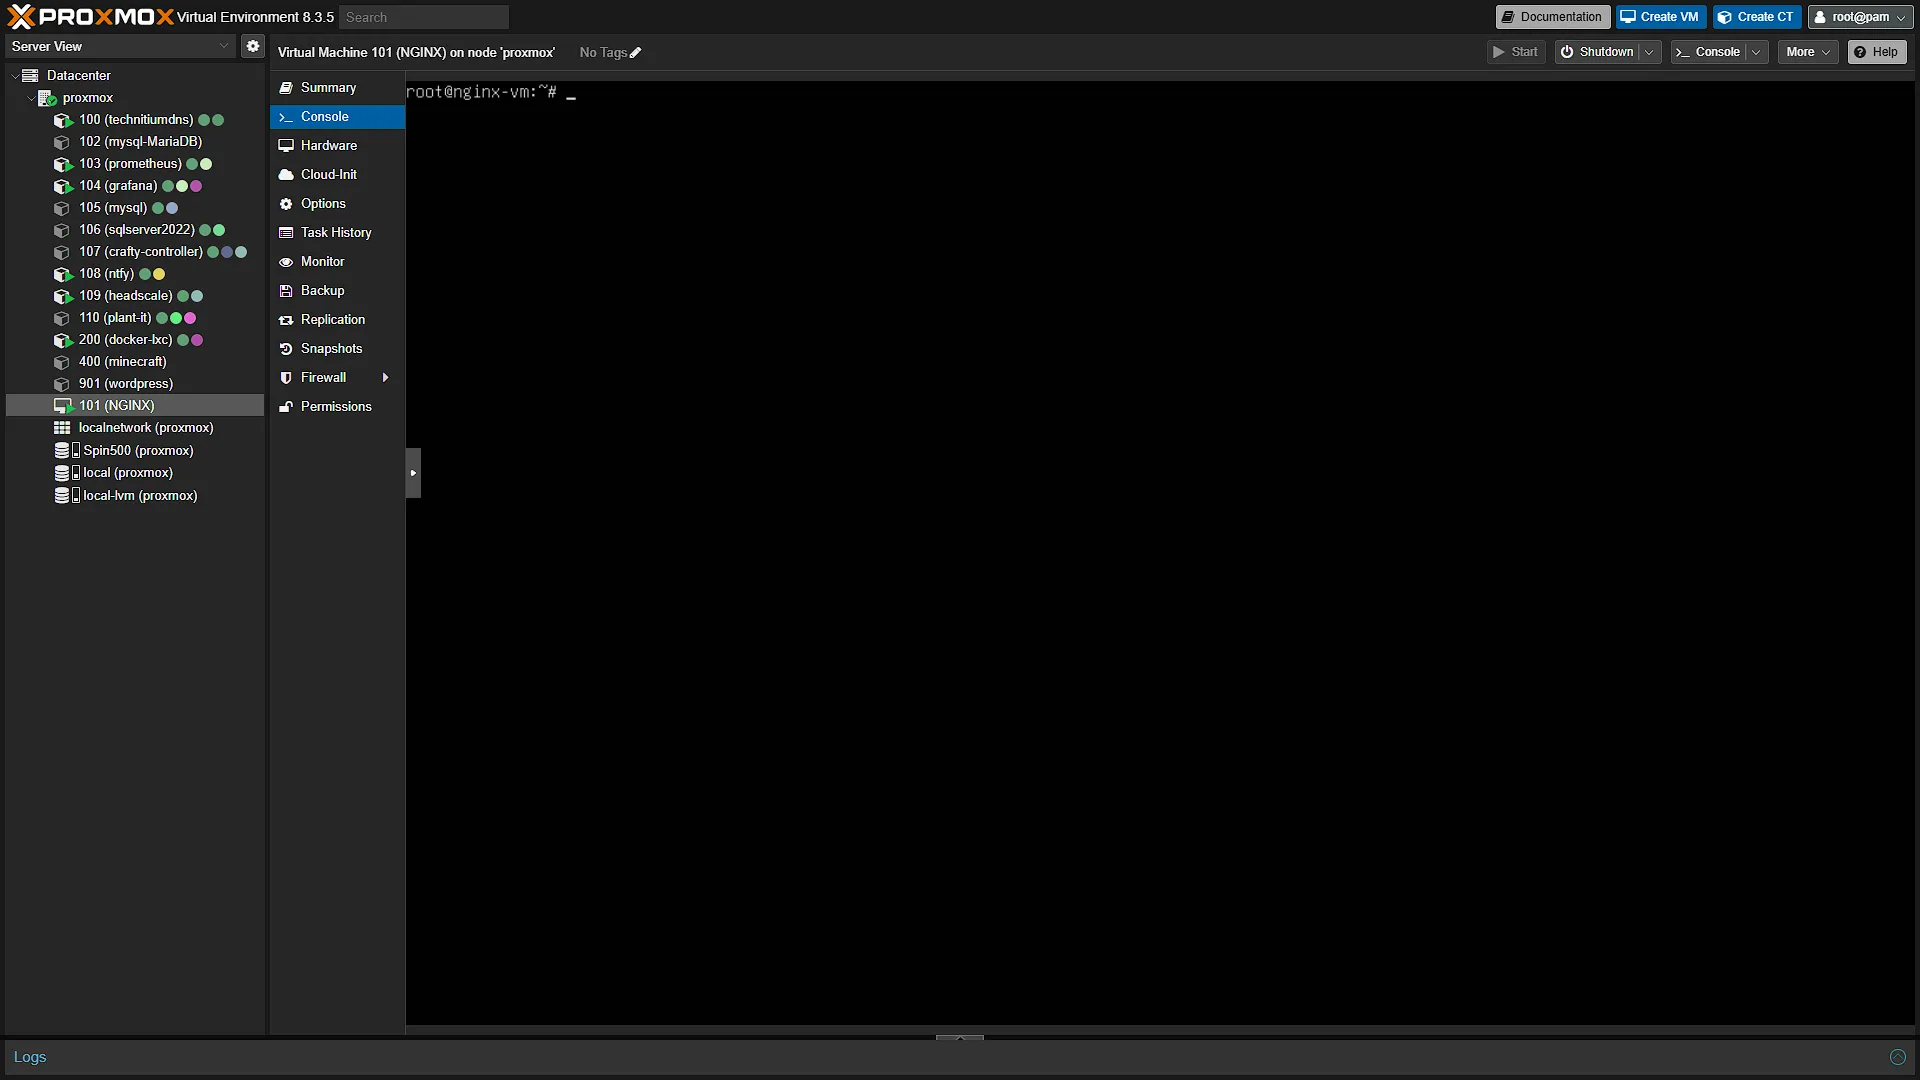
Open up a new console to your nginx virtual machine by opening a new Proxmox window and selecting the console of your nginx vm. Firstly elevate yourself to an administrator by running:
sudo suEnter the password of your username, then navigate to the nginx config file location:
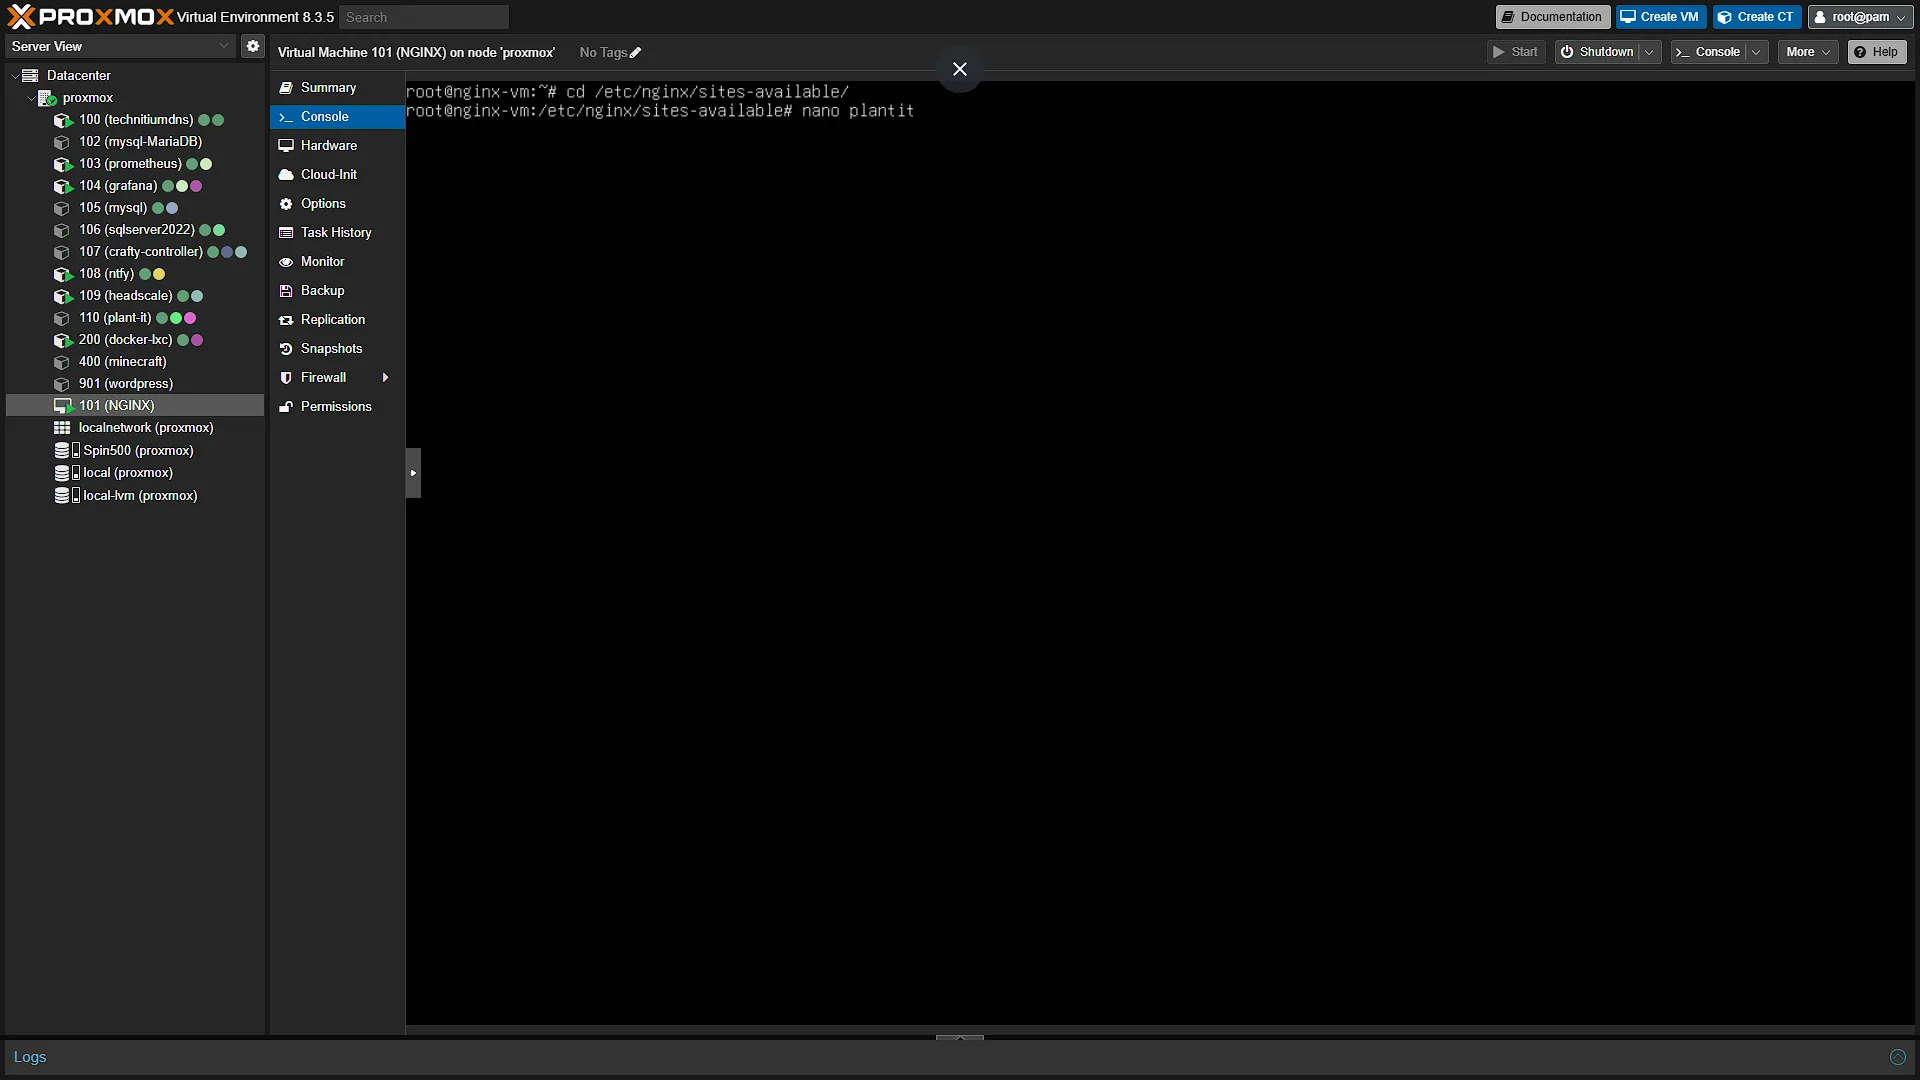
cd /etc/nginx/sites-availableOpen a new text file ready to edit with the following command:
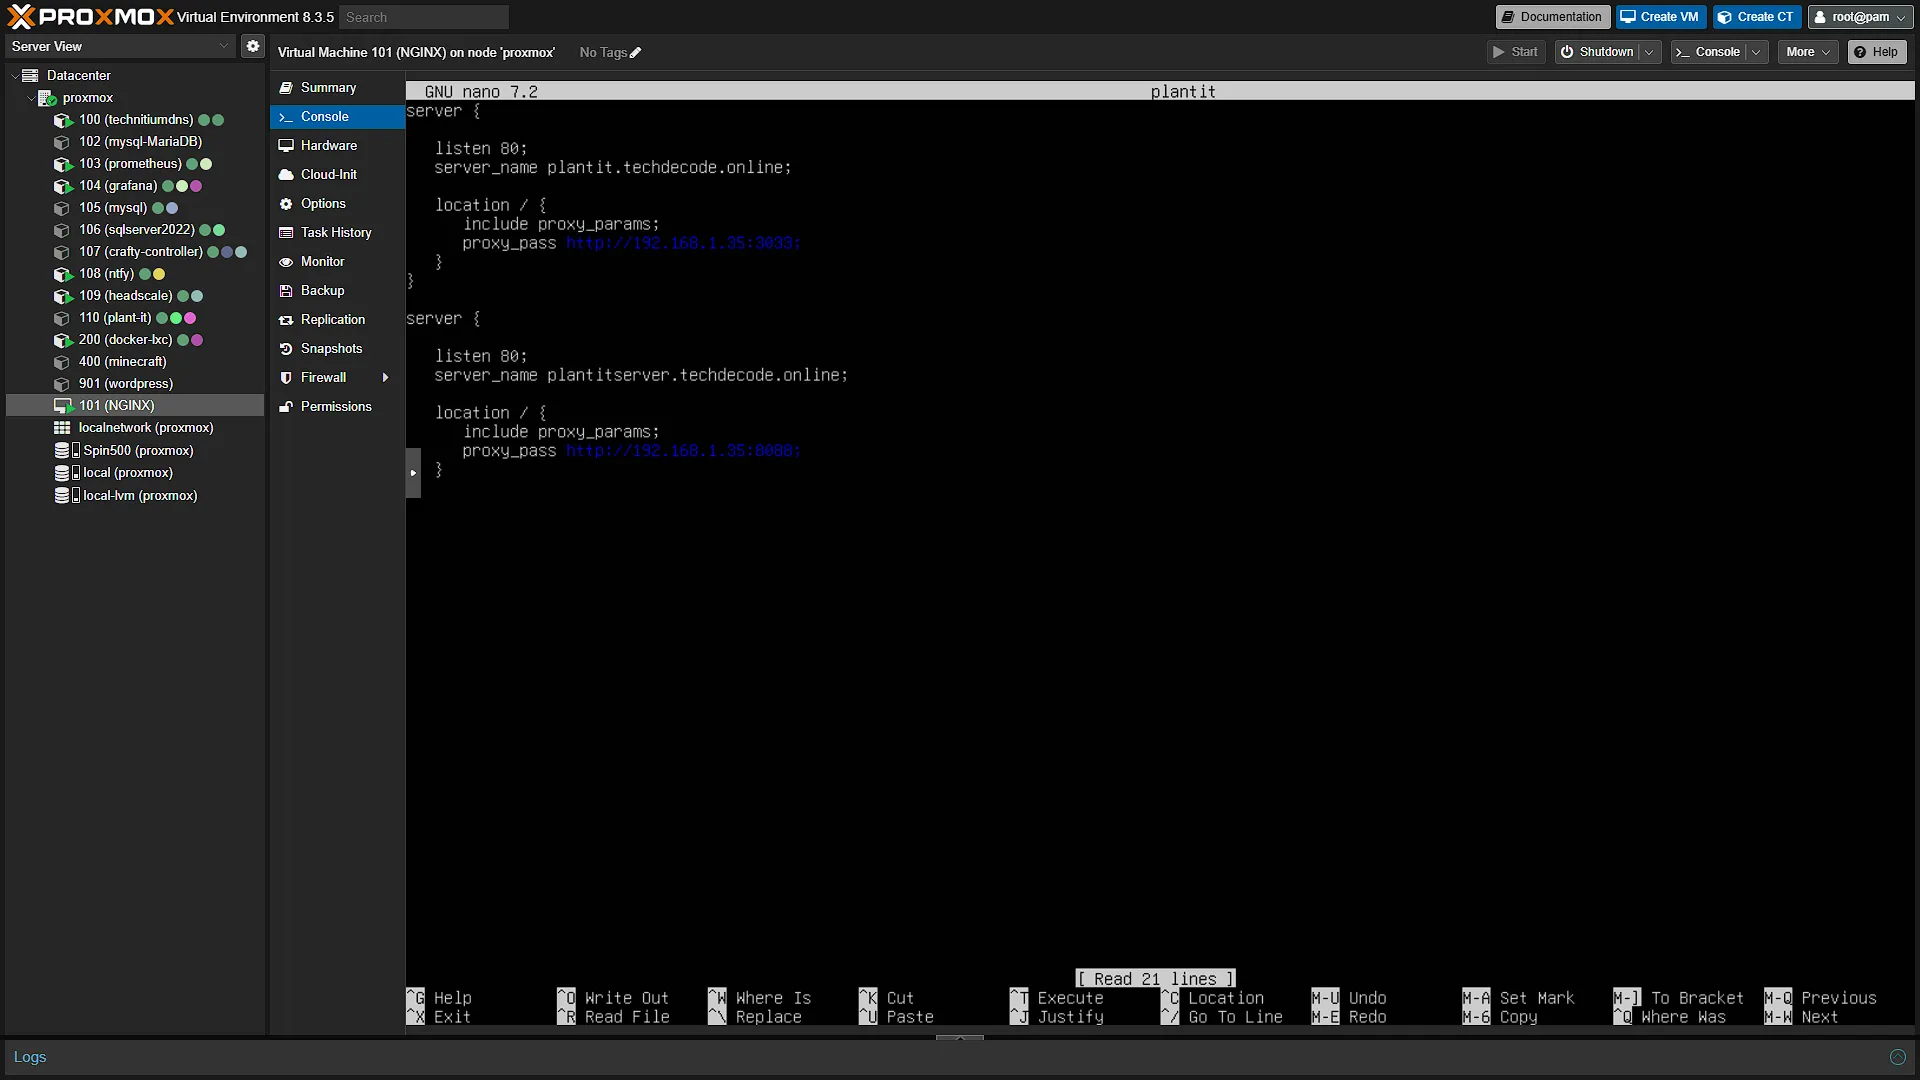
nano plantitThis will create a new file called plantit and enable editing. We need to add config for both the server and the front-end:
server {

   listen 80;
   server_name plantit.techdecode.online;

   location / {
      include proxy_params;
      proxy_pass http://192.168.1.35:3033;
   }
}

server {

   listen 80;
   server_name plantitserver.techdecode.online;

   location / {
      include proxy_params;
      proxy_pass http://192.168.1.35:8088;
   }
}
Screenshot port note: the pictured API upstream ends in :8080, while Part 36's Portainer screenshot publishes 8088:8080. The code above uses host port 8088 to match that Docker mapping. Check the port actually published by your deployment; do not copy the API line from the image without that check.
Remember to change the server_name to the URLs you want to use and for your custom domain. Also check the port numbers of both blocks. Save the file with Ctrl+S and exit with Ctrl+X.
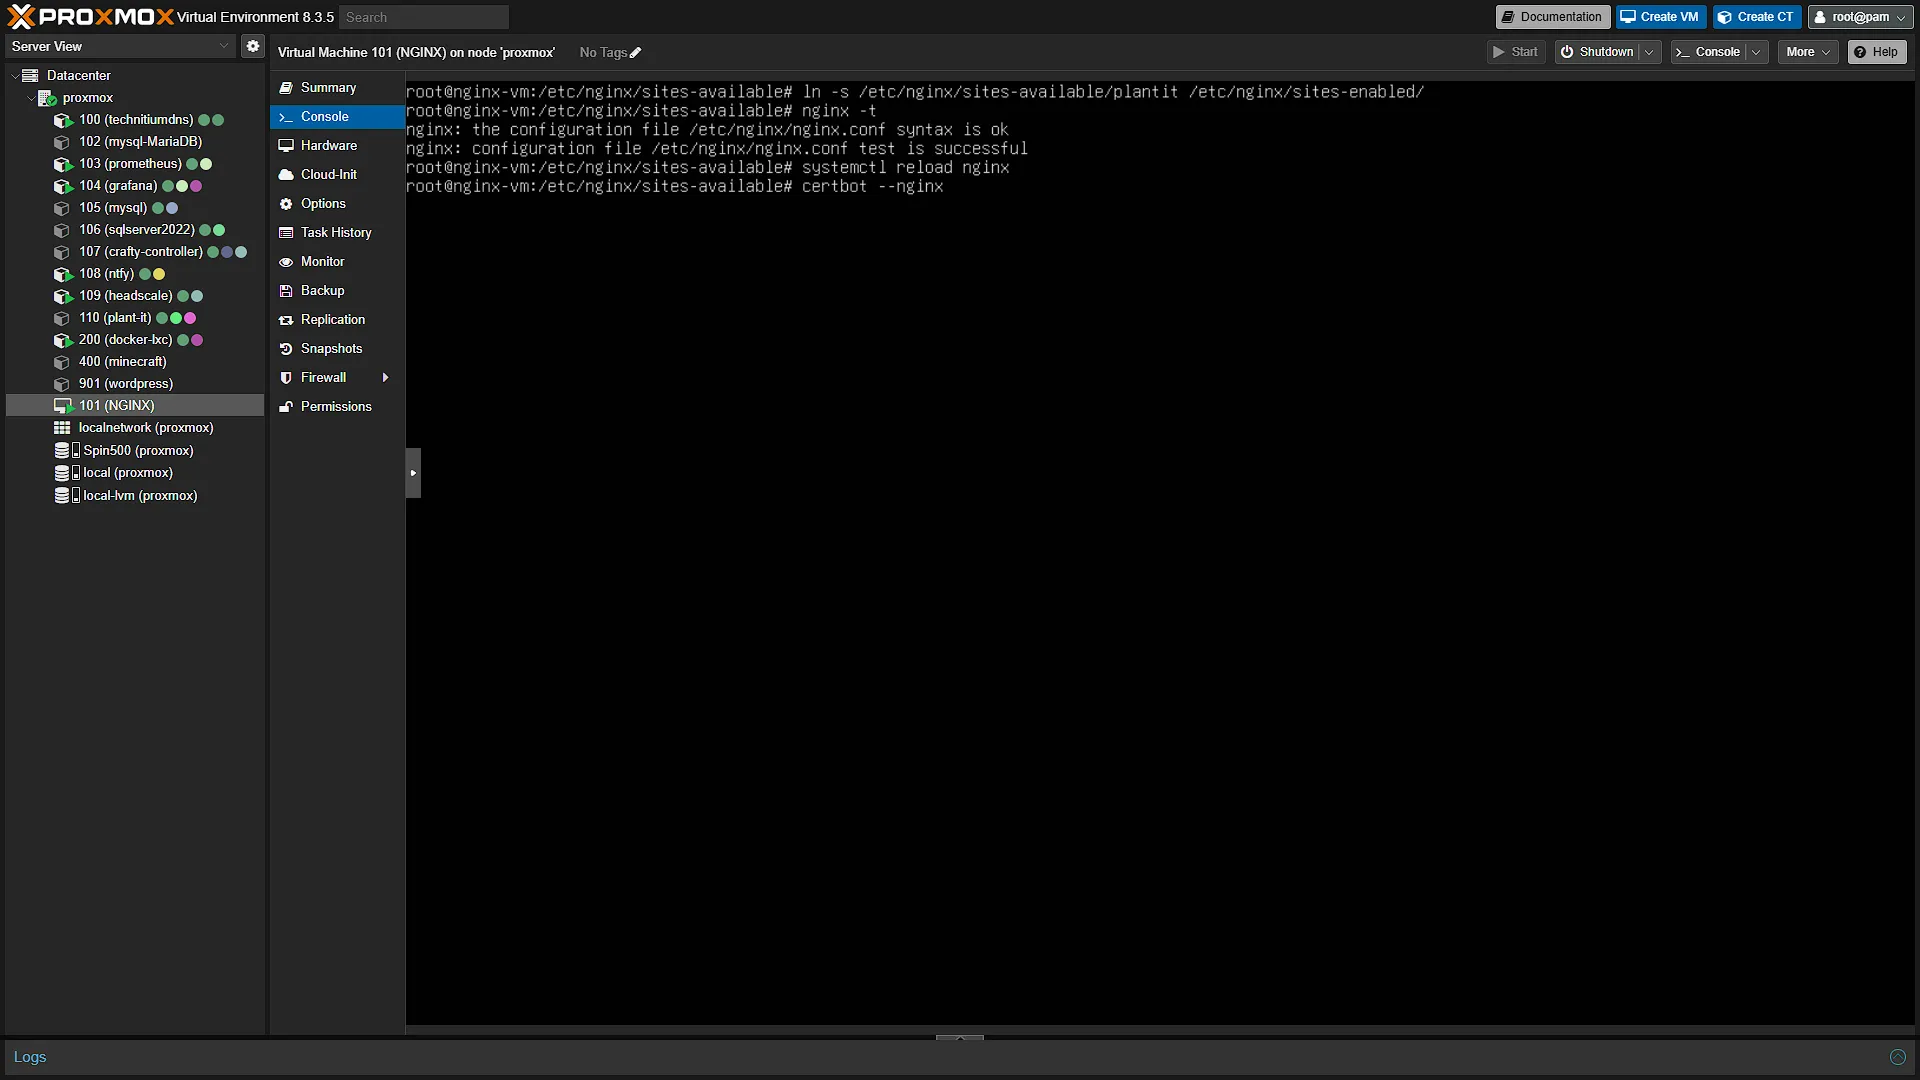
Now that the file is created, create a "shortcut" to the enabled folder:
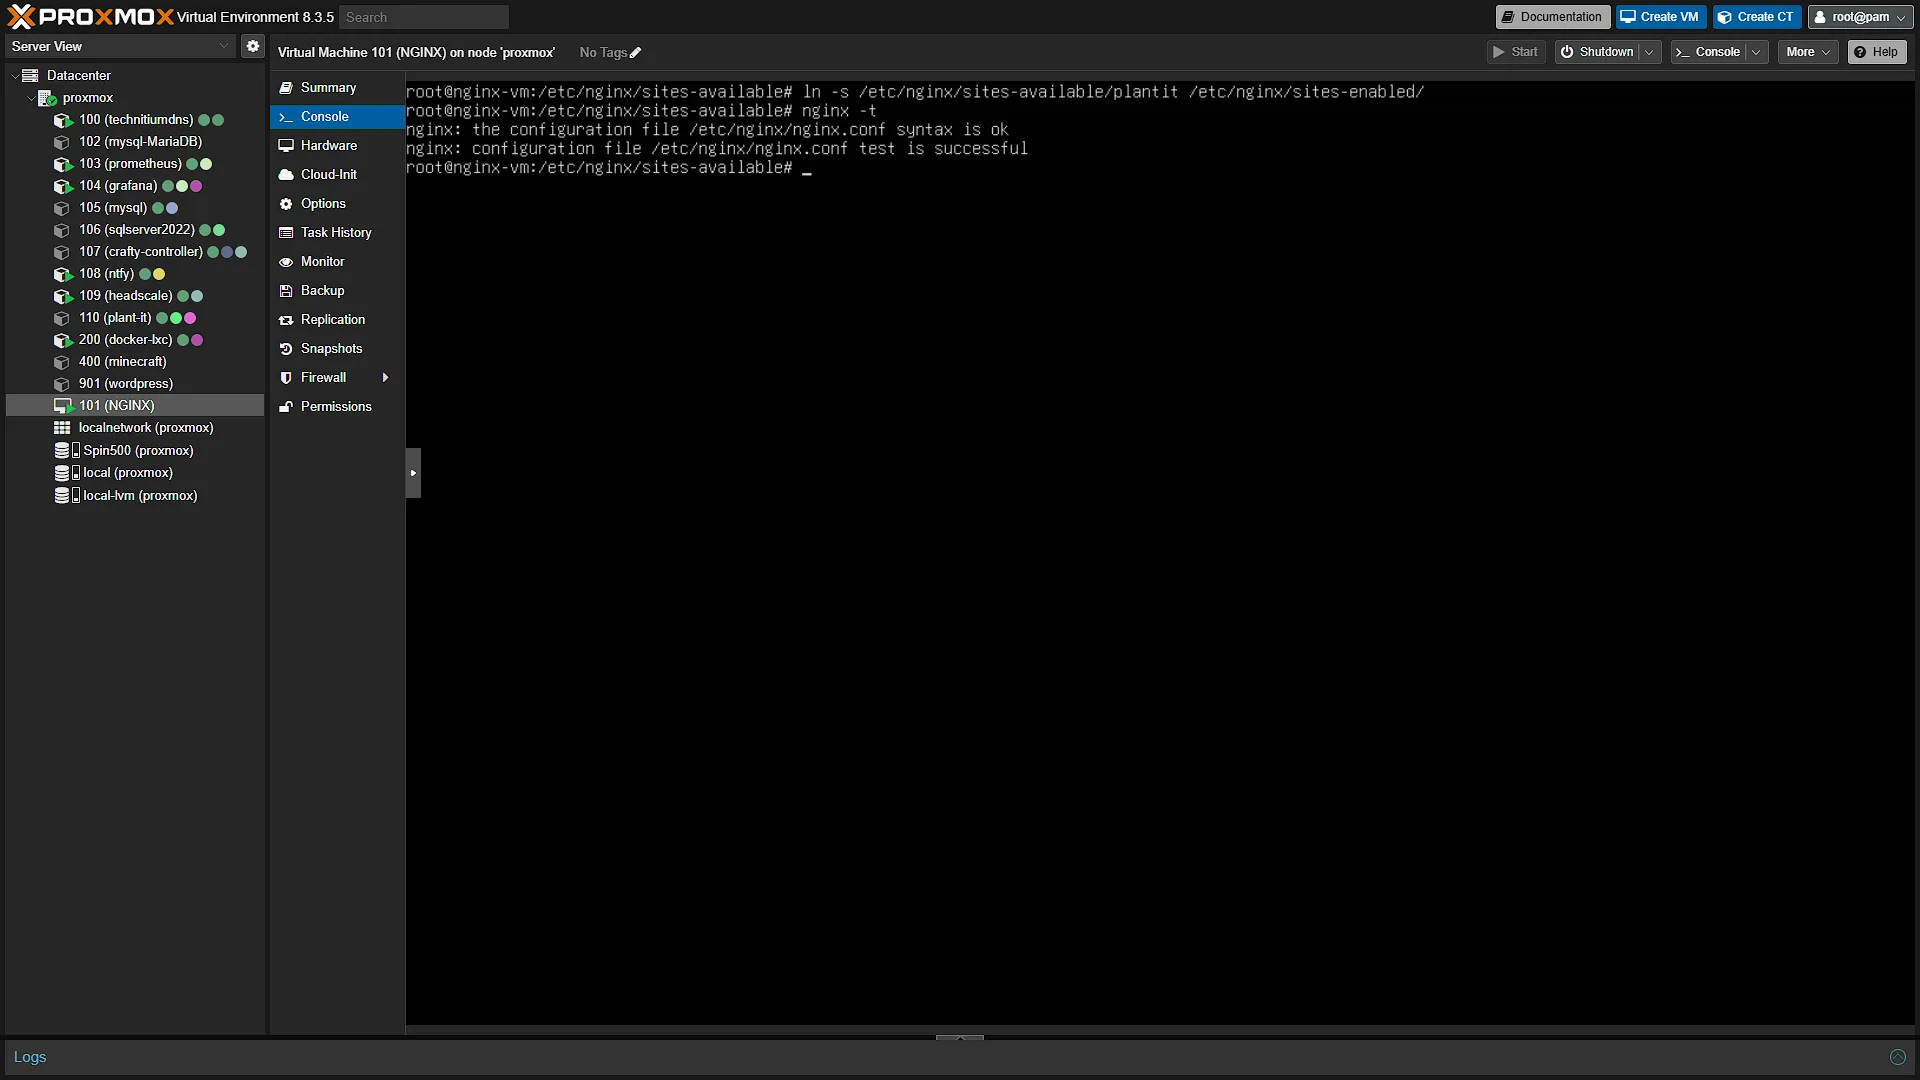
ln -s /etc/nginx/sites-available/plantit /etc/nginx/sites-enabled/Once done, check that nginx is happy with the config:
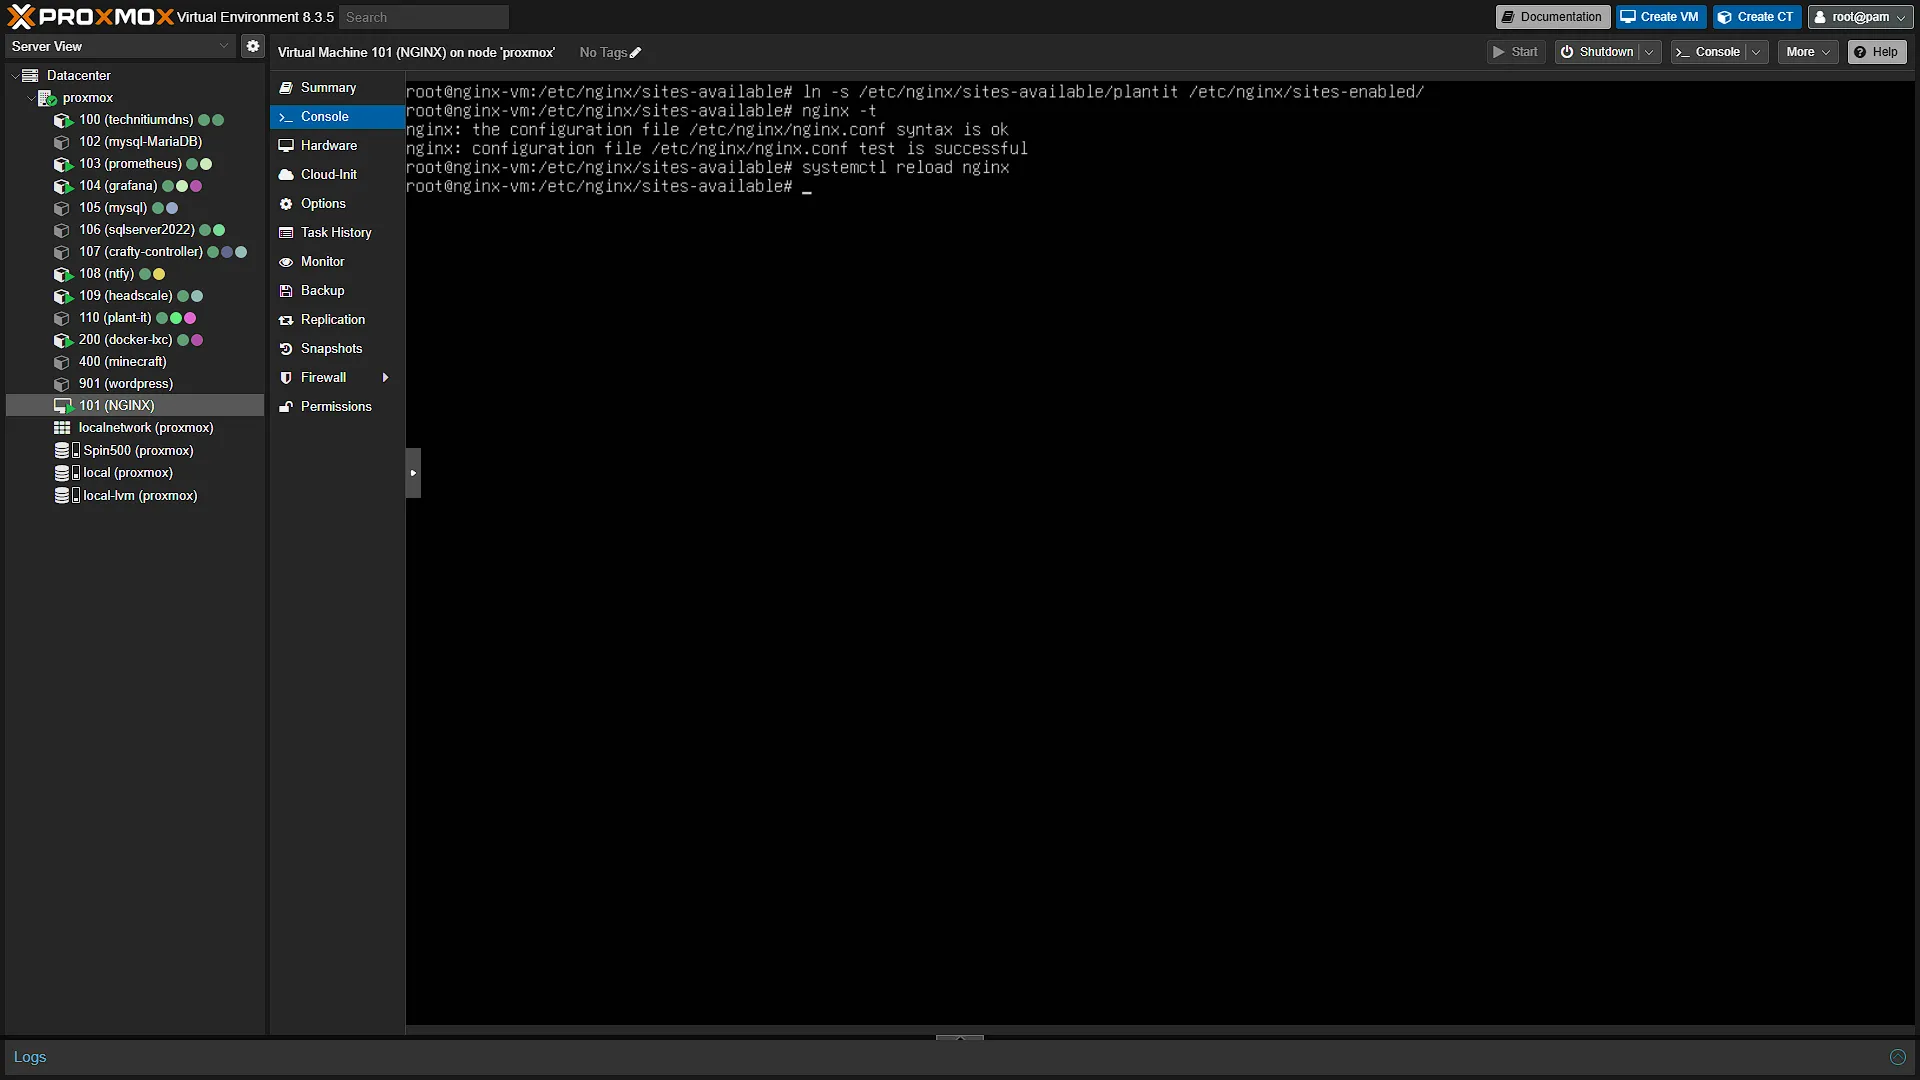
nginx -tIf there are no errors, reload nginx with
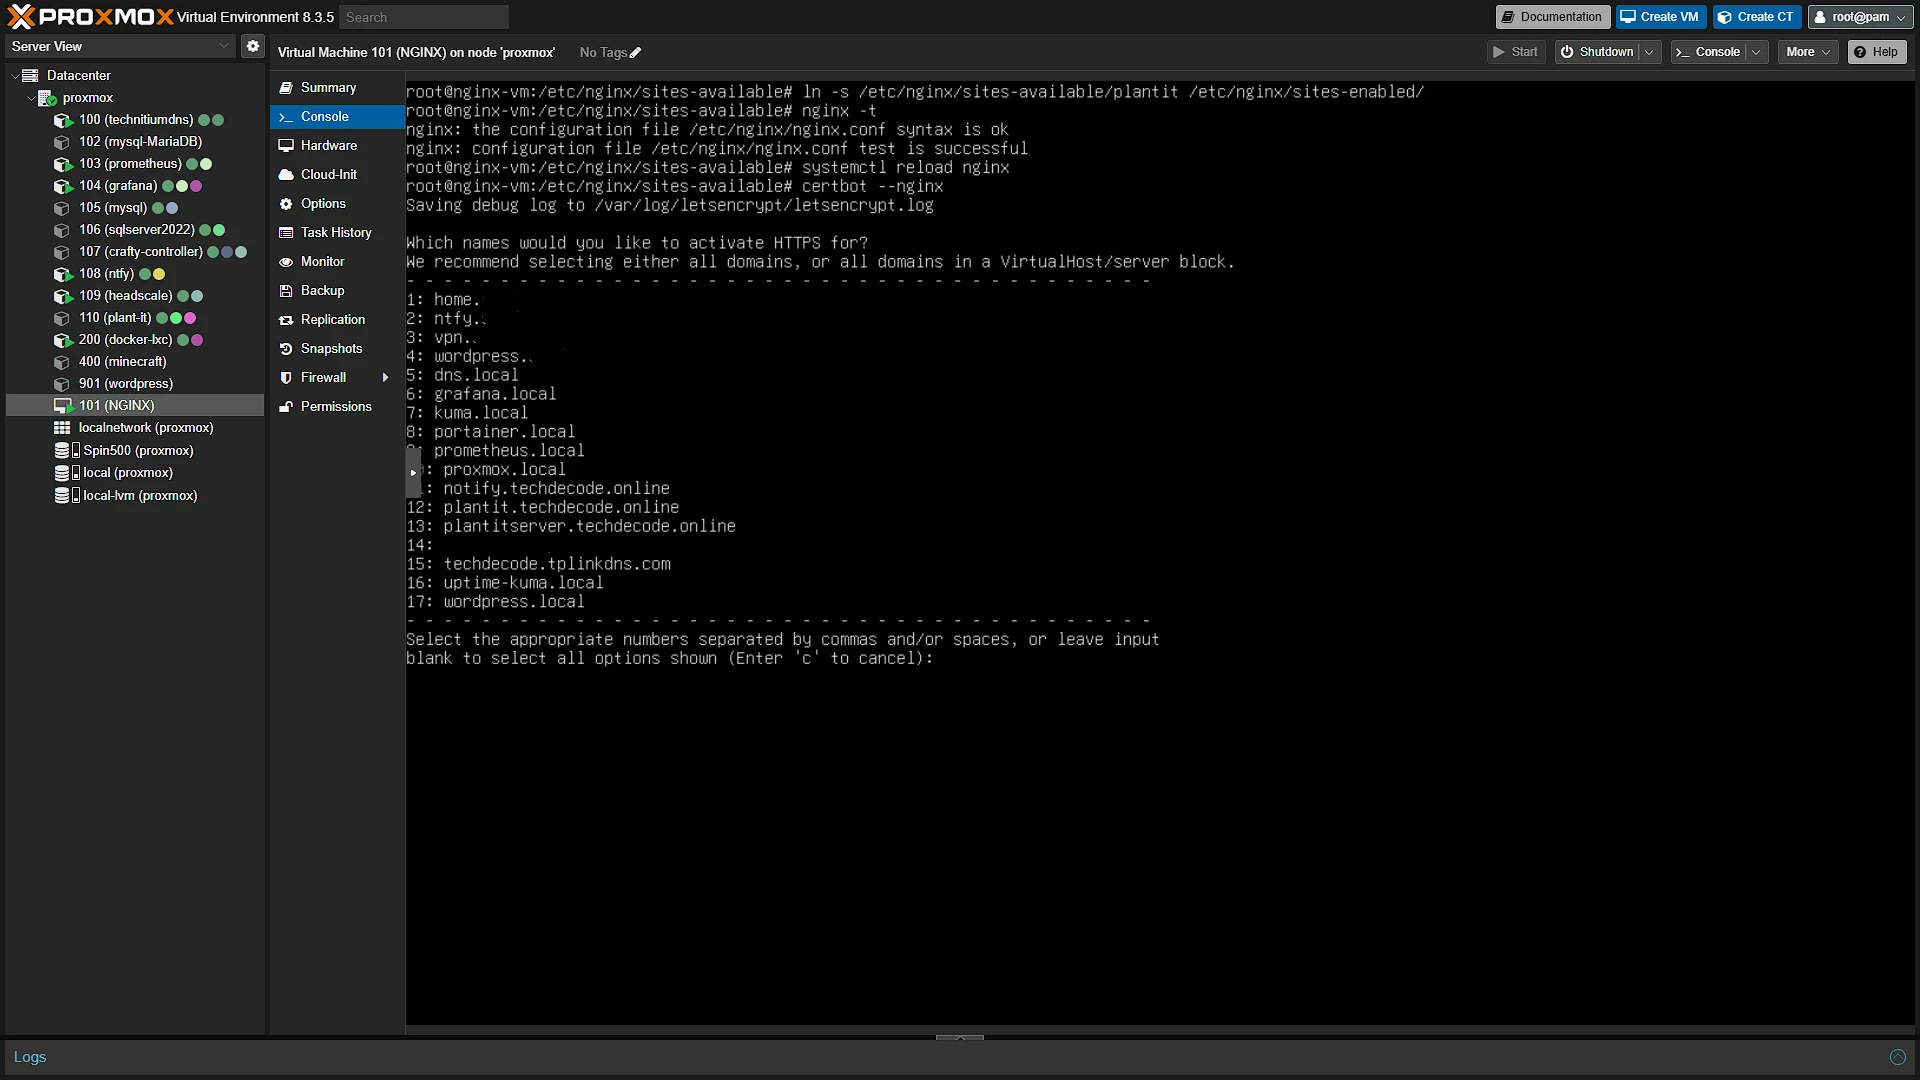
systemctl reload nginxAll that we need to do is add an SSL certificate for both. Once for each the front-end and server, run the command:
certbot --nginxSelect the front-end and API hostnames. The screenshots issue separate certificates; one certificate containing both names is also valid. Whichever option you choose, both hostnames must be covered by valid certificates before testing HTTPS.
Step 2: Access Plant-it
There are three methods for accessing Plant-it: Web, Android App and iOS app. Personally, we recommend just using the web URL you just created for the front-end to access it, even from your phone:
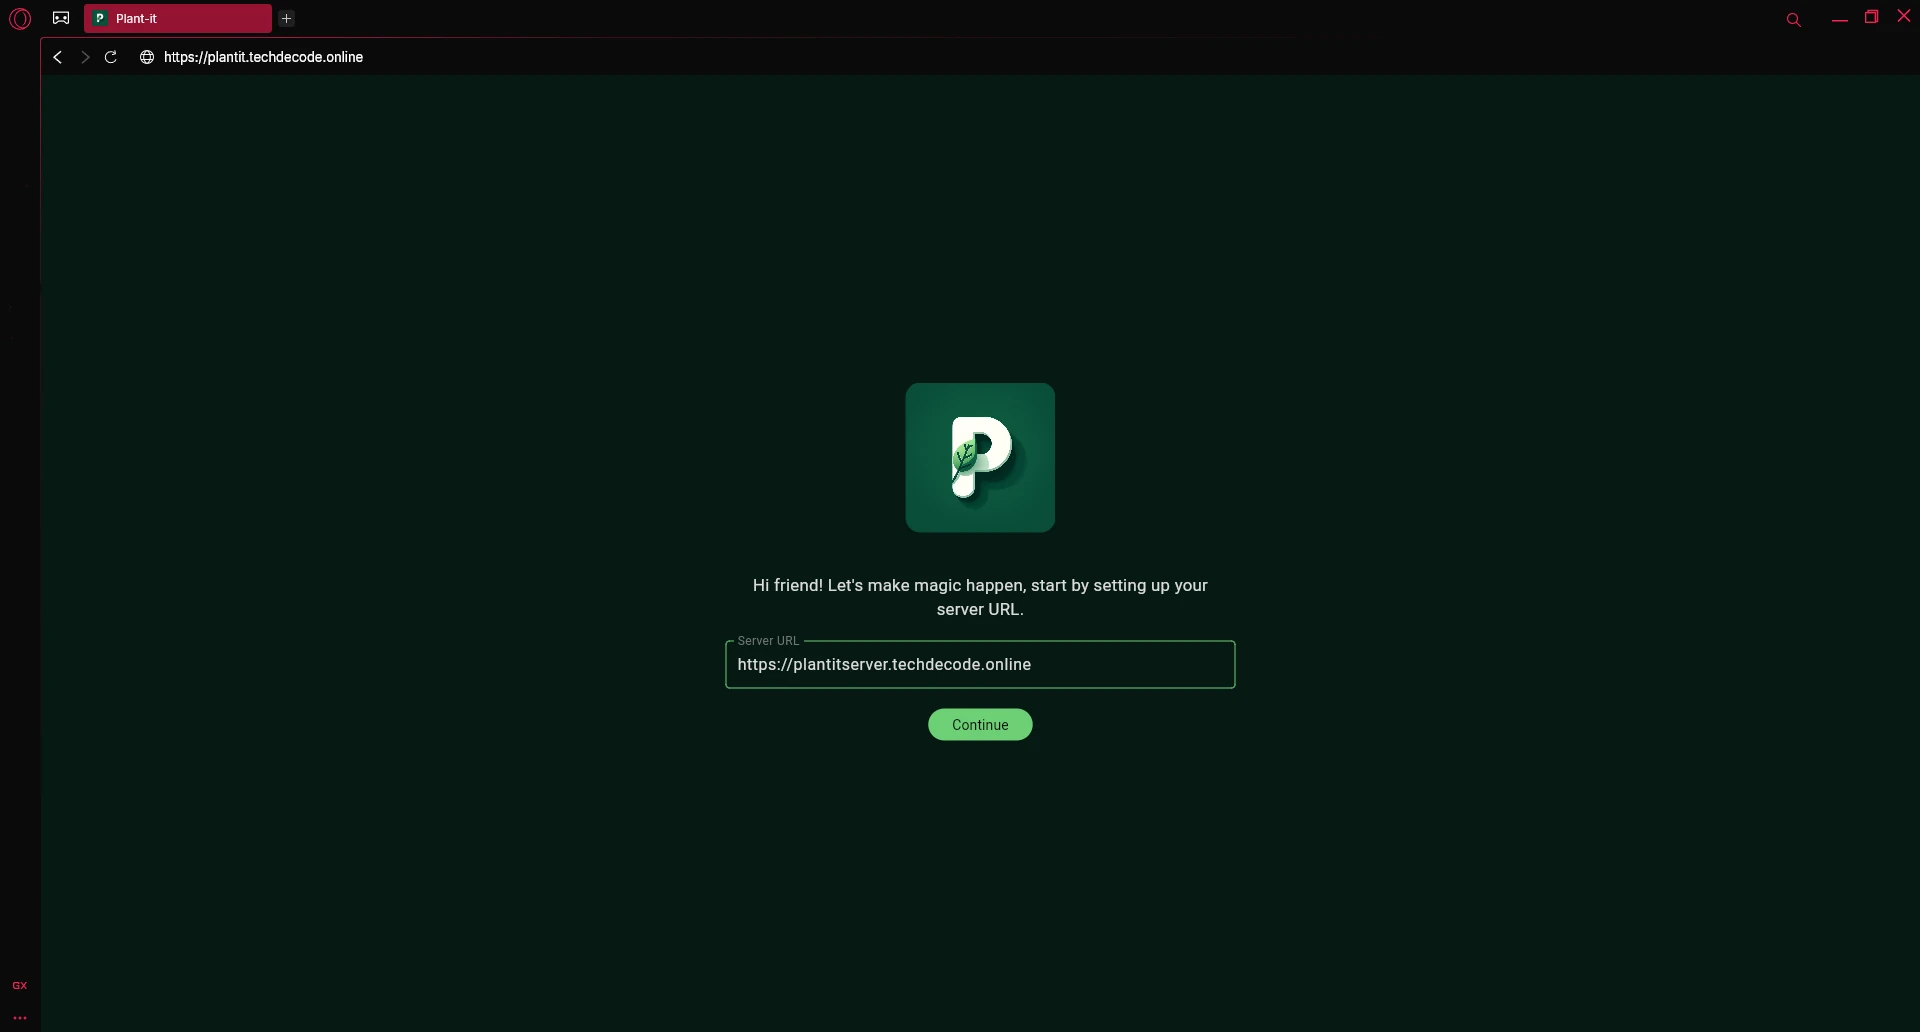
We can now use the new https:// URLs for the front end and for the server. Should you choose to use a smartphone app, remember to use the server URL you created as using the network IP address will only work when you are connected to your home network.
The iOS "app" is fairly straightforward as you need to follow the above steps first to access Plant-it from the web. Click the button shown below and select Add to Home Screen:
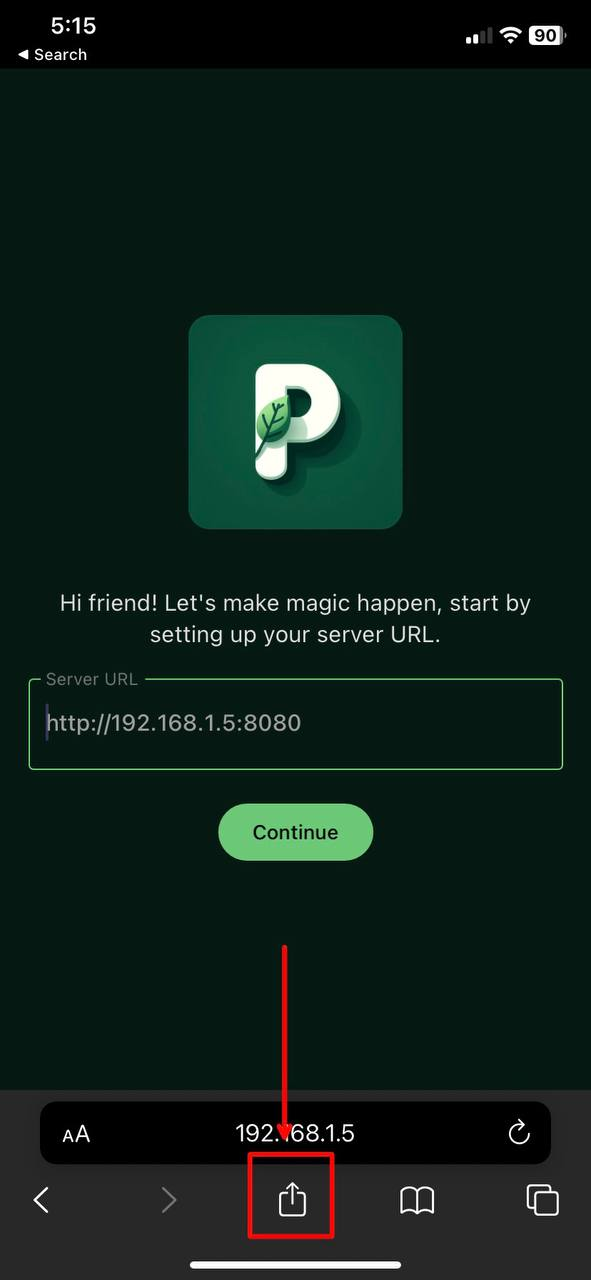
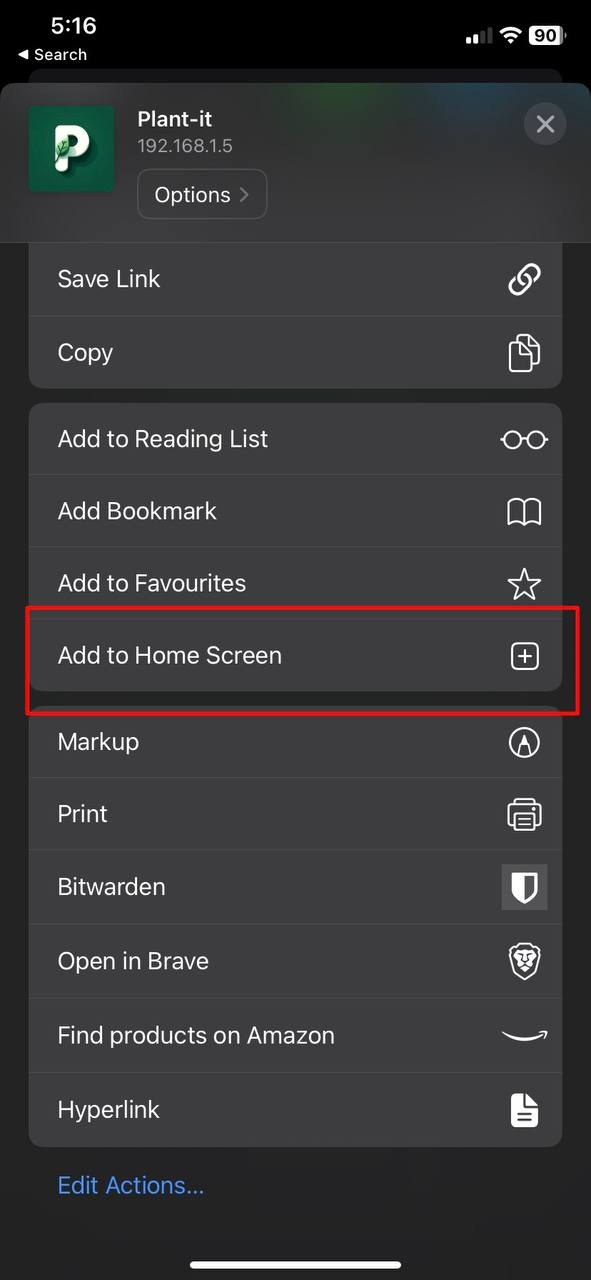
Android users can do the same by accessing the web URL and selecting menu (the three dots) and selecting Add to home screen.
Android users have another option of installing an app, but it is (currently) not available on the Google Play Store, so it needs to be installed from other sources, namely Obtainium and F-Droid. Personally we would recommend accessing the web URL in your phone's browser, or go the "Add to home screen" route.
Optional After the Walkthrough: Keep the Two Backends and Test Uploads
The main proxy configuration matches Part 36: frontend 192.168.1.35:3033 and API 192.168.1.35:8088. For the LXC alternative, use that container's actual IP and its 3000/8080 ports instead. Do not mix the Docker ports with the LXC address. Keep frontend and API hostnames distinct as the photographed legacy application expects.
A photo-upload limit is an optional adjustment to the existing API server block. If NGINX returns a 413, inspect the request size and its effective client_max_body_size, then choose a finite limit suitable for your uploads and available resources. Preserve the working proxy_pass, forwarded headers and Certbot certificate directives. A standalone listen 443 ssl block without certificate configuration is incomplete.
Run nginx -t before a reload, then repeat a small upload and the previously failing upload through the same public API hostname. If the request reaches Plant-it and is rejected there, investigate the installed backend's own limits instead of repeatedly raising NGINX limits. Test the frontend in the browser and the API separately; one working name does not prove the other works.
For a legacy release that supports ALLOWED_ORIGINS, match the actual frontend origin, including scheme and any non-default port. CORS governs browser cross-origin access; it is not authentication and does not prevent every direct request to the API. Keep proper application credentials and consider the private VPN access from Parts 31–34 as an alternative to public hosting.
The screenshots' old web/mobile architecture is retained. Plant-it 1.0's Android-only application does not use this two-host backend arrangement. Check client/server compatibility before replacing a phone app or container image, and keep a recoverable copy of legacy data while evaluating migration.
Further reading: Plant-it 1.0 architecture change, NGINX request limits.
Conclusion
And that is all there is to it. We have installed, configured and set up Plant-it. We can now (securely) access our Plant-it instance even when we are not at home. We have access to a multitude of plants as well via FloraCodex. We hope you enjoy your Plant-it instance and our Build your own homelab series thus far. Stay tuned for the next instalment.