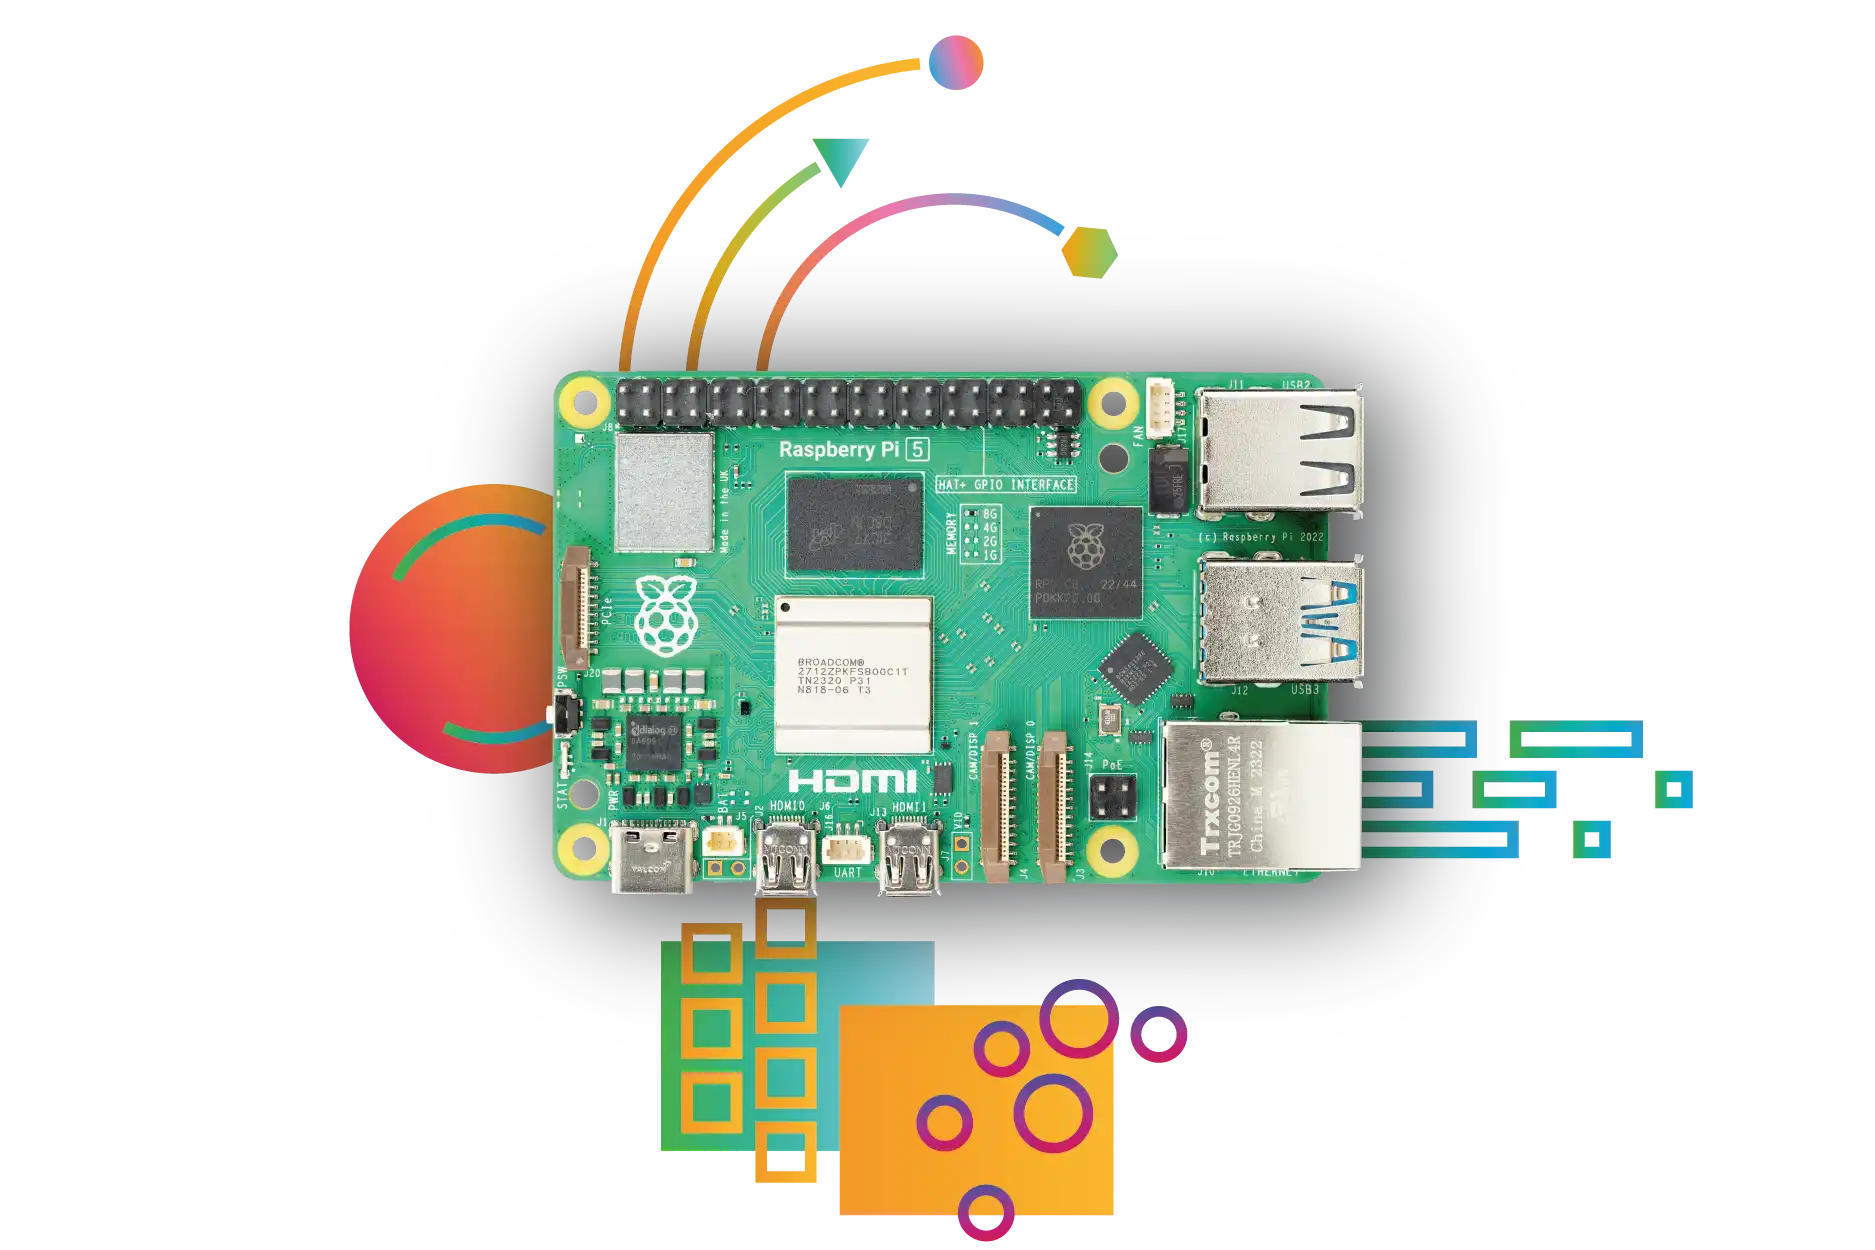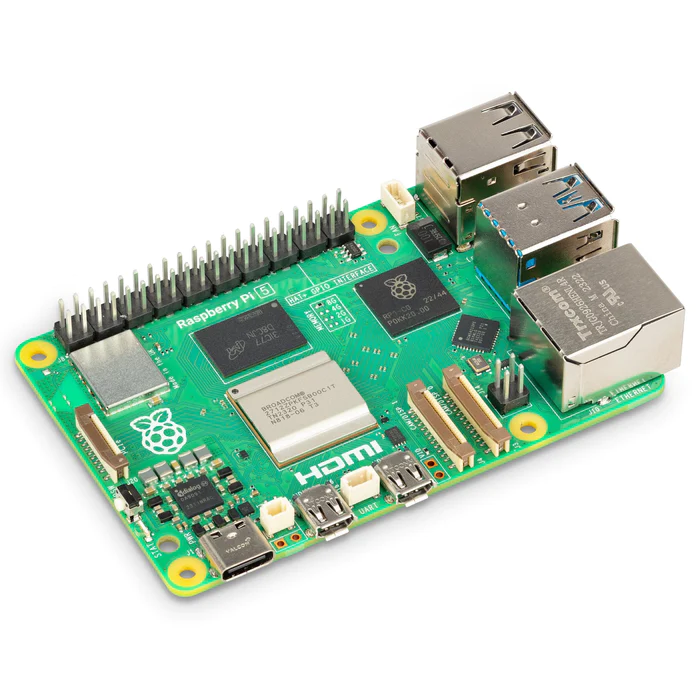
The Raspberry Pi 5 is a compact single-board computer with a processor, graphics hardware, memory and useful I/O on one board. Our positive view of it as a platform for learning and projects remains: it gives you a small computer that can interact with software, networks and electronics.
A small board is not a complete ready-to-use system. Plan the operating system, storage, suitable power supply, cooling and any required accessories. The right memory size and total cost depend on the project, rather than the idea that every task benefits from the largest available model.
Raspberry Pi 5 Specifications
The current official product specification lists:
| Feature | Published capability |
|---|---|
| CPU | Broadcom BCM2712, quad-core 64-bit Arm Cortex-A76 at 2.4 GHz |
| CPU cache | 512 KB L2 per core and 2 MB shared L3 |
| Graphics | VideoCore VII; OpenGL ES 3.1 and current Vulkan 1.3 support |
| Memory options | 1, 2, 4, 8 or 16 GB LPDDR4X-4267 |
| Storage | microSD with SDR104 support; supported external storage options |
| Display output | Two micro-HDMI connections with dual 4K60 output and HDR support |
| Video decoding | 4K60 HEVC decoder |
| USB | Two USB 3 ports supporting simultaneous 5 Gbps operation, plus two USB 2 ports |
| Networking | Gigabit Ethernet, dual-band 802.11ac Wi-Fi and Bluetooth 5.0/BLE |
| Expansion | PCIe 2.0 ×1 connector requiring an appropriate adapter; standard 40-pin header; two four-lane MIPI camera/display interfaces |
| Other features | Power button and RTC with an optional external battery |
The hardware capabilities do not guarantee that every application, video service or peripheral can use them. A supported HEVC decoder is different from hardware acceleration for every codec, while a display output specification is different from an application's performance at that resolution.
What the RP1 I/O Controller Changes
Raspberry Pi 5 uses the RP1 I/O controller alongside BCM2712. The manufacturer describes this as a disaggregated architecture: many peripheral functions move to RP1 while the application processor handles the main computing work and certain fast interfaces.
It is inaccurate to say every Pi from the first generation through Pi 4 used the same VIA USB controller. Pi 4 used the VL805, while earlier products used different arrangements. Pi 5's simultaneous USB 3 capability is useful, but two SSDs still share other resources such as memory, the filesystem and the workload. Do not assume both always deliver their full advertised storage speeds together.
The externally accessible single PCIe lane is distinct from RP1's internal connection to the processor. It can support suitable NVMe or AI accessories, but the board needs an appropriate adapter, compatible software and an adequate power/cooling plan. The default published interface is PCIe Gen 2; experimental or accessory-specific Gen 3 settings are not a universal requirement for a first setup.
Power Supply Ratings and USB Limits
Raspberry Pi recommends a suitable USB-C supply for the board and attached devices. A charger described as high wattage may deliver that rating at laptop voltages without offering the 5 V-class current profile the Pi needs. Check the actual supported profile and cable, not only the number printed on the box.
The official 27 W USB-C supply lists 5.1 V at 5 A, which is 25.5 W for that profile. Its other supported voltage profiles account for the 27 W maximum. The power-supply rating is not a claim that the board continuously consumes that amount.
Official documentation describes a 600 mA downstream USB limit with a suitable 3 A supply, compared with up to 1.6 A when an appropriate 5 A supply is detected. That is a shared peripheral budget, not 1.6 A for each port. The fan header also shares the relevant budget. Drives with startup peaks or several accessories may still need a suitable powered hub or separate supported power arrangement.
Do not use a copied current-limit override to compensate for an inadequate supply. If peripherals disconnect or the board reports low-voltage symptoms, check the supply, cable and connected load first. The fact that a Pi boots does not establish that power delivery remains adequate under your normal workload.
Five Useful Project Directions
- Retro gaming: explore emulators and controllers with software that supports the Pi 5 and your OS. RetroPie remains a useful project to investigate, but do not assume an older Pi image is a current Pi 5 installer. Performance depends on the emulator, game and settings.
- Media playback: Kodi or another supported player can work with a local library and suitable media formats. Commercial services and add-ons have their own authentication, DRM, platform and resolution requirements; a Pi 5 does not guarantee Netflix or every streaming service at 4K.
- Robotics: combine supported sensors, software and motor-control electronics. GPIO signals are for control, not directly powering motors; use the appropriate driver and power arrangement.
- Home automation: run supported automation software or integrate network devices. Plan reliable storage, backups and recovery before depending on it for household functions.
- Learning to code: use Raspberry Pi OS and small, testable projects to explore Linux, Python, networking and electronics. This remains one of the board's most appealing uses in our view.
Start with a project that has a visible acceptance test. A media system should play the actual files you use; an automation should survive a restart; a sensor project should give plausible values without relying on an invented default calibration.
Local computing also does not automatically make an entire project private or offline. Check the software's cloud dependencies, remote-access method and data retention. Keep credentials out of shared project files and make recovery copies of important configuration and data.
Frequently Asked Questions
Which Raspberry Pi OS Should I Use?
Bookworm was the launch-era Raspberry Pi OS generation associated with Pi 5. The current official download page lists Trixie images and their supported boards. For a fresh installation, choose a current supported image appropriate to the application and architecture.
Do not treat a release-name change as permission to overwrite an existing system blindly. Back up your project and consult the application's upgrade guidance. Some HAT drivers or third-party packages have specific OS and kernel requirements.
Can I Use a Pi 4 Power Supply?
A suitable 5 V/3 A supply can boot the board, but attached-device power is restricted and workload margins differ. For a normal Pi 5 setup with demanding peripherals, follow the manufacturer's 5 A supply guidance. Verify behaviour with the accessories connected rather than assuming successful startup is a complete test.
Can I Reuse a Pi 4 Case?
The official Pi 4 case is not the Pi 5 case. Port, connector and cooling arrangements differ. Use a case specified for Pi 5 and confirm it accommodates your cooler, HAT, ribbon cables and storage adapter without obstructing airflow or forcing a connector.
Does It Need Active Cooling?
Active cooling is particularly useful for sustained workloads. The official Pi 5 case has an integrated fan, and the Active Cooler is another option. Cooling is not a blanket statement that the board cannot boot without a fan; it helps preserve performance and temperature margins under the intended load.
Build a Complete Parts List
Use the approved reseller page to find regional options. Compare the board with the supply, storage, cooling, case, display adapters and project accessories included. PoE requires an appropriate compatible HAT and power source; ordinary Ethernet alone does not power the board.
The Pi 5 remains an appealing compact computer for the projects above. Its value is clearest when the software and complete parts list fit the task. See the original Pi 5 introduction and current hardware documentation for supporting details.