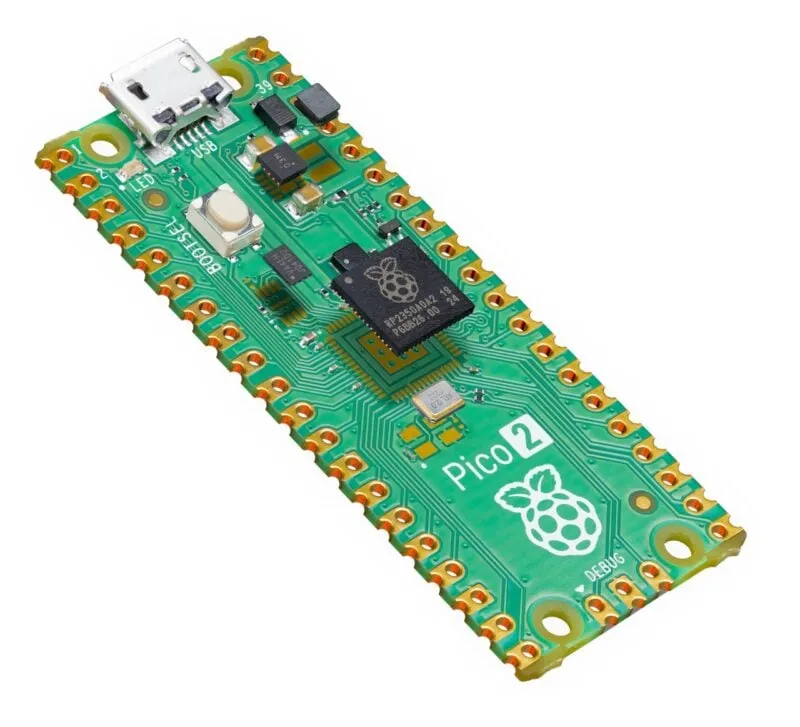
Raspberry Pi introduced Pico 2 in August 2024 as the successor to its original Pico microcontroller board. Its RP2350 chip brings more memory, a choice of processor architecture and additional peripheral resources. I see it as a versatile platform for education, hobby projects and embedded development, particularly when a project has outgrown the original Pico's memory or needs more custom I/O.
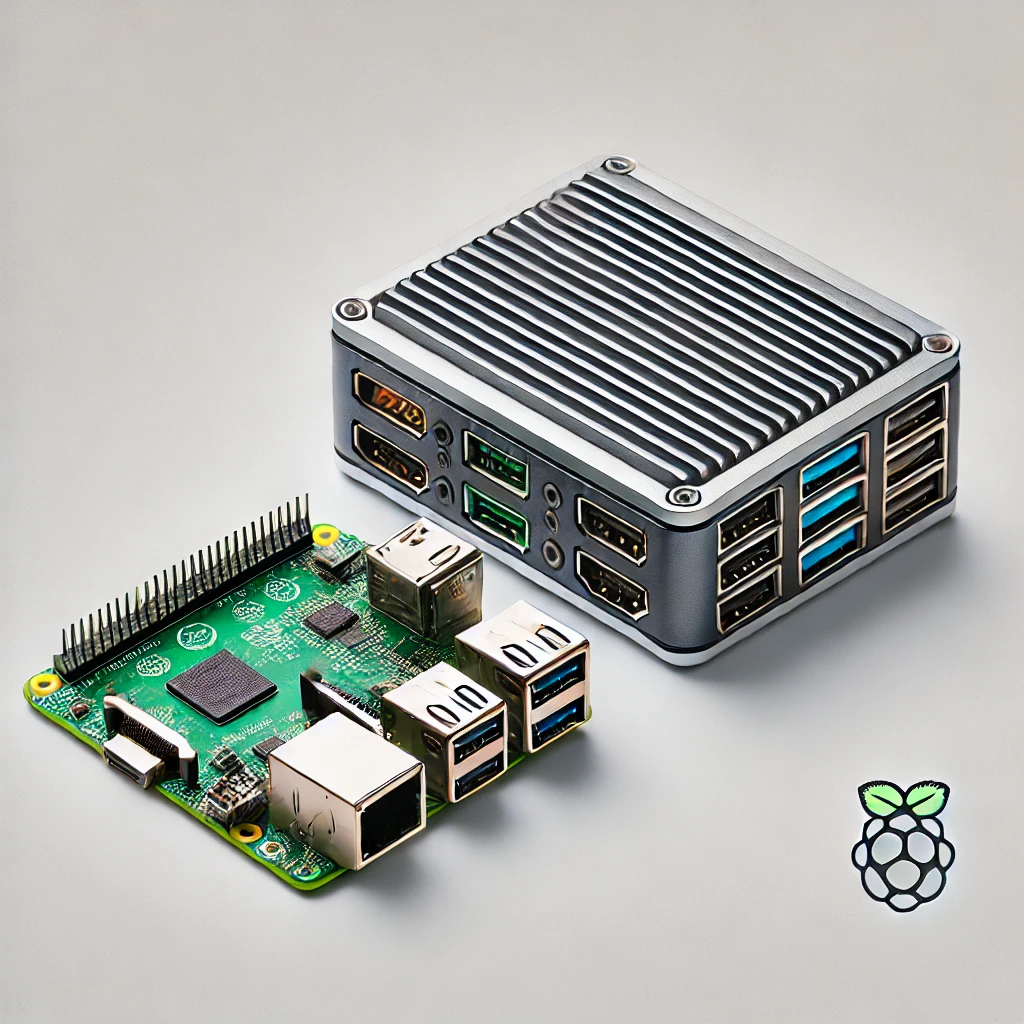
It is a microcontroller board rather than a smaller Linux computer. You load firmware that handles a particular job, such as reading a sensor or controlling a display. It does not boot Raspberry Pi OS, run normal desktop applications or include a built-in wireless radio. Choose Pico 2 W if an integrated Wi-Fi and Bluetooth connection is part of the requirement.
Pico and Pico 2: the Board Specifications
| Feature | Original Pico | Pico 2 |
|---|---|---|
| Microcontroller | RP2040 | RP2350A |
| Processor | Two Cortex-M0+ cores, up to 133 MHz | Two active processor slots, selecting Cortex-M33 or Hazard3 RISC-V, up to 150 MHz |
| On-chip SRAM | 264 KB | 520 KB |
| On-board external flash | 2 MB | 4 MB |
| Programmable I/O | Two blocks, eight state machines | Three blocks, twelve state machines |
| Exposed GPIO | 26, including three ADC inputs | 26, including three ADC inputs |
| USB | USB 1.1 host/device | USB 1.1 host/device |
| Wireless radio | None | None |
Raspberry Pi's launch price for Pico 2 was US$5; local stock, taxes and header options affect what you pay. The board retains the 21 × 51 mm format and familiar pinout, which helps reuse carrier boards and breadboard layouts. That compatibility is a useful starting point, rather than a guarantee that every old binary or electrically unusual circuit can be moved unchanged.
Understand the RP2350 Processor Choice
RP2350 offers Cortex-M33 and Hazard3 implementations, but it does not run four processor cores simultaneously. Each of its two processor slots selects an architecture at boot; Cortex-M33 is the default. Firmware must be built for the selected architecture. The Arm cores provide a single-precision floating-point unit and TrustZone features; the RISC-V choice provides a different instruction set and development target.
This is useful for exploring embedded software on either architecture without buying a different board. It does not automatically make an existing program use both cores or become faster. Application design still determines how work is divided, and shared data needs appropriate coordination. Start with a working single-core implementation before adding concurrency simply because the hardware offers it.
What the Extra Memory Changes
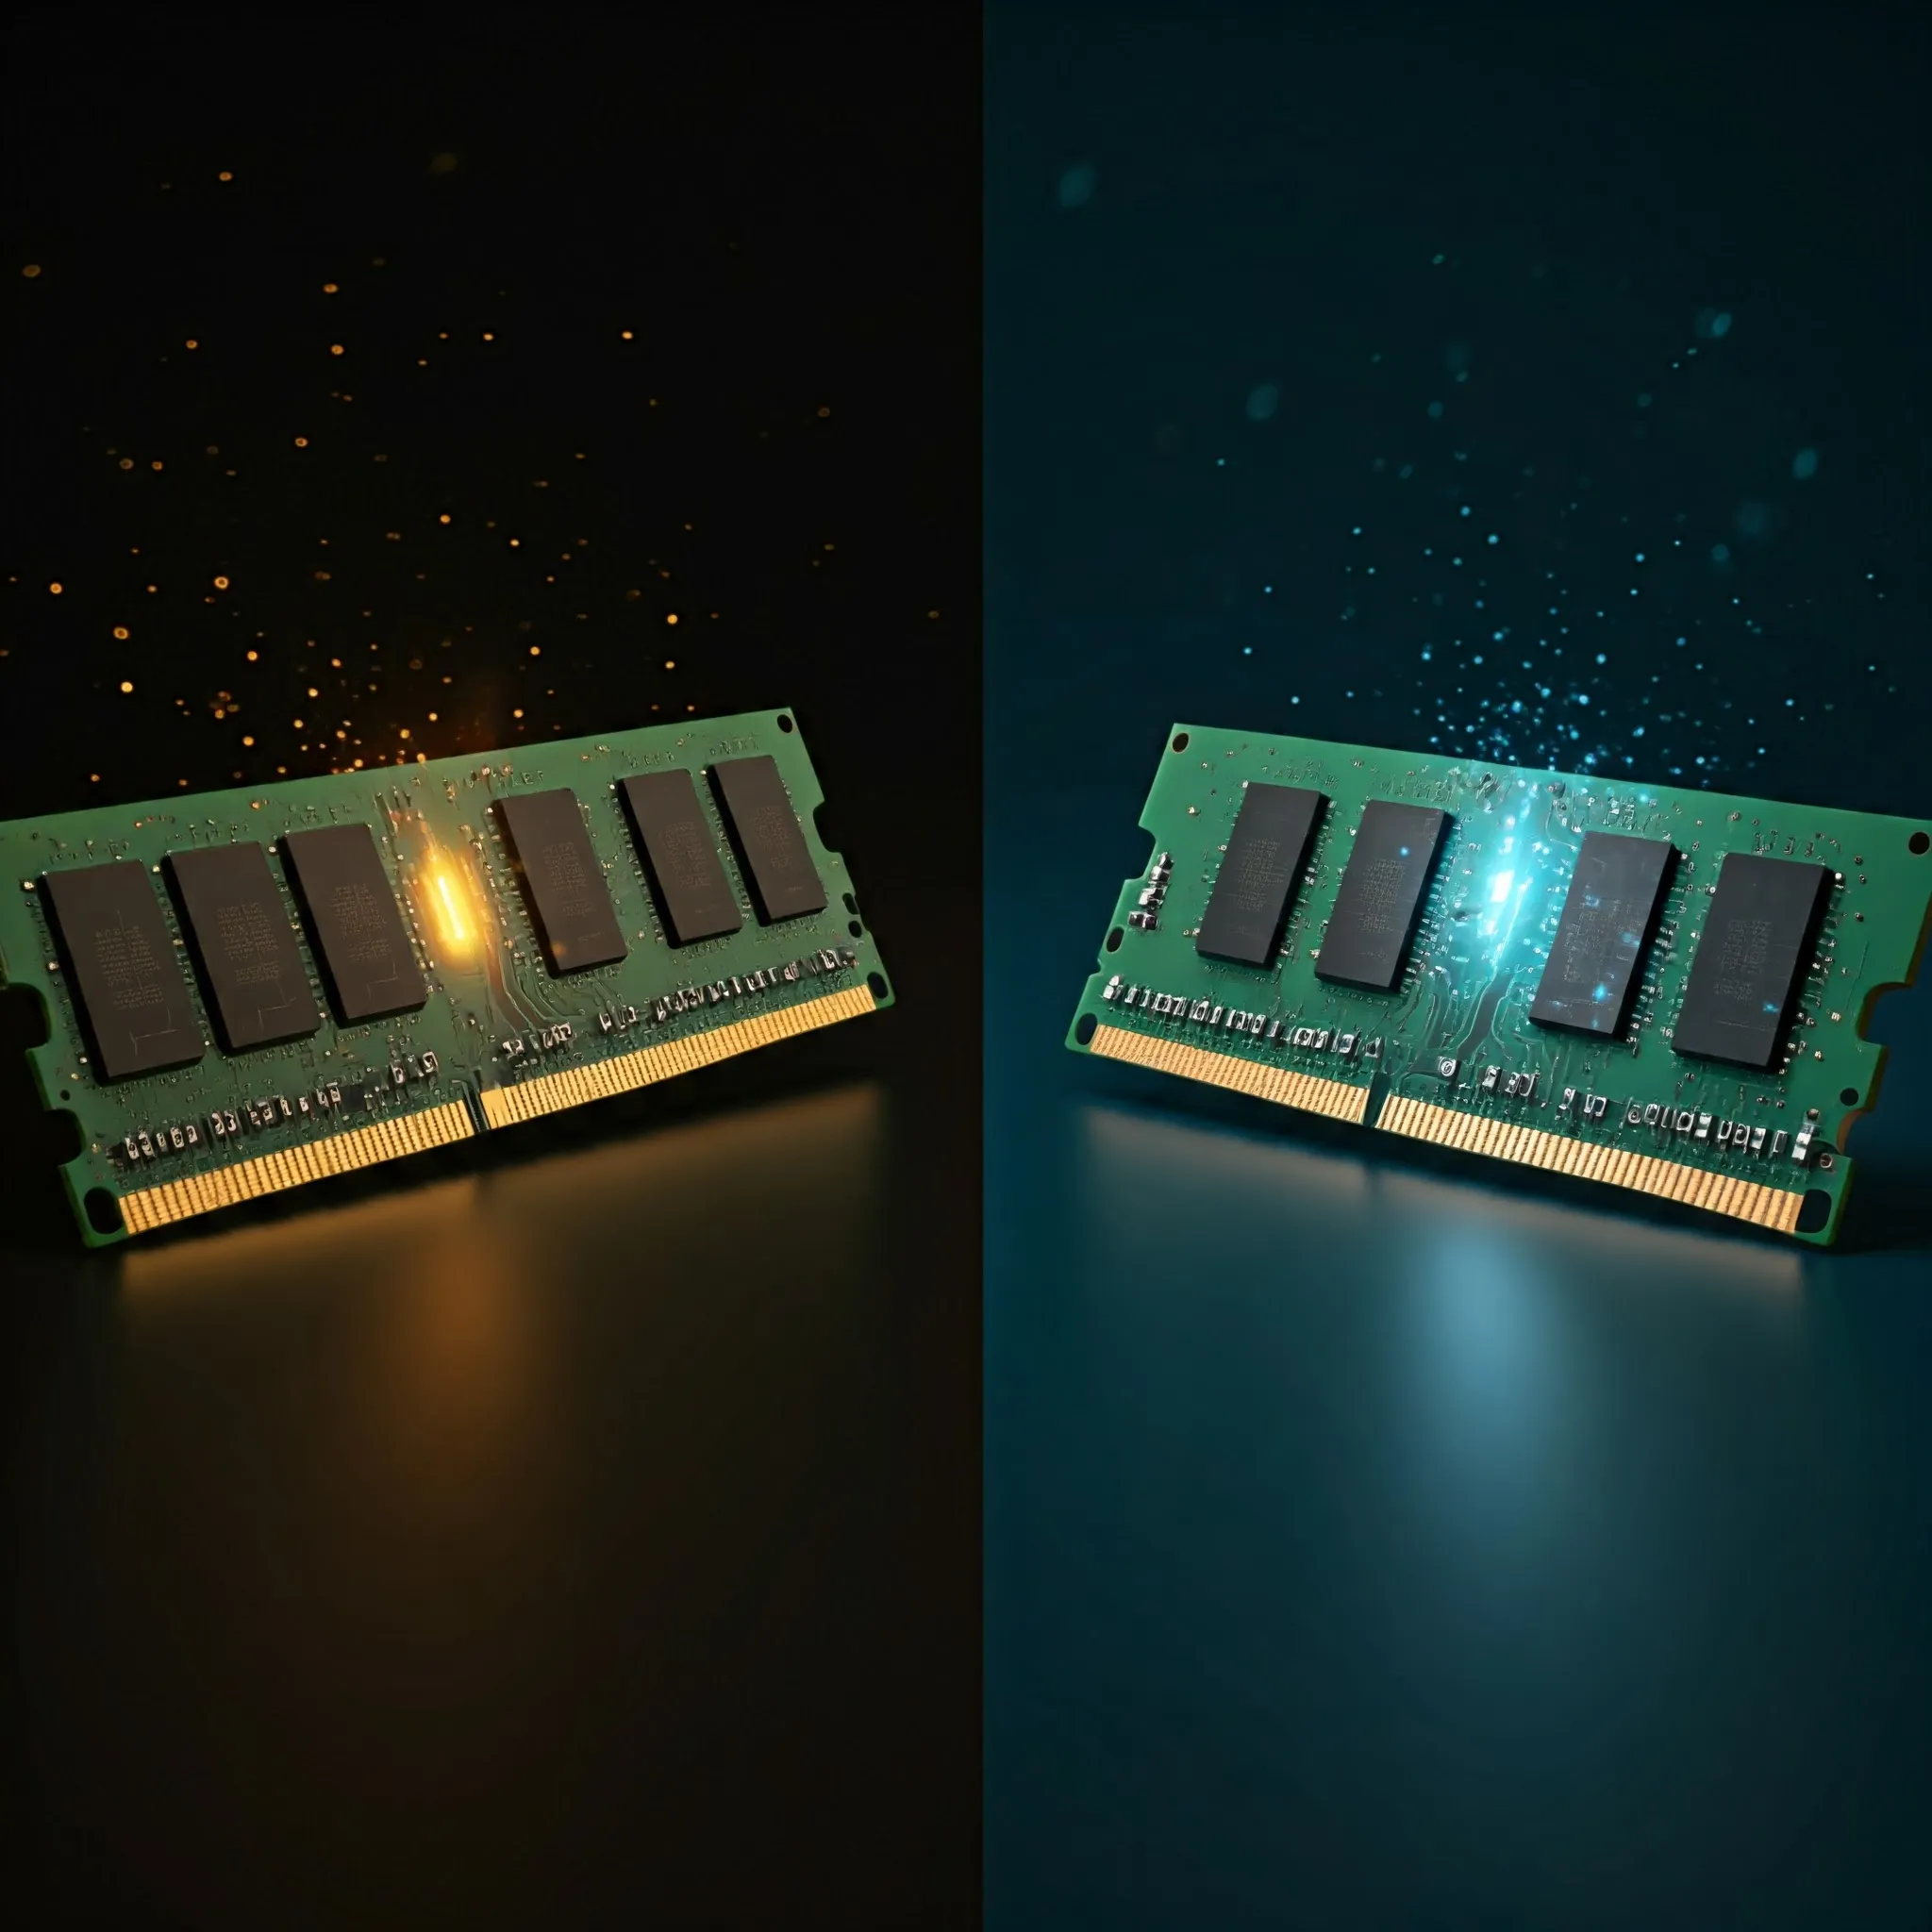
The 520 KB SRAM holds working data, while the 4 MB external flash holds firmware and persistent content. Flash is not interchangeable with RAM. A sensor logger may use SRAM to buffer readings and write them to flash periodically; a display project may need enough RAM for its frame buffer as well as the interpreter and application.
More capacity gives useful headroom, but not an unlimited Python heap or an expandable desktop memory system. Firmware, stacks, network libraries on other variants and application buffers consume their own share. Measure free memory with the software you intend to use and choose a sensible sampling rate or buffer size rather than relying on the headline figure alone.
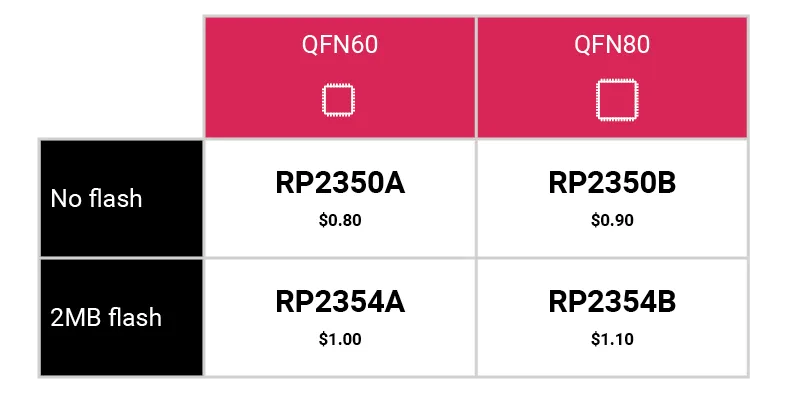
The chip-family illustration below compares RP2350 package variants with RP2354 variants that integrate 2 MB of flash inside their package. That is separate from the Pico 2 board's 4 MB external flash. A chip's GPIO count and package price also should not be mistaken for the board's exposed pins or retail price.
Use PIO for Specific Timing Work
RP2350 has twelve PIO state machines spread across three blocks. Each block has a shared 32-instruction program memory. PIO is useful for compact routines that send or receive timed signals, such as an LED protocol or a custom serial interface, without making the CPU toggle every edge itself.
It still needs a correctly designed program, clock configuration and data path. Buffers can empty or fill, and application code or DMA may need to keep the transfer supplied. PIO is therefore a valuable timing tool, rather than a promise of unlimited autonomous processing. Check the resource requirements of the libraries you combine; several drivers can compete for the same state machines, pins or DMA channels.
Choose Firmware That Targets Pico 2
The official C/C++ SDK is a good route when you need detailed peripheral control, predictable memory use or a debugger. Build for Pico 2 and the intended processor architecture. Raspberry Pi's MicroPython download page also provides separate Pico 2 firmware, including a RISC-V build; choose a stable release appropriate to the board rather than copying a Pico 1 UF2.
For MicroPython installation, hold BOOTSEL while connecting a USB data cable and copy the matching UF2 to the mass-storage device that appears. After reboot, a tool such as Thonny can communicate with the interpreter. Keep a copy of your scripts before changing firmware: installing a different runtime is not the same as updating one Python file.
CircuitPython has a Pico 2 board download, and the community Arduino-Pico core supports RP2350 boards. These are separate software projects with their own APIs and library support. An Arduino library that depends on another chip's registers, or a desktop Python package that expects Linux facilities, needs checking rather than an assumption of compatibility.
Security Requires Configuration and Revision Awareness
RP2350 includes optional signed boot, OTP storage, a SHA-256 accelerator and security-domain controls. Signed boot uses ECDSA signatures, not RSA. These facilities are building blocks for a designed security policy; a development board does not become a ready-made security token simply by possessing them. OTP provisioning also needs particular care because settings are intended to be permanent.
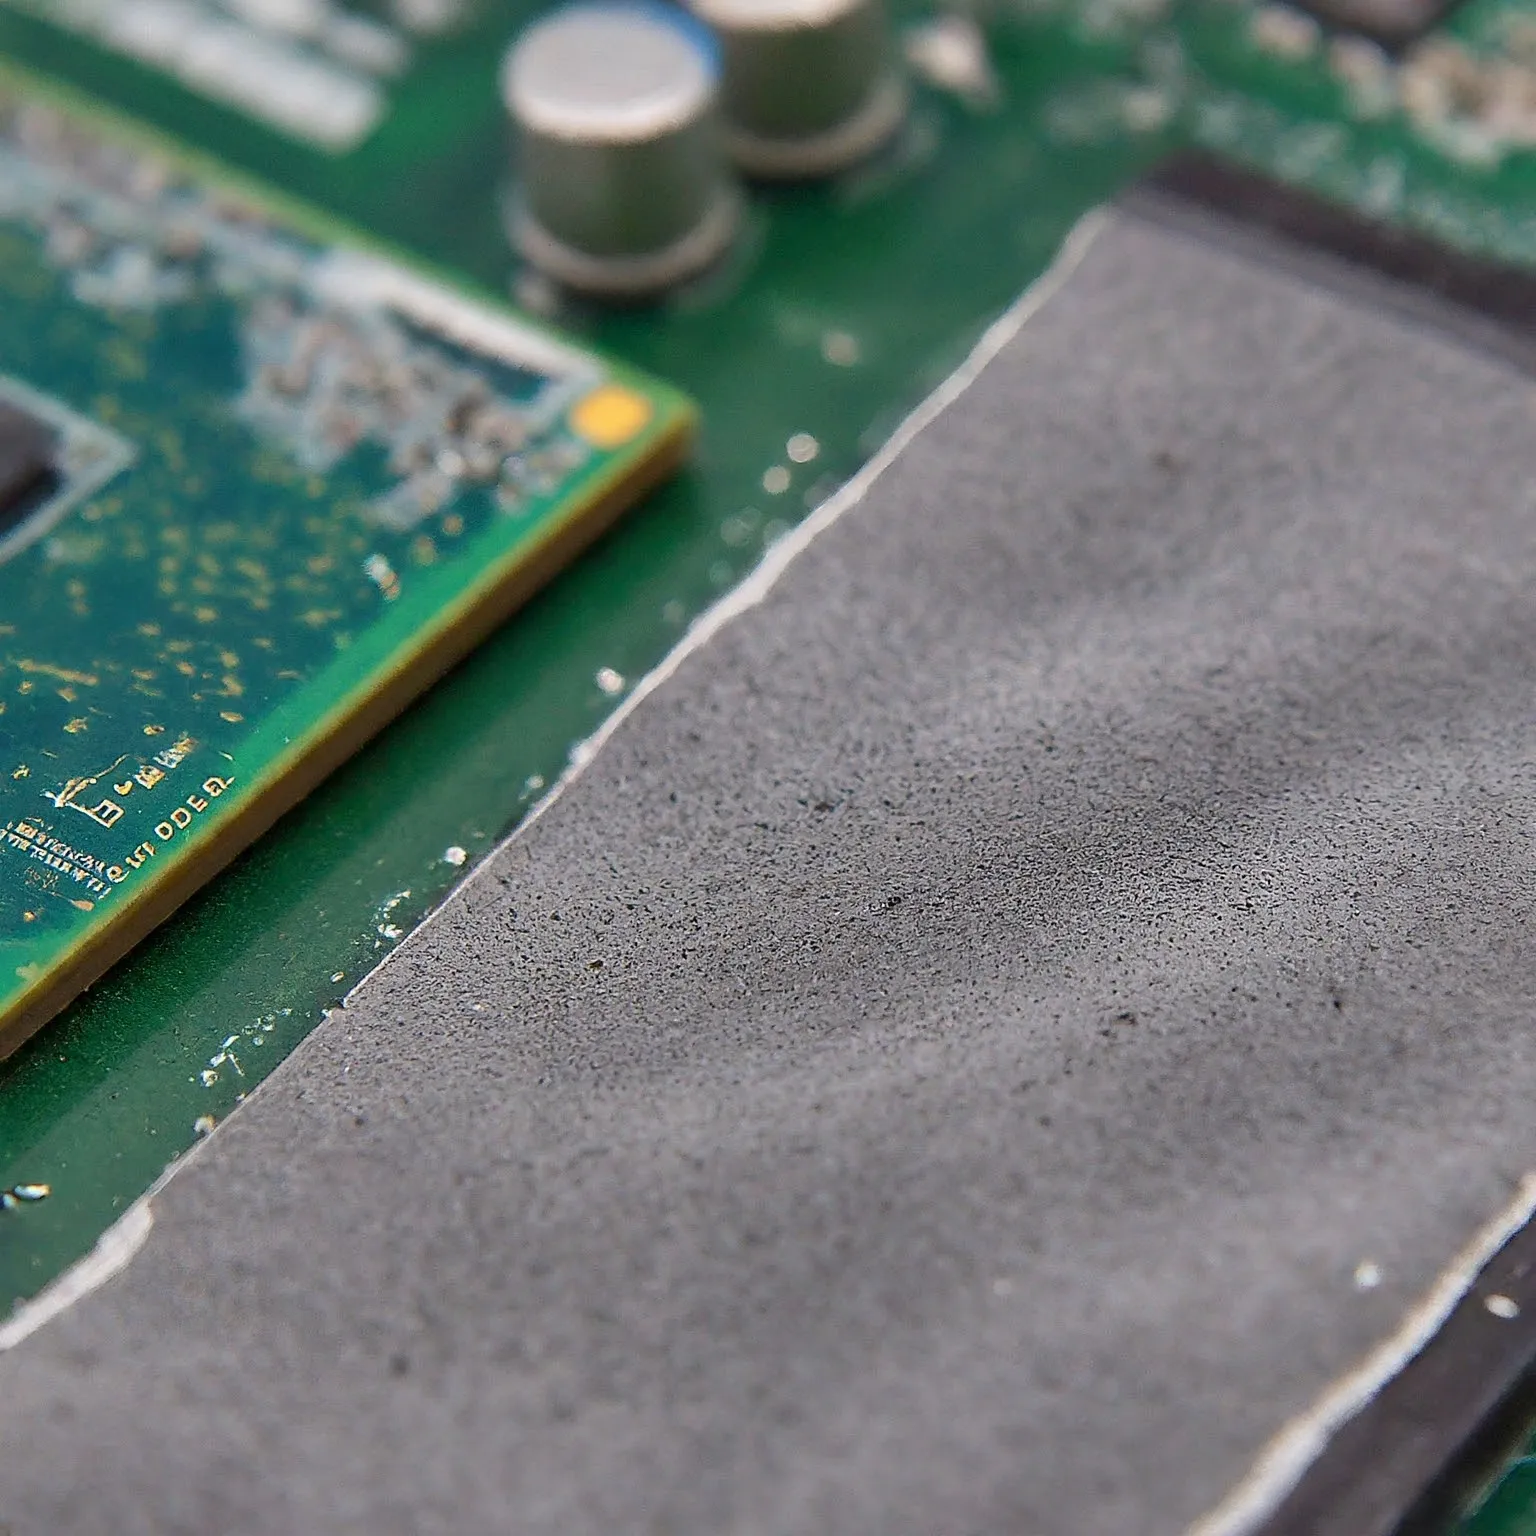
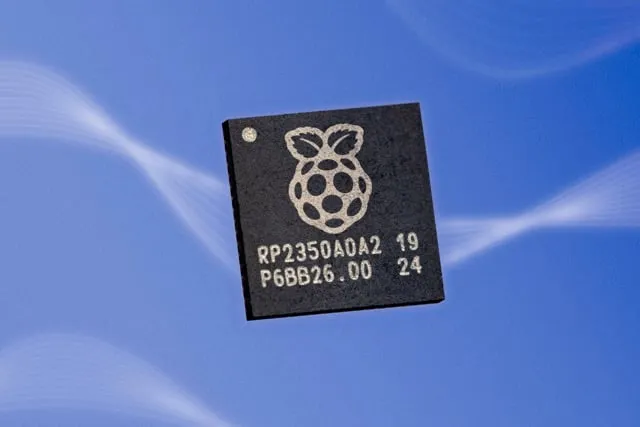
Raspberry Pi's July 2025 A4 announcement documents fixes for the launch A2 stepping's GPIO leakage issue, E9, and several boot-ROM security issues. It also describes an OTP readout issue that was not fixed in A4. Check the package marking and applicable errata when a design depends on input pull-down behaviour or resistance to physical attack. The chip photograph above visibly shows an A2 marking; it should not be treated as proof of the revision in a newly purchased board.
Plan the Whole Circuit, Including Power
USB power is convenient for a first sensor or display project. For battery work, account for the regulator, external sensors, LEDs and wake-up workload as well as the microcontroller. The board datasheet's low-power figures specify test conditions and are typical measurements, not a battery-life guarantee for a finished product. Test the complete circuit over its actual sleep-and-work cycle.
Use the documented pinout when connecting peripherals: UART, SPI and I2C functions have specific allowed mappings. A bus crossbar inside the chip does not mean every peripheral can appear on any chosen pin. GPIO outputs are logic signals; motors, fans and other loads need suitable driver circuitry and their own power arrangement.
For a homelab sensor, begin with one low-voltage sensor and send readings to a host over USB serial. The host can handle storage and dashboards. For a control project, decide what should happen if the host disconnects or a sensor reading fails. This keeps the embedded role clear without implying the Pico independently runs Home Assistant or Prometheus.
Final Verdict
Pico 2 builds on the original Pico with useful memory, processor and I/O improvements. My view remains that it is an accessible and capable platform for learning and focused embedded projects. Choose it for a concrete task, select supported firmware, and check the pinout and revision before reusing an existing design. The official Raspberry Pi website provides the starting point for its documentation and software.