
If you are still undecided on whether or not to start diving into the wonderful world of self-hosting, take a look at our Build your own homelab series that will take you step-by-step through all the parts needed to start building a fantastic self-hosting paradise. Saving money and taking control of our data is important for us all, but it also comes with a lot of responsibility. One of the most important is security. Today we look at a fantastic tool to help secure your self-hosting homelab.
What is CrowdSec and What Does It Do?
CrowdSec combines an open-source Security Engine with separate remediation components. The engine detects behavior and distributes decisions; a configured remediation component enforces blocking. Installing the engine alone is not a complete IPS deployment. Think of it as a bouncer for your digital doorstep. It's designed to detect and block malicious IP addresses that are trying to attack your systems.
Here's the gist of how it works:
- Detection: CrowdSec analyzes logs from your various services (web servers, SSH, firewalls, etc.) to identify suspicious behavior. This could be things like repeated failed login attempts, web scanning, attempts to exploit vulnerabilities, and other common attack patterns.
- Decision: Based on predefined "scenarios" (rules that define malicious behavior), the log processor detects behavior and produces an alert. Profiles in the Local API determine whether that alert becomes a decision, such as a timed ban.
- Remediation: Once an aggressive IP is identified, remediation components, also called "bouncers," retrieve applicable decisions and block that IP at various levels (firewall, web server, proxy, etc.).
- Collaboration (The Crowd): This is where CrowdSec gets really powerful. Participating engines share attack metadata with the Central API, which redistributes curated community decisions. This is not an anonymous promise: the documented metadata includes the offending IP, scenario details, timestamp and machine identifier, with other configured metrics. Review sharing and Console options deliberately. Community intelligence can support proactive blocking, but not every IP reported once is immediately distributed to everyone. It's like a neighborhood watch for the internet!
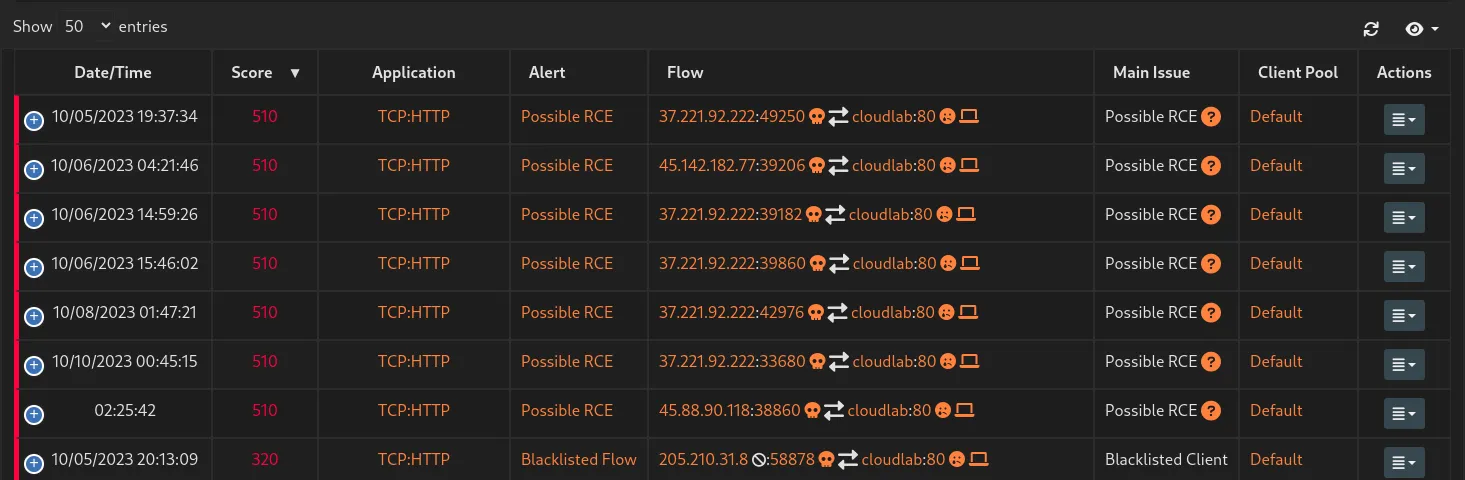
Threats CrowdSec Can Protect Your Homelab Against
From a homelab perspective, you might be running various services that could be targeted. CrowdSec can help protect against:
- Brute-force attacks: Constantly trying different username/password combinations on your SSH, web logins, or other services.
- Web scanning and exploitation: Bots and attackers scanning for known vulnerabilities in web applications you might be hosting (like WordPress, Nextcloud, etc.).
- Denial-of-Service (DoS) attempts: Overwhelming your services with traffic to make them unavailable (though for large-scale DDoS, other solutions are also needed).
- Port scanning: Attackers probing your network to see which ports are open and what services are running.
- Credential stuffing and credential abuse: Trying stolen credentials on your services.
- Exploitation of known vulnerabilities: Blocking IPs known to be exploiting specific software flaws.
Protection depends on suitable acquisition, parsers, scenarios or AppSec rules, and a working remediation component. A service merely generating logs is not enough. Behavior detection also does not patch the vulnerable application or stop an upstream bandwidth-saturating DDoS attack.
Installation Options
CrowdSec is quite flexible when it comes to installation. You can install it directly on a Linux host, within a Docker container, or even as a Kubernetes deployment.
For us homelabbers often rocking Proxmox VE, here are common approaches:
- Directly on the Proxmox Host: You can install the CrowdSec agent directly on your Proxmox VE host. This allows it to monitor logs from the host itself (e.g., SSH access to the hypervisor) with appropriate acquisition and detection content. A log-based agent is not automatically a packet-inspection sensor. Host firewall integration needs to match the actual backend and traffic path; changing a hypervisor firewall can affect guest and management access.
- Within a Dedicated Security VM/LXC Container: A popular and often recommended approach is to set up a dedicated virtual machine or LXC container on Proxmox to run the CrowdSec agent. This keeps your security tools somewhat isolated. You must configure forwarding or log mounts explicitly; a dedicated VM or container does not automatically see other guests' logs.
- On Individual VMs/LXC Containers: You can also install the CrowdSec agent directly on each individual virtual machine or container that's running a service you want to protect (e.g., on your web server VM, your reverse proxy container, etc.). This is more granular but requires more individual installations.
Key for Proxmox: Regardless of where you install the main CrowdSec agent, you'll need to install bouncers where you want the blocking to happen. If you want to block an attacker at your network edge within Proxmox, you might look into bouncers for iptables, nftables (if you're using that on your Proxmox host or a firewall VM), or directly within your reverse proxy (like Nginx Proxy Manager or Traefik) if that's handling your inbound traffic.
The official CrowdSec documentation provides excellent guides for various installation methods.
Pros of CrowdSec
- Open Source & Free: The Security Engine is open source and can be self-hosted without a software subscription. Optional commercial intelligence and management offerings have their own terms.
- Collaborative Security: Available curated community decisions can provide proactive protection from known attackers when your engine retrieves them and remediation enforces them. This is a huge advantage as you benefit from the experiences of the entire community.
- Lightweight: Designed to have a minimal performance impact on your systems.
- Extensible: A growing collection of parsers (to understand log formats) and scenarios (to detect threats) are available from the community hub. You can also create your own.
- Multi-Layered Blocking: Bouncers can be deployed at different levels (firewall, application, proxy).
- Good Documentation & Community: Plenty of resources and an active community to help you out.
- Visibility: The CrowdSec console gives you insights into the attacks being blocked.
Cons & Considerations
- Initial Setup Complexity: While not overly difficult, understanding how all the pieces (agent, parsers, scenarios, bouncers, console) fit together can take some time and effort, especially for beginners.
- False Positives: Like any security system, there's a chance of false positives (blocking legitimate traffic). Monitor alerts and investigate unexpected decisions before adding narrowly scoped allowlists. This is especially true if you have services with unusual traffic patterns.
- Reliance on Logs: CrowdSec's effectiveness is directly tied to the quality and availability of the logs it ingests. If a service doesn't log properly, or if CrowdSec can't parse those logs, it won't be able to detect attacks against that service.
- Bouncer Configuration: Ensuring your bouncers are correctly configured to actually block traffic where you intend is crucial. A misconfigured bouncer means no protection, even if detections are happening.
- Learning Curve for Customization: While powerful, creating custom parsers and scenarios requires understanding YAML and the CrowdSec framework.
- Internet Connectivity for Community Blocklist: To get the full benefit of the crowd-sourced blocklist, your CrowdSec instance needs to communicate with the central API. This might be a consideration for entirely air-gapped homelabs (though its primary value is for internet-facing services).
Alternatives to Consider (Especially if Not Proxmox-Centric)
While CrowdSec is a fantastic option, especially with its community aspect, these tools address related needs and can be used on suitable platforms with or without Proxmox:
- Fail2Ban: A classic and widely used log-parsing application that monitors log files for suspicious activity and bans IPs using firewall rules. It focuses on configured local detections and actions rather than automatically joining CrowdSec's community intelligence network. It's excellent for protecting individual services on a Linux host.
- Suricata or Snort (NIDS/NIPS): These are more traditional Network Intrusion Detection/Prevention Systems. They analyze network traffic directly rather than just logs. They can be more complex to set up and manage but offer deeper packet inspection. You could run these on a dedicated firewall appliance (like pfSense or OPNsense) or a VM.
- WAF (Web Application Firewall): If your primary concern is protecting web applications, a configured WAF, such as ModSecurity or CrowdSec AppSec with a compatible remediation integration, can provide more specialized protection against web-specific attacks (SQL injection, XSS, etc.). Using a reverse proxy does not automatically enable a WAF. AppSec requires request inspection and a compatible component; a log-only setup and an IP blocklist are different layers.
- Firewall Solutions (pfSense, OPNsense): These dedicated open-source firewall distributions often include packages or features for intrusion detection and prevention (like Suricata or Snort integration) and can offer more comprehensive network security management. They can run on dedicated hardware or as a VM. CrowdSec documents pfSense and OPNsense integrations, but check the supported method for your version. The pfSense guide currently describes manual package installation and notes that its CrowdSec configuration is not automatically included in a normal pfSense configuration restore.
Many of these can, of course, still be used effectively within a Proxmox environment. The key is finding the right tool or combination of tools that fits your needs, technical comfort level, and the services you're running.
Inspect acquisition, decisions and remediation
For a host installation, these inspection commands are a useful starting point. Check cscli help for the installed version; a Docker installation runs the same utility inside its Security Engine container:
sudo cscli metrics
sudo cscli alerts list
sudo cscli decisions list
sudo cscli bouncers list
sudo cscli capi status
Metrics should show that the expected logs are acquired and parsed. Installed scenarios alone do not prove the acquisition path is correct. In Docker, use paths as seen inside the engine container and give it read access to the required logs; a host path that was never mounted cannot be processed. Log rotation and changed formats can also stop useful acquisition.
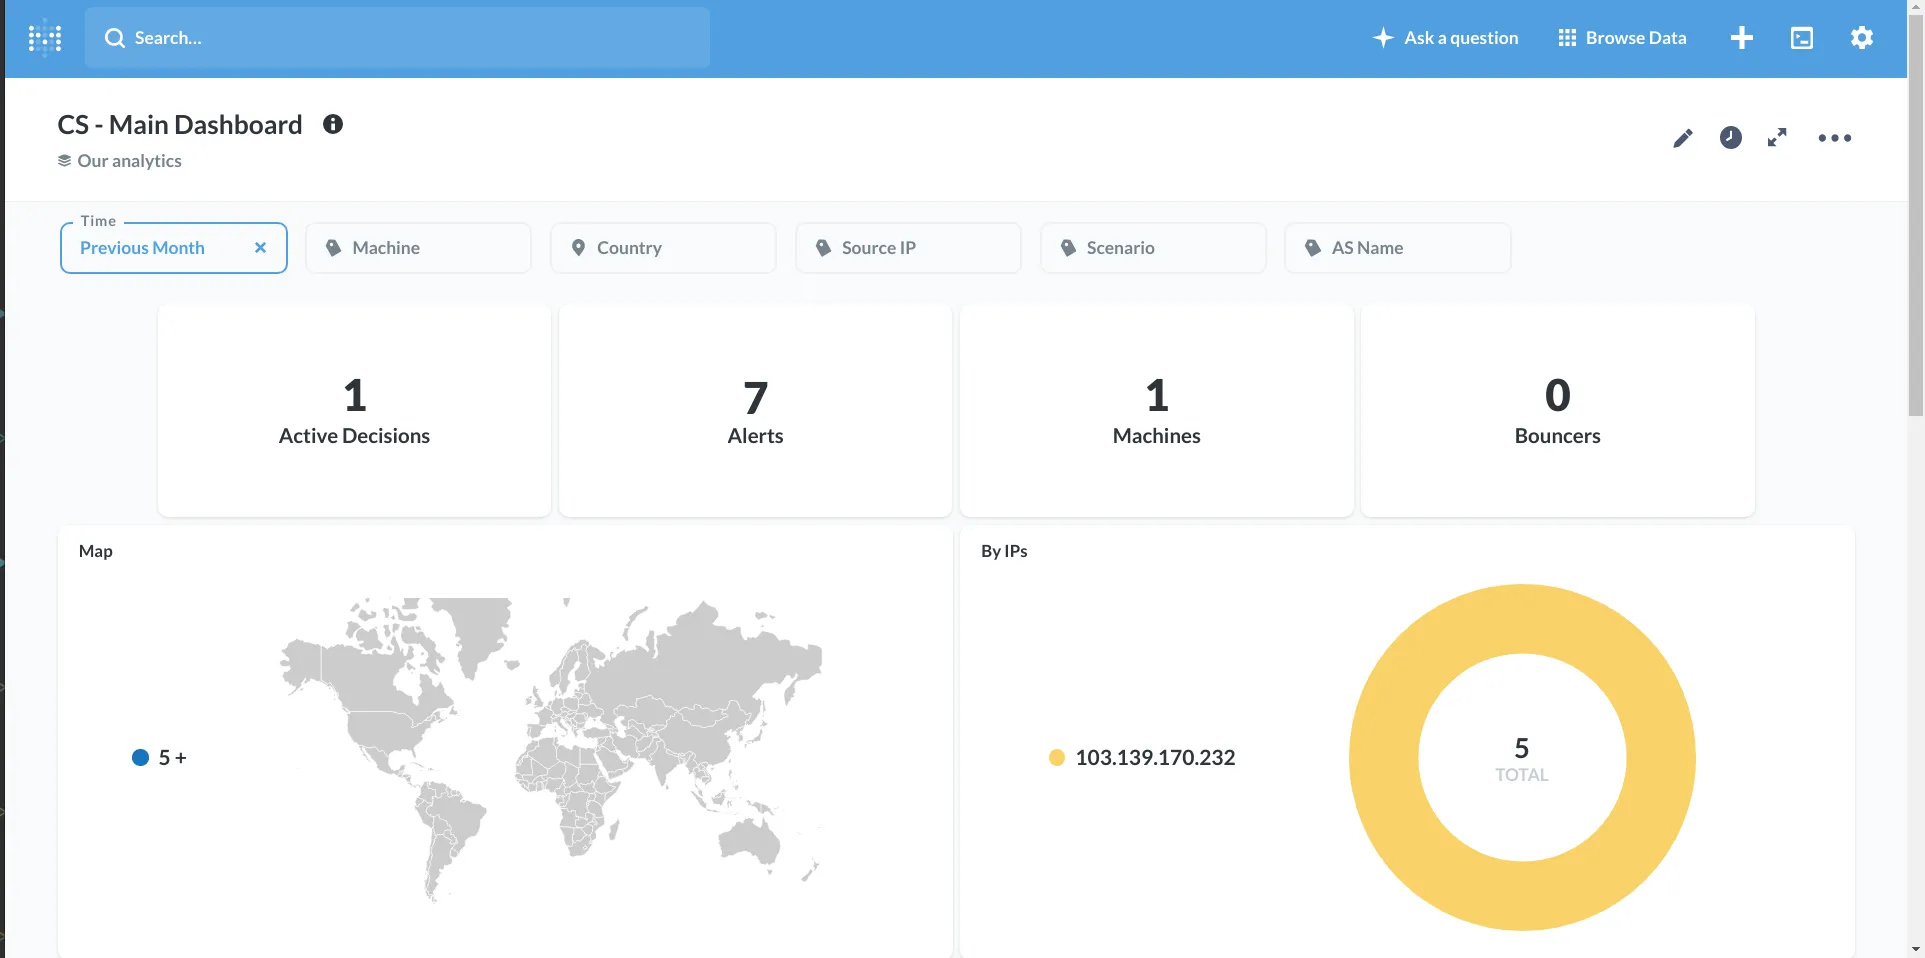
An alert is the detection event. A decision is an action selected by policy. A registered bouncer with recent API activity is another separate check, and actual blocking must still be tested at the protected service. The existing analytics screenshot makes that distinction concrete: it shows alerts and a decision while the bouncer count is zero. It is an example of visibility, not evidence of enforced protection.
Follow the publisher's installation health-check through acquisition, parsing, API connectivity and remediation. Its short-lived test decision should be performed from a separate test connection with another working administration path. A decision against your own public address can lock you out; do not paste a four-hour self-ban as a routine setup step. Confirm that the test block expires or remove only the intended test decision afterward.
Collections bundle detection content; they do not necessarily install a blocking component or configure every log path. Choose the collection matching the actual service and format. Review hub updates during maintenance, since parser and scenario changes can alter behavior, and reload using your deployment's documented service method.
Reverse proxies and real client addresses
Behind a CDN or proxy, check the client-address field in the logs. If every request appears to come from the proxy, you may detect the wrong address or suppress useful detections. Configure the web server's documented trusted-proxy handling and keep the provider's trusted address ranges current.
Never trust a forwarded-address header from any arbitrary client. An attacker can otherwise claim another person's address or evade detection. CrowdSec's troubleshooting guide explains that parsers read the effective address field in the service log. The protected origin should also be restricted appropriately so a direct route cannot bypass the proxy where remediation occurs.
AppSec is an additional request-inspection layer in the Security Engine. A compatible web remediation component forwards requests for evaluation and applies the result. The NGINX component guide separates its AppSec options from ordinary IP remediation and documents behavior when inspection fails. Test the intended policy and application compatibility rather than assuming a configured URL makes every request fully inspected.
CrowdSec, Fail2ban and Suricata
| Tool | Main detection input | Enforcement to configure |
|---|---|---|
| CrowdSec | Acquired logs and optional AppSec HTTP requests, plus received intelligence. | Compatible firewall, proxy, web or other remediation components. |
| Fail2ban | Service/system log patterns. | Configured jail actions, commonly firewall rules. |
| Suricata | Network traffic visible to its capture or inline path. | Detection-only or suitable inline IPS operation. |
These are complementary approaches rather than interchangeable labels. Inspect Fail2ban's configured filters and actions and Suricata's documented operating role before comparing them. Resource needs vary with events, rules and traffic; a universal memory figure does not describe the workload of a particular installation.
Keep management access private, maintain application patches and strong authentication, and back up the engine's configuration and credentials along with the services it protects. A ban list is another defensive layer; it does not establish that every allowed user or request is safe. Review narrowly scoped exceptions and retain an administration route when a security service is stopped or misconfigured.