If you have been following along with our Build your own Homelab series one might start to wonder when we are getting to more practical installs. We have a Wordpress instance running in our Proxmox server node, and we can access it from outside of our home network, but how useful is something like that for a normal user? Well, today we look at something that is a lot more useful, and certainly a whole lot more fun: Let's get our own Minecraft server up and running!
Step 1: Get the LXC Template ready to go
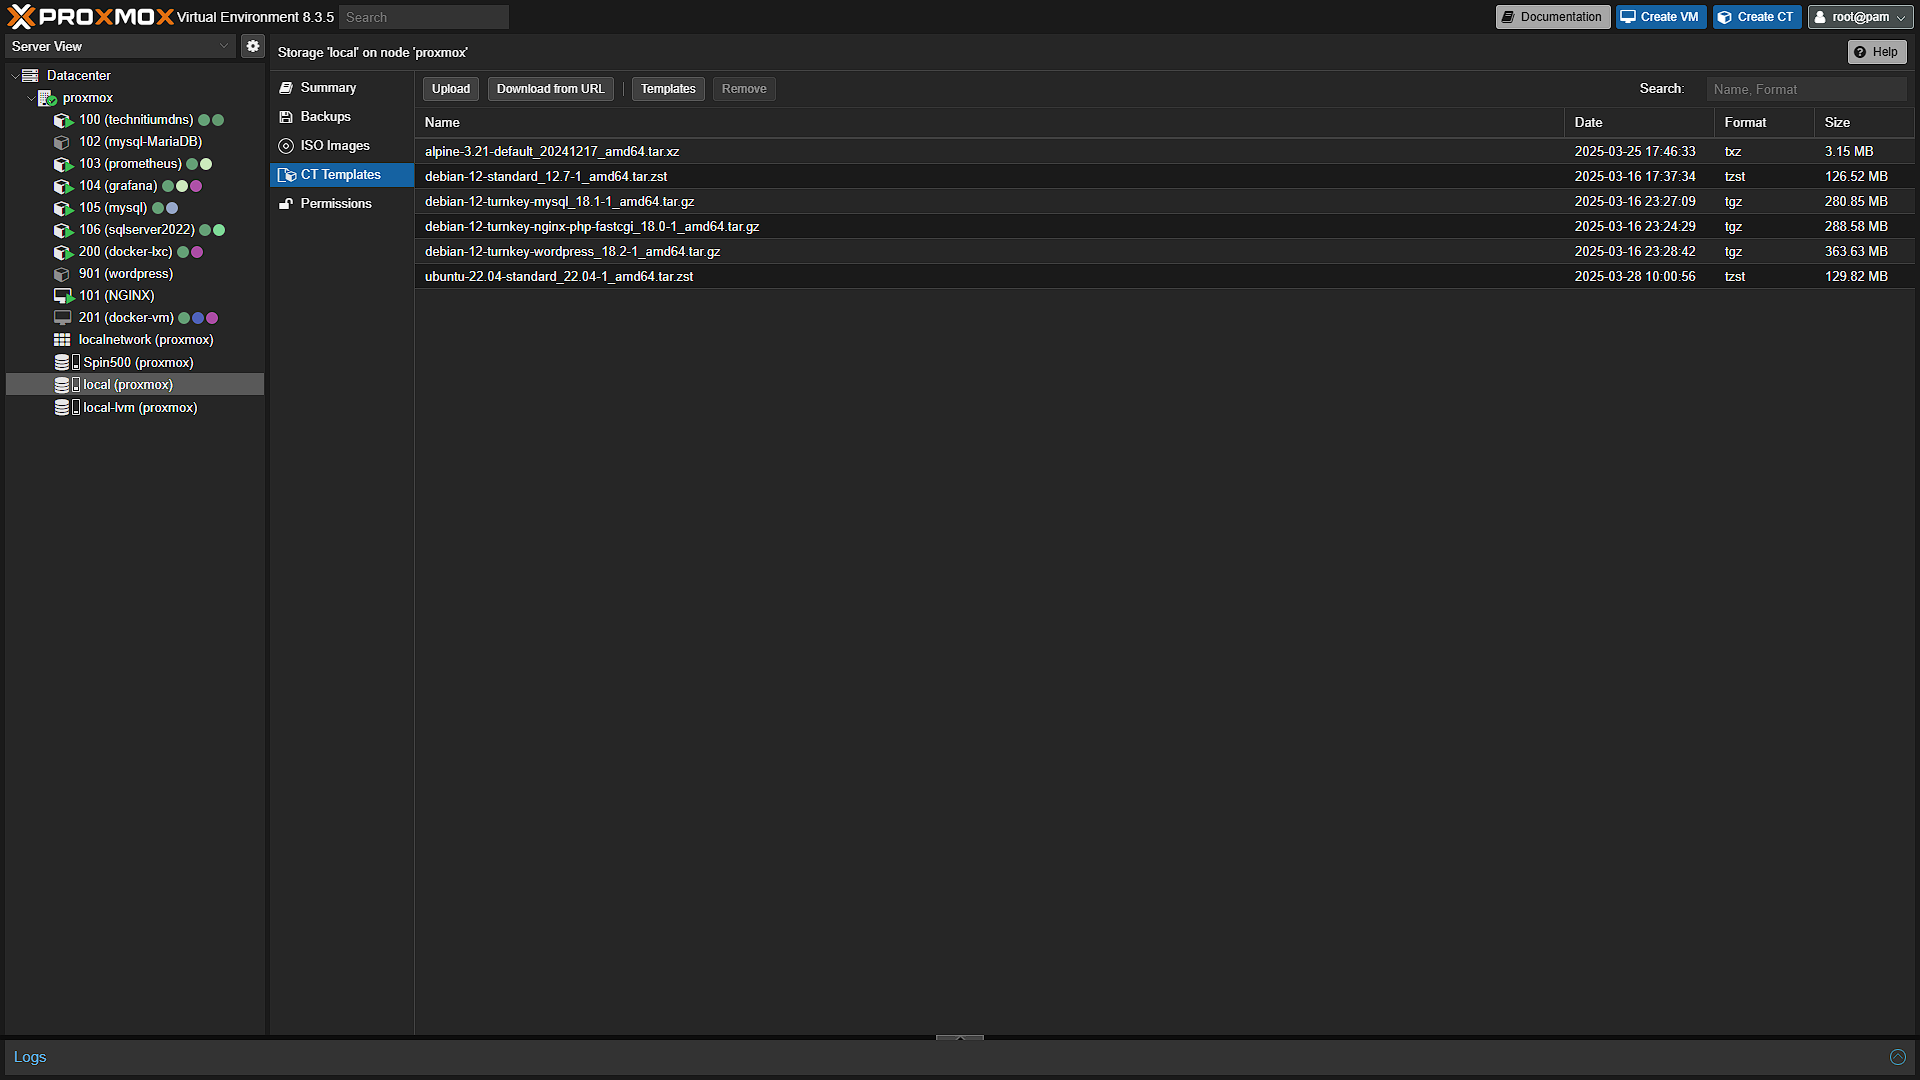
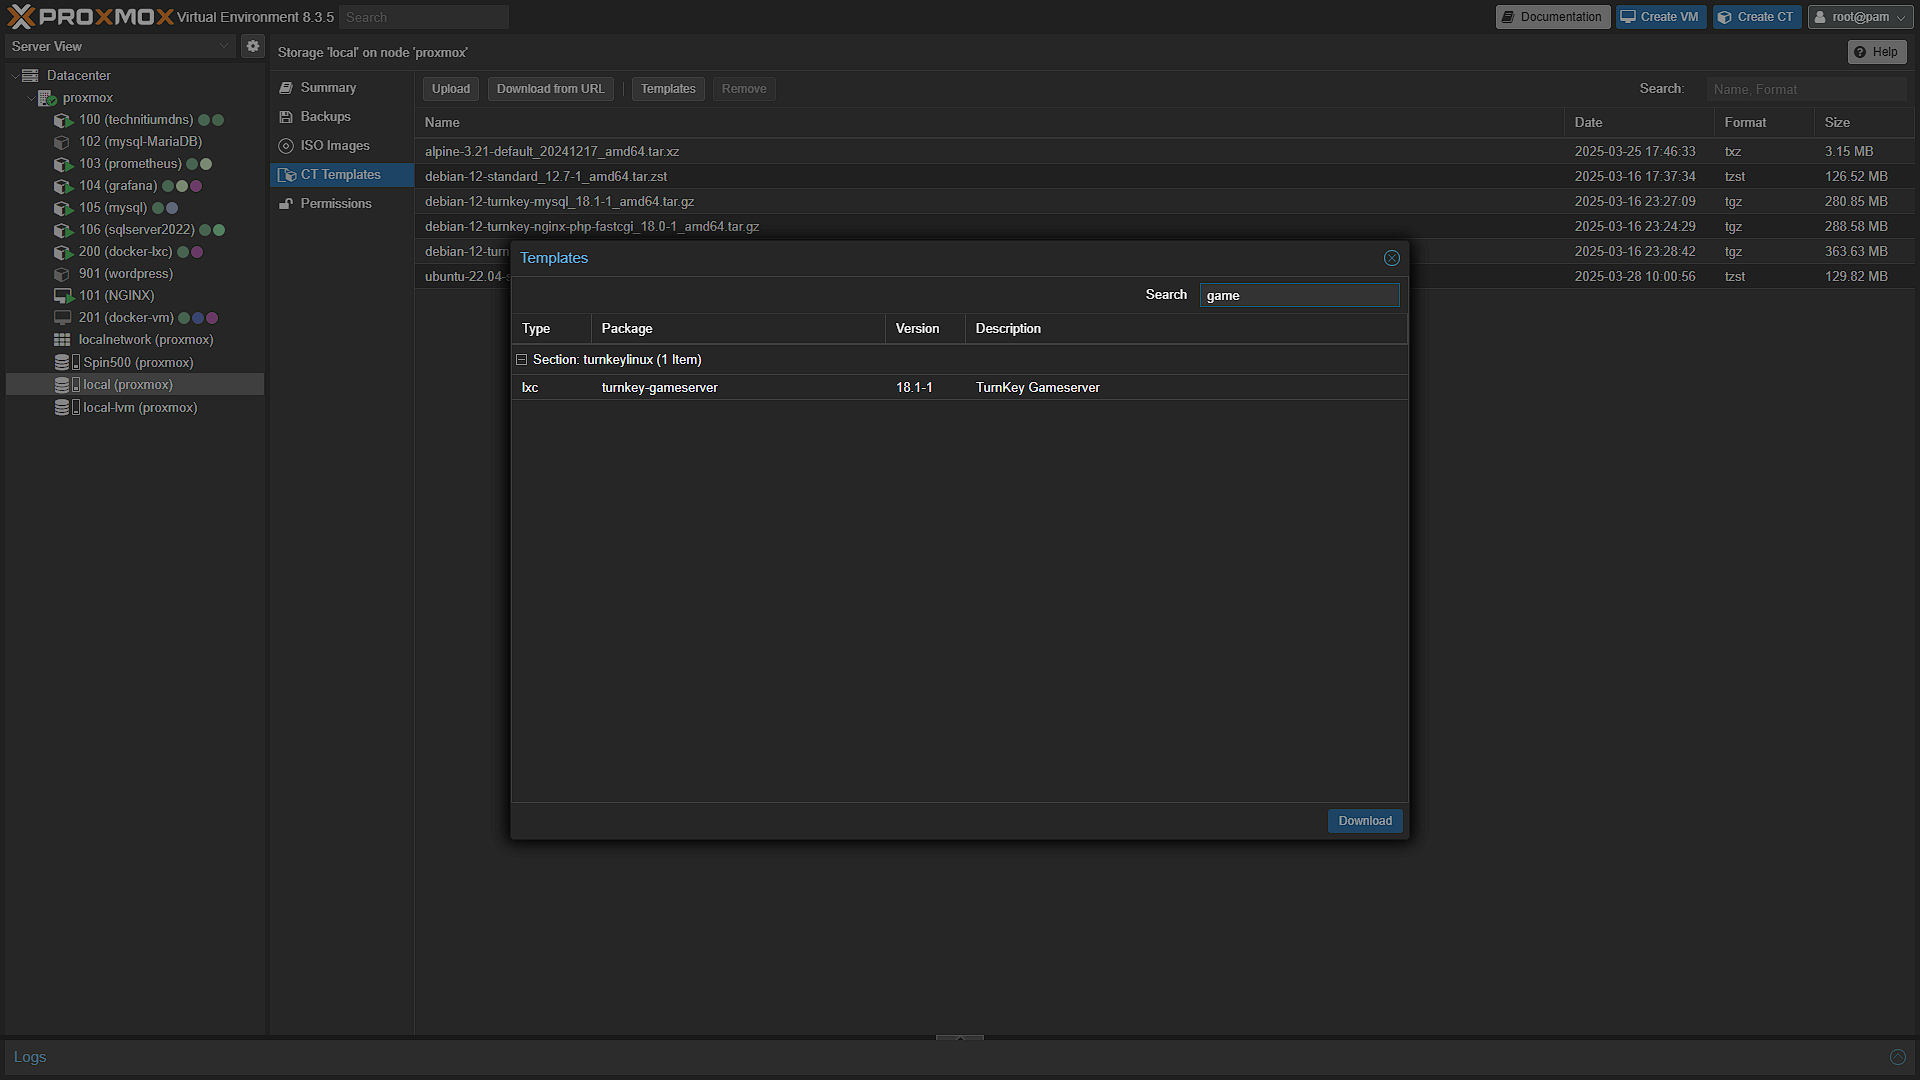
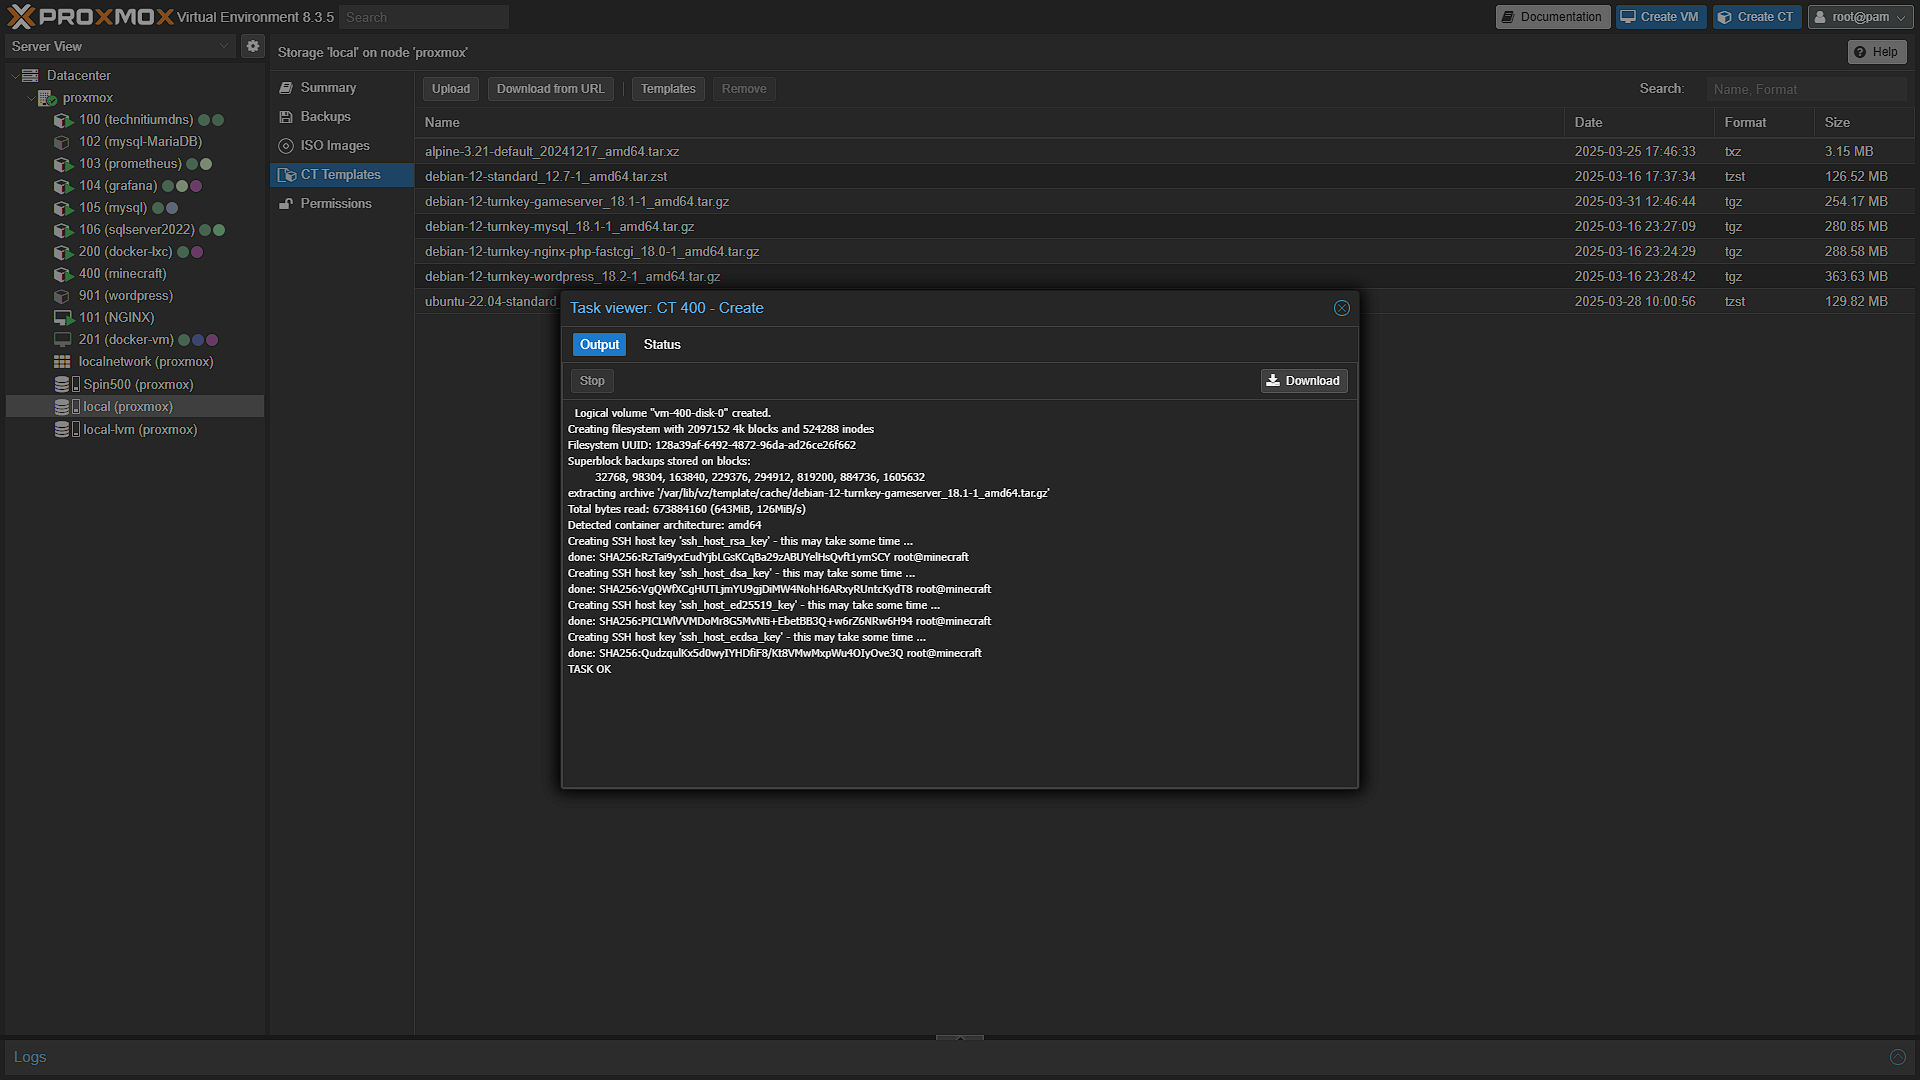
Today we deviate a bit from the norm and use Turnkey Linux again for their, well, Turnkey Linux Container template we need. The specific one we need is the Turnkey Linux Gameserver container. Open a browser window and go to your Proxmox installation instance. After logging in, expand the Datacenter node in the left navigation menu, then expand the Proxmox node where we want to install the game server on. Under the selected node, select the local storage item. This is where we can install our ISO images and our LXC Container templates. In the middle navigation pane, select CT Templates. This will list all the templates we have downloaded for easy creation of containers. We need to download a new one, so in the main window, click on  . This will open all the Turnkey Linux LXC Container templates. We are looking for the
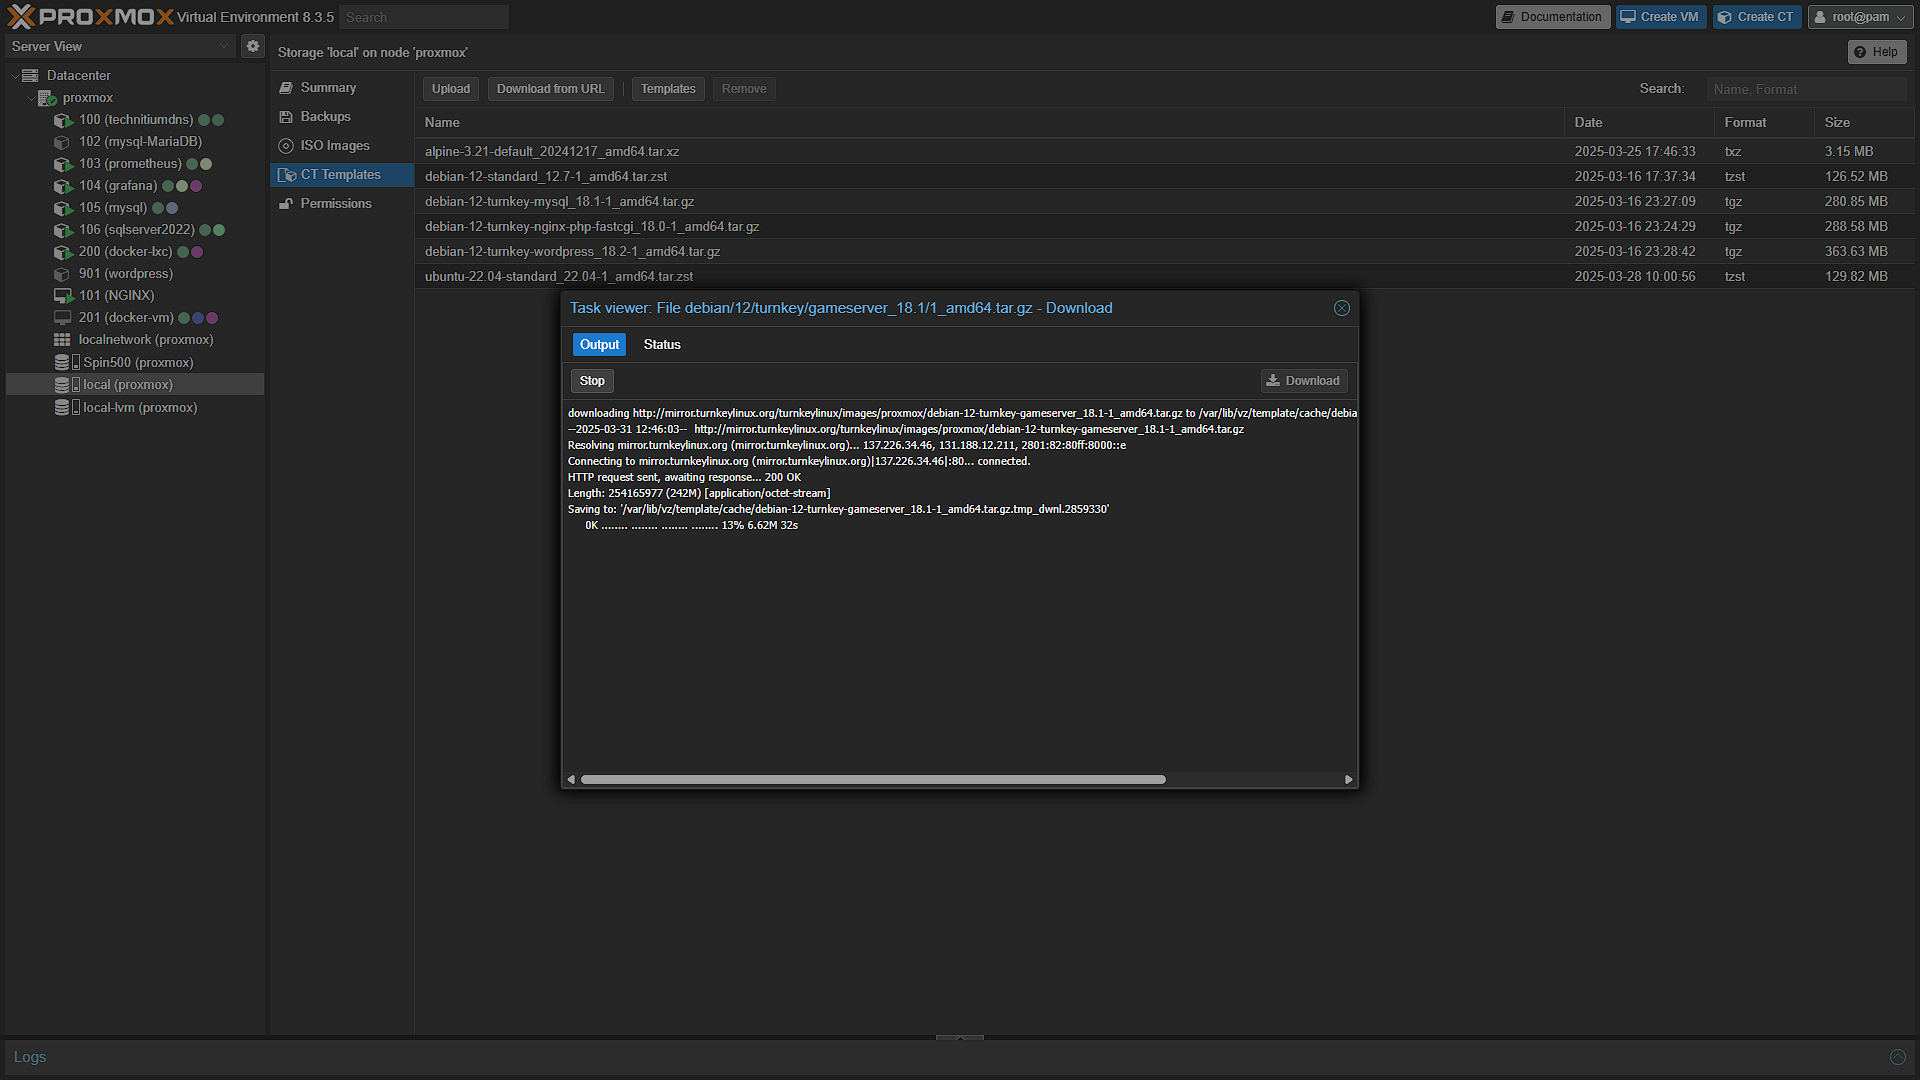
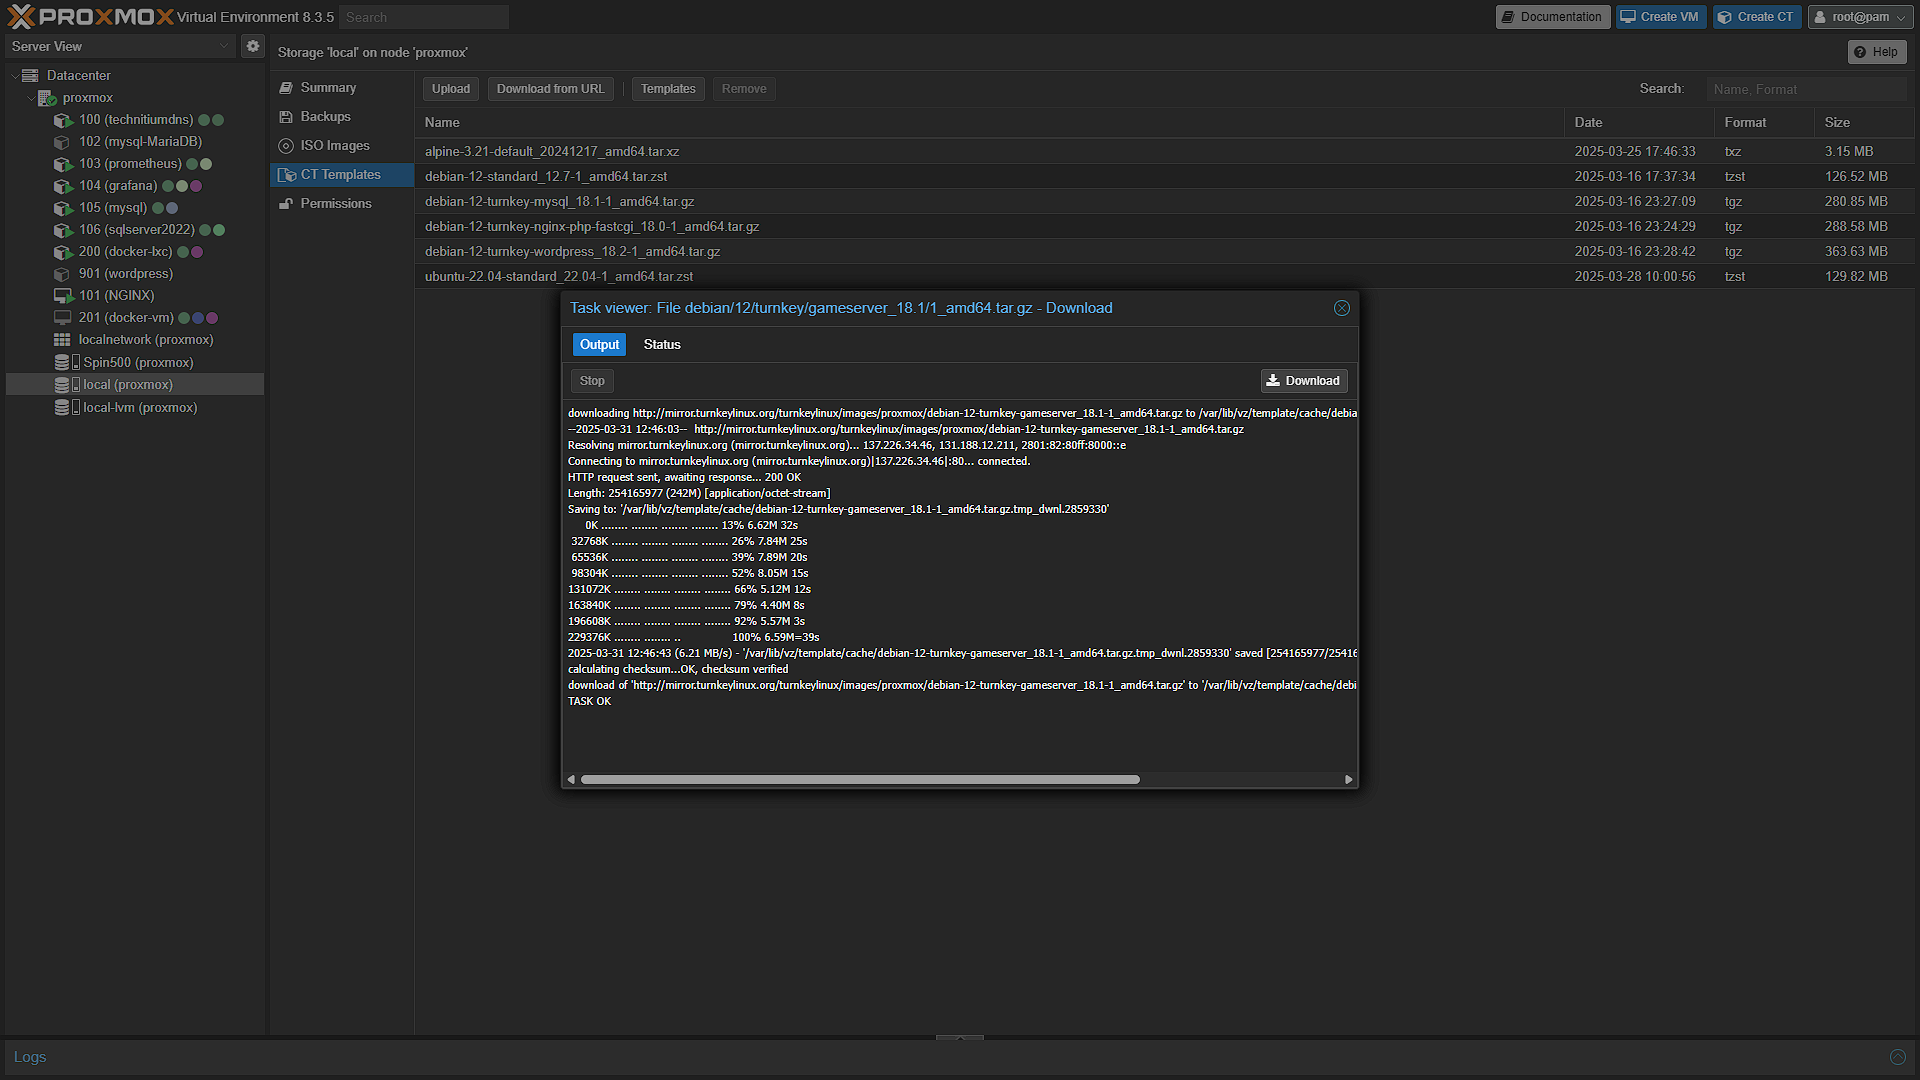
 Gameserver one. Search for Gameserver and click download after selecting the Gameserver template. The download should be fairly quick, once done we are ready to create a new instance container.
Step 2: Create a new Gameserver Container
Now that we have the container template ready to go, we need to create a new container. In Proxmox, click the  button. We need to go through the steps of all the screens again
General:
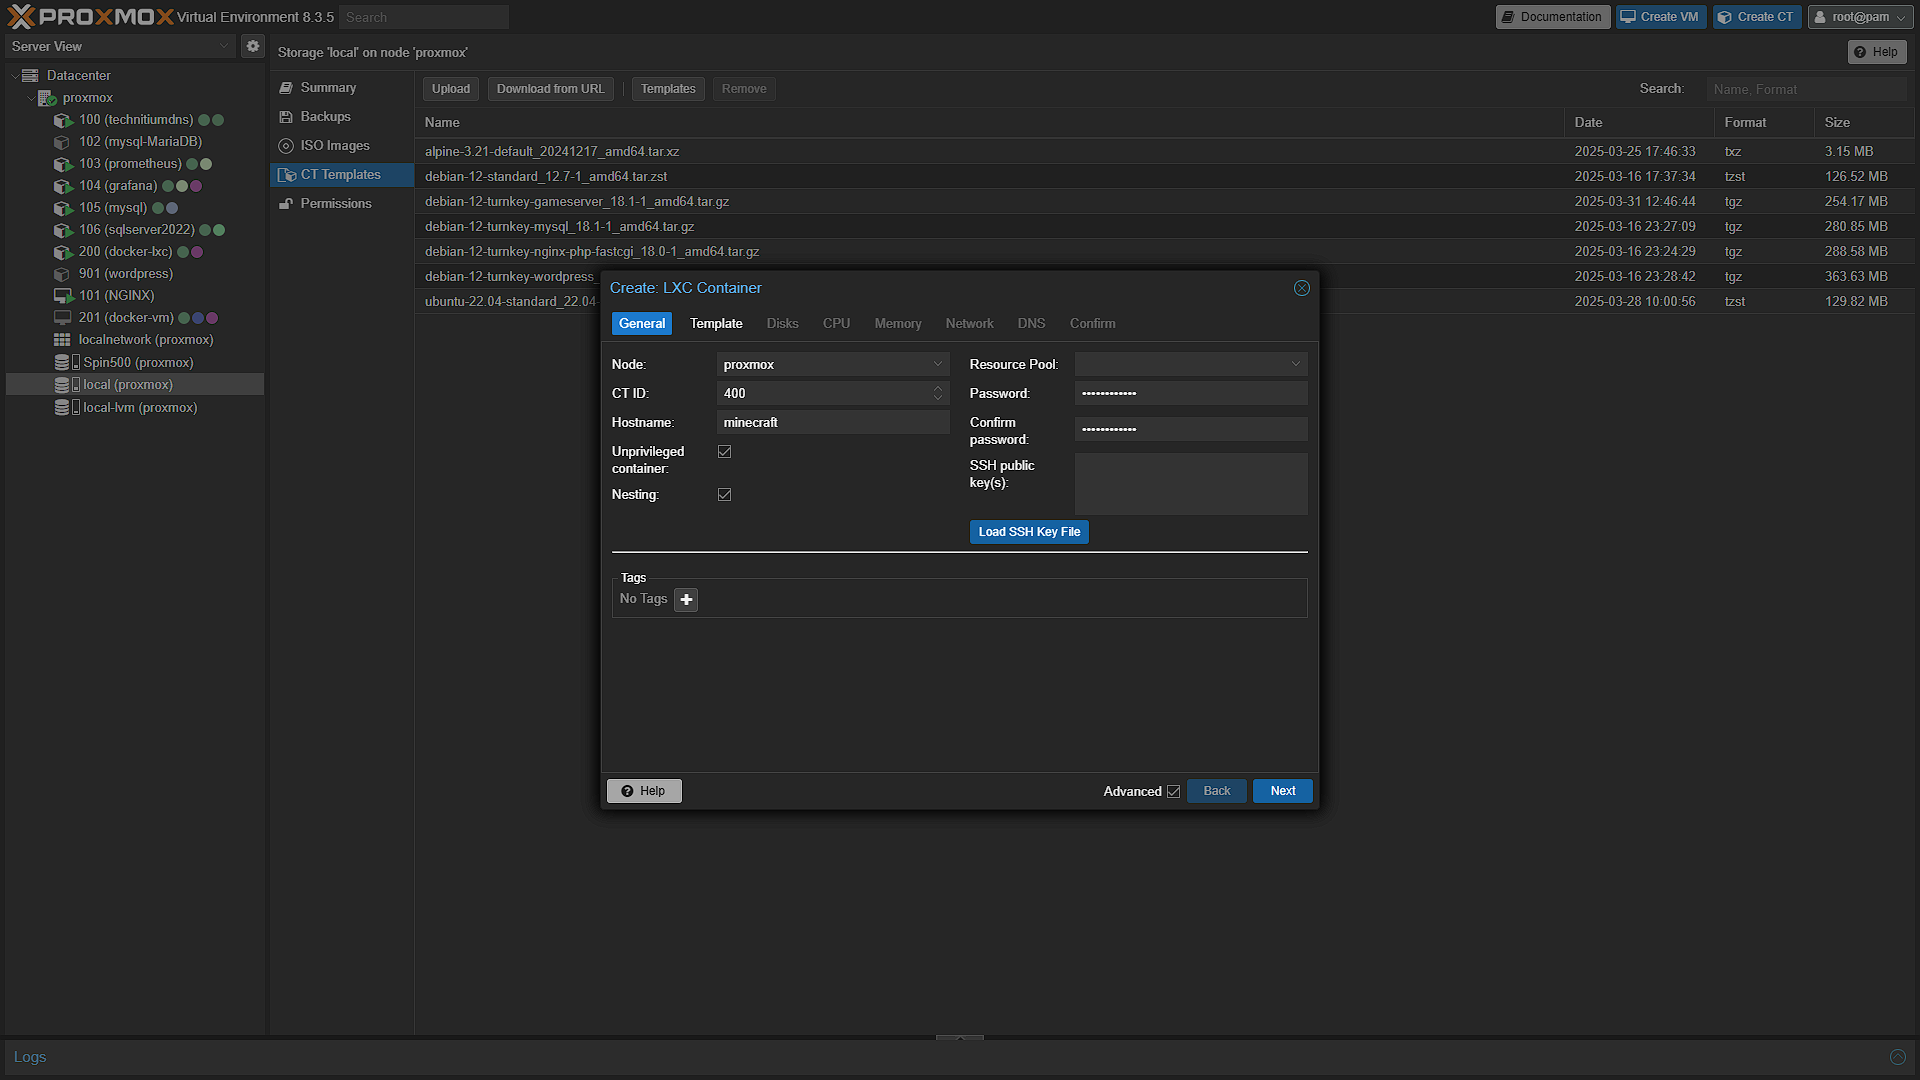
In the general screen, fill in the CT ID field, this can be any number normally in the 100 - 999 range, and this is just an ID for the container. Fill in the hostname and choose a password. This password is the password for the root user of the Linux container.
Template:
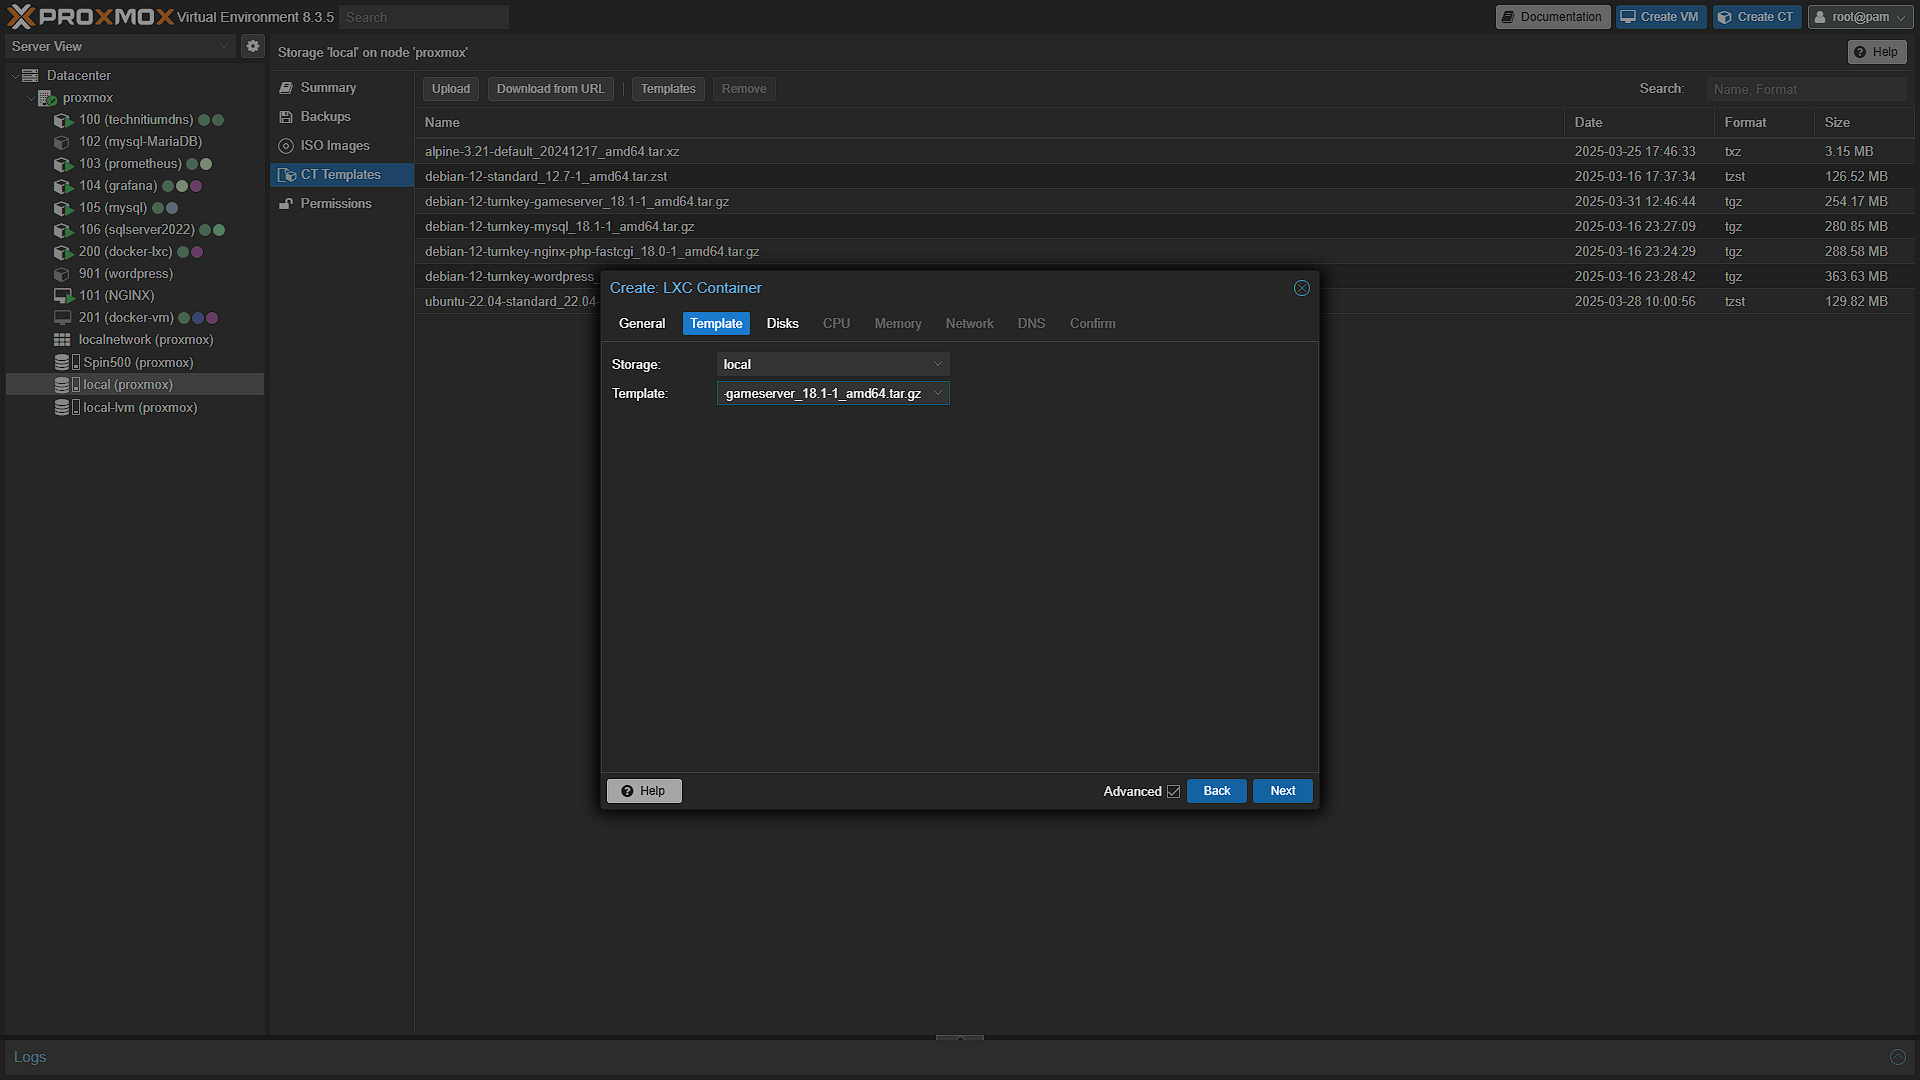
In the template screen, select the container template. You should only have the option to select local in the Storage dropdown as that is the only place where container templates are installed. In the Template field, select the Gameserver container template.
Disks:
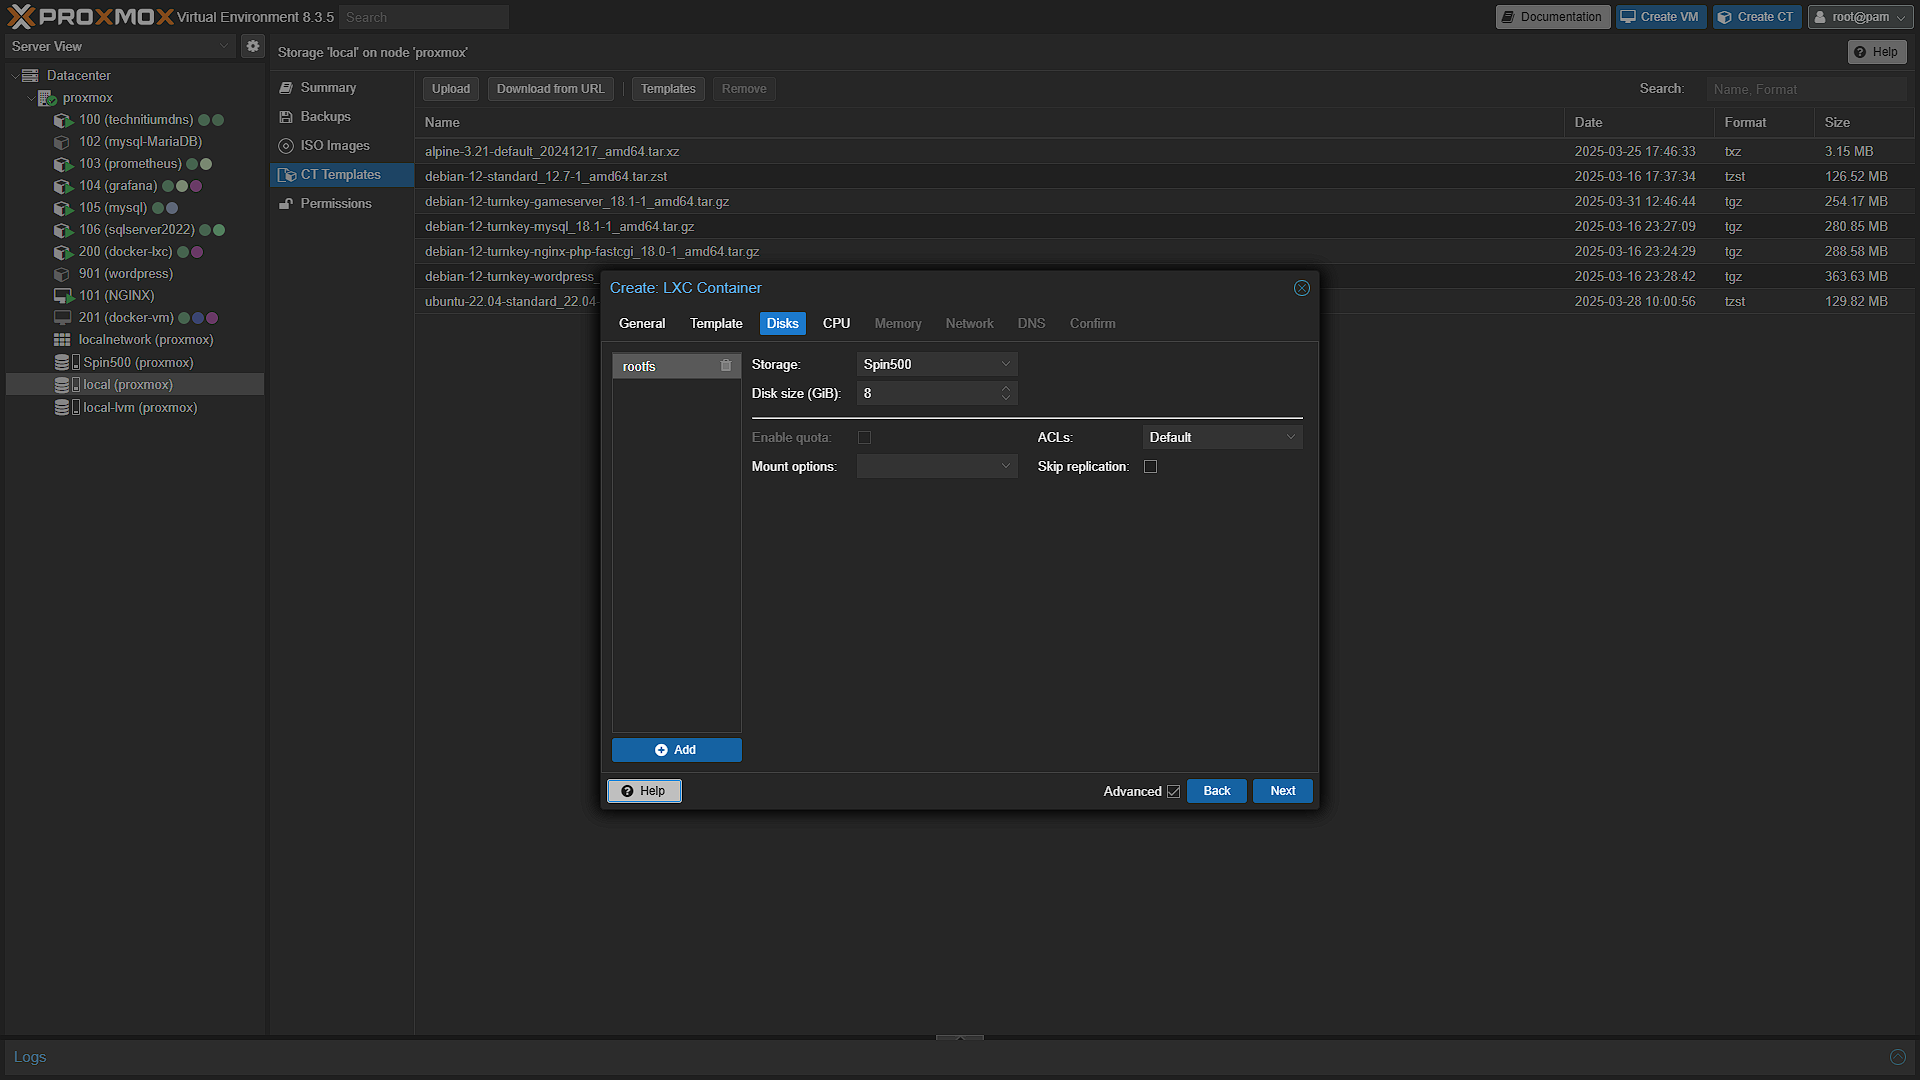
Now we come to the location where the container will be installed. Select any disk of your choosing and disk size as well. The default 8GB of storage should be enough for a Minecraft server. A blank server needs about 1.25GB of space, so we have plenty to grow into. And if we ever need to, we can just increase the disk space.
CPU:
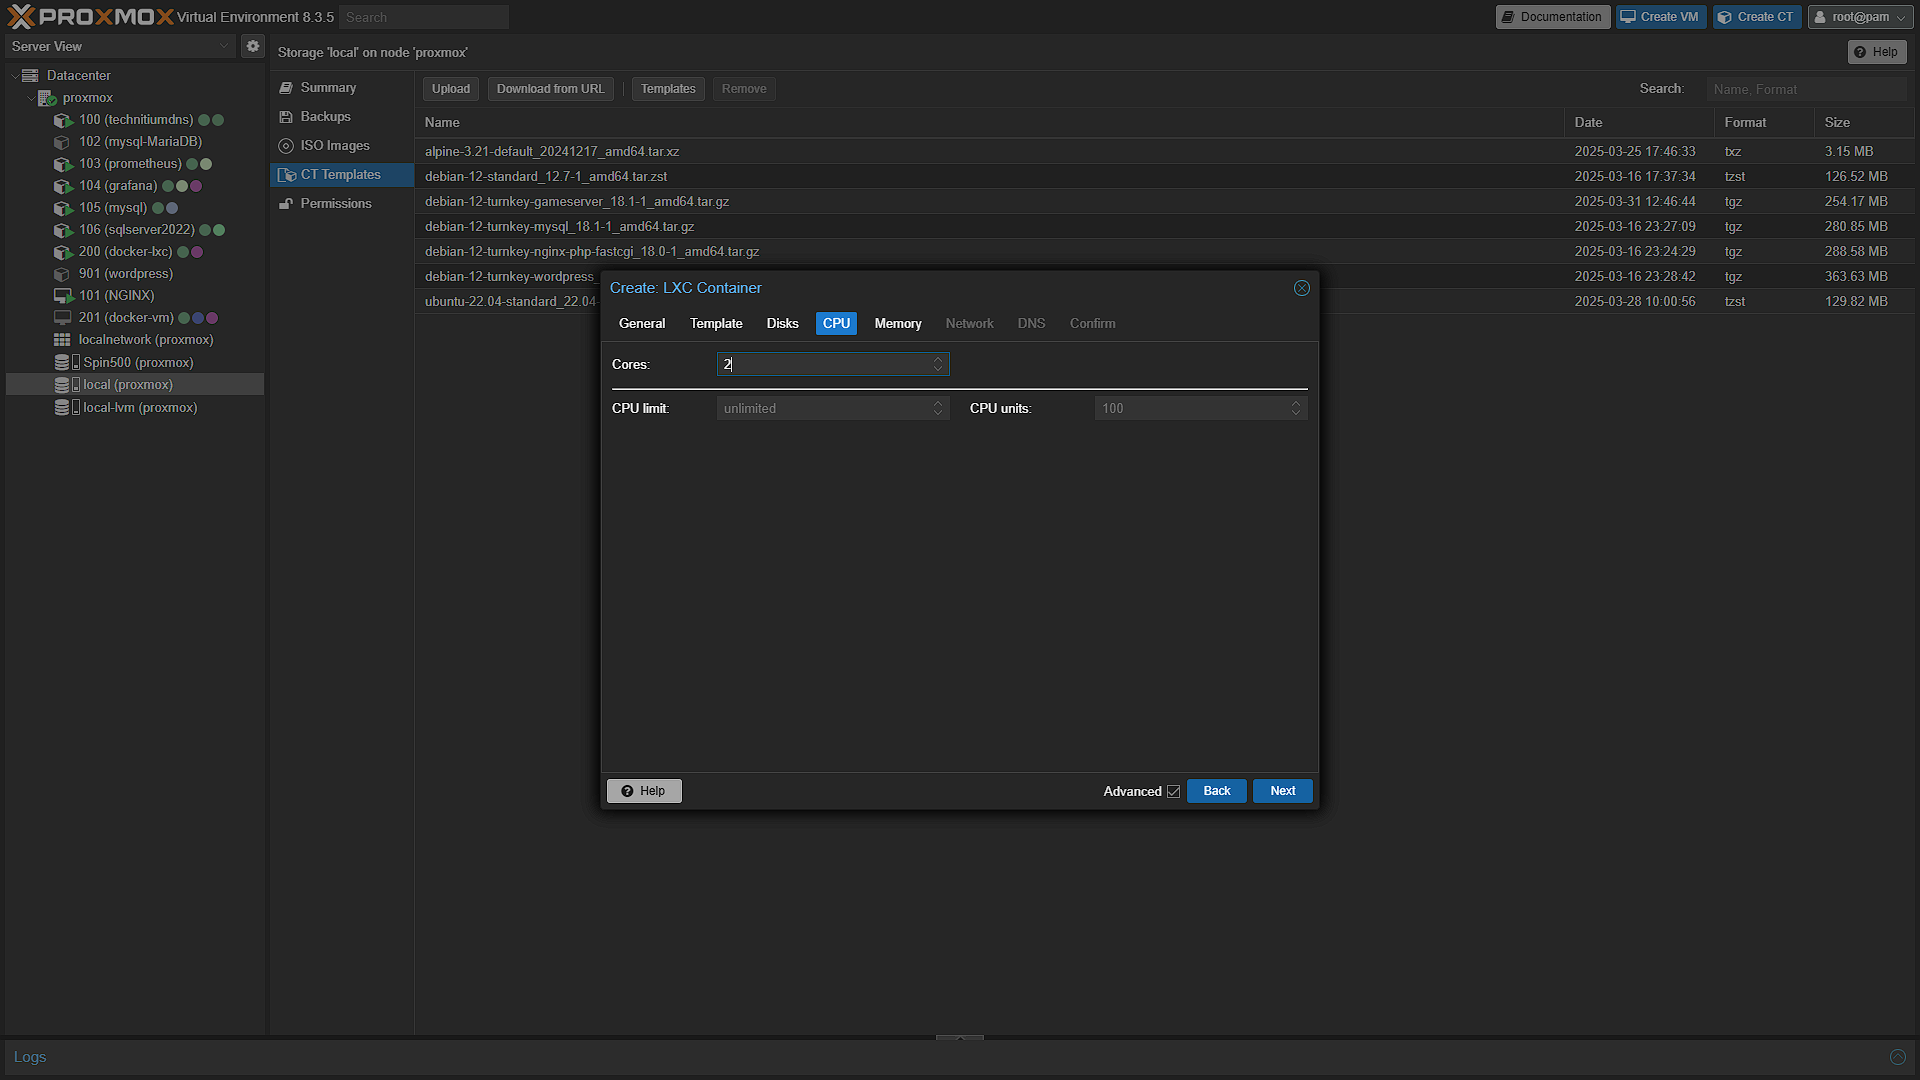
This is just the maximum amount of CPU cores the container has access to. This does not mean that those cores are only assigned to this container, it merely states that the container cannot access more than these. We opted for 2 which should be enough for Minecraft and multiple users.
Memory:
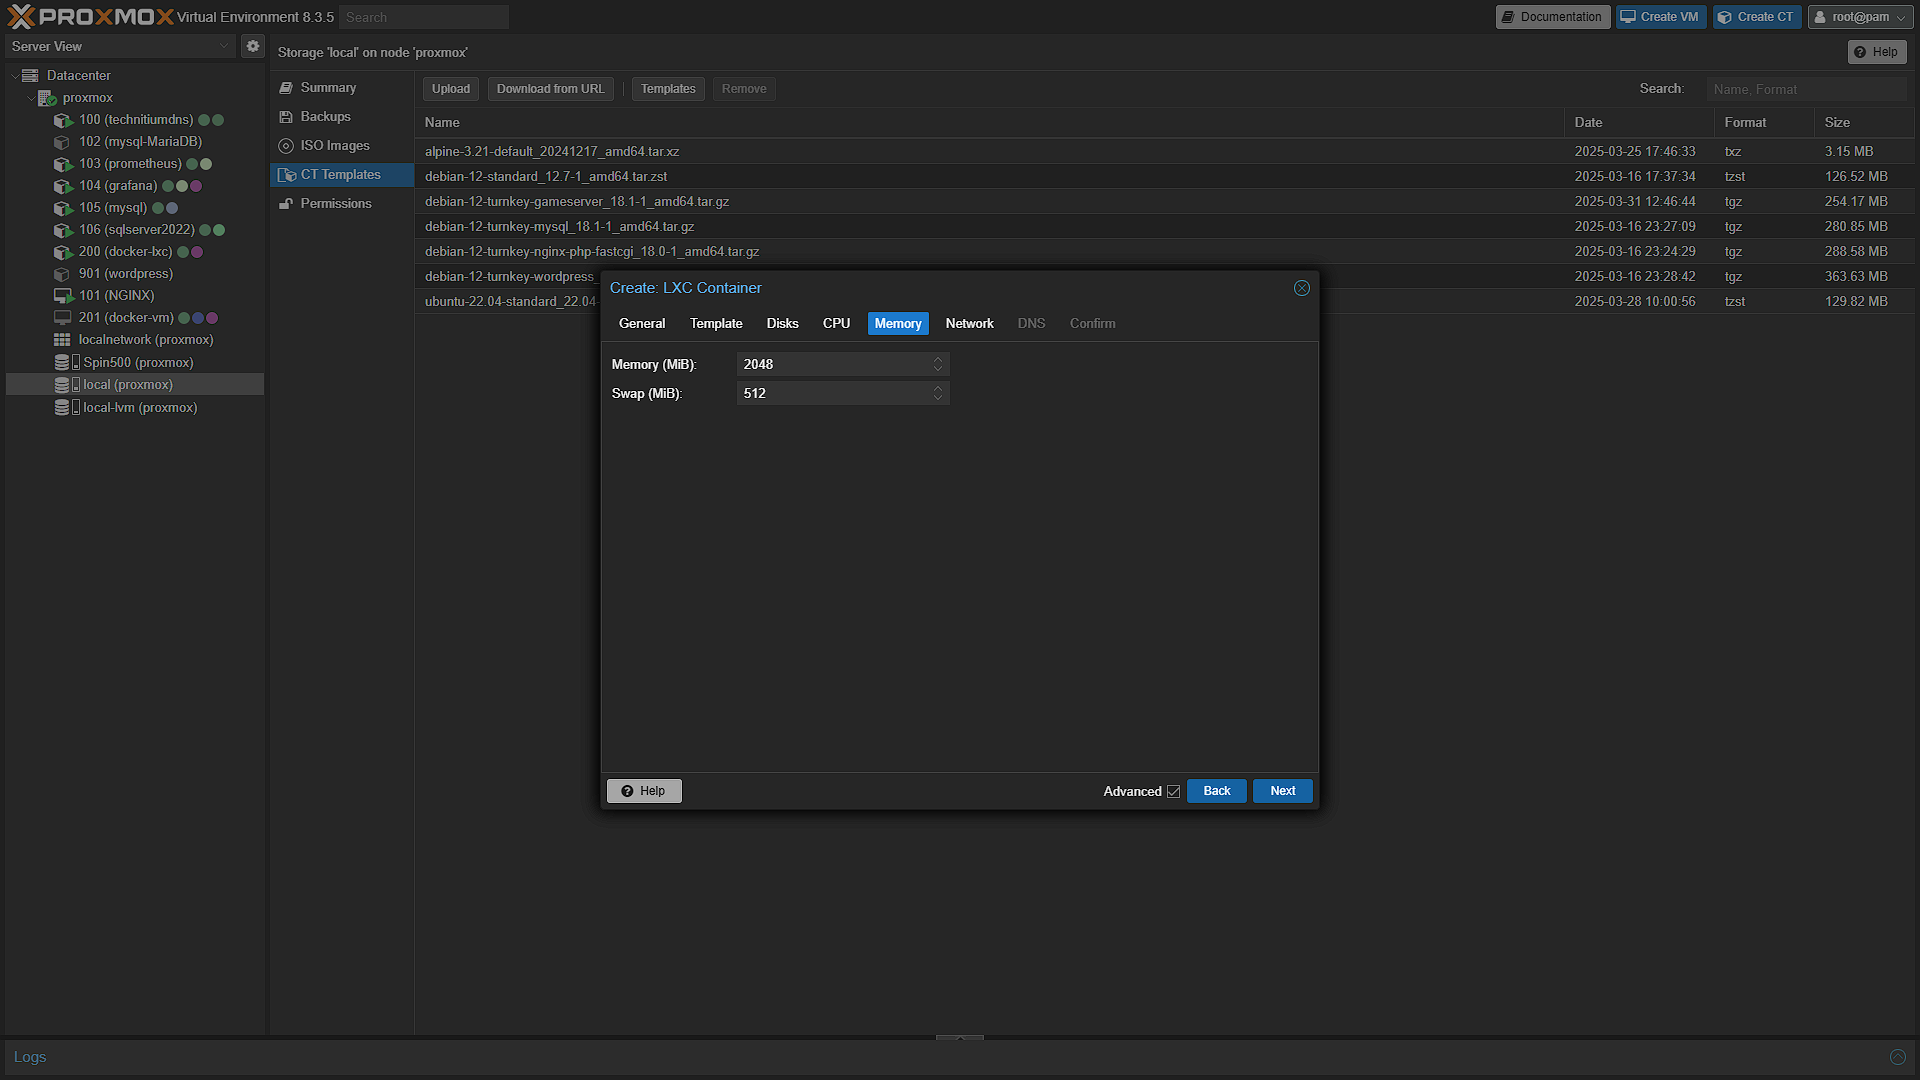
Same as CPU, this states the maximum. The defaults are fine as is, we opted to go for 4096, because why not. Again this can be adjusted later.
Network:
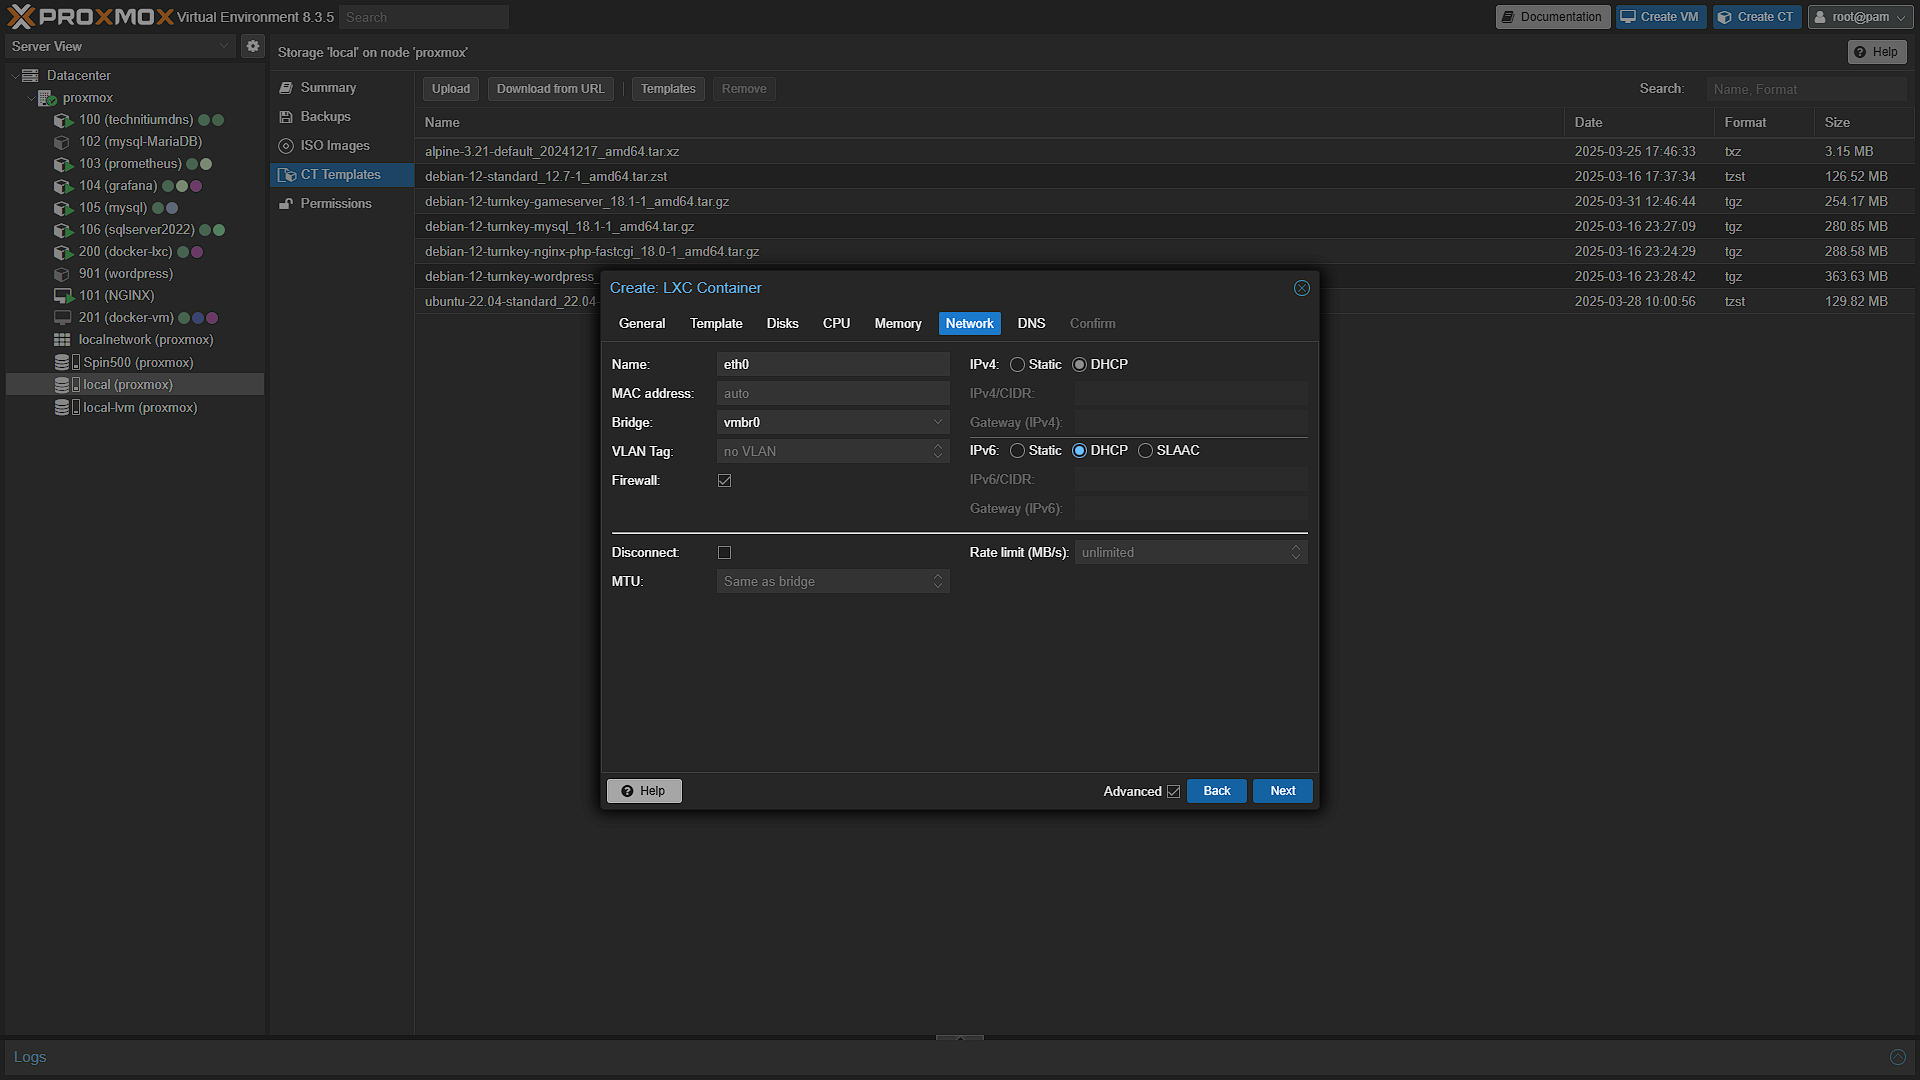
The default should be perfect, but if you want you can change the IPv4 and v6 to be DHCP, so that the router manages IP Addresses.
DNS:
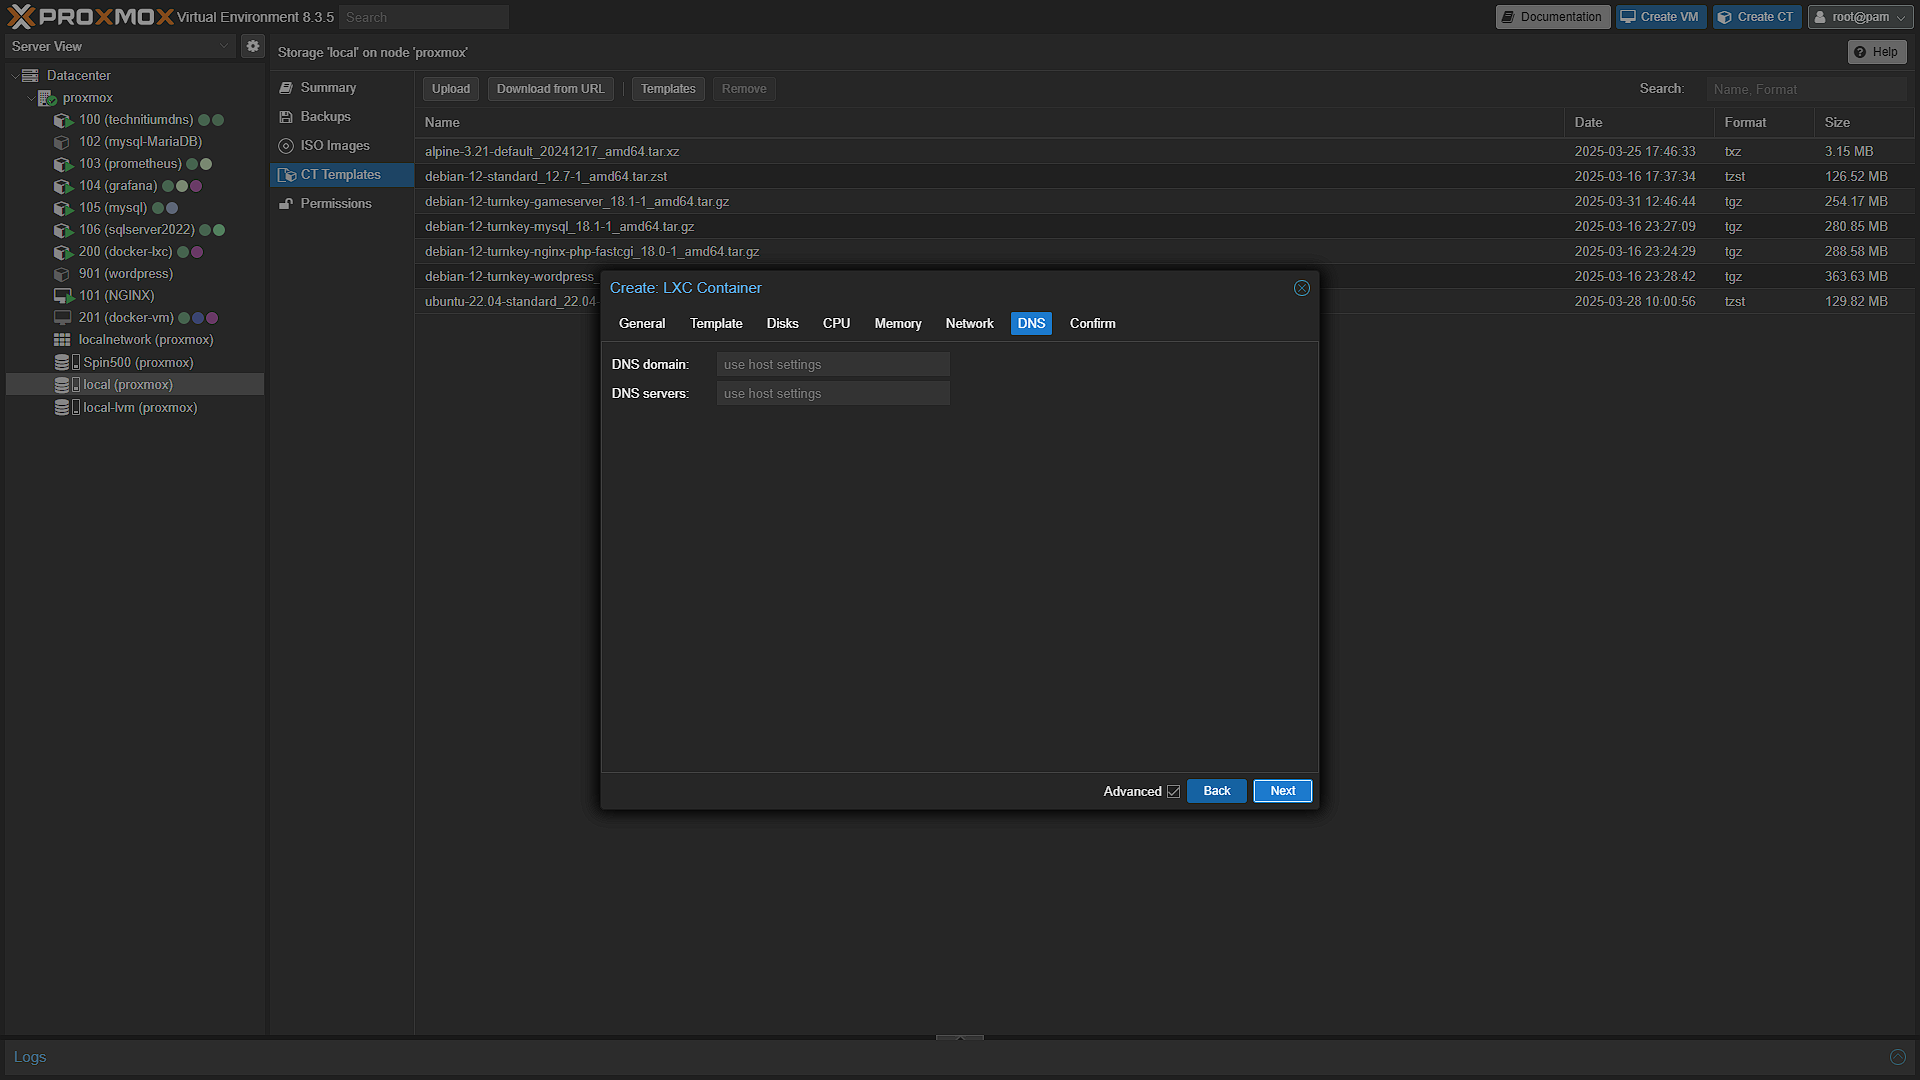
Again, leave as Use Host Settings, even though we have our own DNS Server running, the host is also using our own DNS, so leave as is.
Confirm:
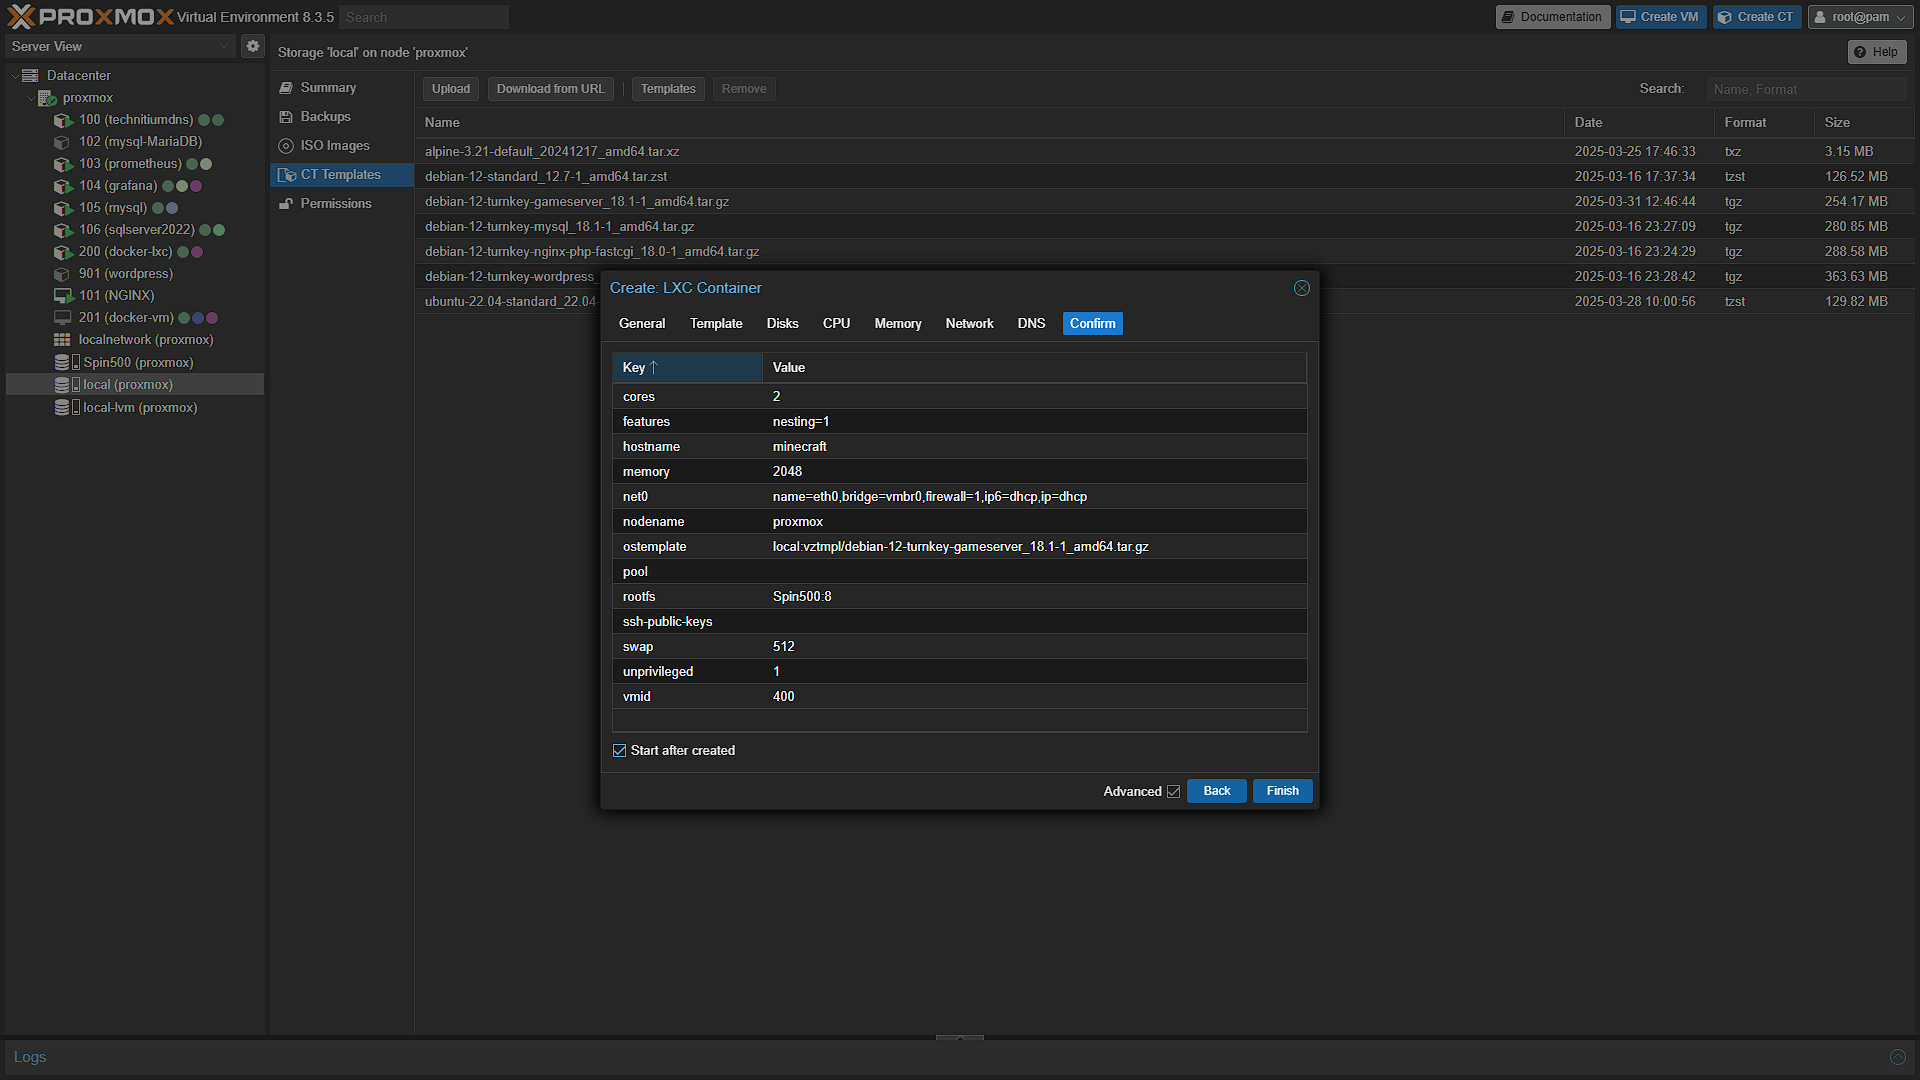
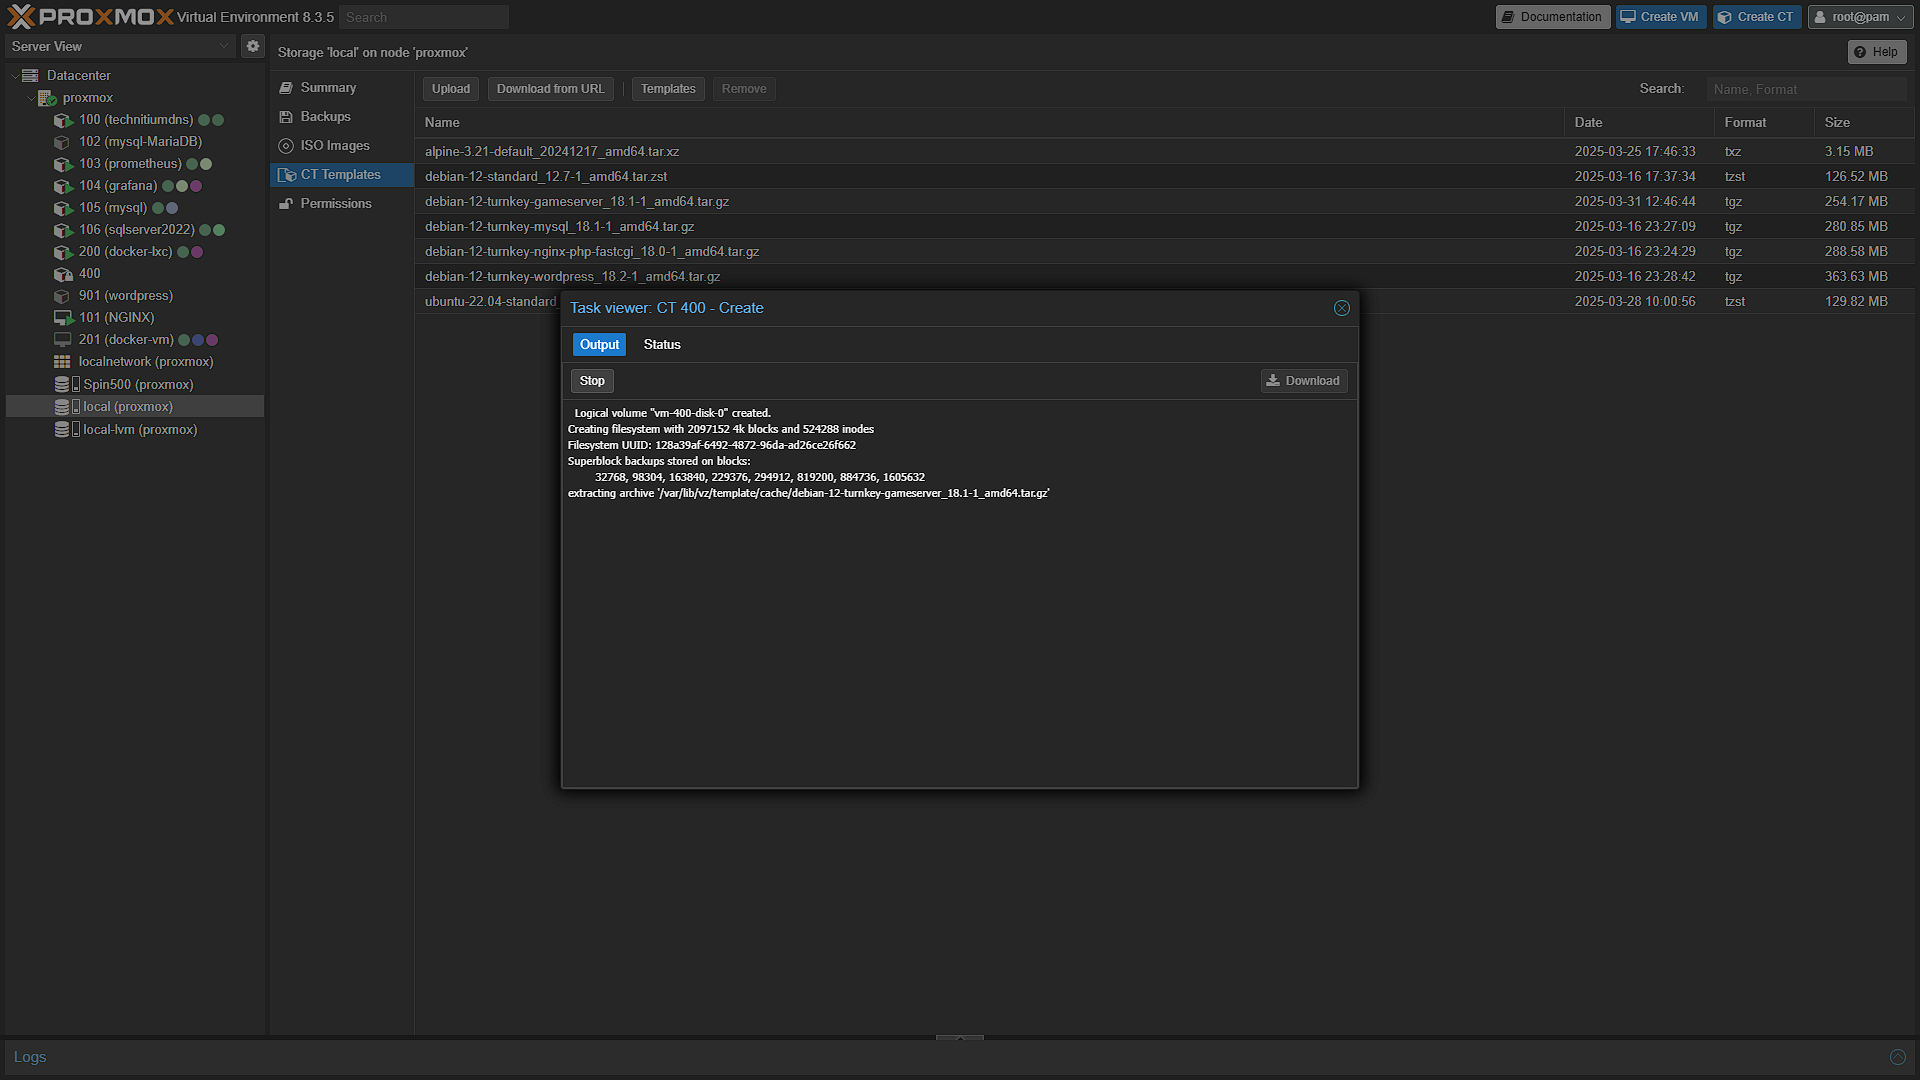
Check that you are happy with all of the settings, and if you are, hit  . The installer will run and let you know once done.
Once done, you will also be able to get the IP Address. But we still don't have an actual game server running, so let's get that sorted.
Step 3: Start a new Game Server
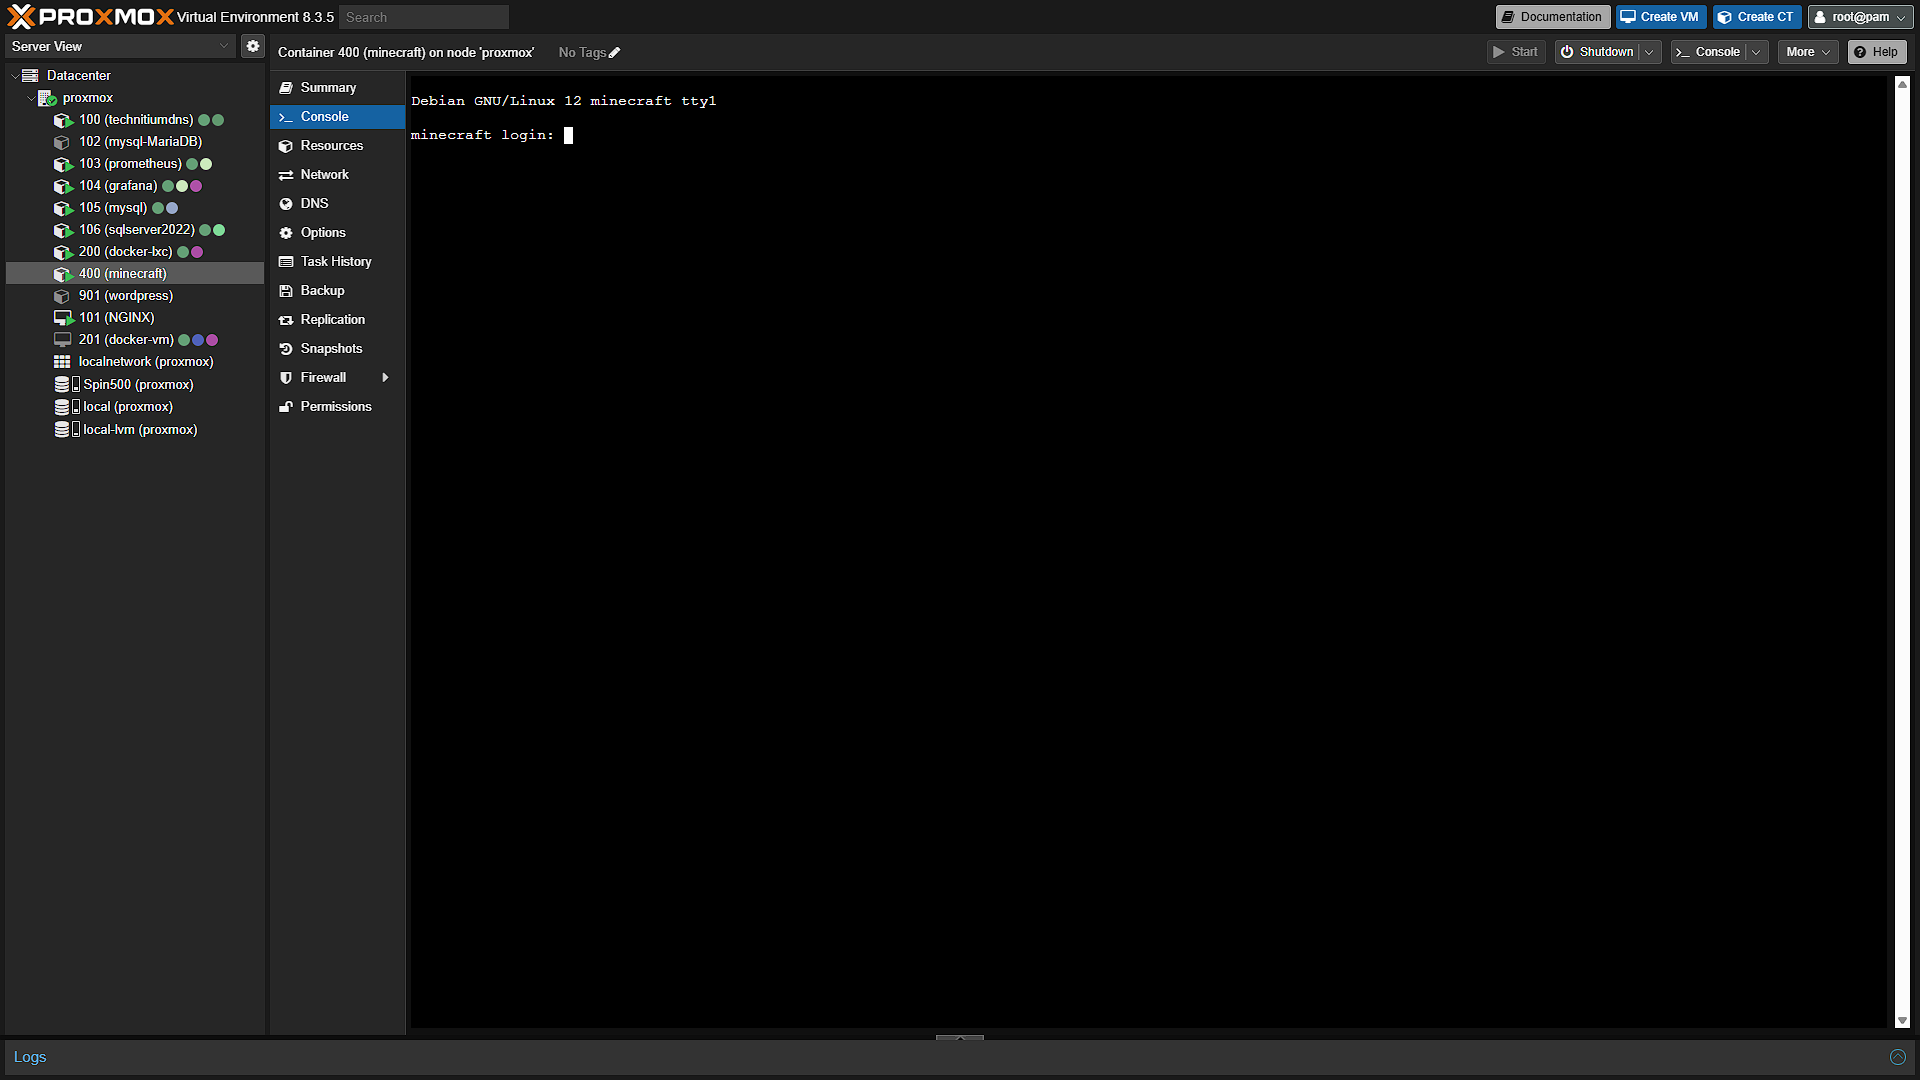
Now that we have the container up and running, we need to run an actual game server. For this, we are going to need to access the Console of the newly created container. In the left navigation window, select the newly created container and in the middle navigation, click on  . This will open the integrated console. You will need to log in, use
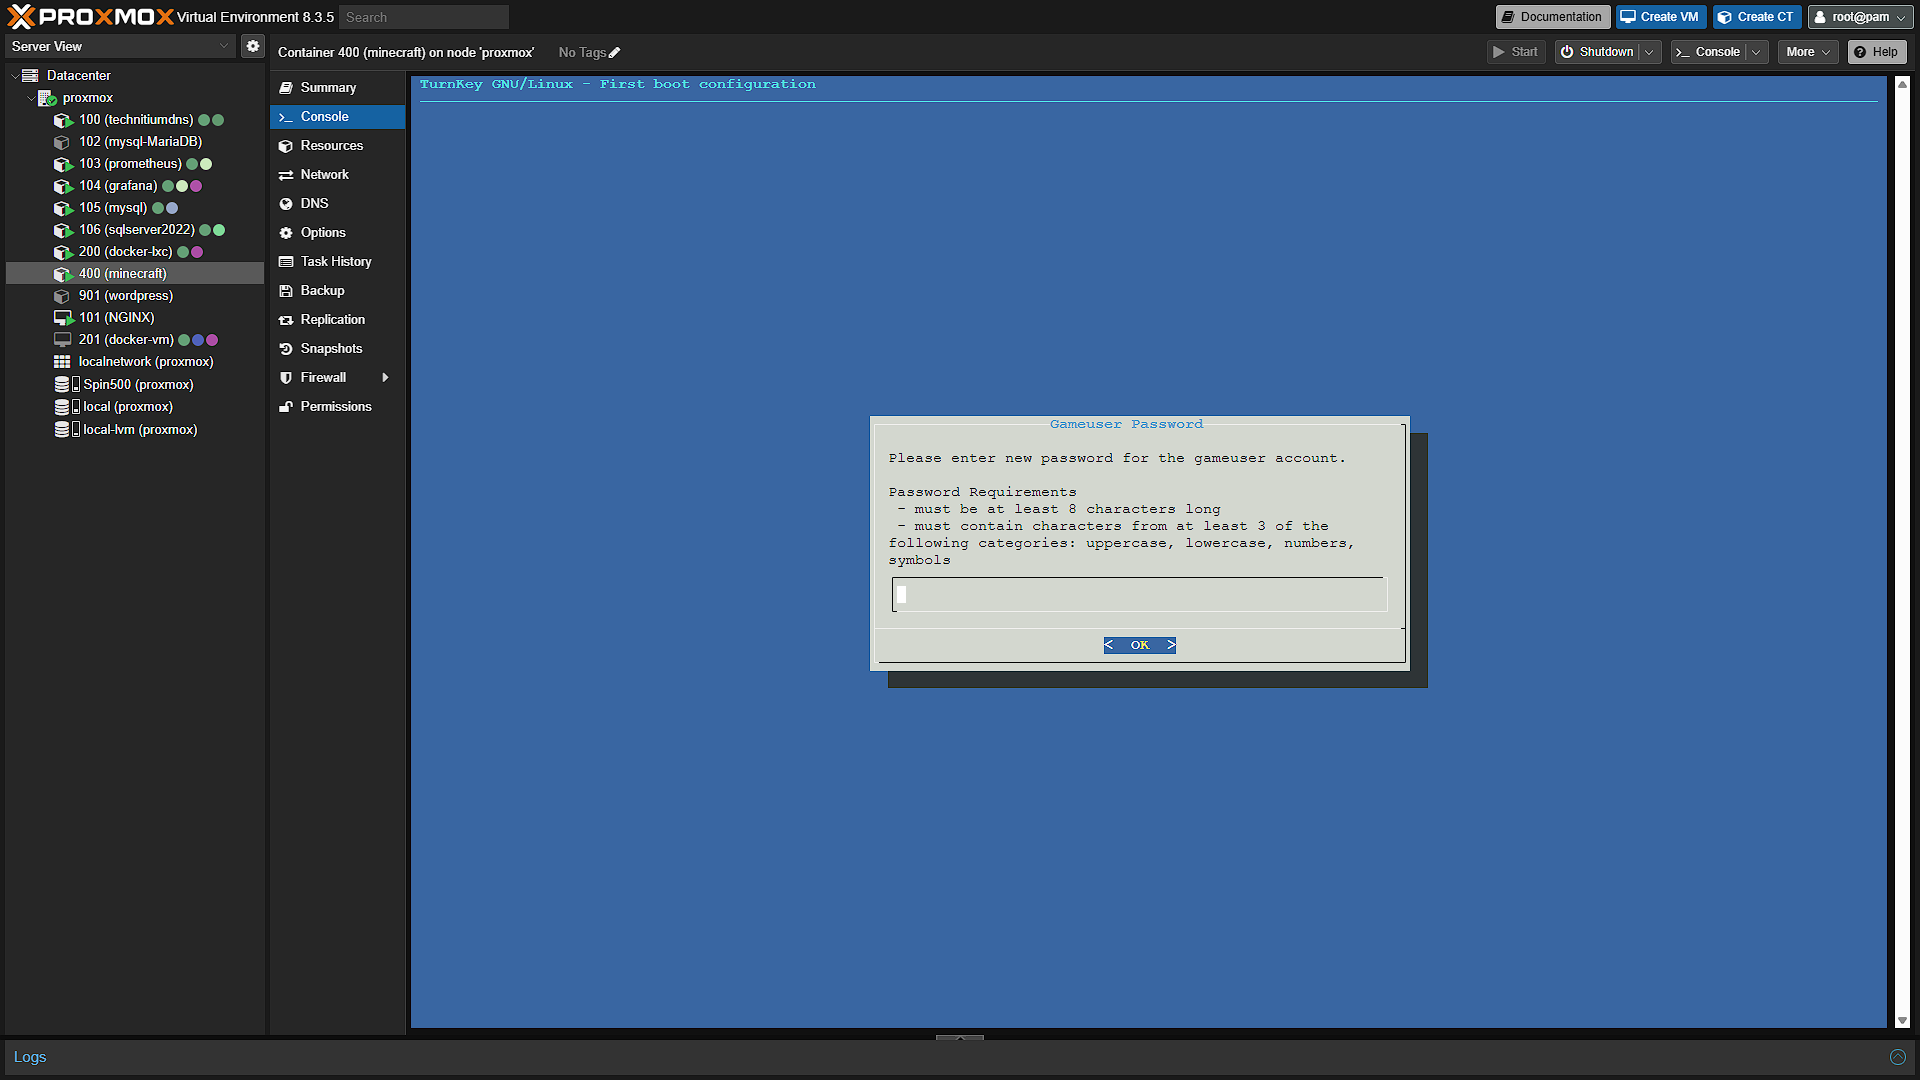
 root as username and the password you selected during the install phase. First you will be prompted for a new password for the gameuser account. This is the account that we are going to use to run game servers. So select a password, and confirm the password on the following screen.
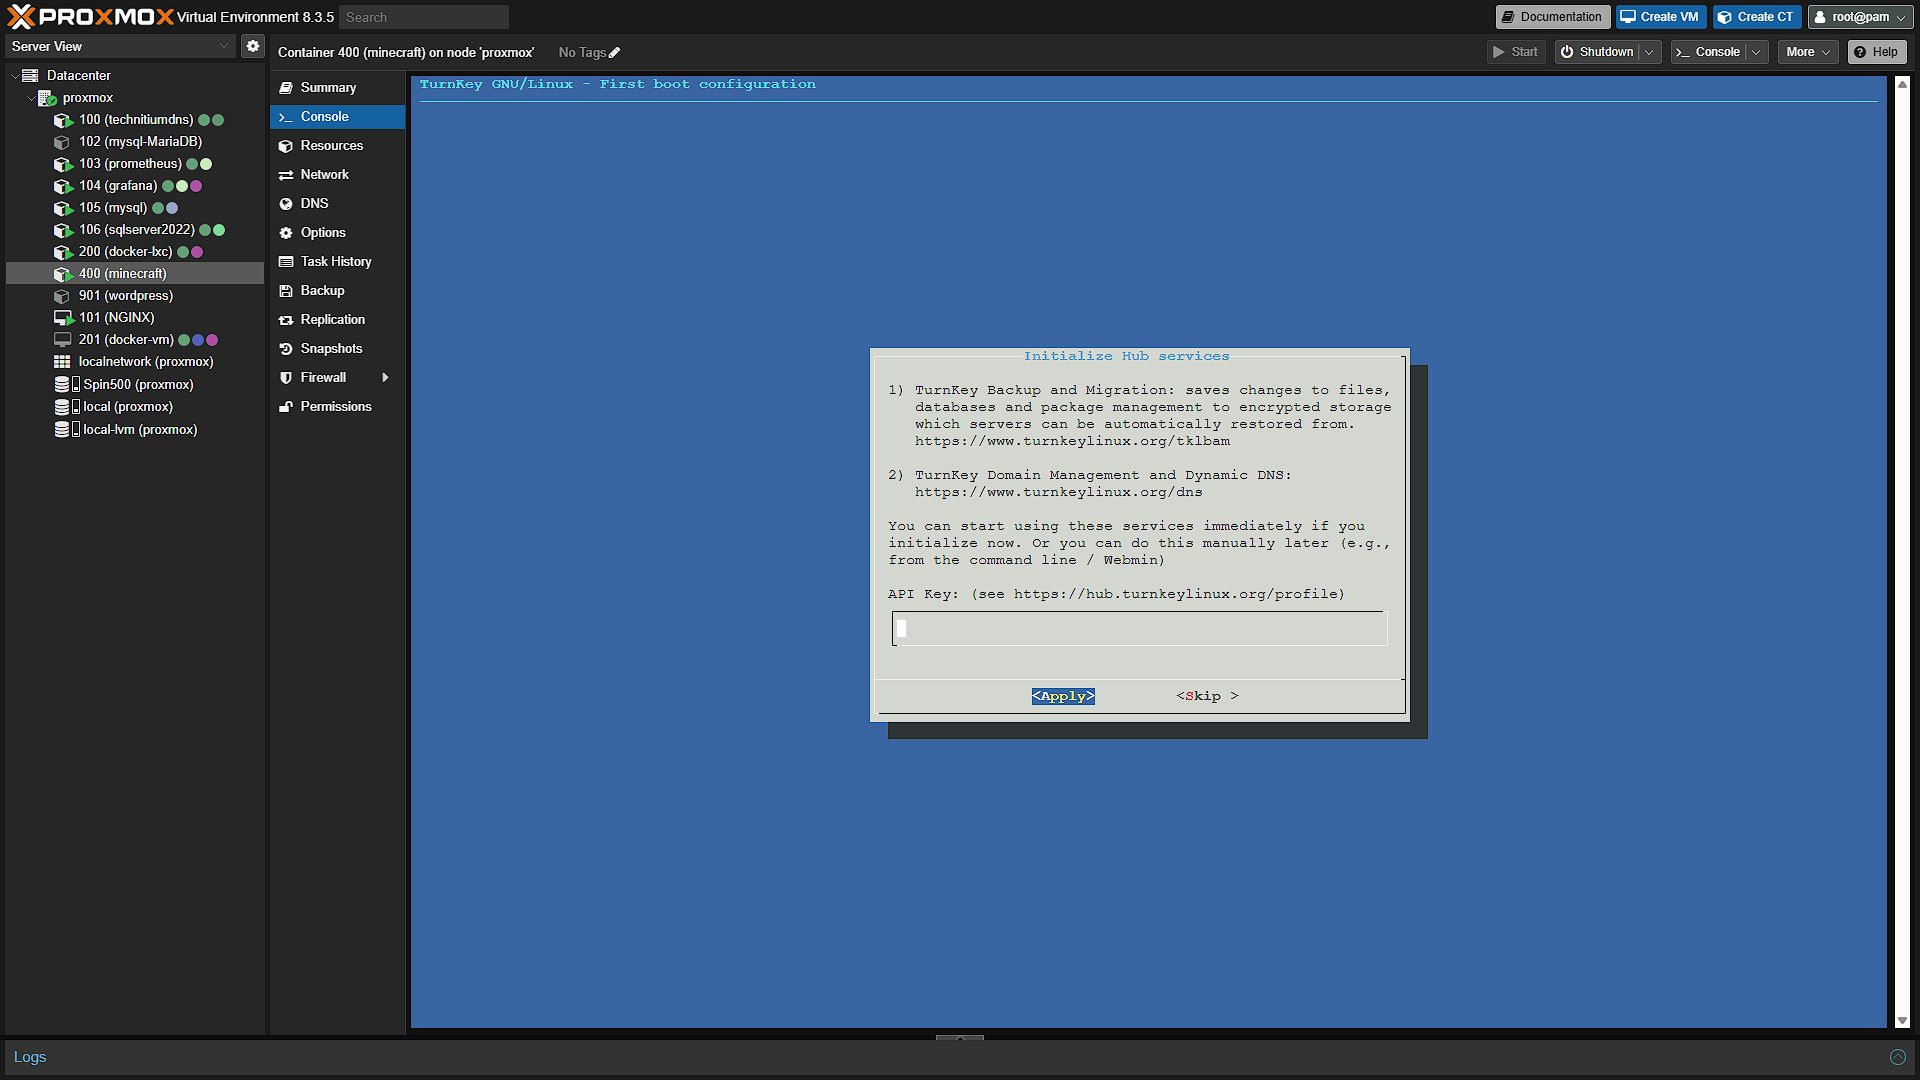
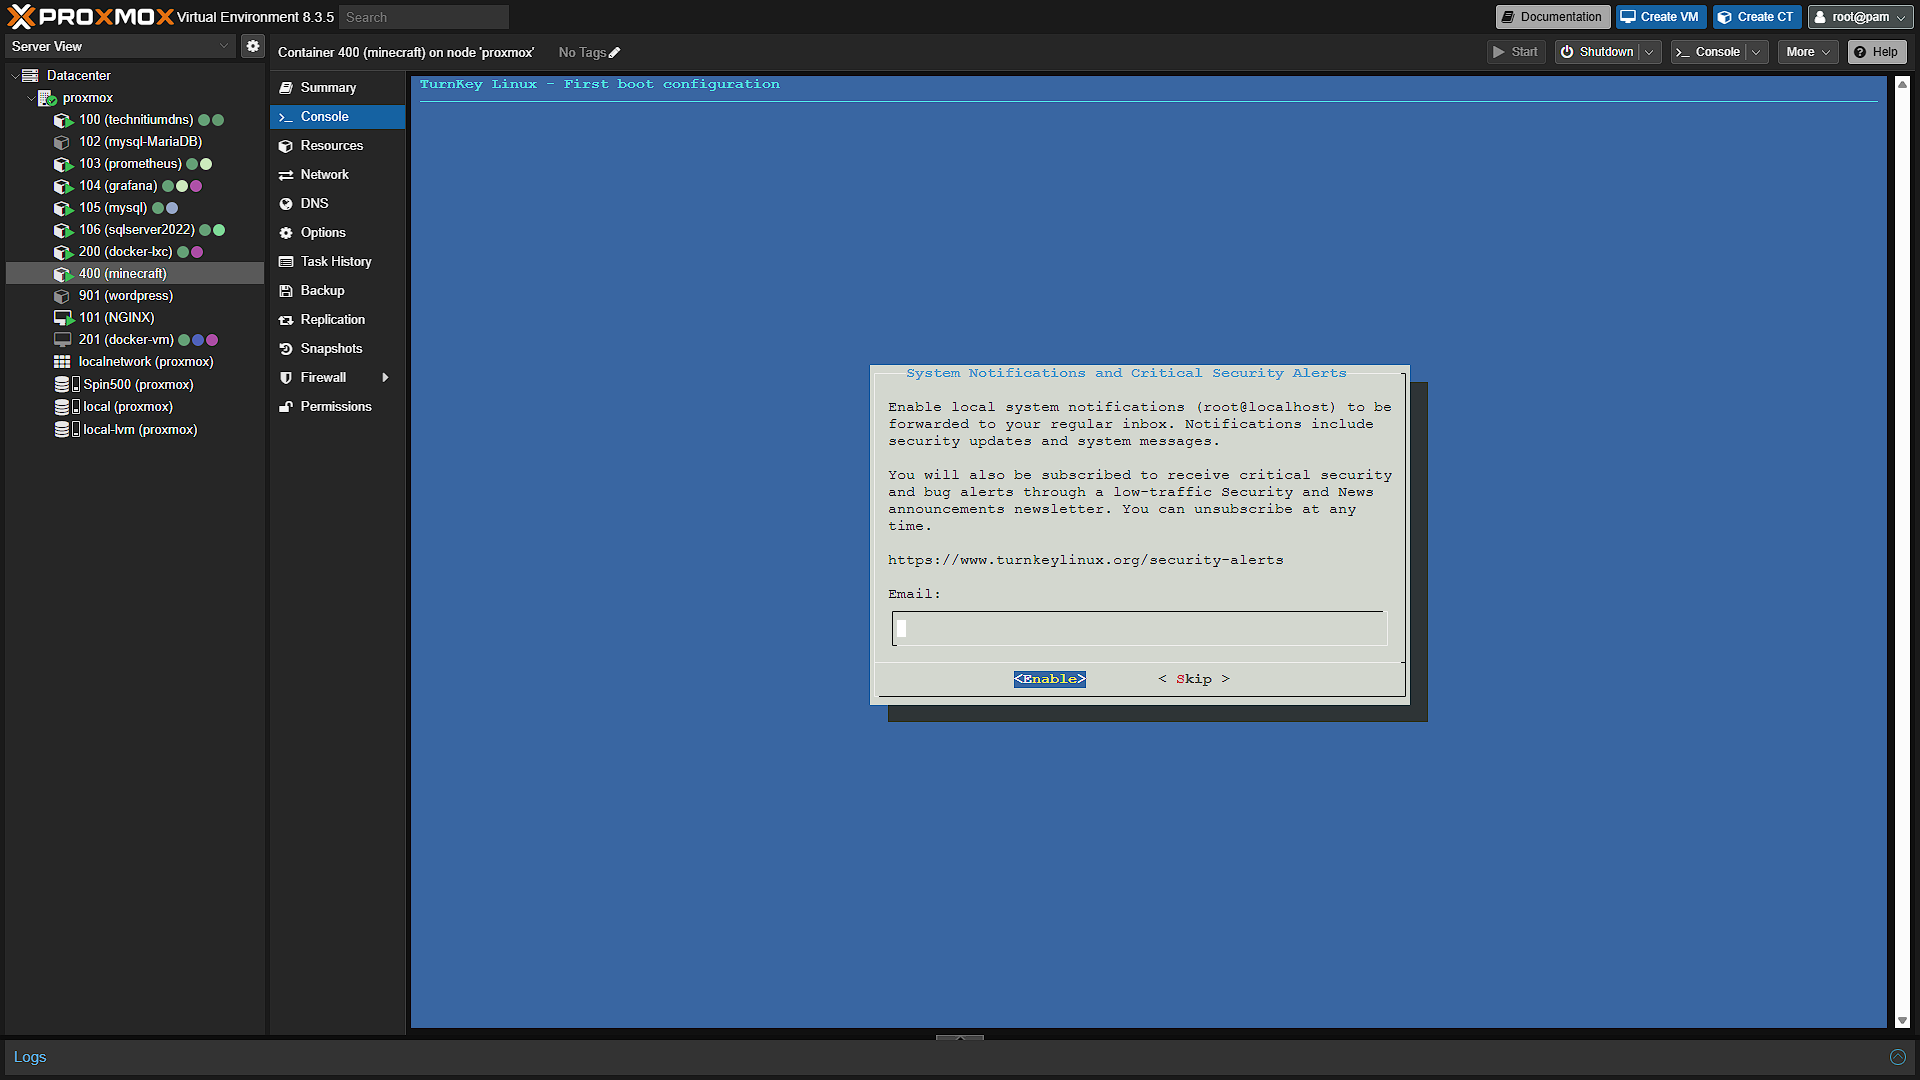
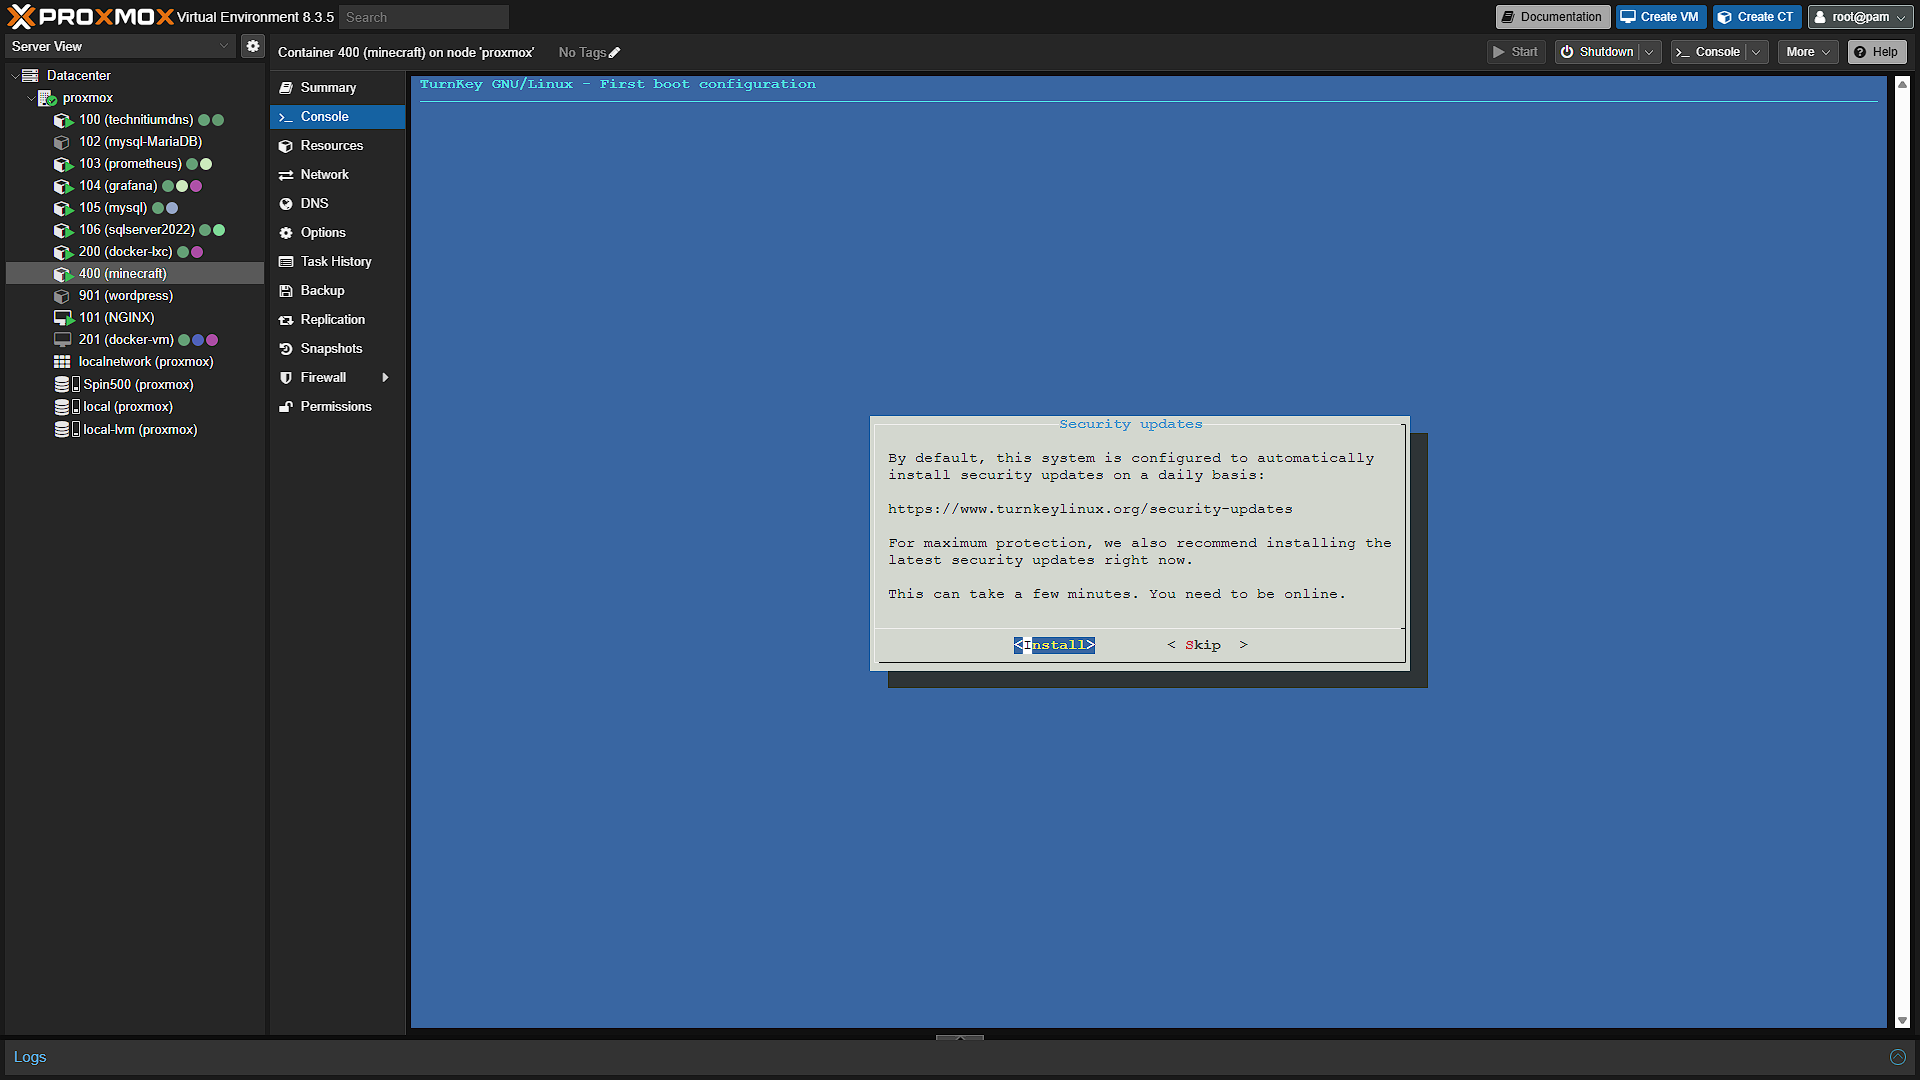
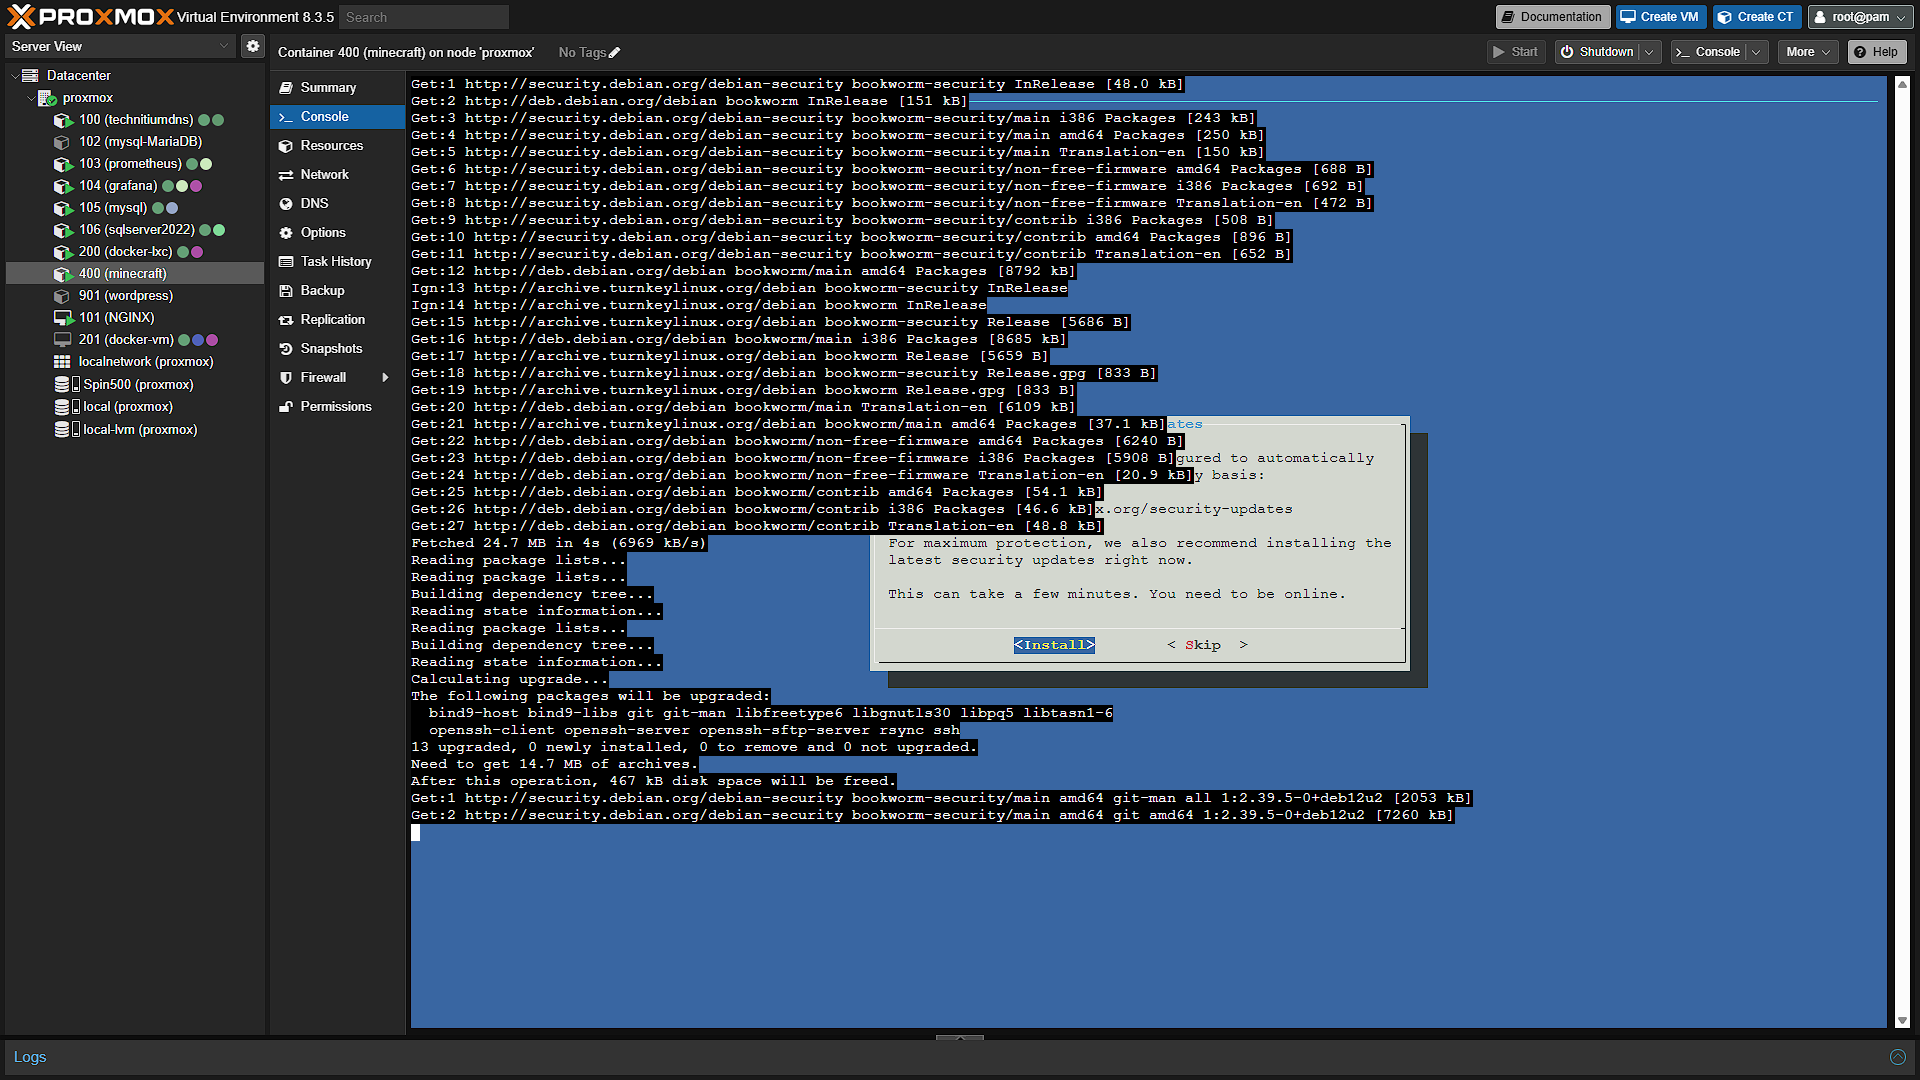
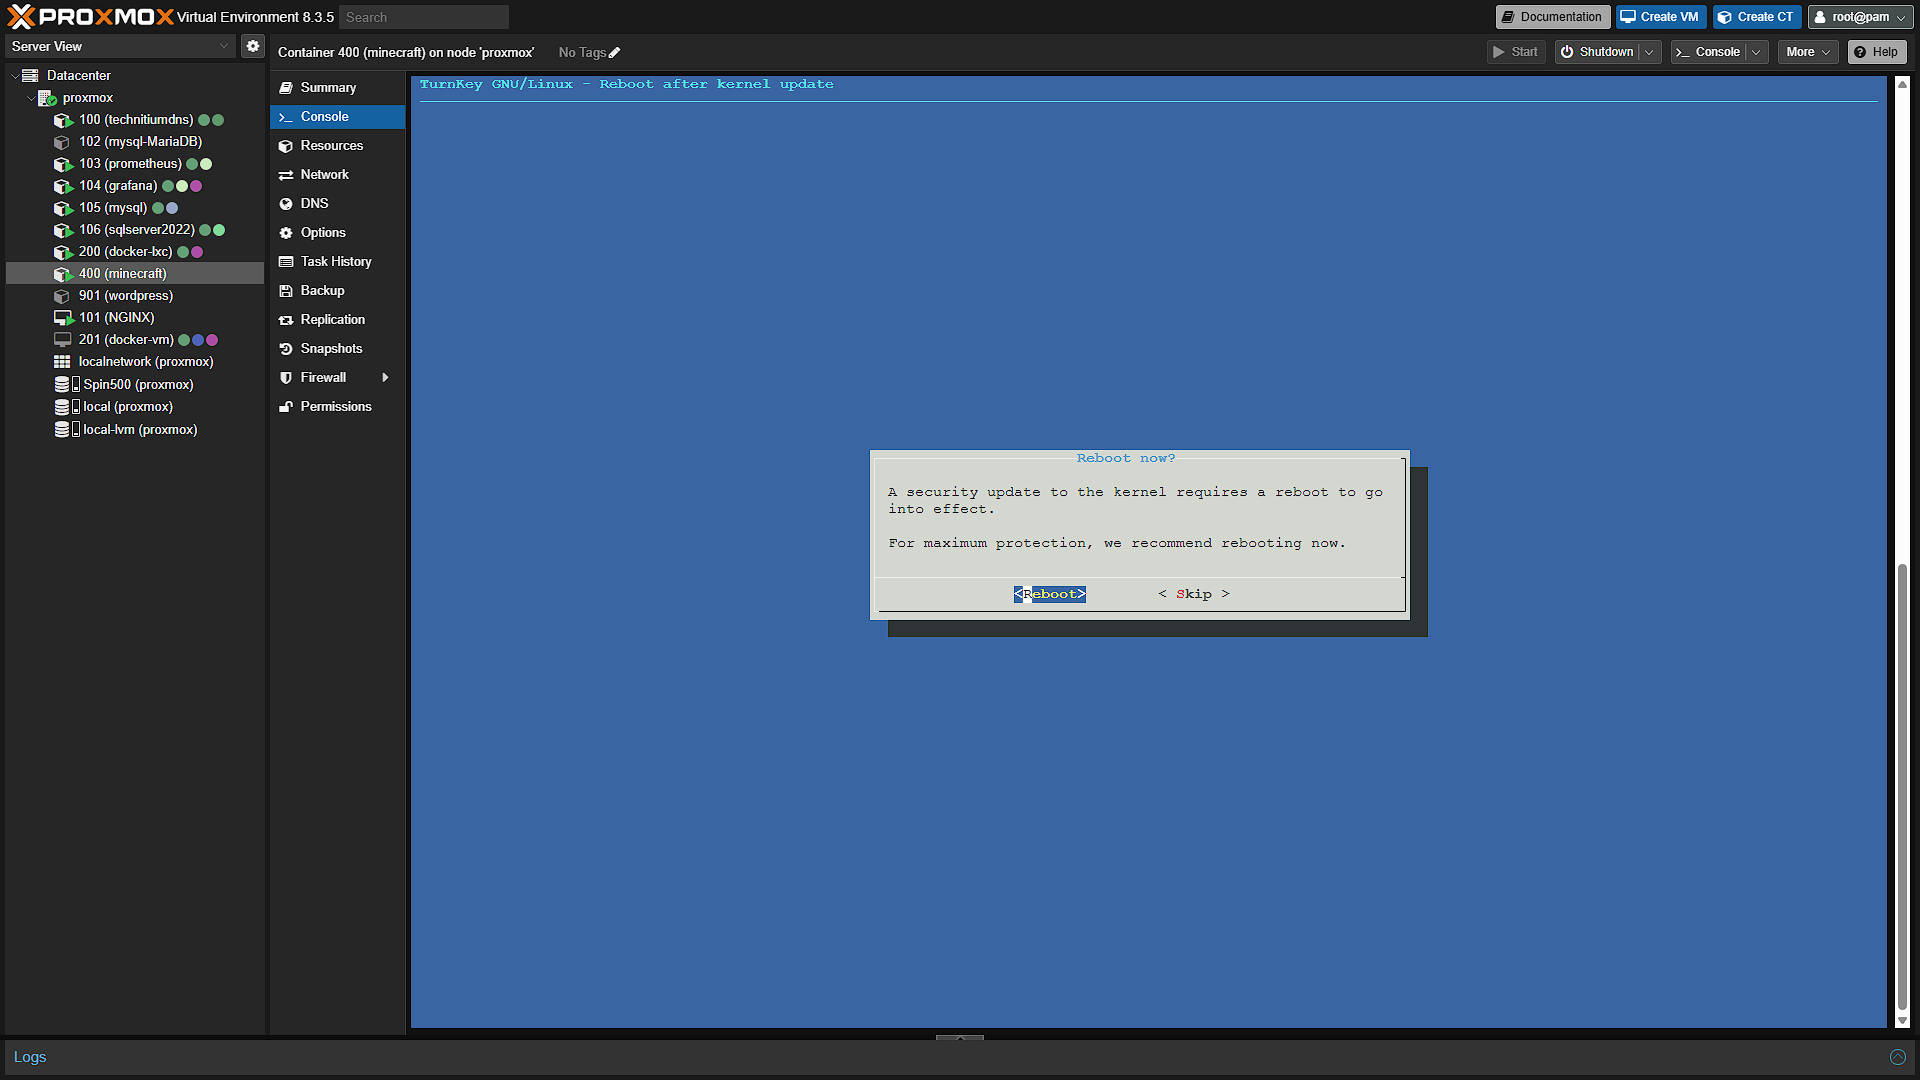
As with all Turnkey installs, the next screen will prompt you for an API key for easier backup etc. You can skip this step. You will be prompted for an email address if you want to receive update notifications. Once past that screen you will be prompted if you want to install the latest security updates. It is always a good idea and we will recommend selecting Install on this step. Once the security updates are done, it is recommended to reboot.
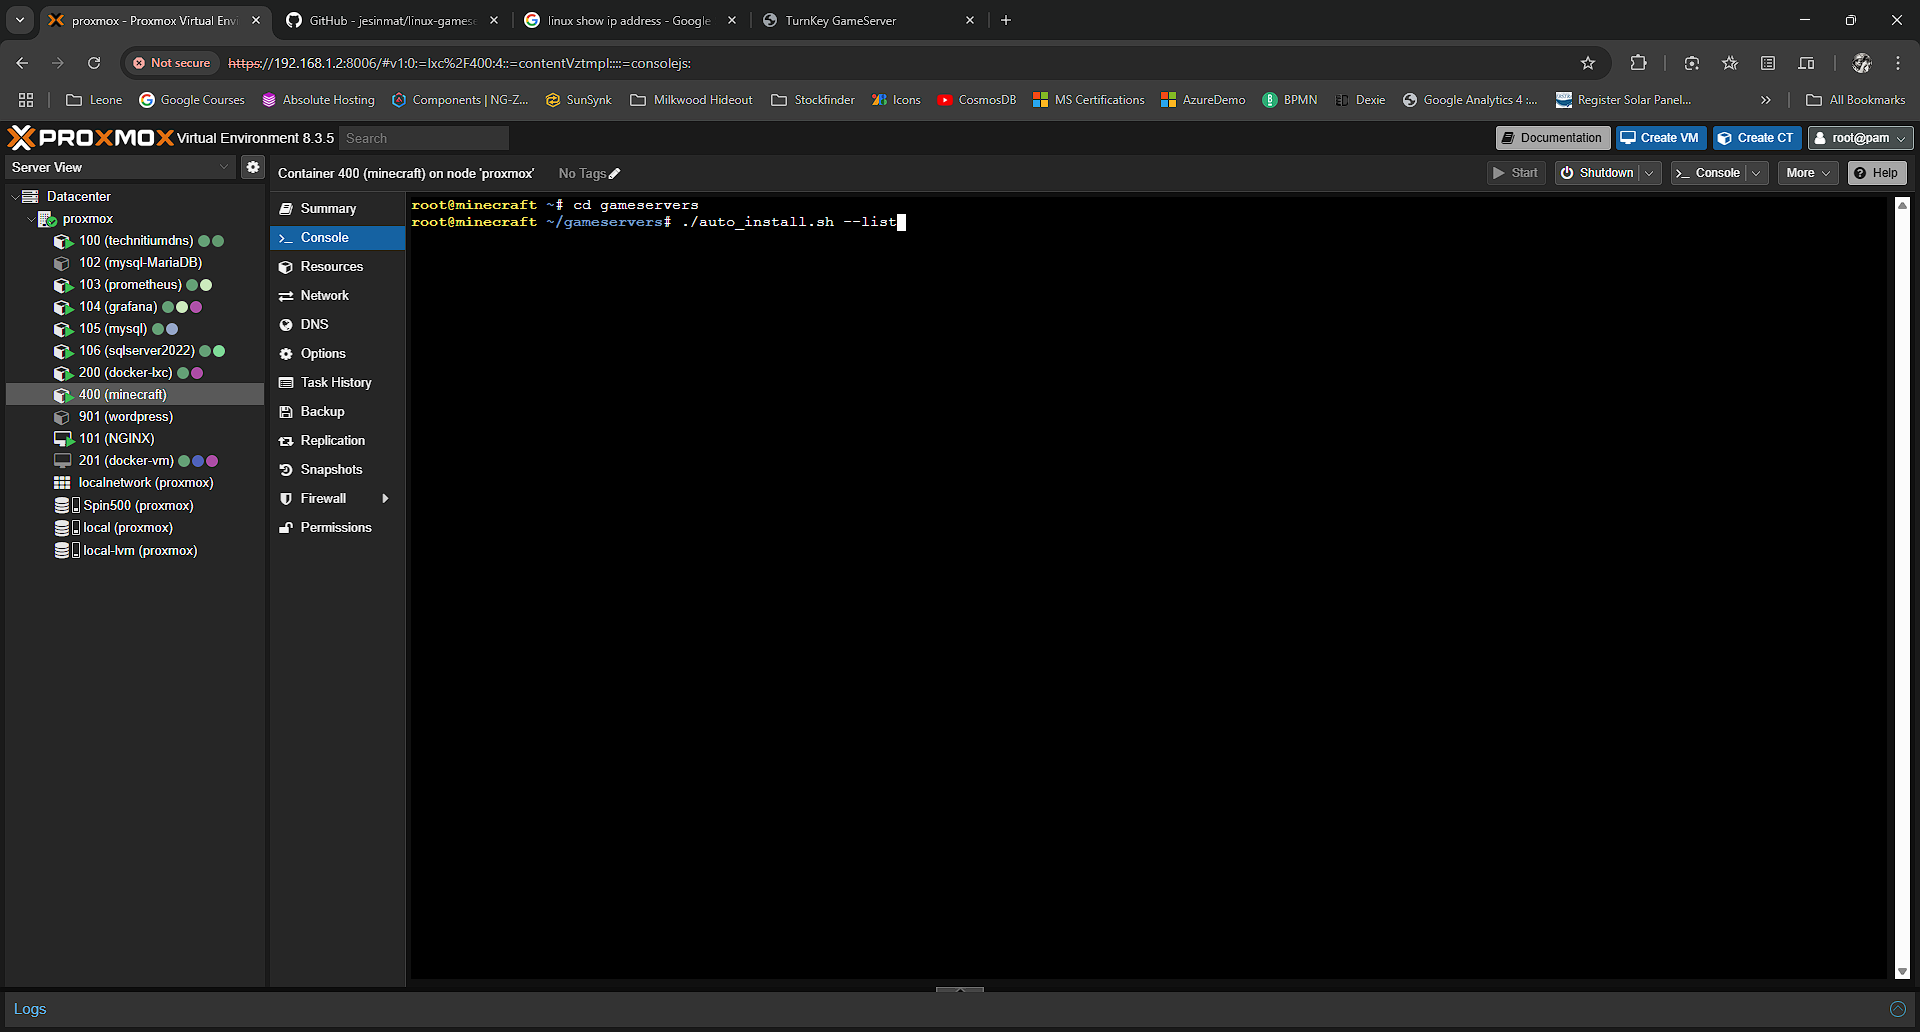
Once the reboot completes, we will need to set up, and start, our game server. Once back in the console after the reboot, we first need to change into the gameservers directory with
cd gameserversThis will get us into the correct directory to see all available game servers. List the available types with
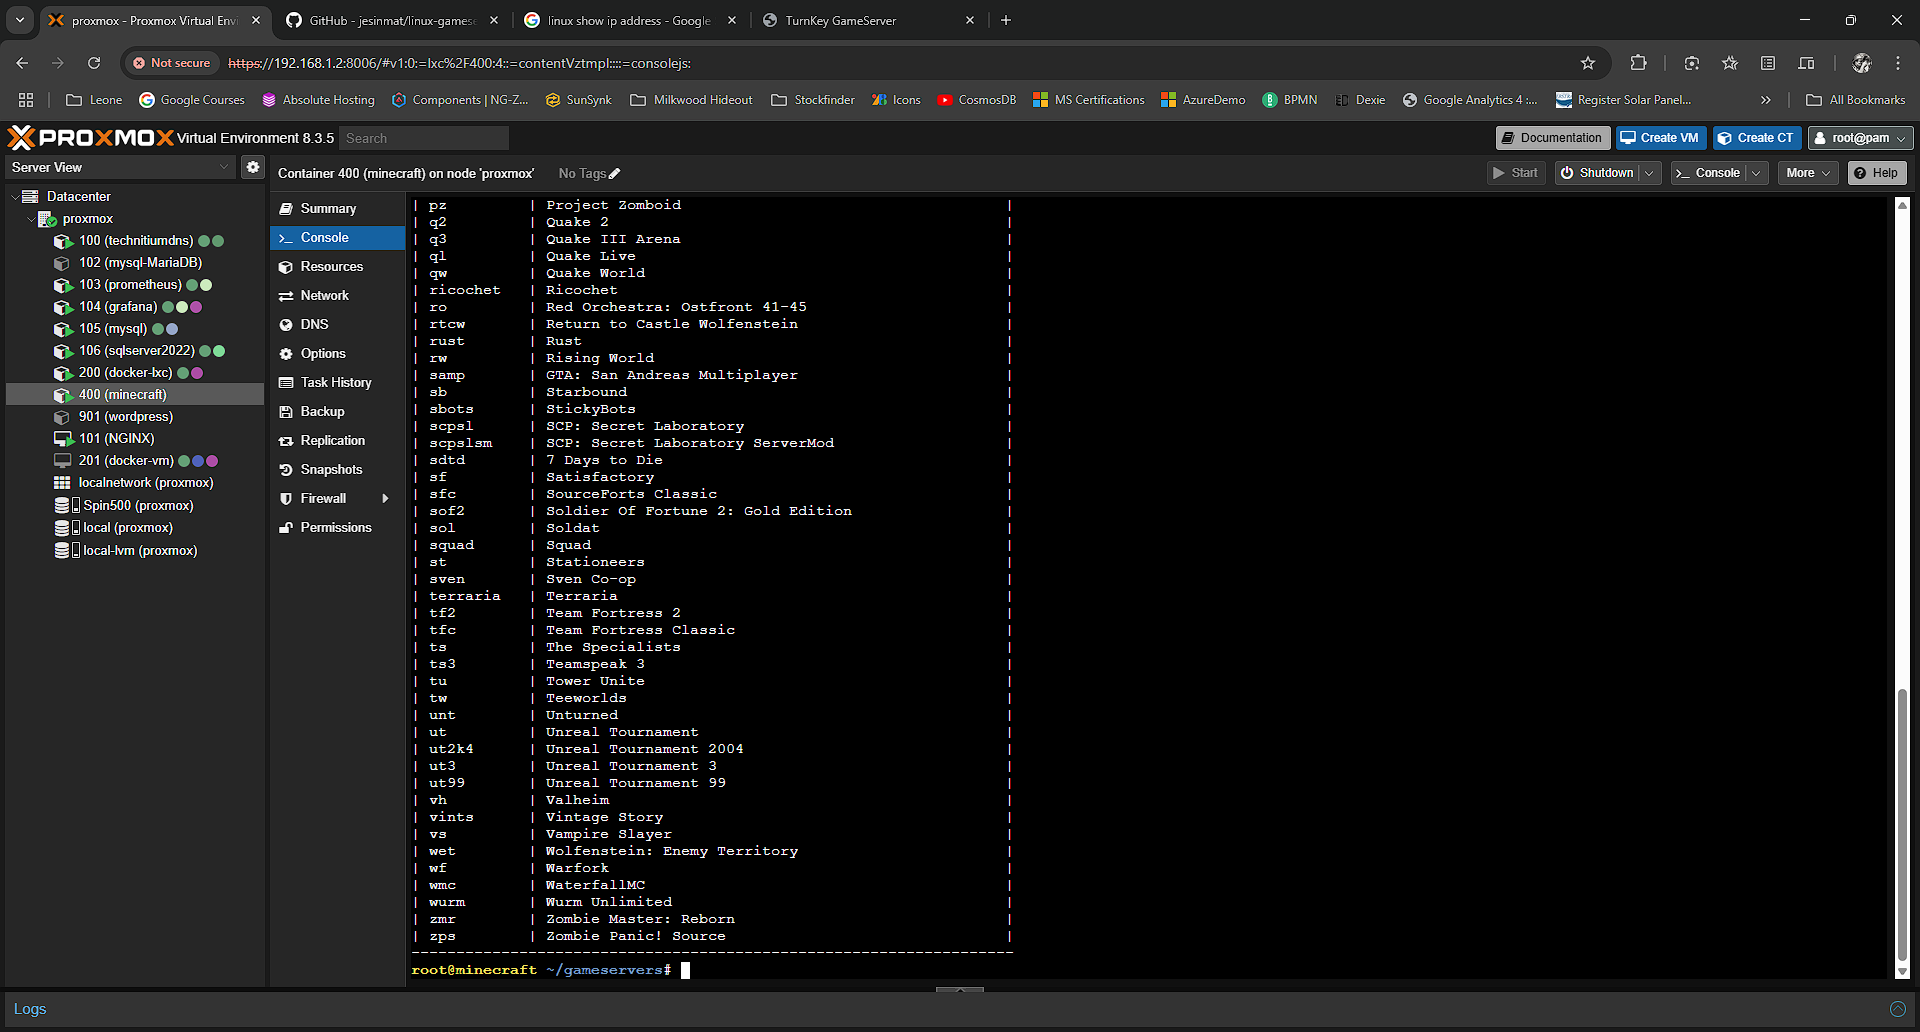
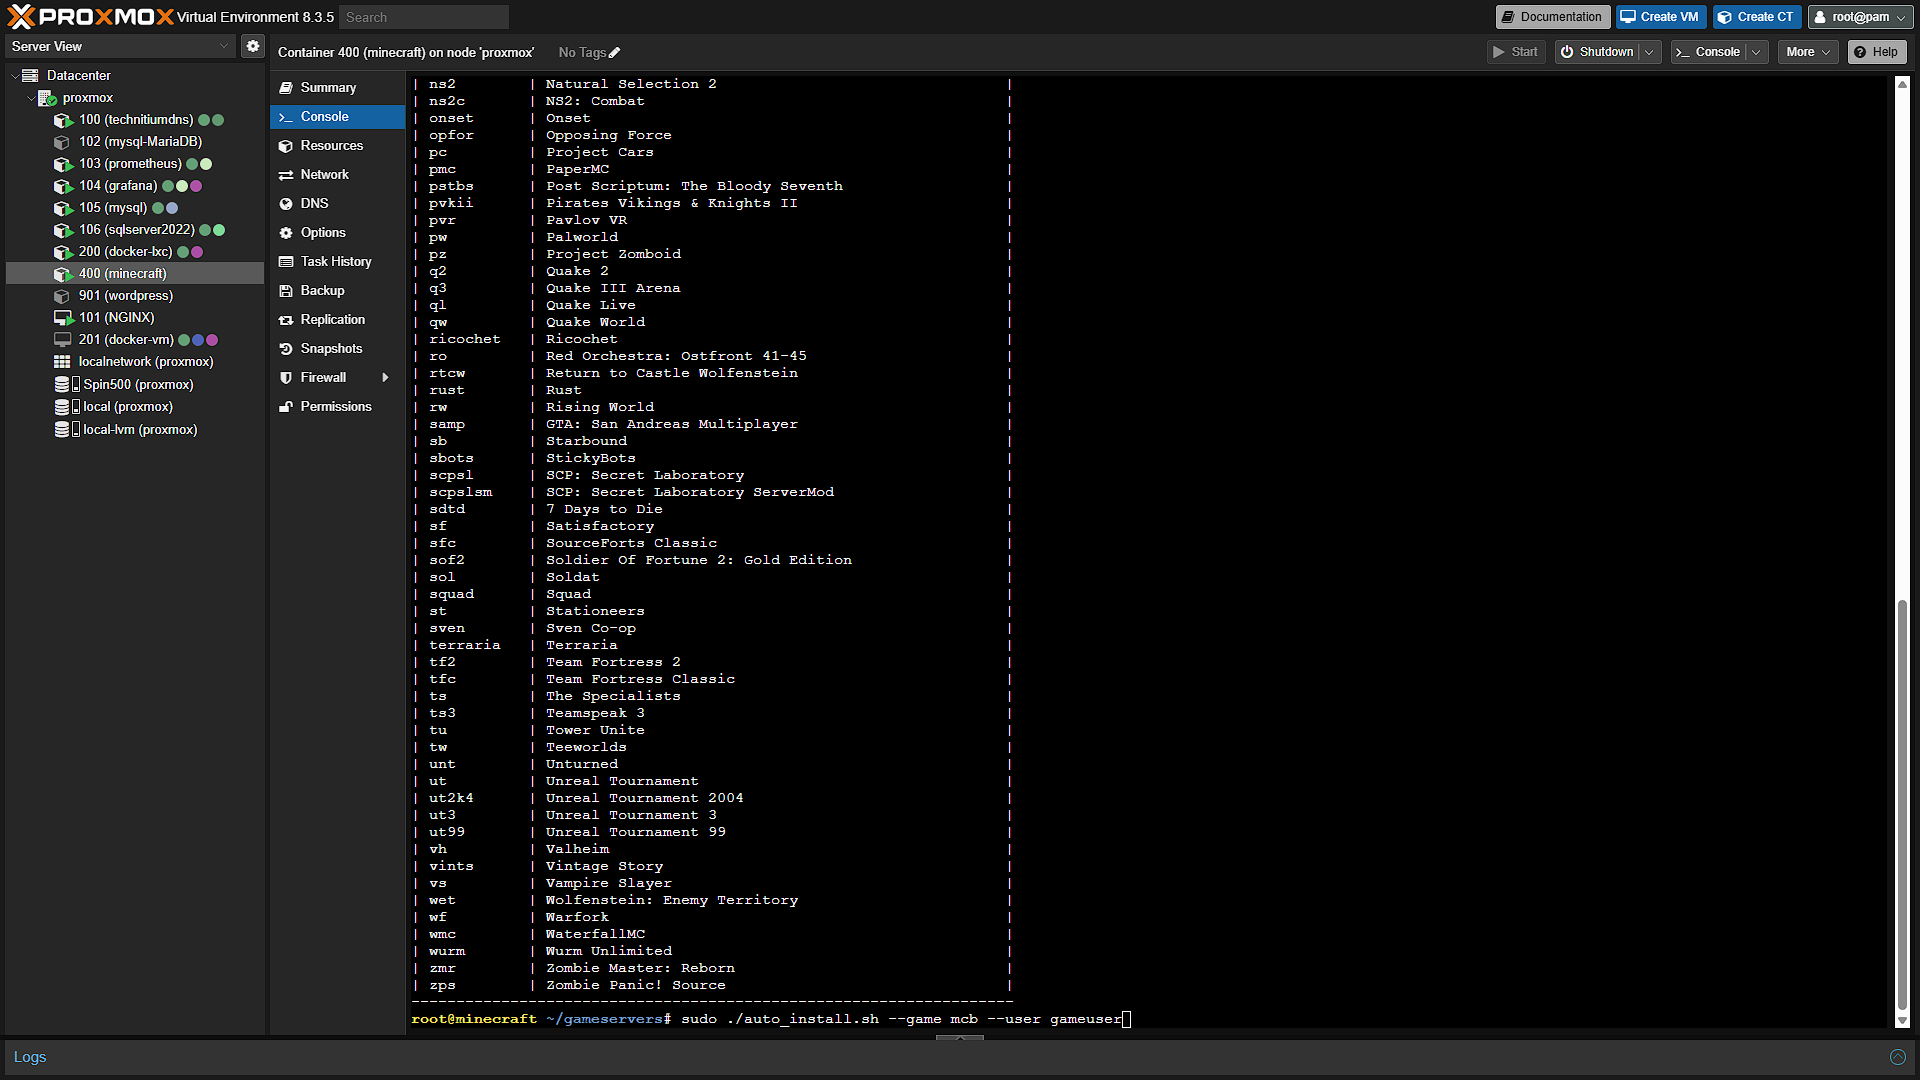
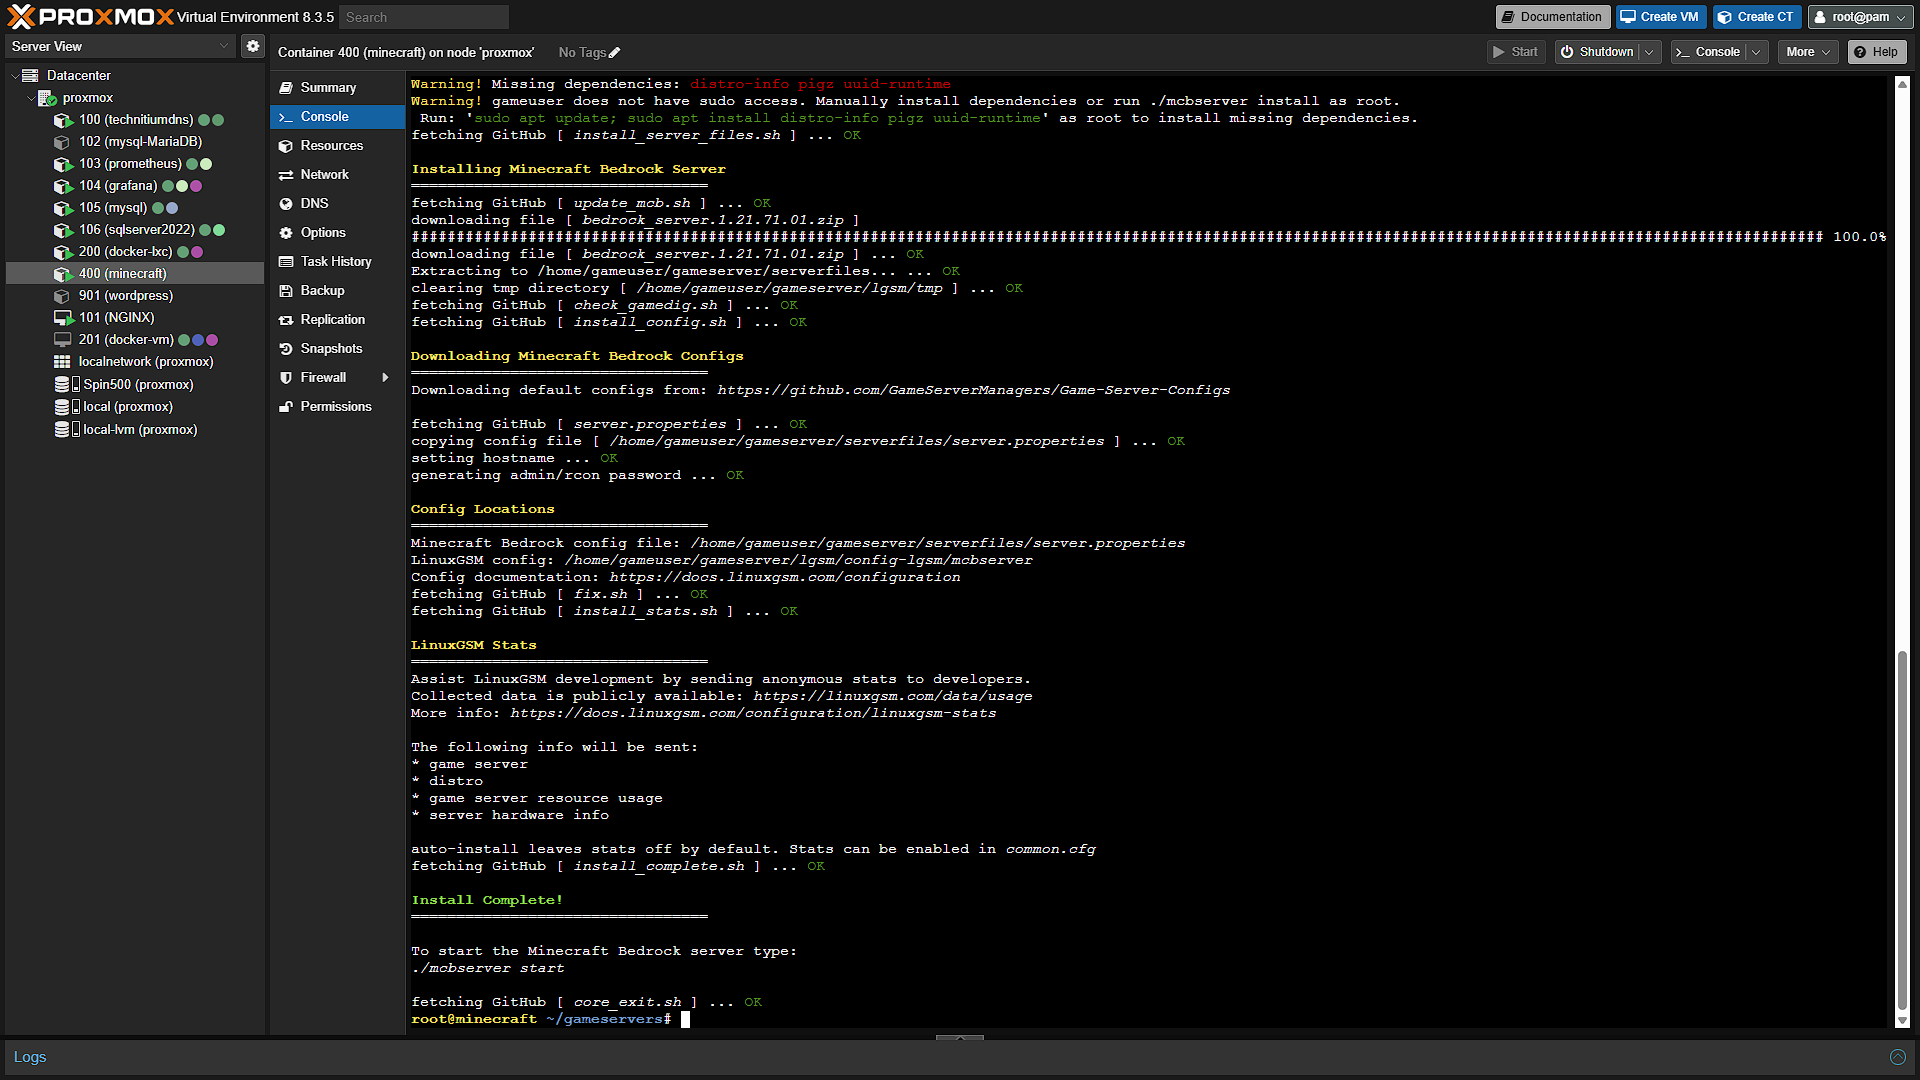
./auto_install.sh --listFrom the extensive list, select a game server you want to install and get its short code. In our case we want Minecraft Bedrock, with the code mcb. To install a new server, use the command: sudo ./auto_install.sh --game GAME --user USERNAME [--path PATH] so in our case:
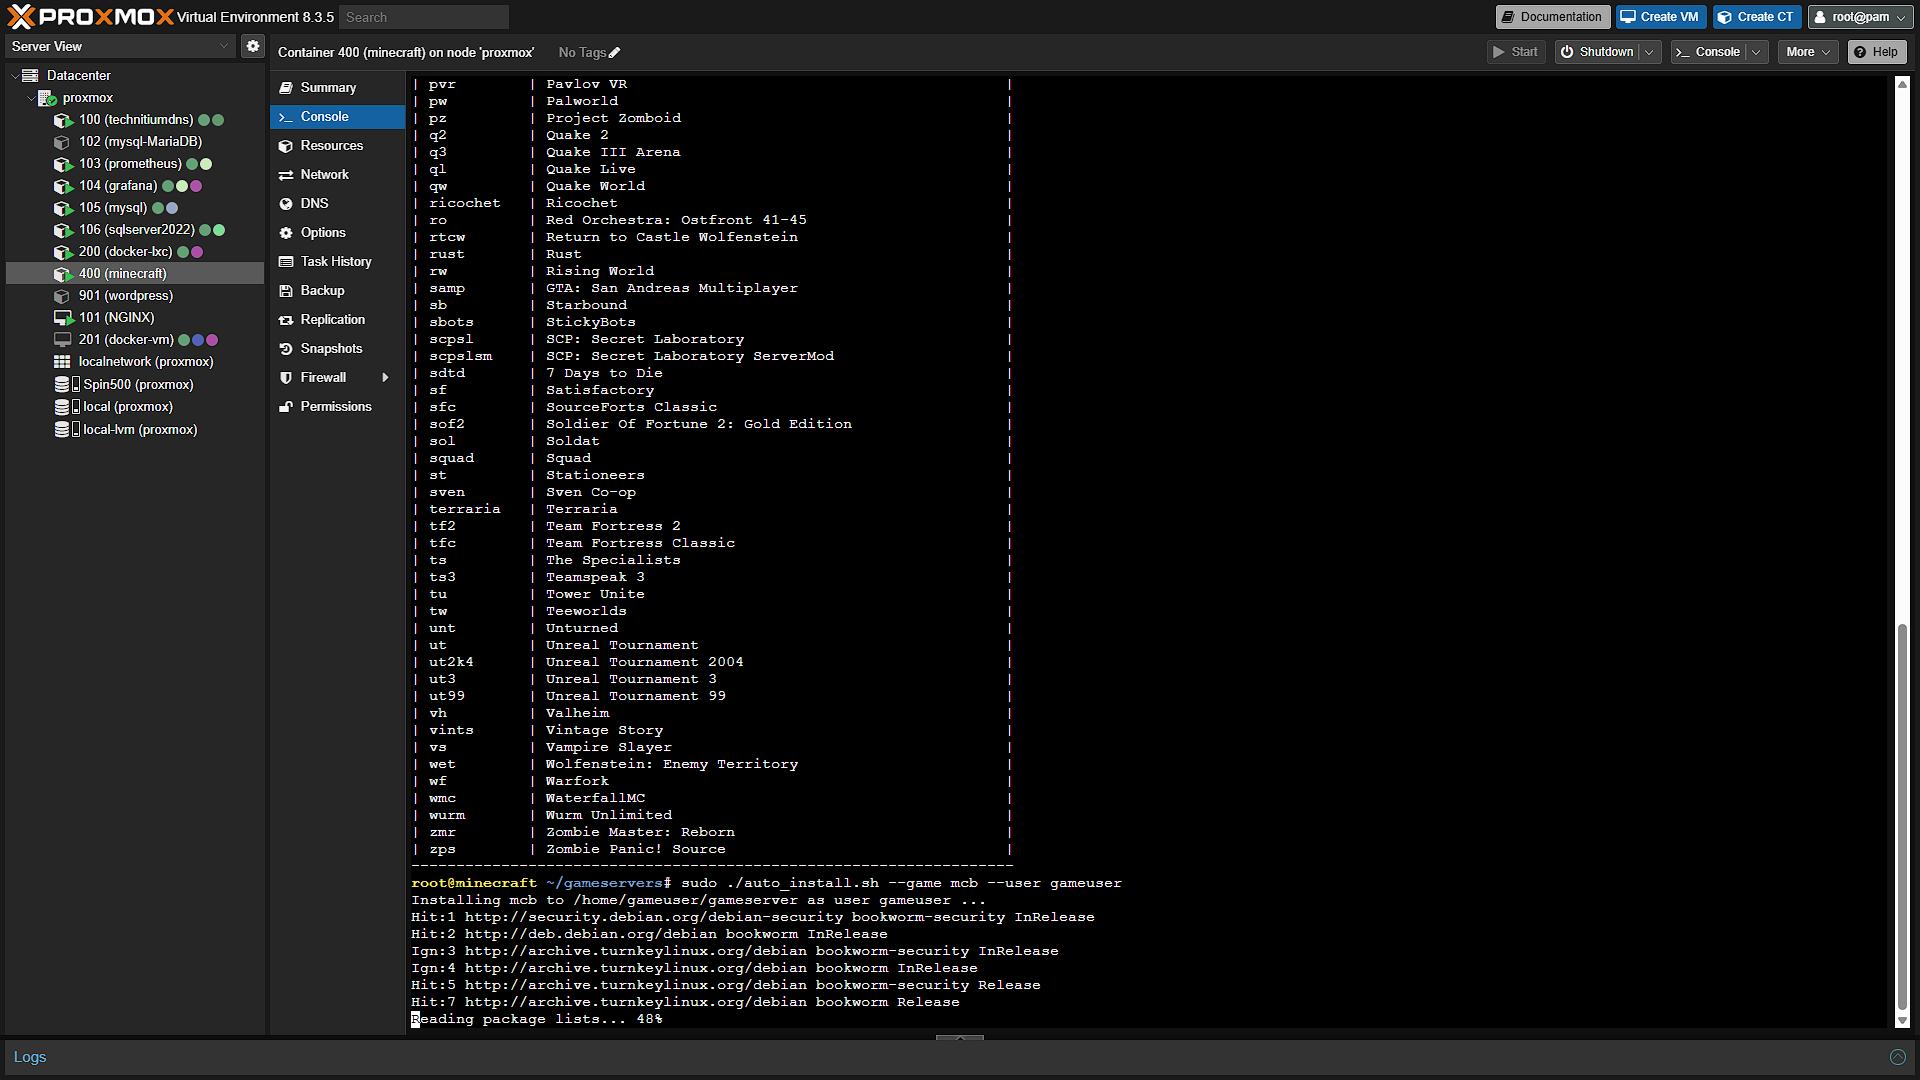
sudo ./auto_install.sh --game mcb --user gameuserThis will get the game server installed and ready to go. All we need to do now is start the server. So once installation has completed, we need to get the server started. Run the following commands:
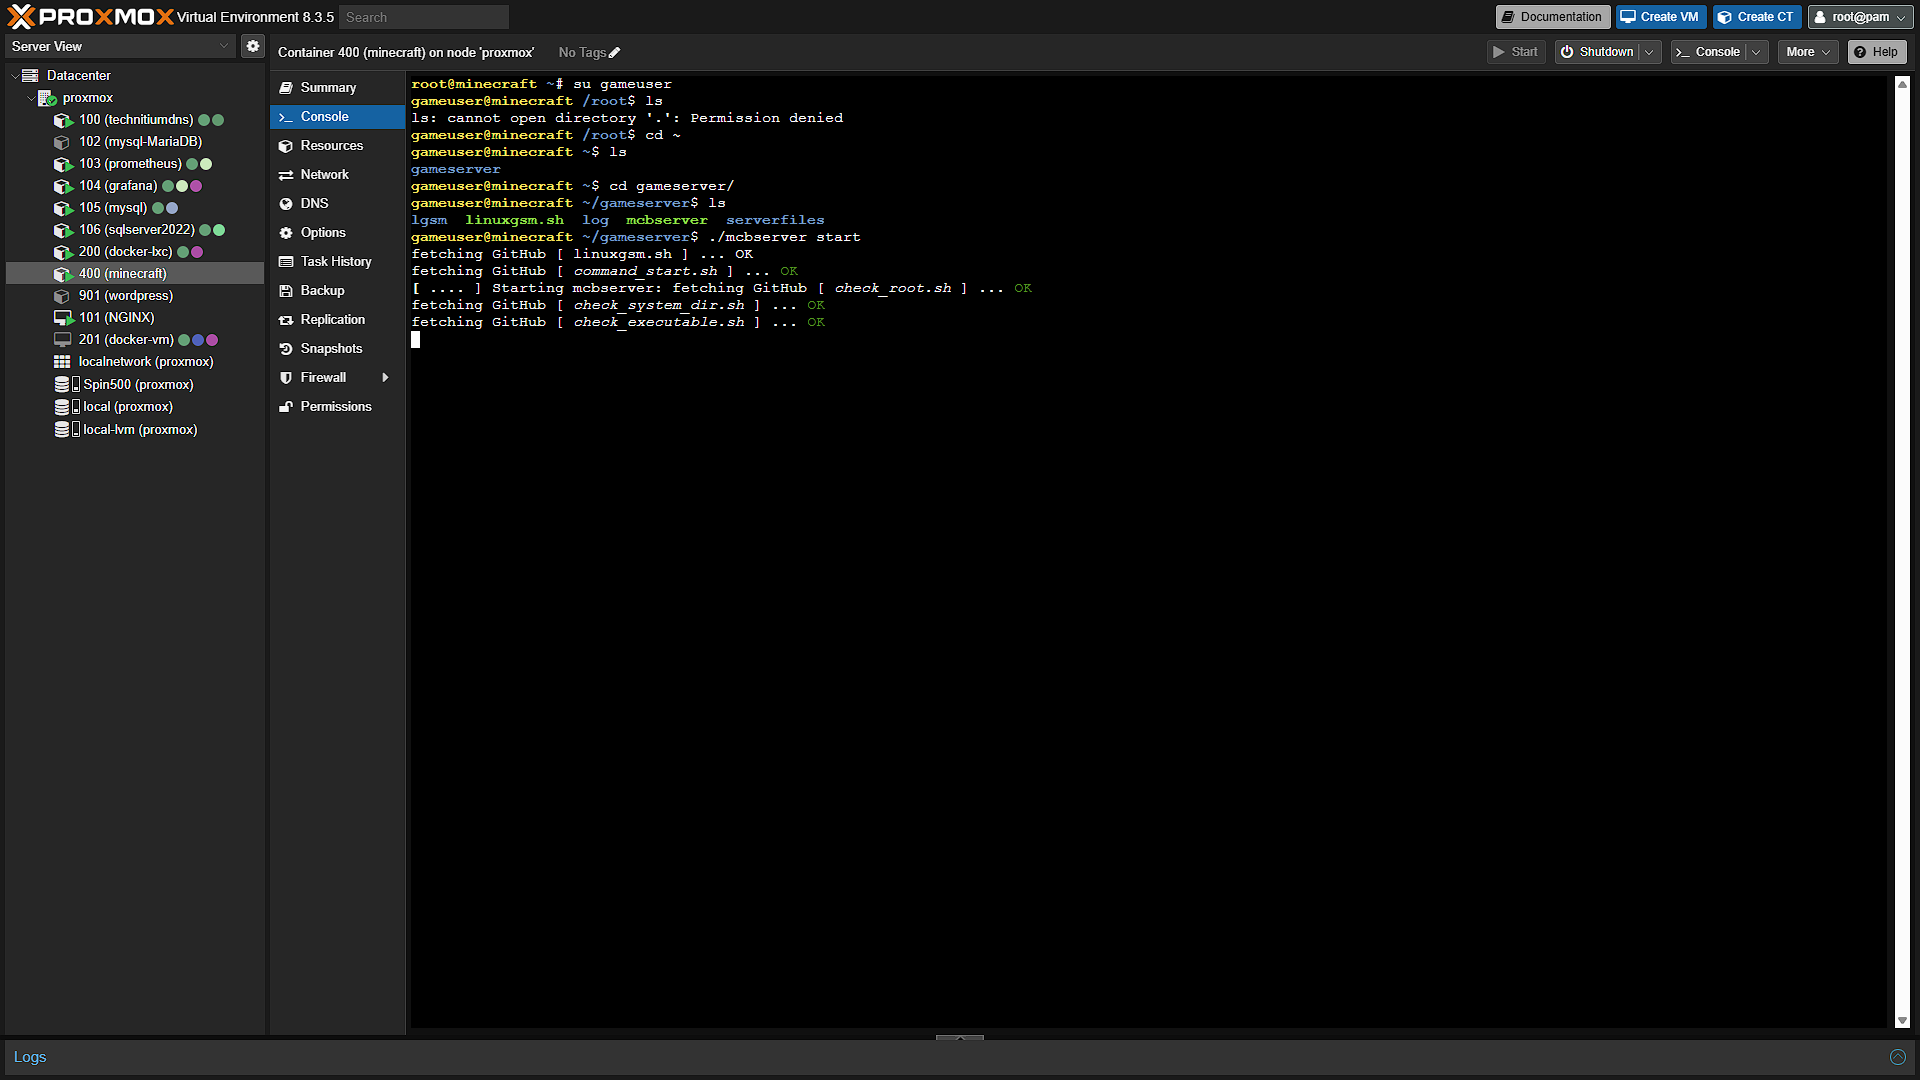
su gameuser
cd gameserver
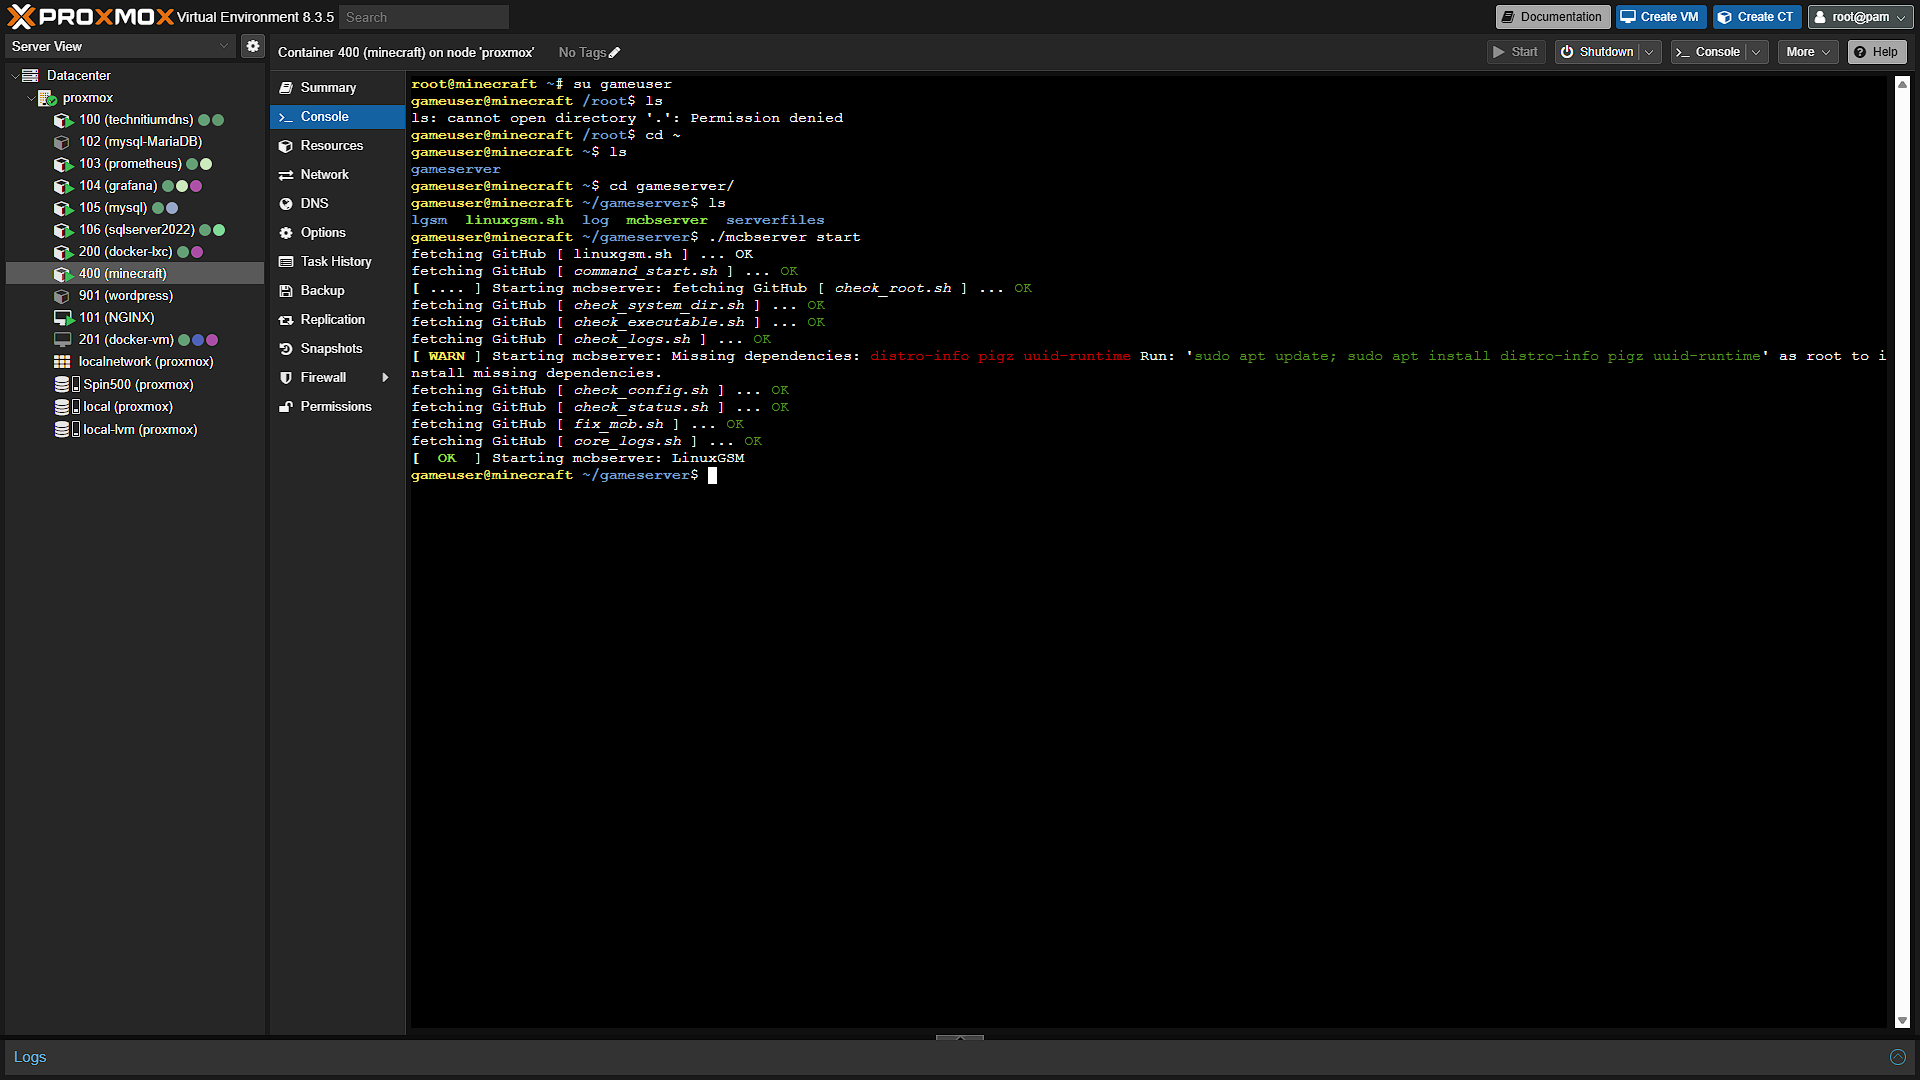
./mcbserver start
The commands above will
First change user su to the gameserver user
Change into the gameserver directory under the gameuser account
Start the Minecraft server
Optional After the Walkthrough: Game Edition, Startup and Backups
This walkthrough starts the chosen LinuxGSM server manually. Keep the installed mcbserver wrapper and account from the screenshots. Bedrock and Java Edition use different servers and client protocols. Default ports are commonly Bedrock UDP 19132 and Java TCP 25565, but inspect your actual server configuration before opening a rule. A Java client does not automatically connect to a Bedrock server.
Bedrock on a PC or phone supports different connection options from consoles. Some console versions do not provide the same arbitrary custom-server address entry. Confirm the chosen client's supported connection method before assuming the phone/PC instructions work identically on an Xbox, PlayStation or Switch.
Automatic startup is optional after the manual start works. First log in as the actual game-server user, navigate to the directory containing the wrapper, and record pwd. Use LinuxGSM's running-on-boot instructions with that actual path and user. Do not create a service that assumes /home/gameuser/gameserver exists merely because a sample used it.
Test automatic startup by rebooting the guest during an agreed maintenance window, then checking the wrapper's details and joining the world from a client. An active service without a successful player connection is not the complete acceptance test. Keep the manual startup method available while diagnosing the unit or job.
Back up the world consistently using the server's supported save/stop and backup procedures. A scheduled backup is not an automatic update unless it explicitly performs one. Keep enough history to recover accidental world changes, copy a backup away from the guest disk and practise restoring a separate test world. Allocate memory based on the chosen edition, players and mods rather than a universal players-to-RAM formula.
Further reading: LinuxGSM running on boot, LinuxGSM basic usage.
Conclusion
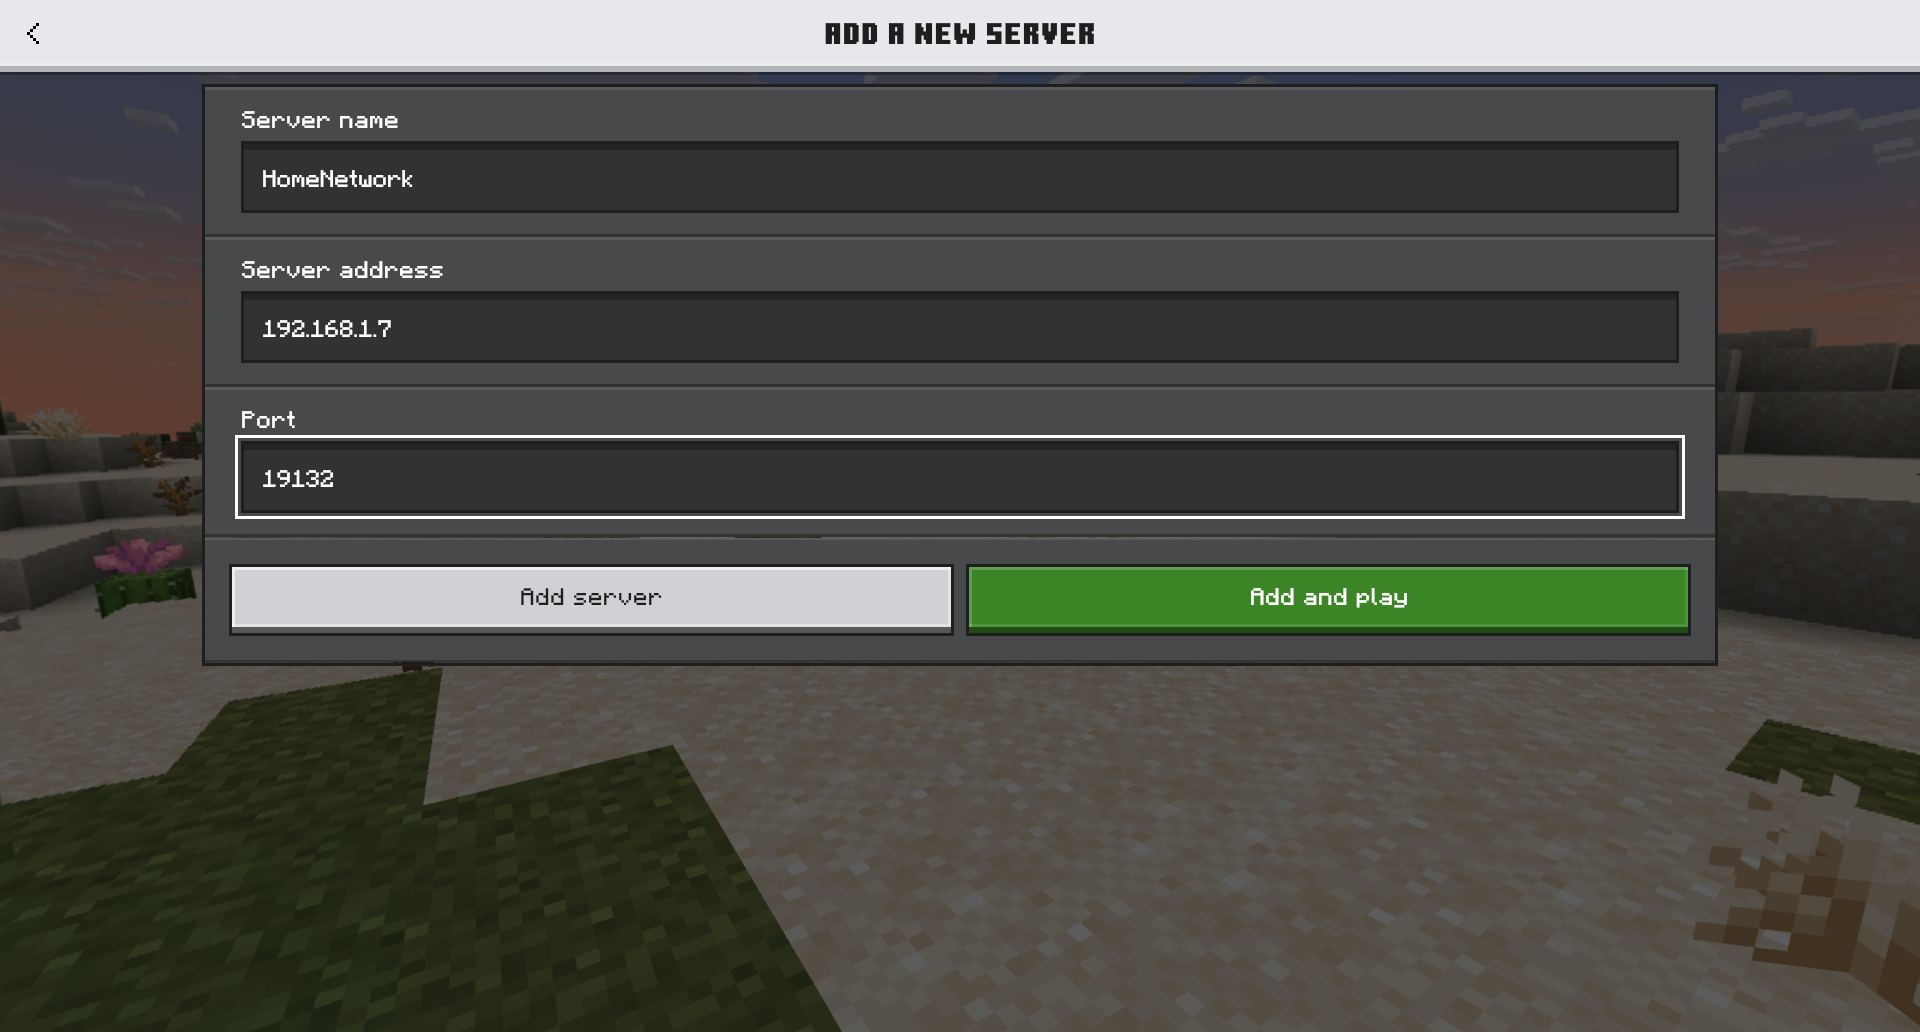
That is all there is to it, we can now access our own Minecraft server from our home network. Just add a new server with the IP address and enjoy your own server!