We hope you are enjoying our Build your own Homelab series with us, but today we are going to go off for a bit to explain one of the features we talked about frequently but never actually go into detail: How to use a VPN service to access your local-only services. We have an nginx reverse proxy running in a VM in our Proxmox node which can be used to expose certain services to the outside world, like we did with ntfy. However, what if we wanted to access our Technitium DNS for instance? We have set it up so that we can access it by going to http://dns.local, but we need to be on the local network, using our own DNS for this to work. So how do we access it from outside? Yes, we can add more nginx configurations rules and even get a domain (which we will cover later), but for now, the safest method is to keep it local network only and allow VPN access. So let's get cracking.
Step 1: The VPN Config File
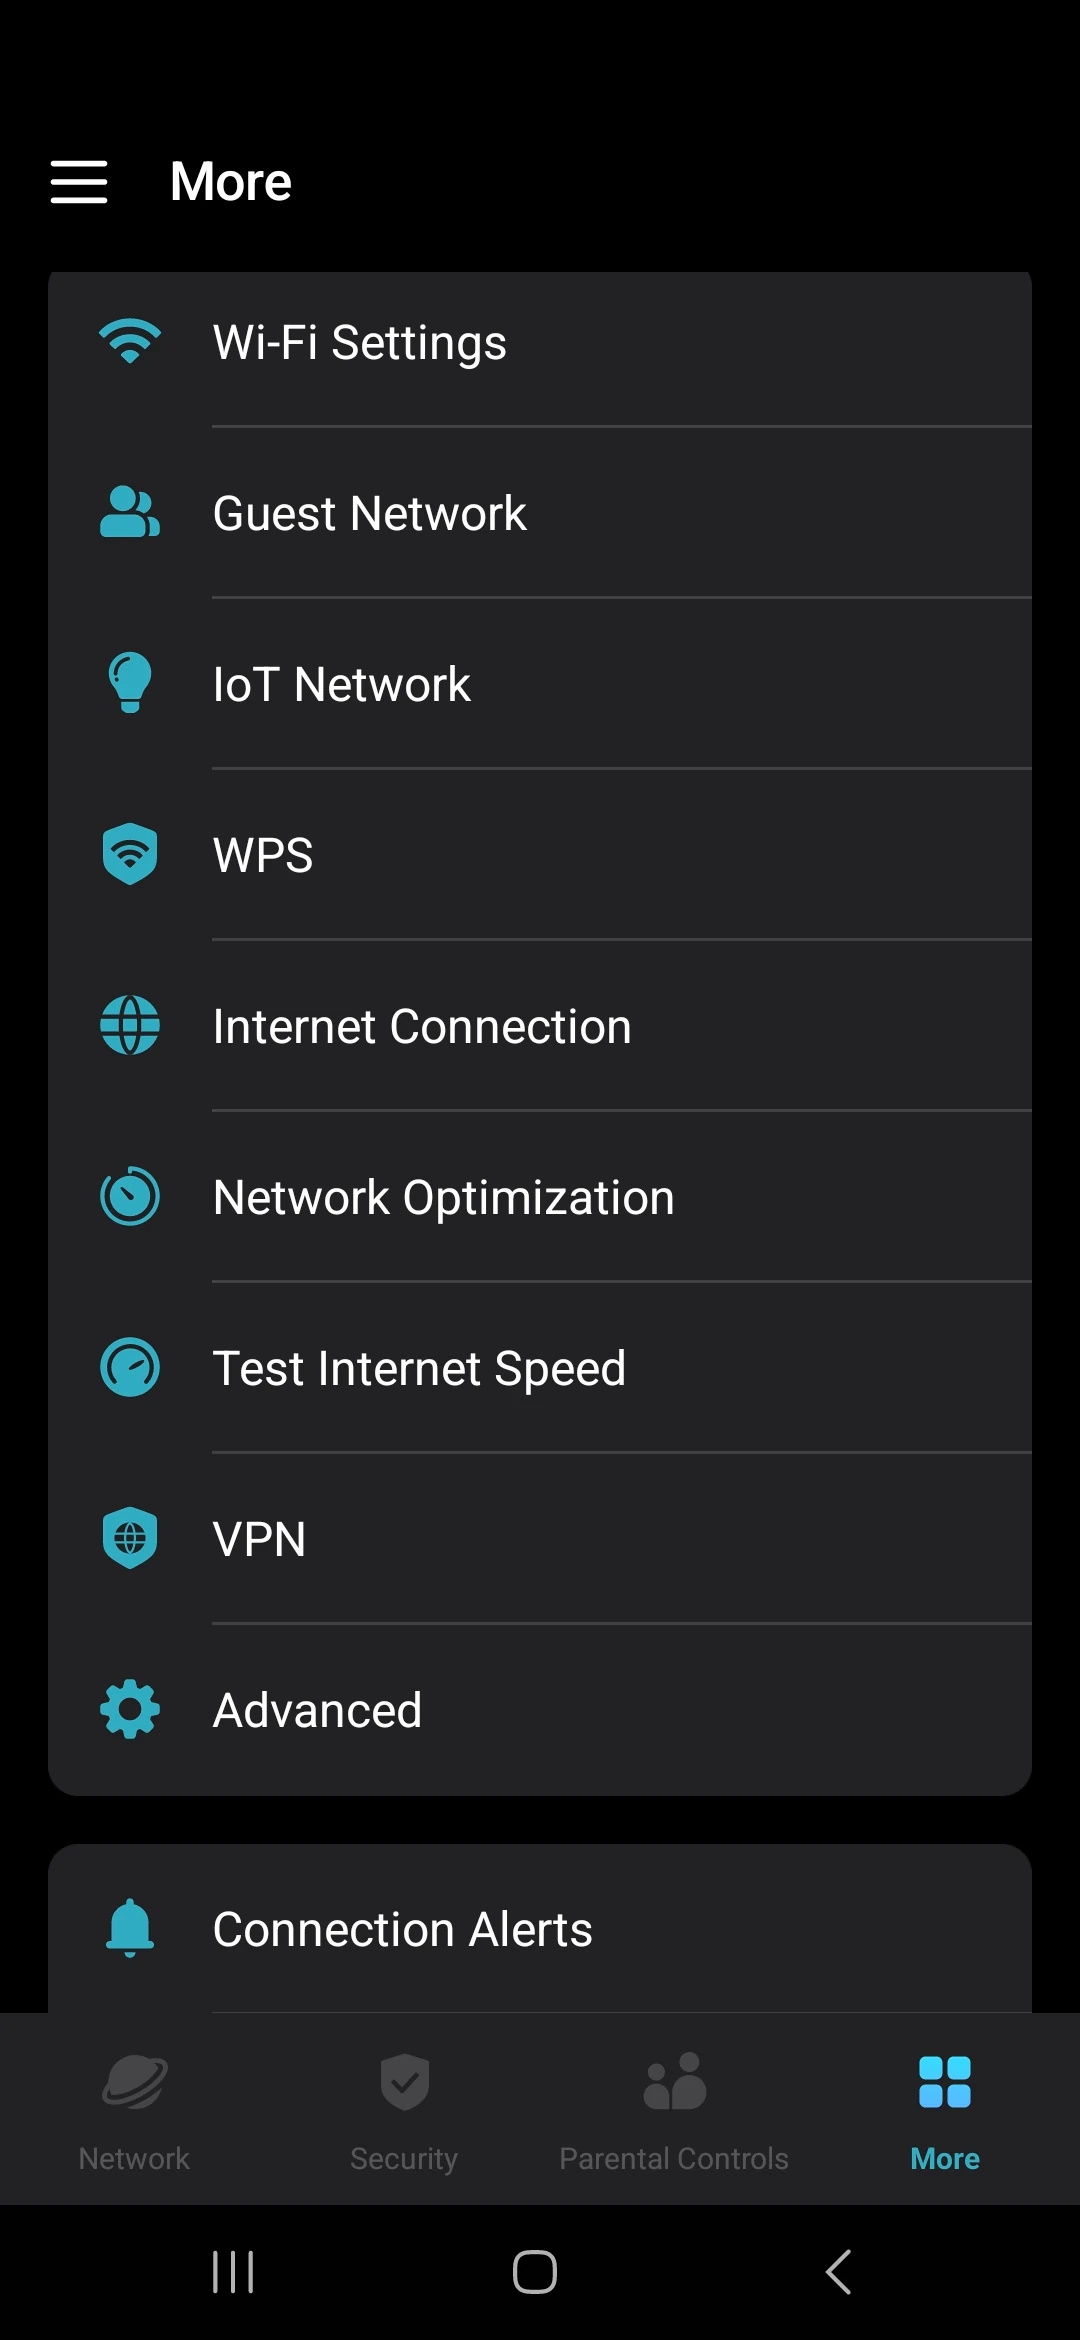
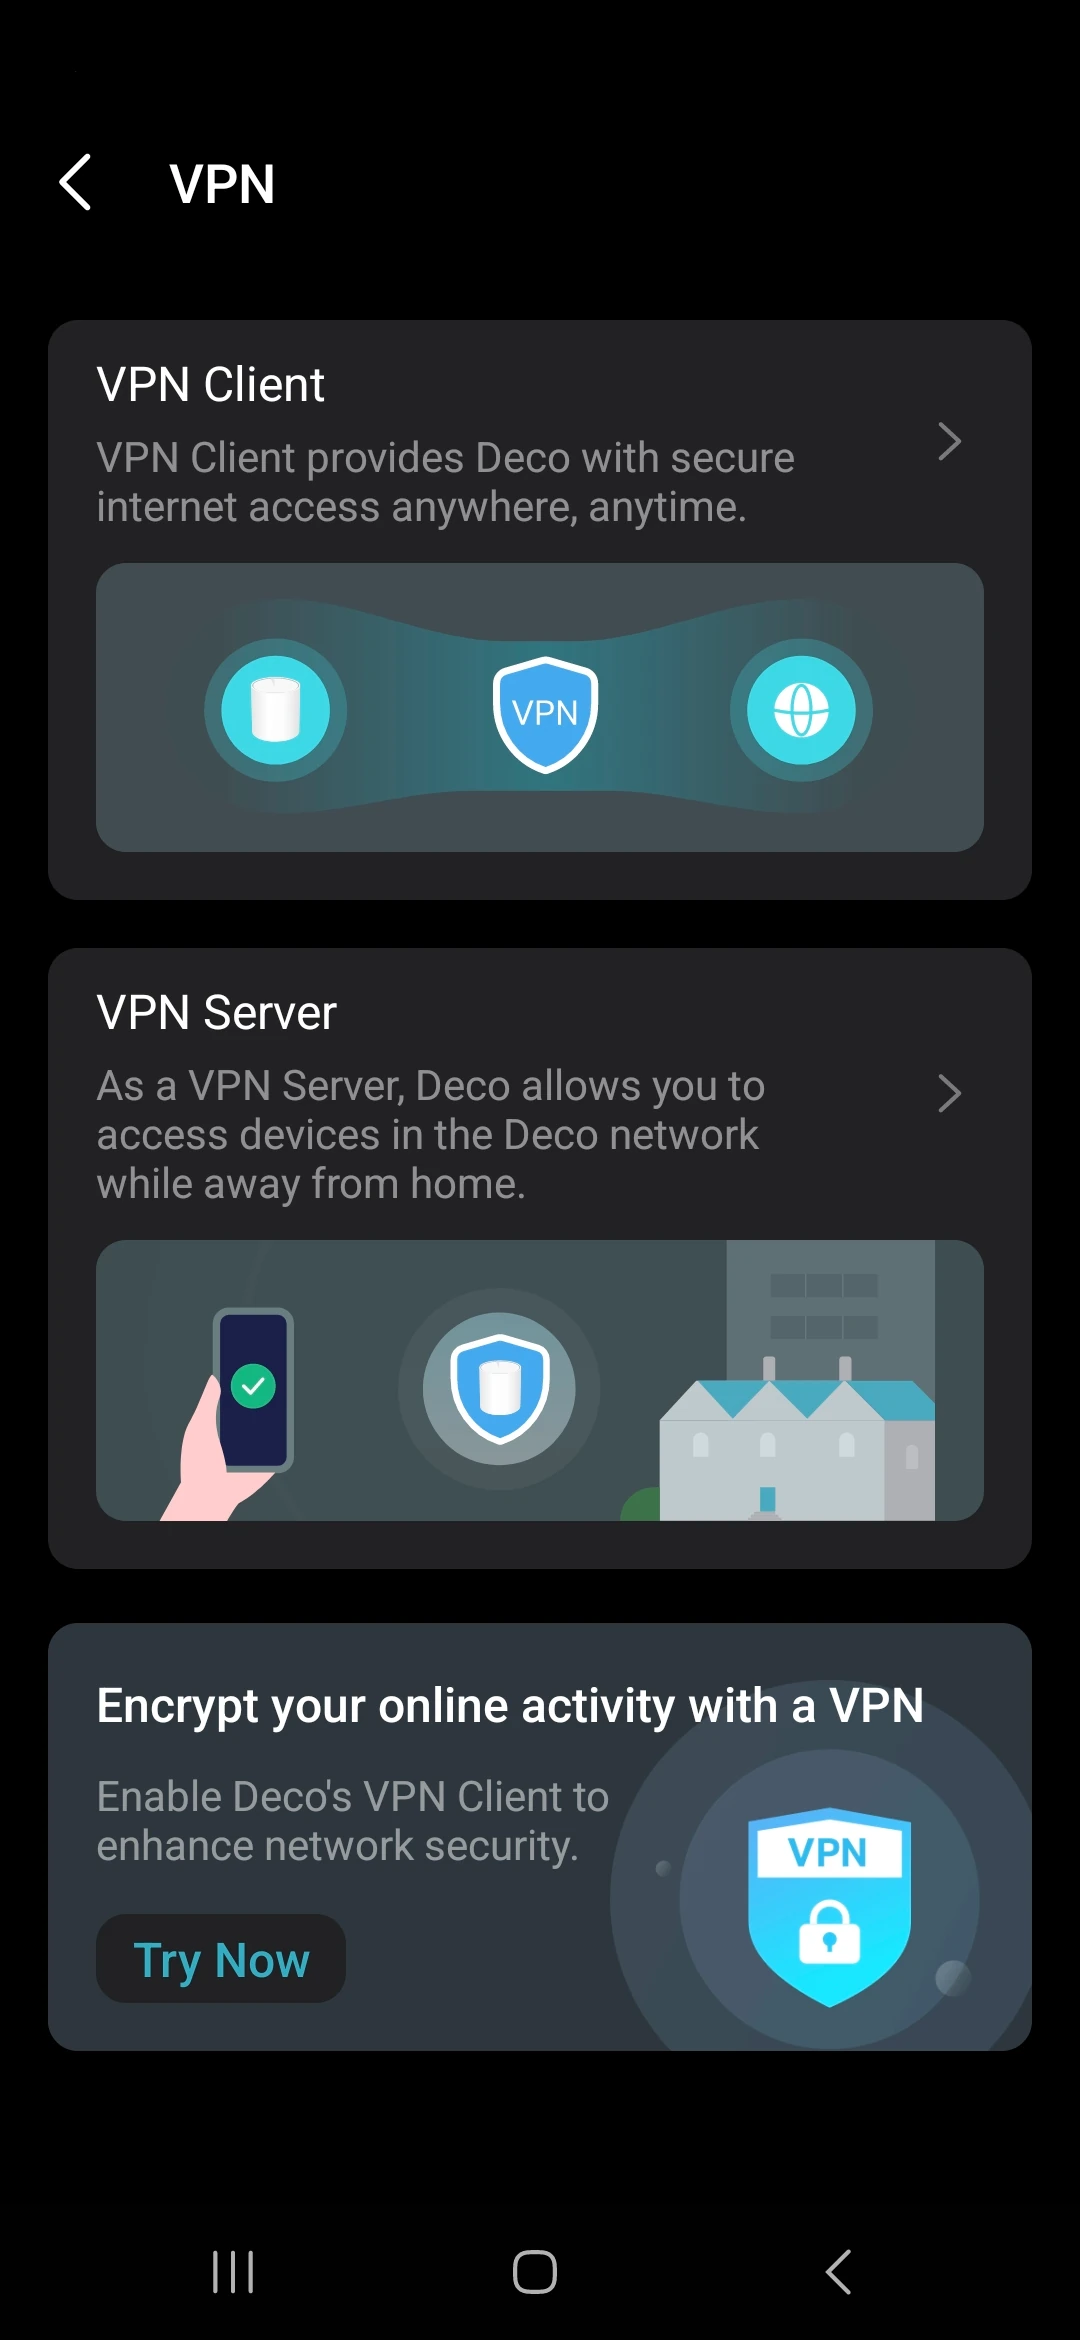
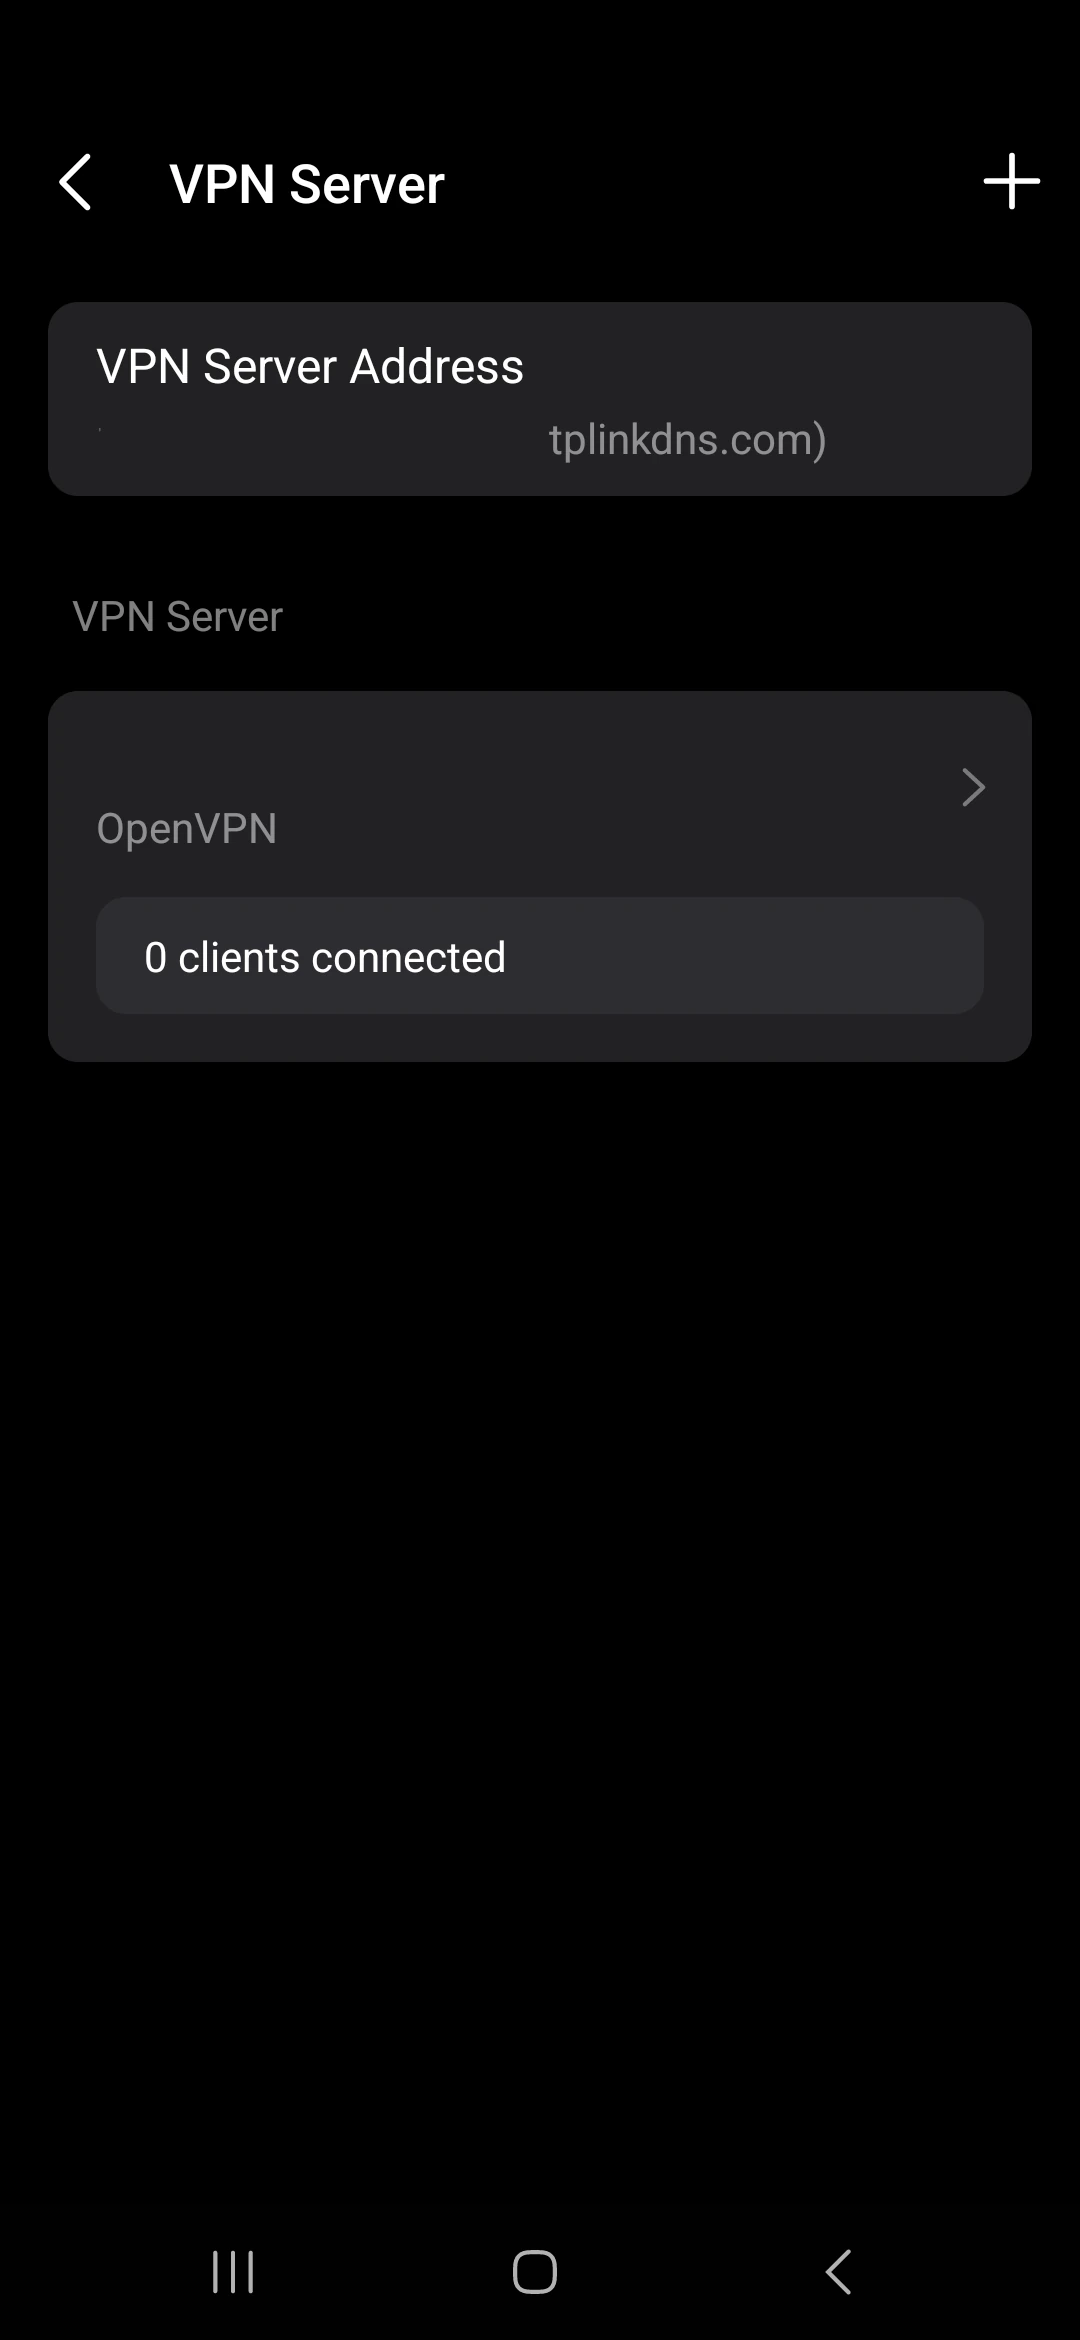
We have previously set up our VPN via the article Adding a VPN Server to a TP-Link Deco Unit. If you use a different router, the process should be fairly the same. We will look at getting our own VPN server hosted in our Homelab, but that is a future instalment. For now we just want to get the VPN Config file from the setup. So in our Deco app, go to the menu, then advanced and look for VPN. Under VPN select VPN Server which will show you your VPN server name. If it does not, you will need to set up the VPN server as per the instructions in the setup article. From there, export the configuration file. We will need to edit this file in a bit, so make sure to get it onto a computer or open it in a text editor on your phone.
Step 2: Edit the configuration file
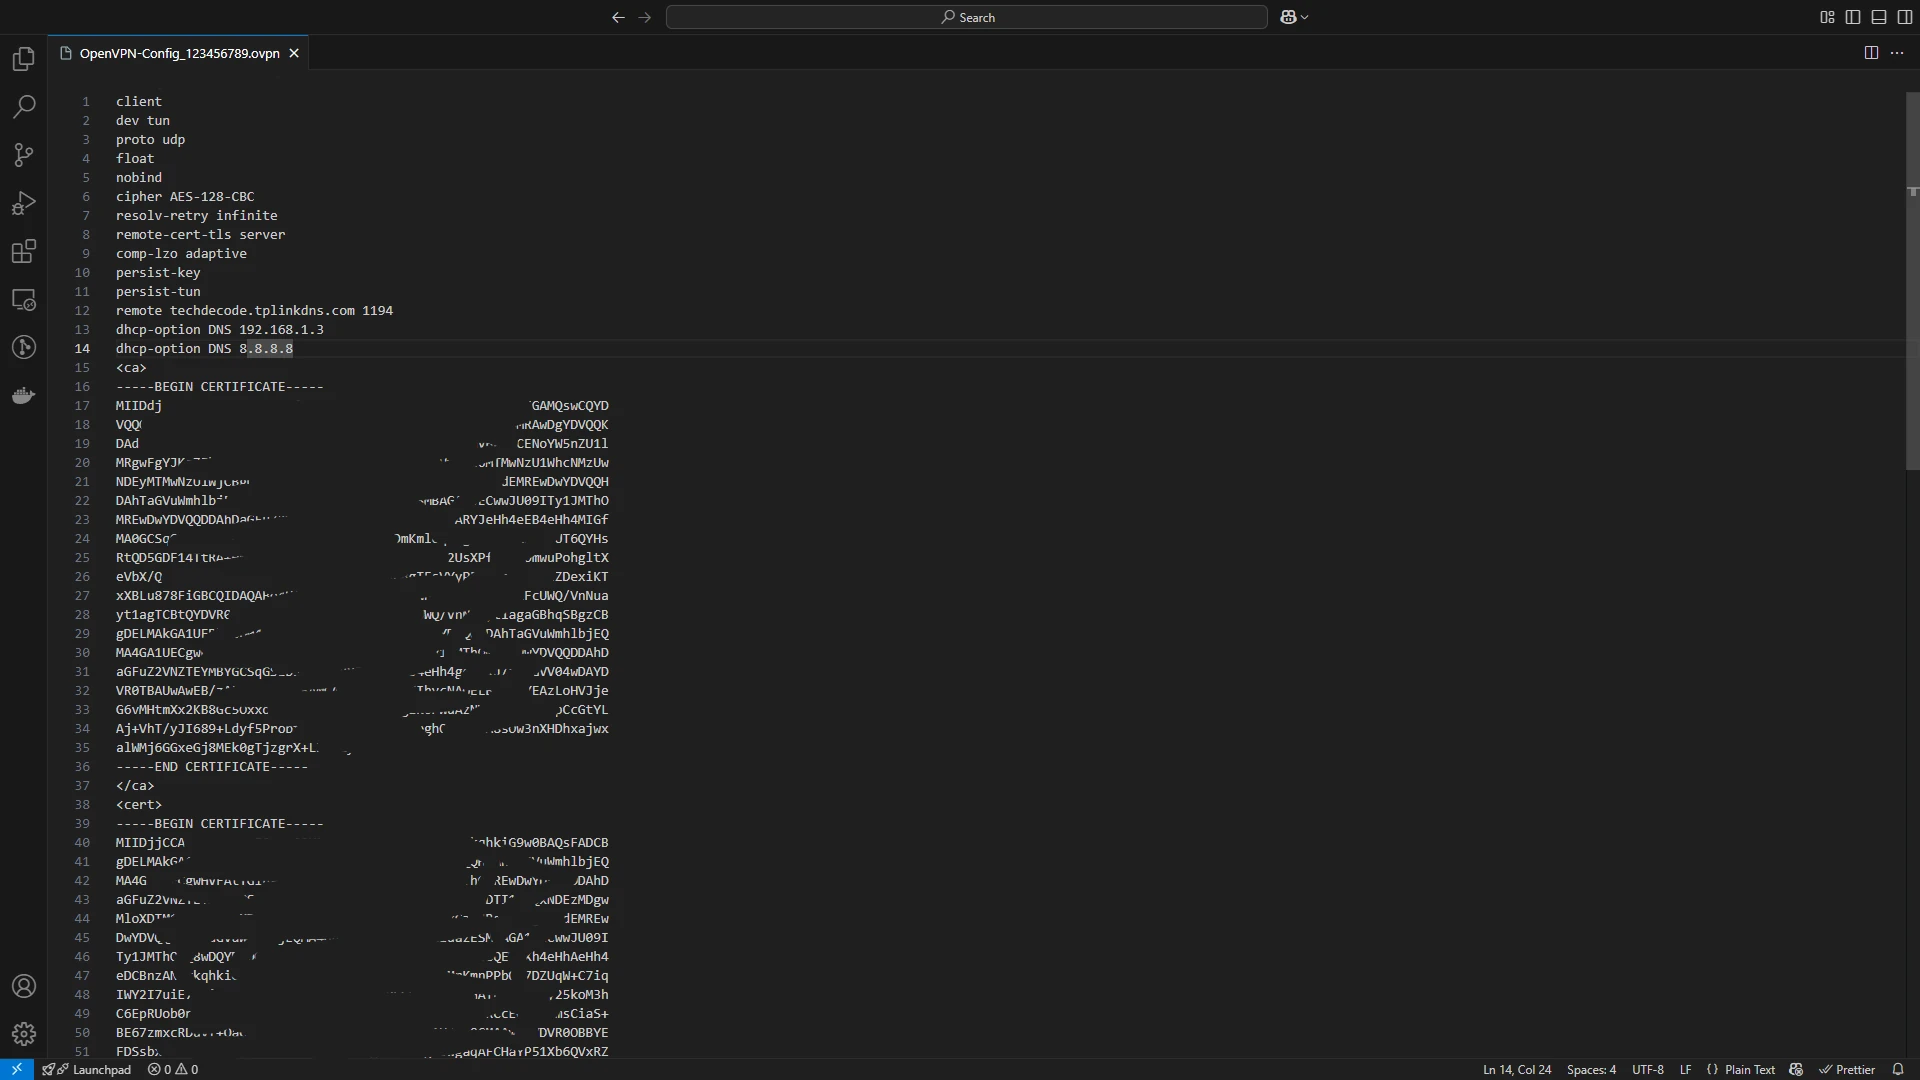
Once we have the config file in a text editor, either on a phone or on a computer, we need to add two lines to the bottom of the config. Please make sure to add it above the <ca> line to ensure we don't break the certificate sections. Add a line to say to use our DNS server we set up previously with its IP address. Also give it a secondary DNS for in case our DNS is down:
dhcp-option DNS 192.168.1.3
dhcp-option DNS 8.8.8.8
This will point to our main DNS server at 192.168.1.3 and then also have 8.8.8.8 as a secondary option.
That's it, save the file.
Step 3: Get the DNS Client installed and the config file imported.
Now we just need to get the OpenVPN Client installed on Mac, Windows or on our phone. You can download the relevant client from the official OpenVPN website here: https://openvpn.net/client/ Once downloaded and installed open the app and import settings. Select the file we saved and you should now be able to connect. Once connected, local only addresses like http://dns.local will work perfectly fine.
Optional After the Walkthrough: Test Routes and DNS Separately
The profile screenshots retain the local DNS example 192.168.1.3. Their public fallback resolver cannot answer private records such as dns.local. Resolver selection is client-dependent, so having both addresses listed is not a guarantee that every internal lookup succeeds. If that becomes a problem, choose a deliberate split-DNS or local-resolver policy and test the exact client rather than substituting another arbitrary LAN address.
First test access to an internal service by IP while on mobile data or another external connection. Then test its name. IP access failing points toward routing, firewall or overlapping subnets. IP access working while the name fails points toward DNS. A direct resolver query and a normal system lookup test different things:
nslookup dns.local 192.168.1.3
nslookup dns.local
Run these on a computer with the VPN connected and the relevant command installed. The first checks the selected resolver; the second checks the system's default resolution path. A browser can additionally use its own encrypted DNS setting. For ping, Windows uses ping -n 3, while common Linux implementations use ping -c 3. A missing ping response alone does not prove a web service is down.
Split tunnelling routes selected destinations through the VPN; full tunnelling also changes the route for public traffic. DNS policy needs consideration in either case. OpenVPN's block-outside-dns is a Windows/client-specific feature, not a portable profile instruction for every Android or Linux app. Consult the documentation for the installed client and inspect its connection log.
Save the working profile before adjustments. Reconnect and repeat the same IP, resolver and browser tests after one change at a time. Private DNS settings on Android should be tested with the actual VPN client instead of being assumed to override, or never override, the VPN in every configuration. Also disconnect after testing and confirm normal browsing still works. Keep a record of the client version and selected profile so a later comparison uses the same settings rather than accidentally testing an older imported copy.
Further reading: OpenVPN client DNS handling.
Conclusion
We can now access local-only resources on our network when we are not at home. This makes it very easy for us to use all our services no matter where we are. We used a VPN for added security, and in our case, it is easier to set up as well seeing as we don't need multiple configurations in nginx. We will look at installing a custom VPN called Tailscale soon and also look at getting a domain so we can play with different names to access our other services from outside the main network. Stay tuned for the next part in our Build your own homelab series!