With the local ntfy server working, we will follow the screenshots to test external routing through NGINX. This stage uses HTTP. Part 25 adds authentication and Part 26 adds HTTPS. Use only a harmless test message here, then complete those two parts before relying on the public service or sending credentials across an external connection.
Step 1: Reverse Proxy with NGINX.
First we will need to set up our incoming connections currently being handled by nginx. Please ensure to have the following steps set up already:
Setting up an NGINX VM
Nginx from outside your home network
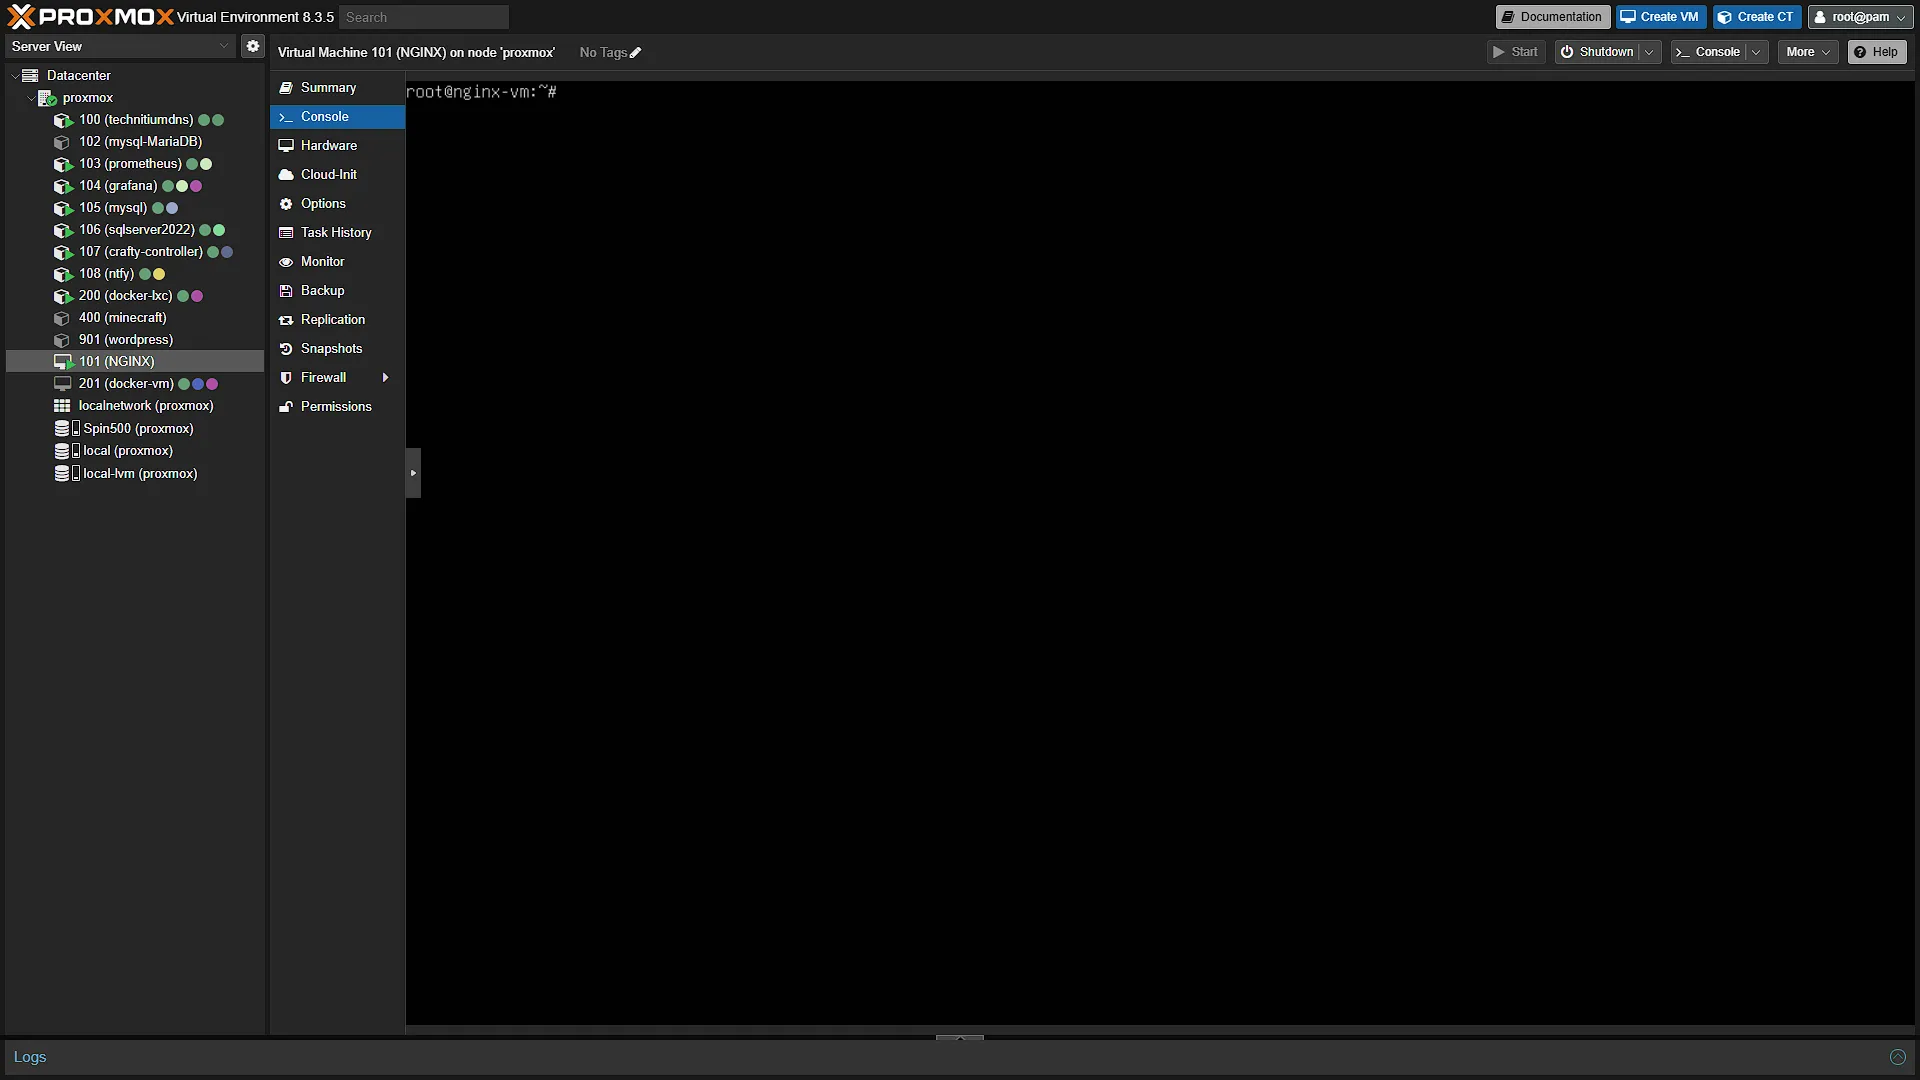
Once that is set up, we can forward our service to ntfy instead of Wordpress. After logging in to your Proxmox instance, in the left navigation window, expand Datacenter, then expand the Proxmox node running our Nginx VM. In the middle navigation pane, select  to open the integrated console. First we need to navigate to the directory where config files are stored:
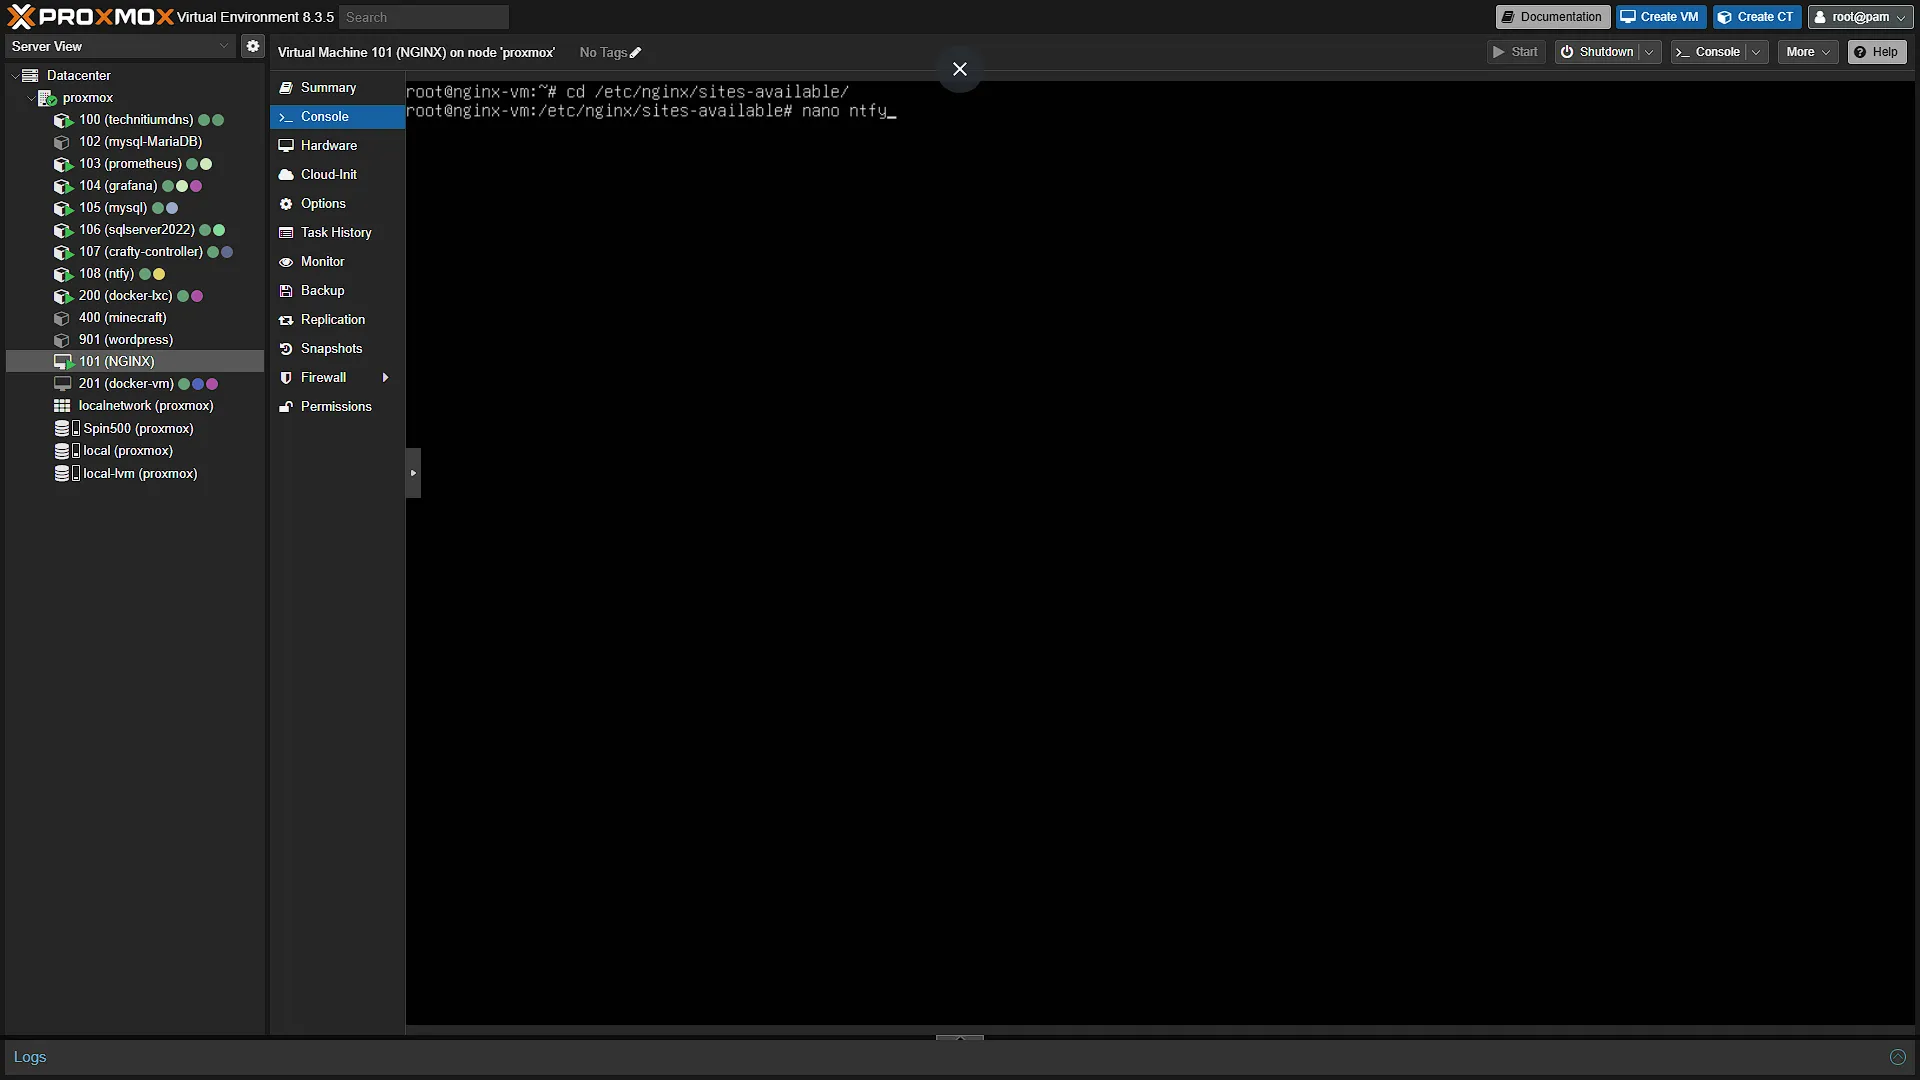
cd /etc/nginx/sites-availableOnce there, we can create a new config file. Let's call the config file ntfy So use the command:
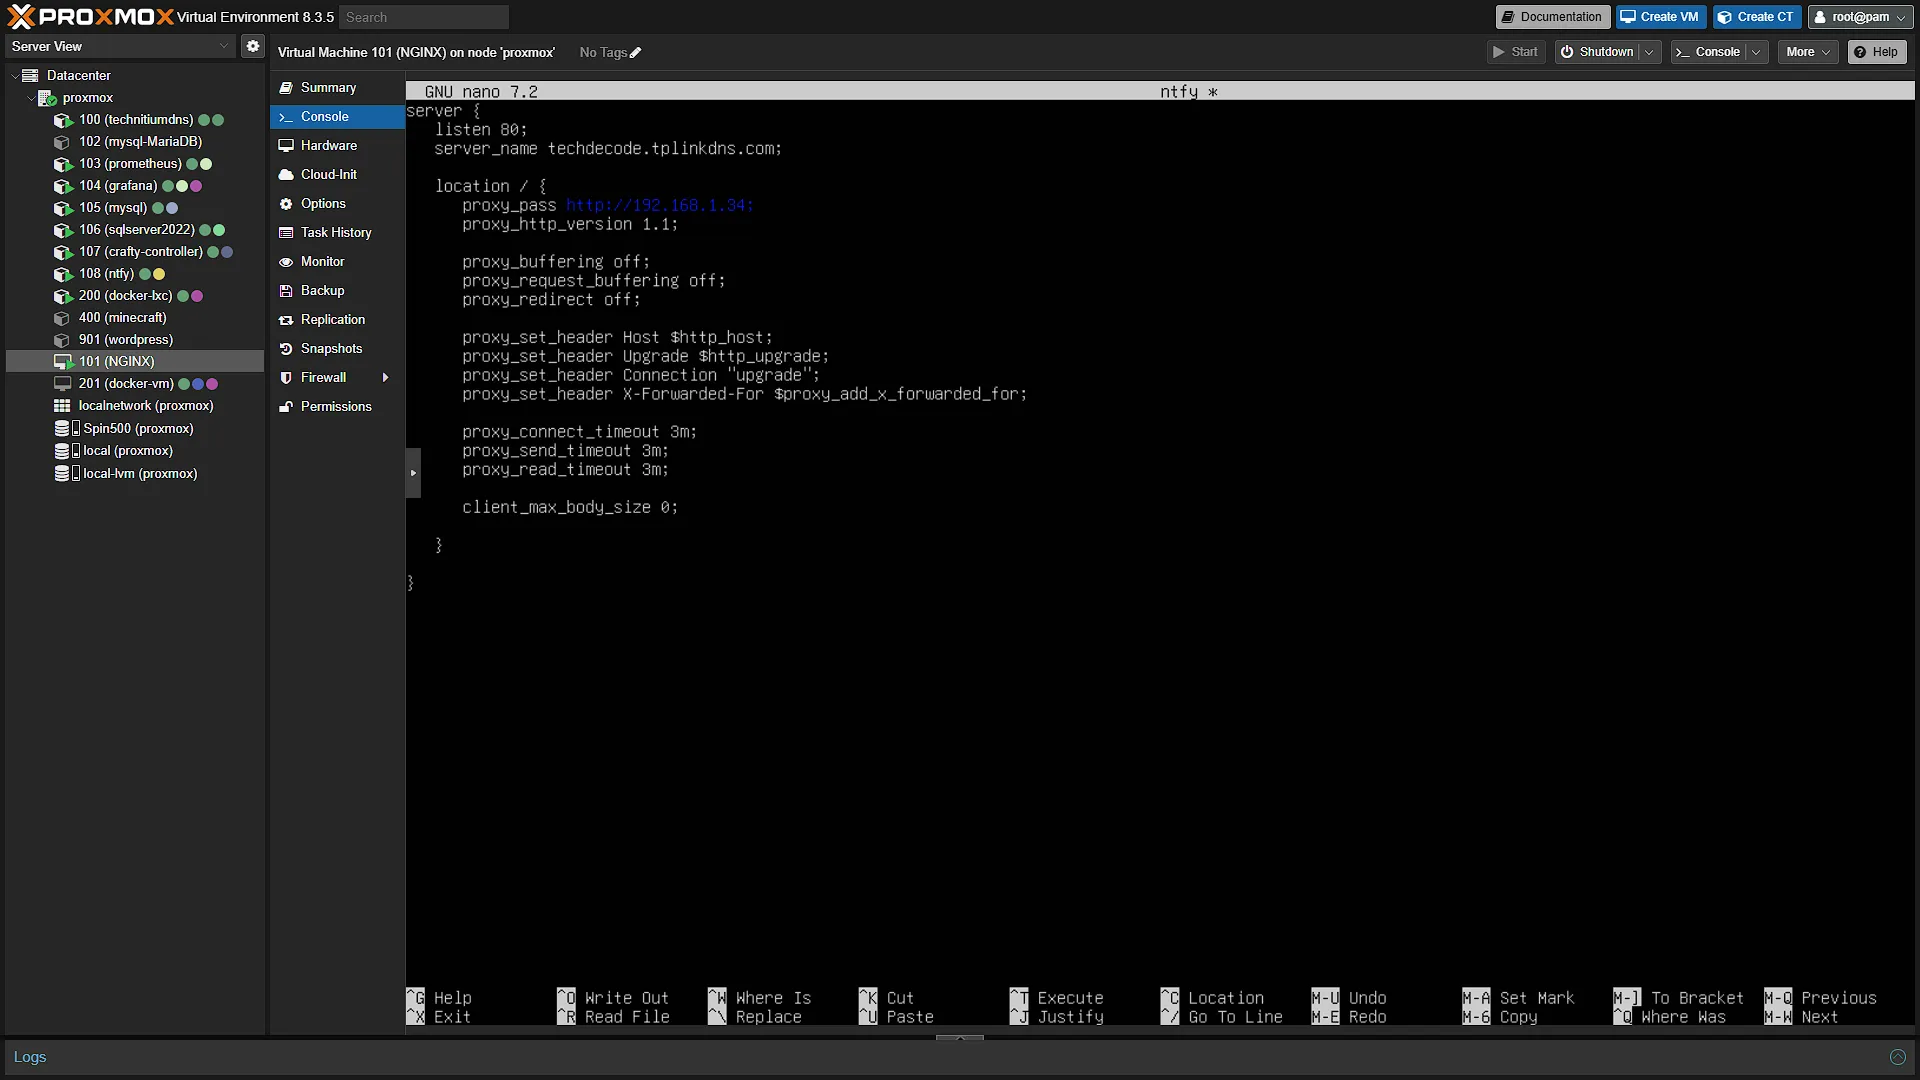
nano ntfyEnter the configuration shown in the screenshot. Replace the hostname and backend IP with your own values. Keep this initial HTTP example separate from the optional tuning discussed later:
server {
  listen 80;
  server_name techdecode.tplinkdns.com;

  location / {
    proxy_pass http://192.168.1.34;
    proxy_http_version 1.1;

    proxy_buffering off;
    proxy_request_buffering off;
    proxy_redirect off;

    proxy_set_header Host $http_host;
    proxy_set_header Upgrade $http_upgrade;
    proxy_set_header Connection "upgrade";
    proxy_set_header X-Forwarded-For $proxy_add_x_forwarded_for;

    proxy_connect_timeout 3m;
    proxy_send_timeout 3m;
    proxy_read_timeout 3m;

    client_max_body_size 0;
  }
}
Please substitute the server name techdecode.tplinkdns.com with your own Dynamic DNS name, and substitute the IP address 192.168.1.34 with the IP address that your ntfy server is running on. Once added, save with Ctrl+S and exit with Ctrl+X. We now just need to create the "shortcut" again, so run the command:
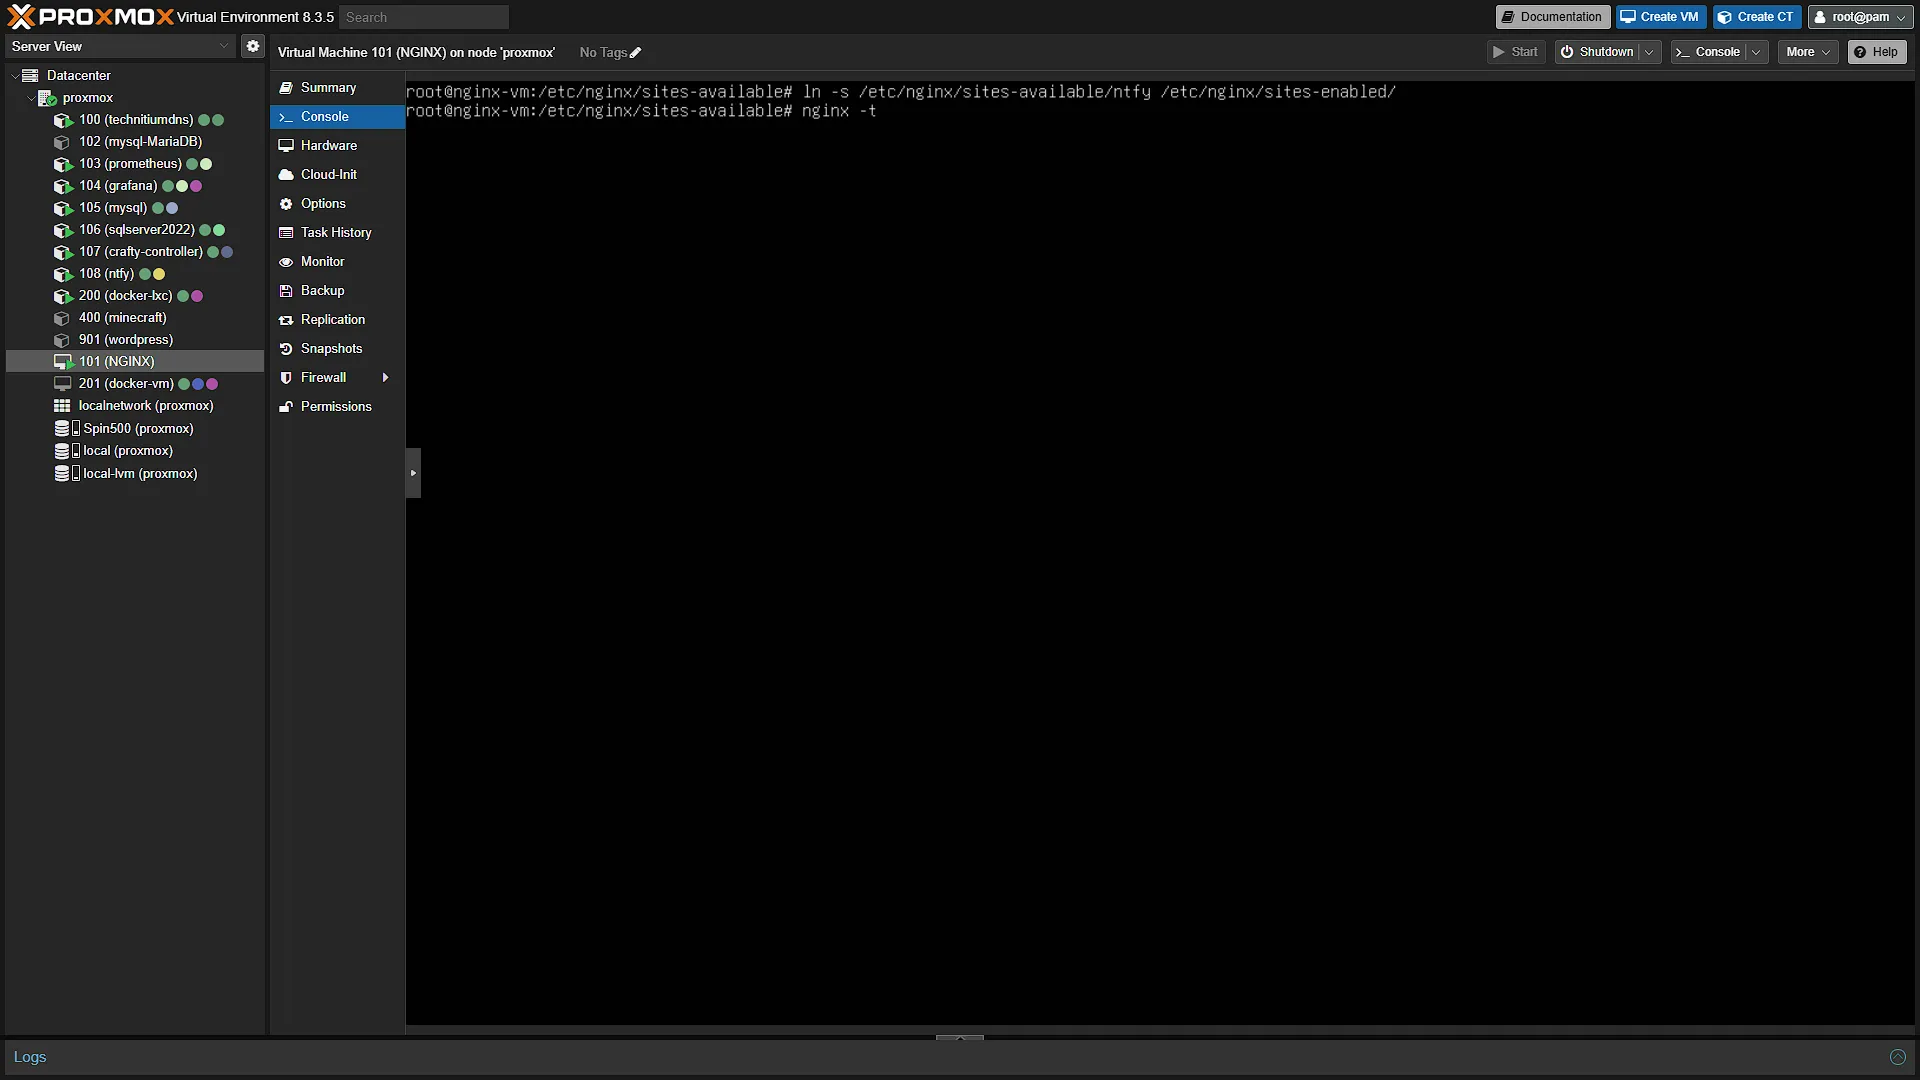
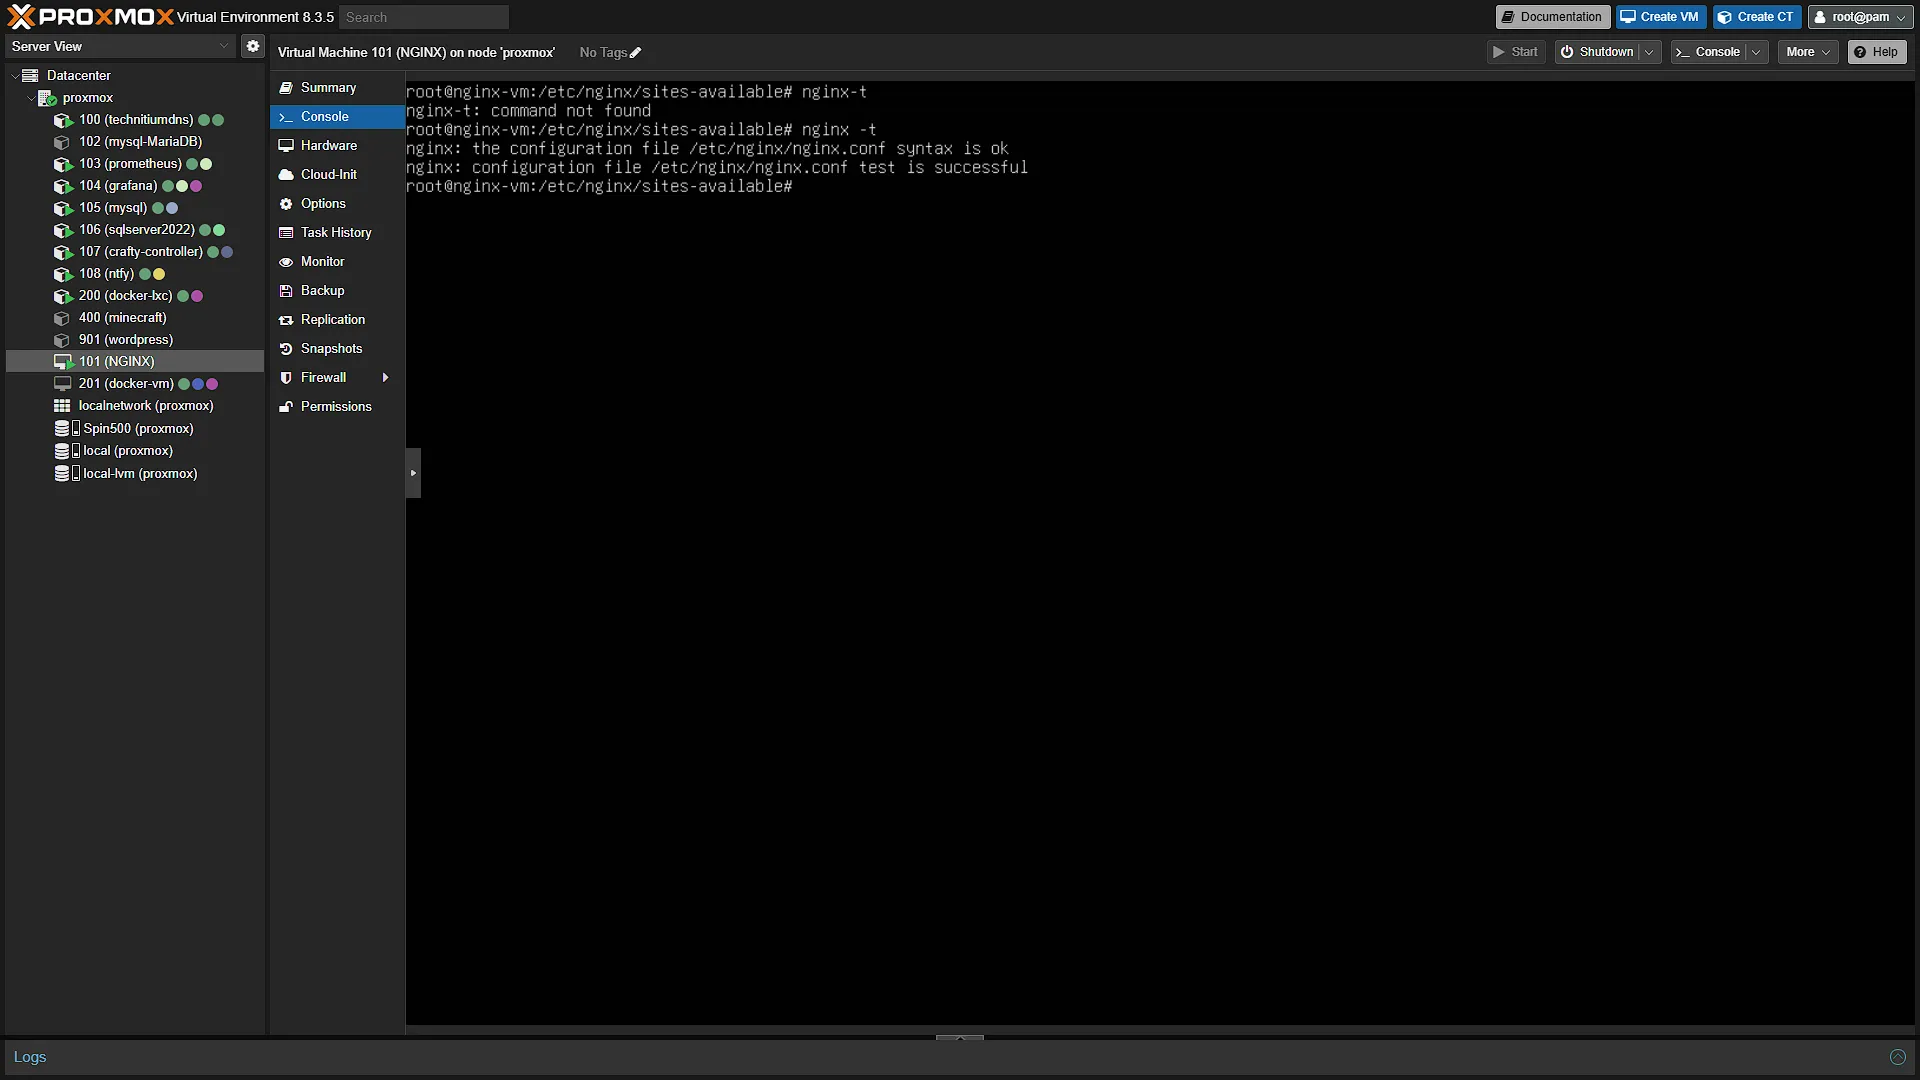
ln -s /etc/nginx/sites-available/ntfy /etc/nginx/sites-enabled/Once the link has been created, we can test the configuration first by running the command
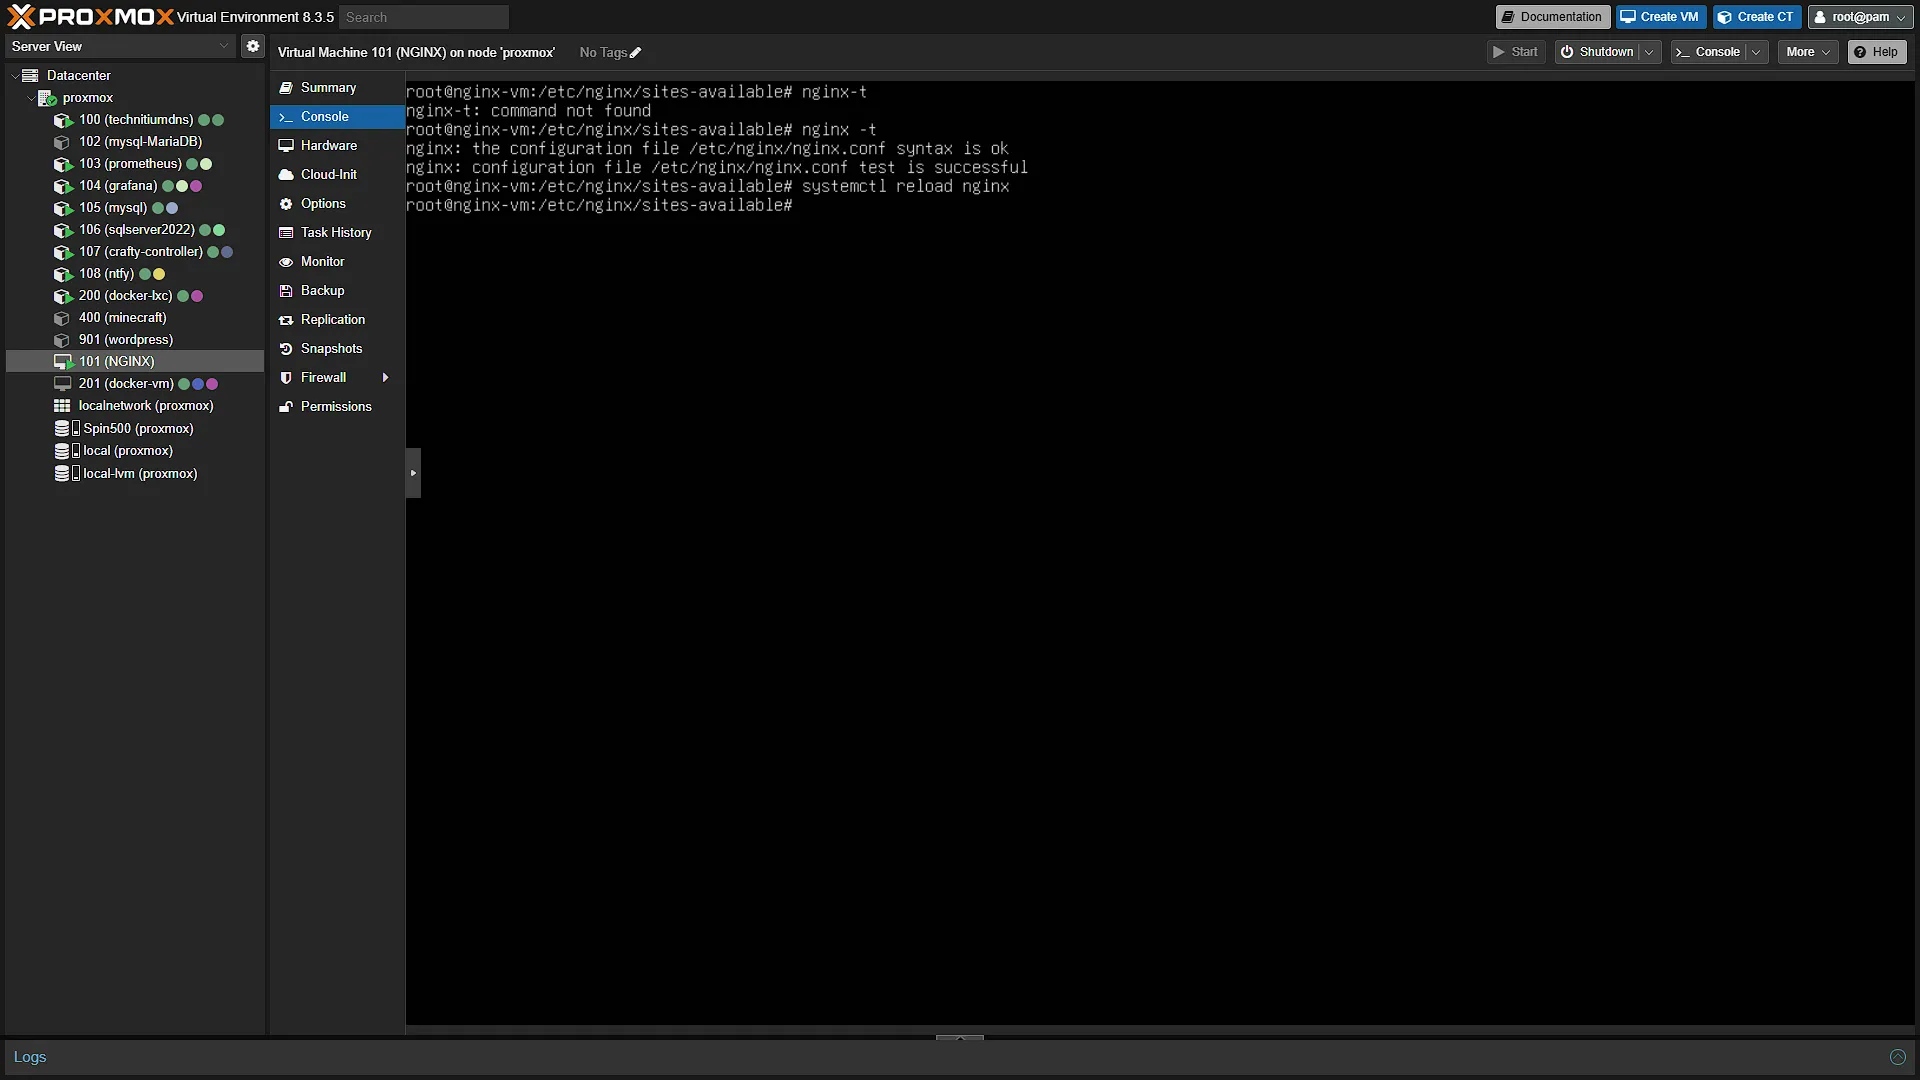
nginx -tIf everything succeeds, we can update the configuration by running:
systemctl reload nginxThis means that the new config is live and we can change the setup of our phone receiving the notifications
Step 2: Update notification endpoint on receiving device
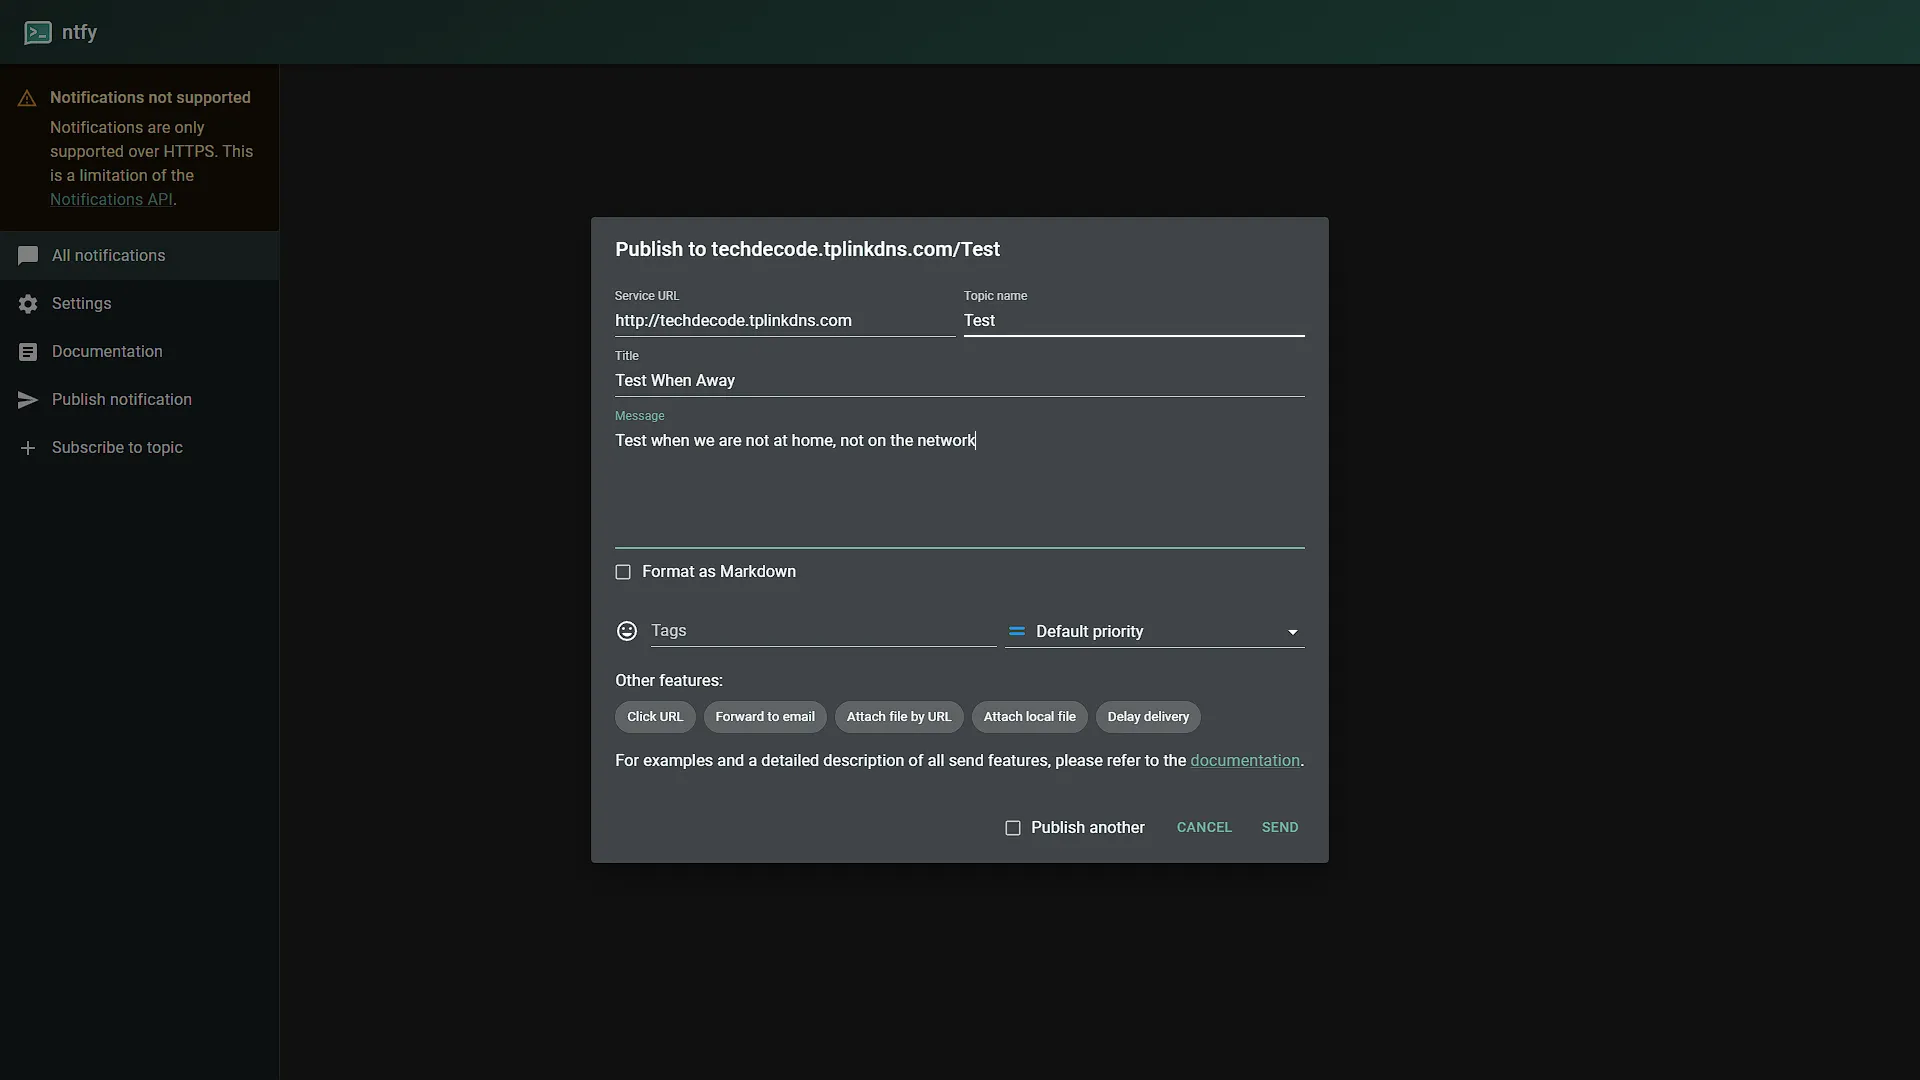
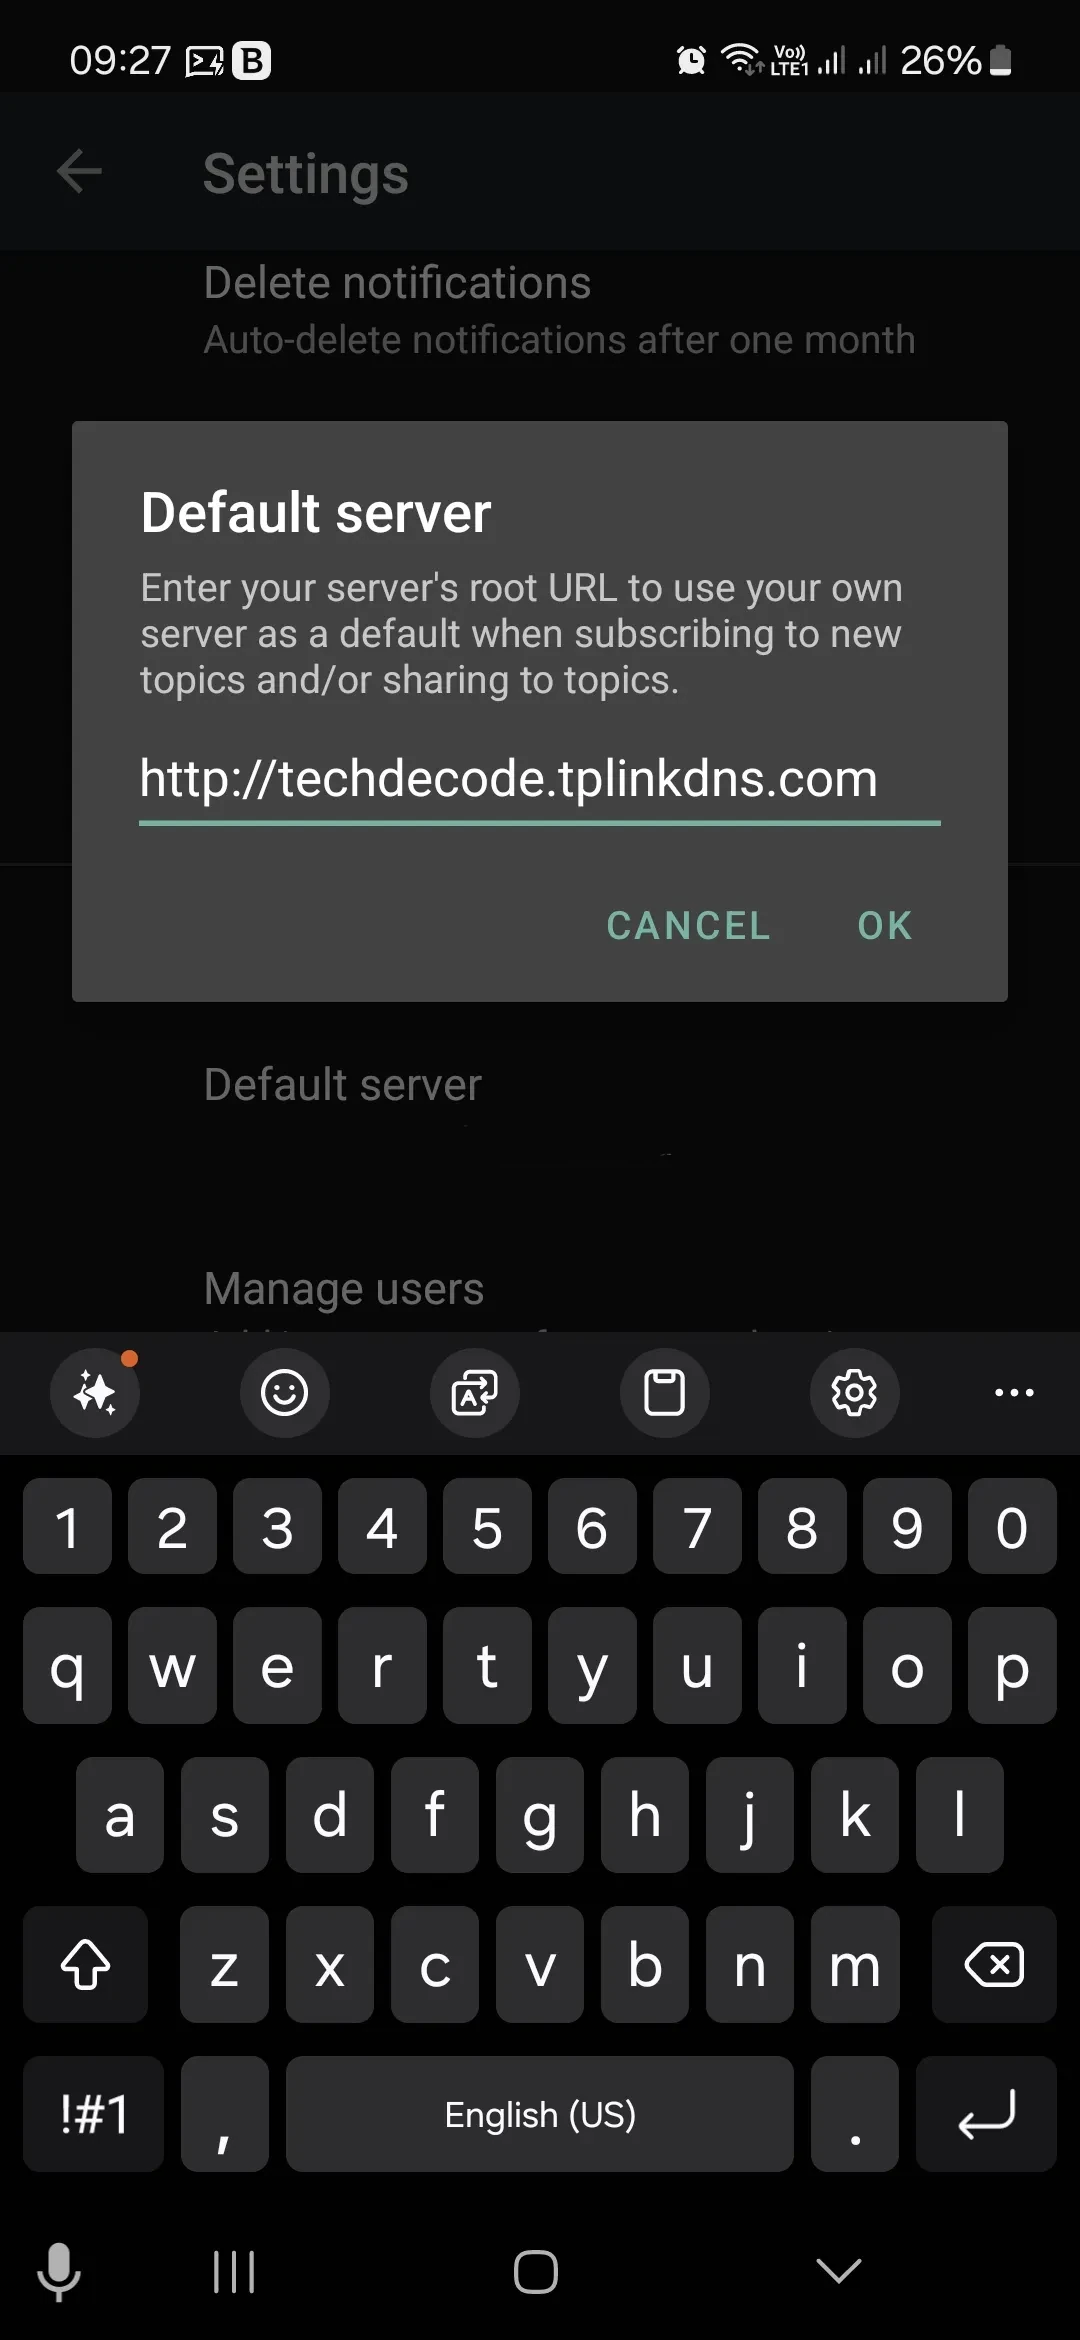
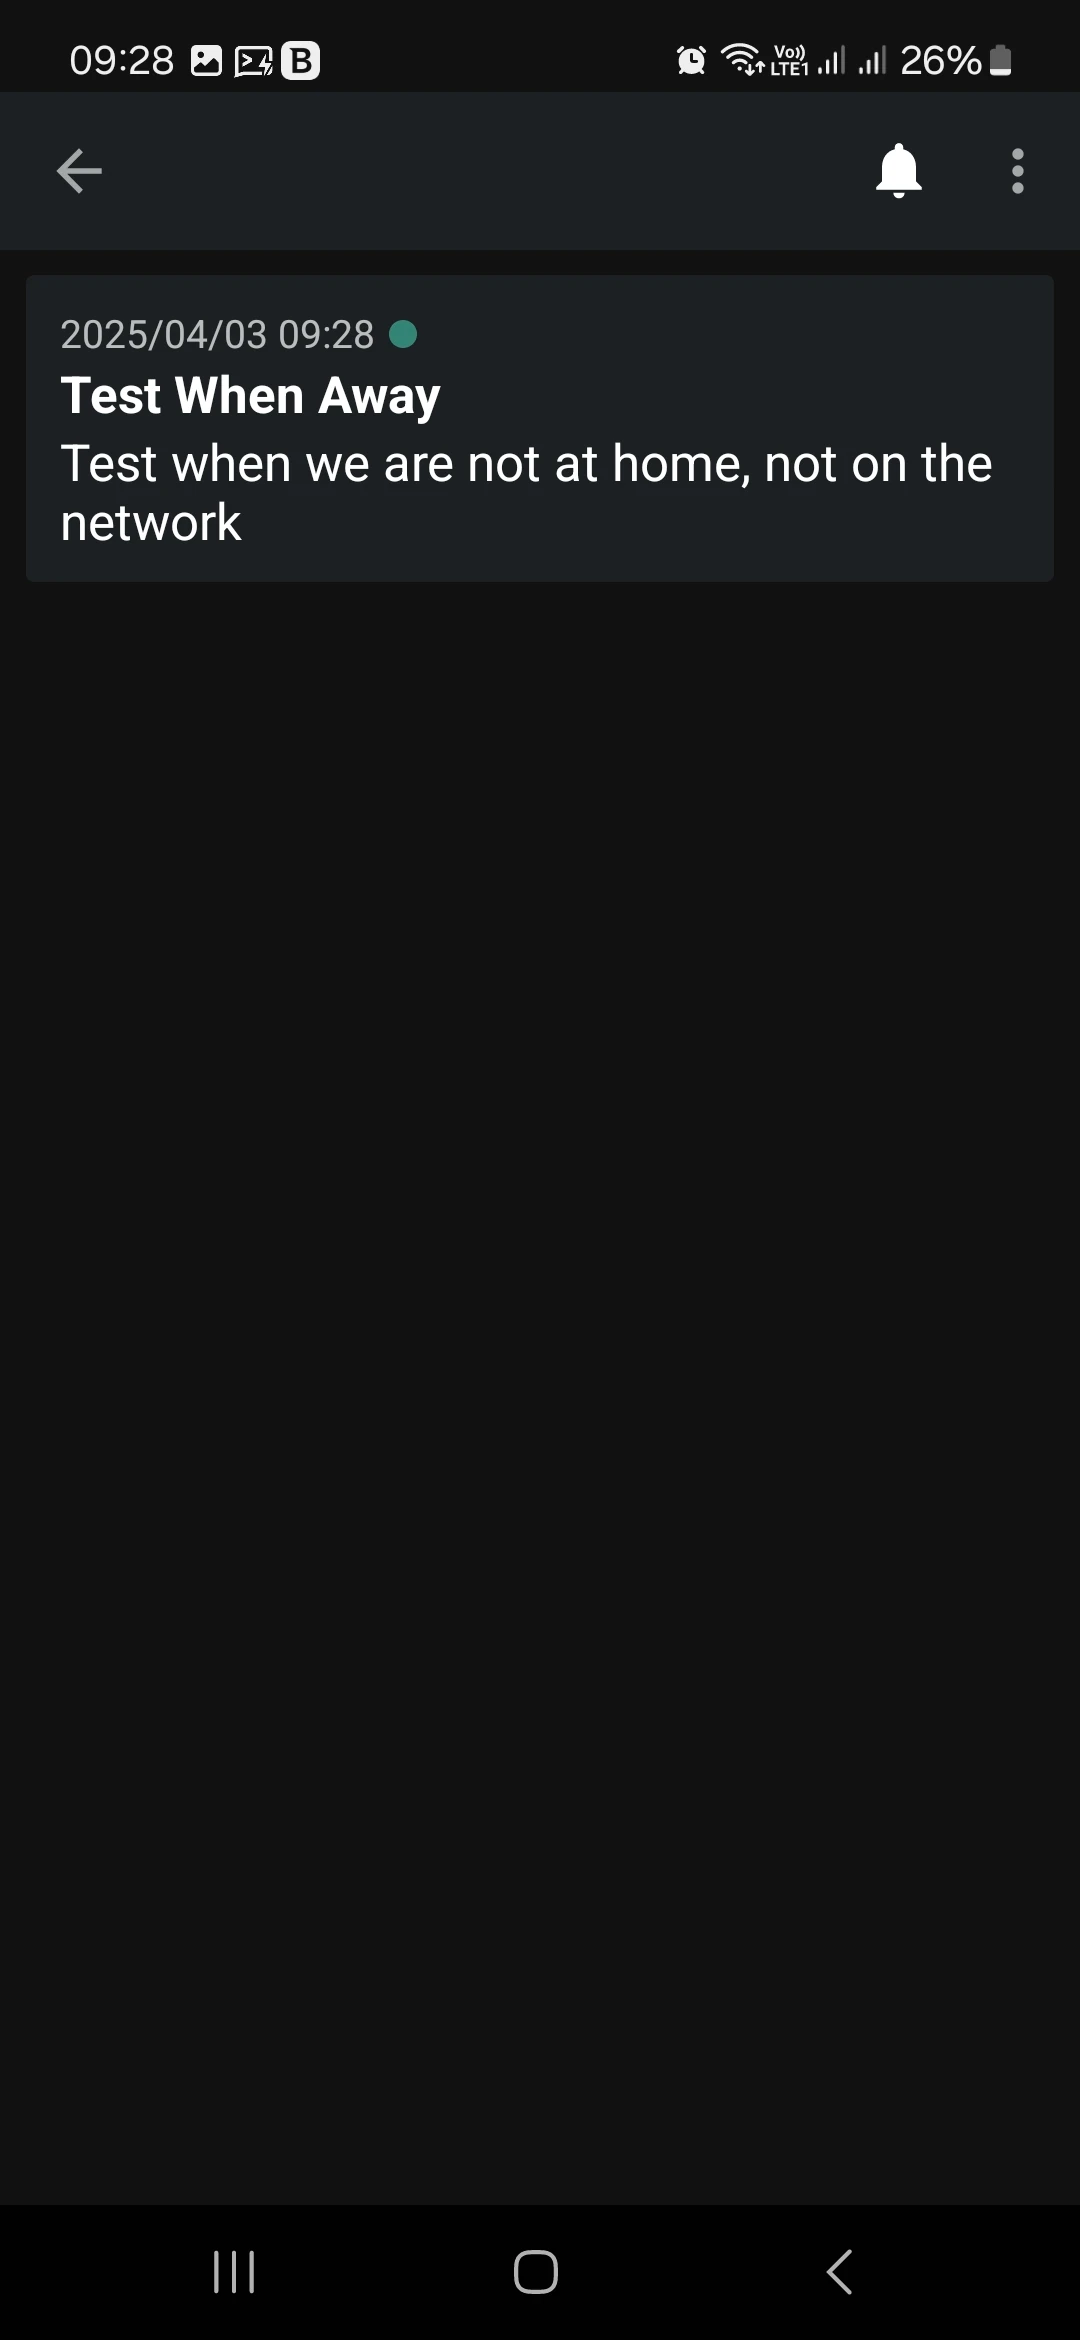
Open the ntfy app settings and follow the HTTP endpoint shown in the screenshot: http://techdecode.tplinkdns.com, replacing the hostname with yours. This time, instead of changing the default server to our LAN IP address, we are going to use the Dynamic DNS endpoint. Once that is done, we can subscribe to the same topic as we did before and send a fresh, non-sensitive test message. Keep the topic spelling identical at both ends. Part 26 will change this address to HTTPS after the certificate is installed.
Optional: Understand and Extend the Demonstrated Proxy
The two screenshot steps complete the routing test. Keep the HTTP configuration while following this stage; do not set a client URL to HTTPS before Part 26 creates a working HTTPS endpoint. The following explanations and optional settings help diagnose or extend the installation without replacing the photographed block.
Optional Backend URL, Cache and Attachments
If you need generated attachment links or explicit message persistence, inspect /etc/ntfy/server.yml inside the ntfy LXC. Merge only settings you intend to enable into the existing configuration. This example matches the current HTTP stage and an illustrative twelve-hour cache:
base-url: "http://techdecode.tplinkdns.com"
behind-proxy: true
attachment-cache-dir: "/var/cache/ntfy/attachments"
cache-file: "/var/cache/ntfy/cache.db"
cache-duration: "12h"
Use your hostname, check that the service can write the chosen directories and preserve any existing authentication settings. A persistent cache is different from an attachment directory. Restart ntfy after editing, inspect its logs and send another harmless test. At Part 26, change the same base-url to HTTPS; keep the cache and attachment settings if you enabled them.
Optional Proxy Tuning After the Basic Test
The screenshot uses client_max_body_size 0;, which disables NGINX's request-body size check. That is a valid working configuration. You may later choose a finite limit based on the uploads you need, but changing it can reject larger requests and must be considered alongside ntfy's own attachment limits. A fixed 20M value is not required by this walkthrough.
You may also add proxy_set_header X-Forwarded-Proto $scheme; to the existing location when you need to communicate the proxy-facing scheme. It is an extension to the photographed configuration. Keep one ntfy site definition, test it with nginx -t and reload after a deliberate change.
| Demonstrated setting | What it contributes |
|---|---|
| HTTP/1.1 and upgrade headers | Support WebSocket connection upgrades |
| Response buffering disabled | Lets live subscription streams reach clients promptly |
| Forwarded client address | Works with proxy-aware visitor identification |
| Three-minute proxy timeouts | Provide the demonstrated connection timeout settings; actual disconnect behavior also depends on the client and backend |
WebSocket or streaming subscriptions are different from browser background Web Push. Keep direct backend access controlled when relying on forwarded client headers. A working ordinary web page does not prove that the subscription connection remains healthy.
Optional Final Check After Parts 25 and 26
Once authentication and HTTPS are configured, test with the series' techdecode user and Test topic from Part 25. If you retained another topic, use its exact name and matching access rule. cURL prompts for the password instead of placing it in the command:
curl --fail-with-body --user techdecode \
  -H "Title: External HTTPS delivery test" \
  -H "Priority: high" \
  -d "Harmless test: verify receipt on the subscribed device." \
  https://techdecode.tplinkdns.com/Test
Replace the example hostname. Confirm both server acceptance and phone receipt, including a locked-phone test. This is a later acceptance check, not a prerequisite for the initial HTTP screenshots.
Find the Failing Network Hop
Work outward from the container. First confirm ntfy responds locally, then confirm the NGINX VM can reach it. A proxy 502 usually sends you back to backend addressing, service state or firewall access. Next verify the hostname resolves to the intended public address. Finally test over cellular data, so a successful local DNS override cannot conceal broken external routing.
If the router's WAN address sits behind another router or carrier-grade NAT, a local port-forward rule may be insufficient. Dynamic DNS updates a name; it does not create an inbound route through your ISP. Decide whether to obtain reachable addressing or use a private access method before changing more proxy settings.
When publishing works but subscriptions disconnect, inspect the specific subscription request and NGINX logs. A redirect to another hostname, a second login page in front of the API or buffered responses can affect clients differently from an ordinary web page. Keep the API's authentication usable by the client rather than assuming a successful browser login proves every endpoint works.
For failures only on home Wi-Fi, investigate local DNS and NAT loopback. For failures only while the phone is locked, review client background settings and the platform-specific push path. Record the symptom, client, timestamp and status code. That evidence is more useful than replacing a working proxy configuration with another large example.
Conclusion
The screenshot steps demonstrate an external HTTP route to ntfy. Continue to Part 25 to configure access control, then Part 26 to install HTTPS and update the subscriptions. Prepare authentication from the LXC console and use a trusted private path for any interim tests; finish HTTPS before sending credentials publicly. Keep the optional tuning separate from the demonstrated configuration.