
The earlier router VPN guide used OpenVPN. Here we install Headscale in a Proxmox LXC for a different approach: official Tailscale clients coordinate through a self-hosted control server and use WireGuard for encrypted device traffic. Headscale is the coordination service, not a replacement name for the Tailscale client and not automatically a gateway to your entire LAN.
Step 1: Get the Headscale Installer Script
We are going to use the amazing Proxmox VE Community Scripts again for our script to get an LXC Container up and running that contains Headscale. On helper-scripts, search for Headscale. There should only be one search result. Read through it and get the command ready to run.
bash -c "$(curl -fsSL https://raw.githubusercontent.com/community-scripts/ProxmoxVE/main/ct/headscale.sh)"Headscale and the Tailscale client have different jobs. You can run a client on a machine that needs to join the network without hosting the coordination service there. Choose where to place the control server based on availability, backup and network reachability. Hosting it in a separate LXC provides a clear service boundary; it does not by itself configure remote access.
The helper command downloads and executes code on the Proxmox host. Read the current script and its installation notes before running it, and check the selected storage and networking. The screenshots document the original installation workflow. Follow those steps for the demonstrated setup; use the supplementary version and maintenance notes if your installer or release differs. The official Headscale package installation is an alternative when you want to manage the steps individually.

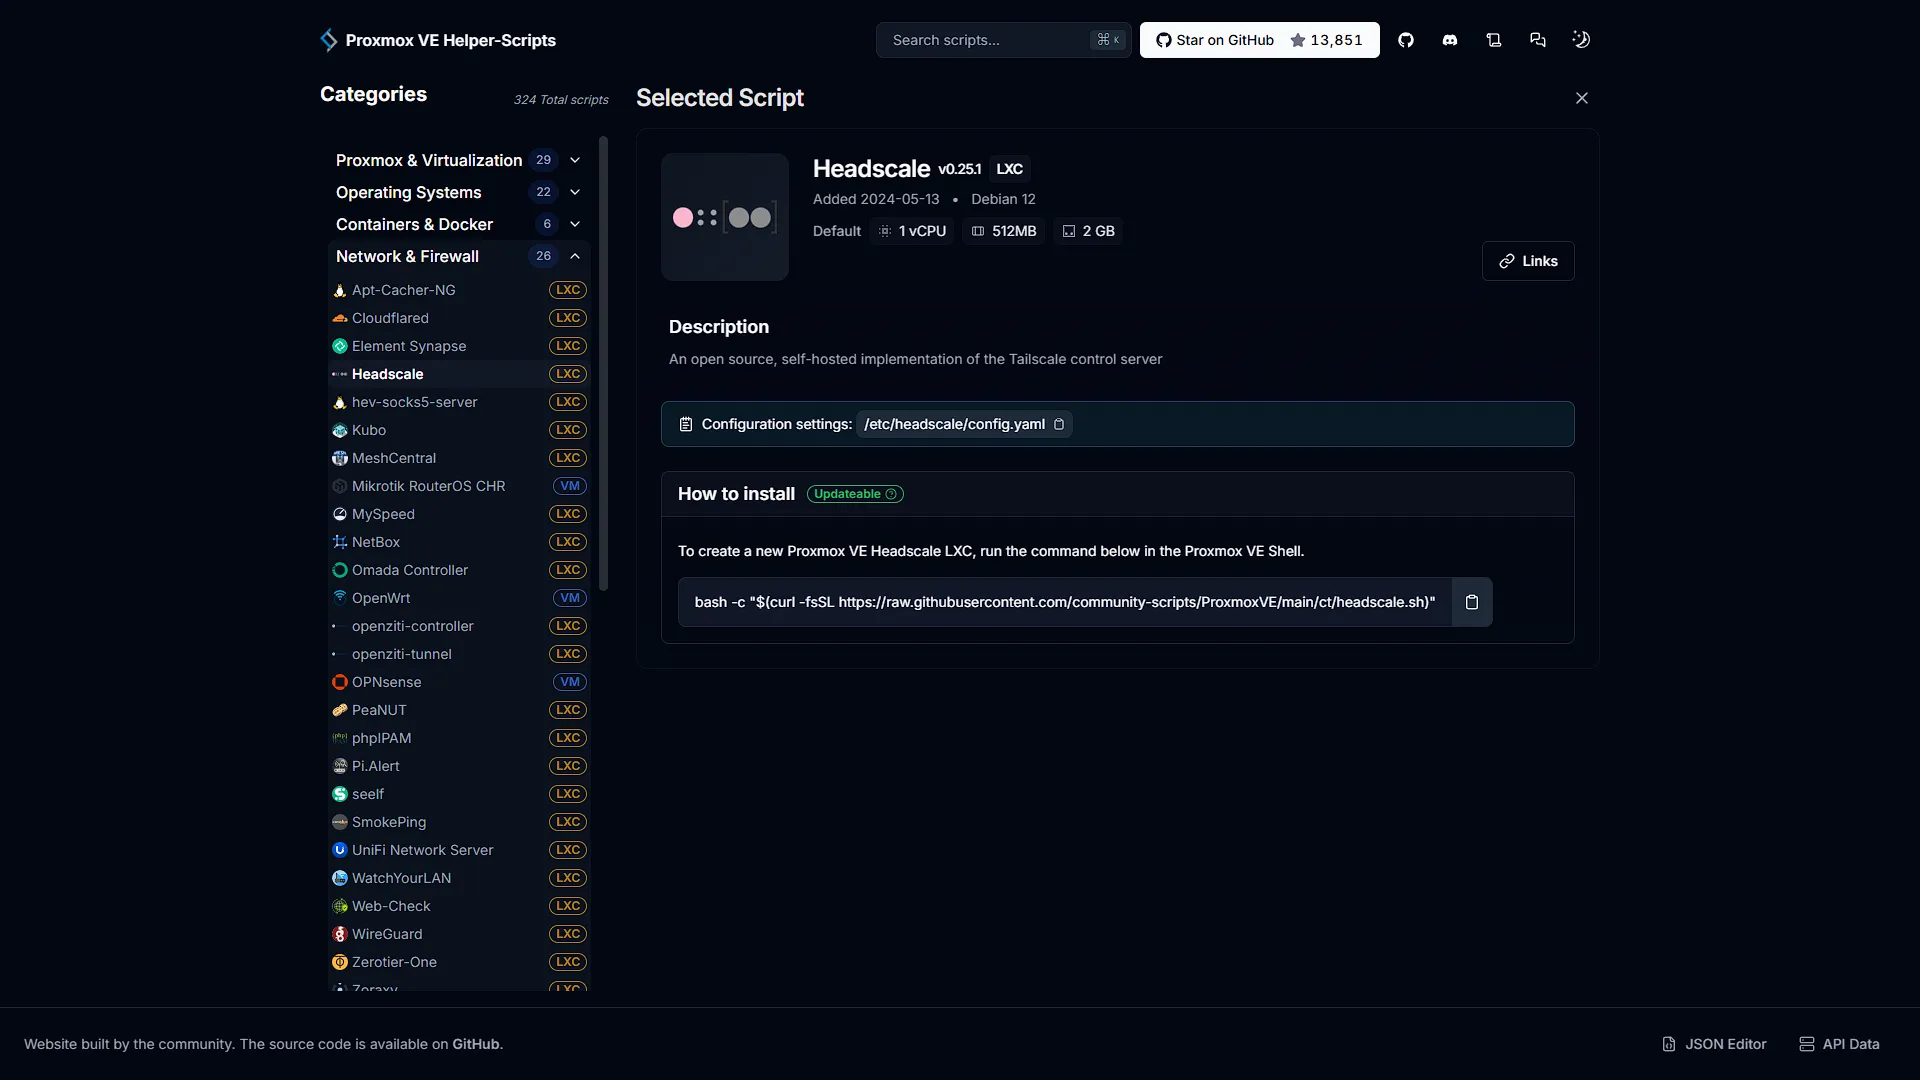
Step 2: Install a new Headscale LXC
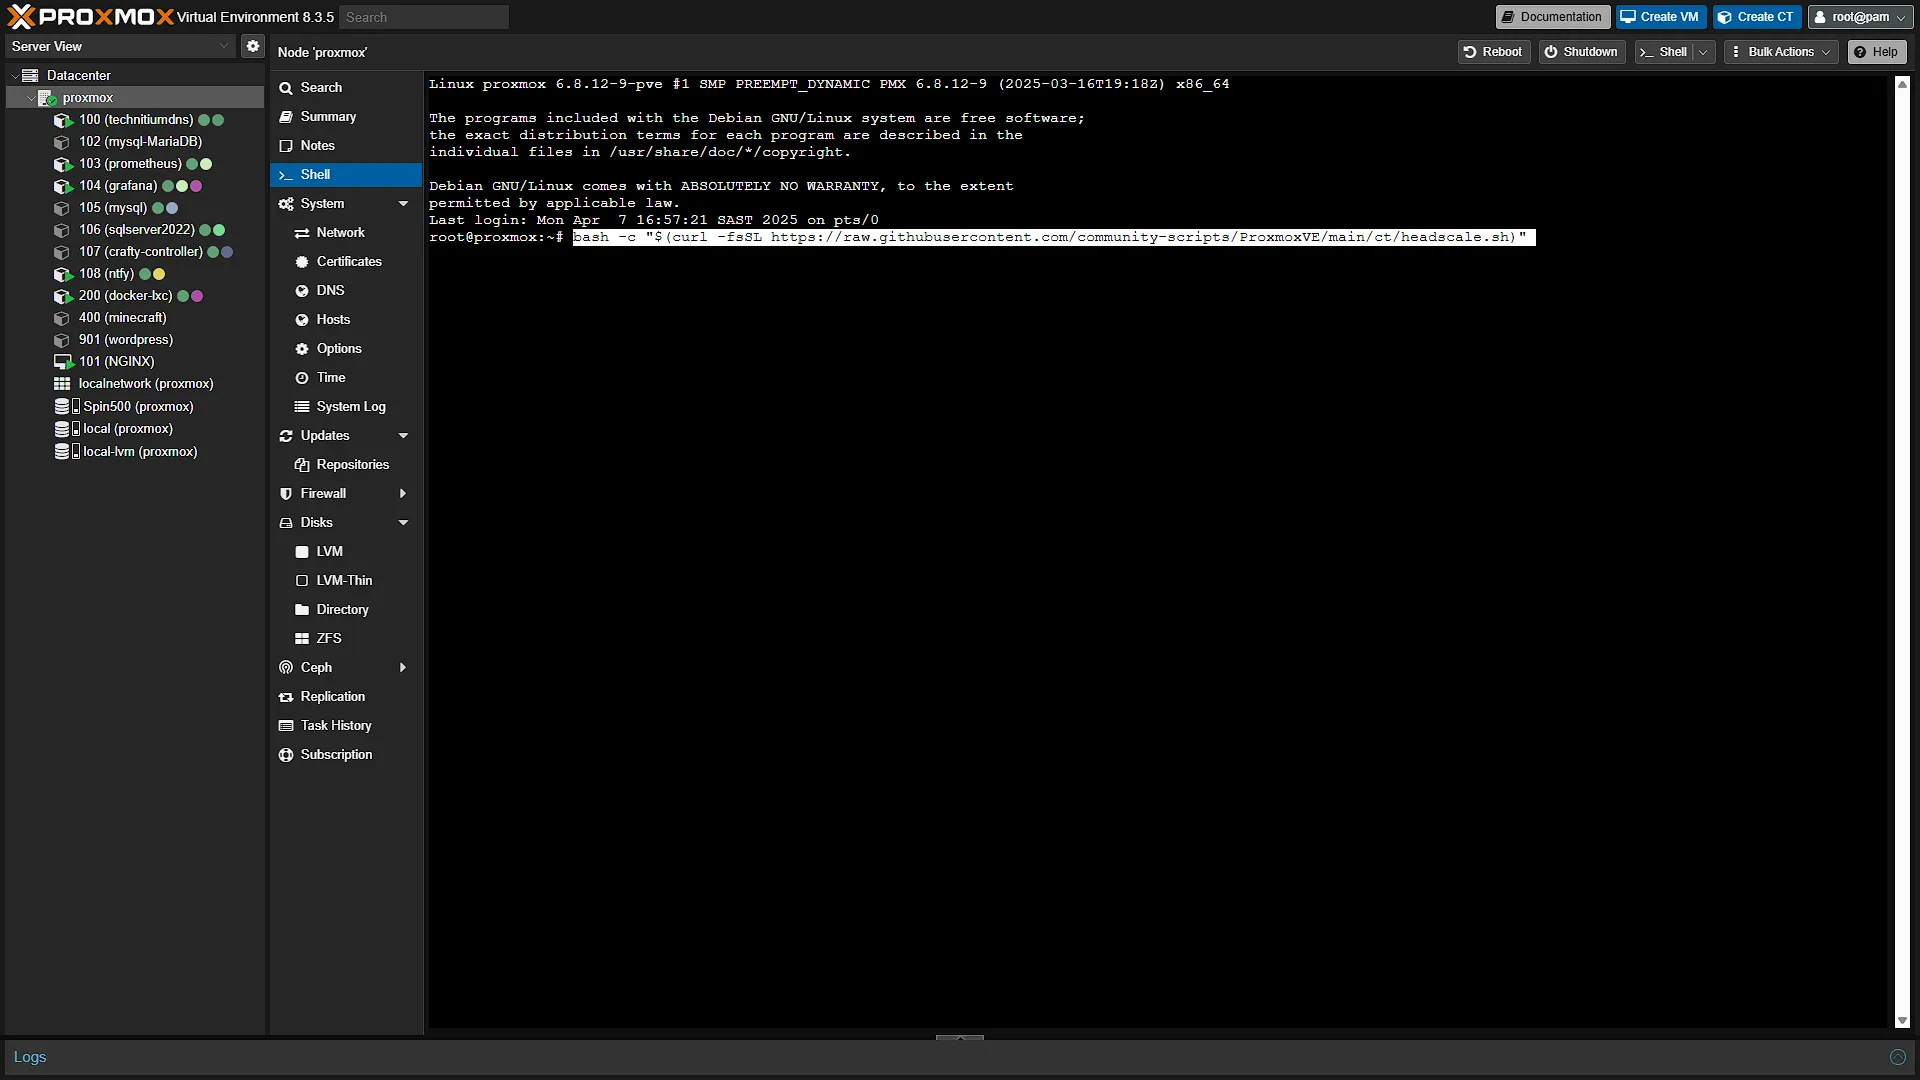
Now that we have the command to install a new instance, open a new browser window and navigate to your Proxmox. Log in and in the left navigation pane expand Datacenter. Select the Proxmox node you want to install Headscale on and in the middle navigation pane, select  . Paste the command and press enter.
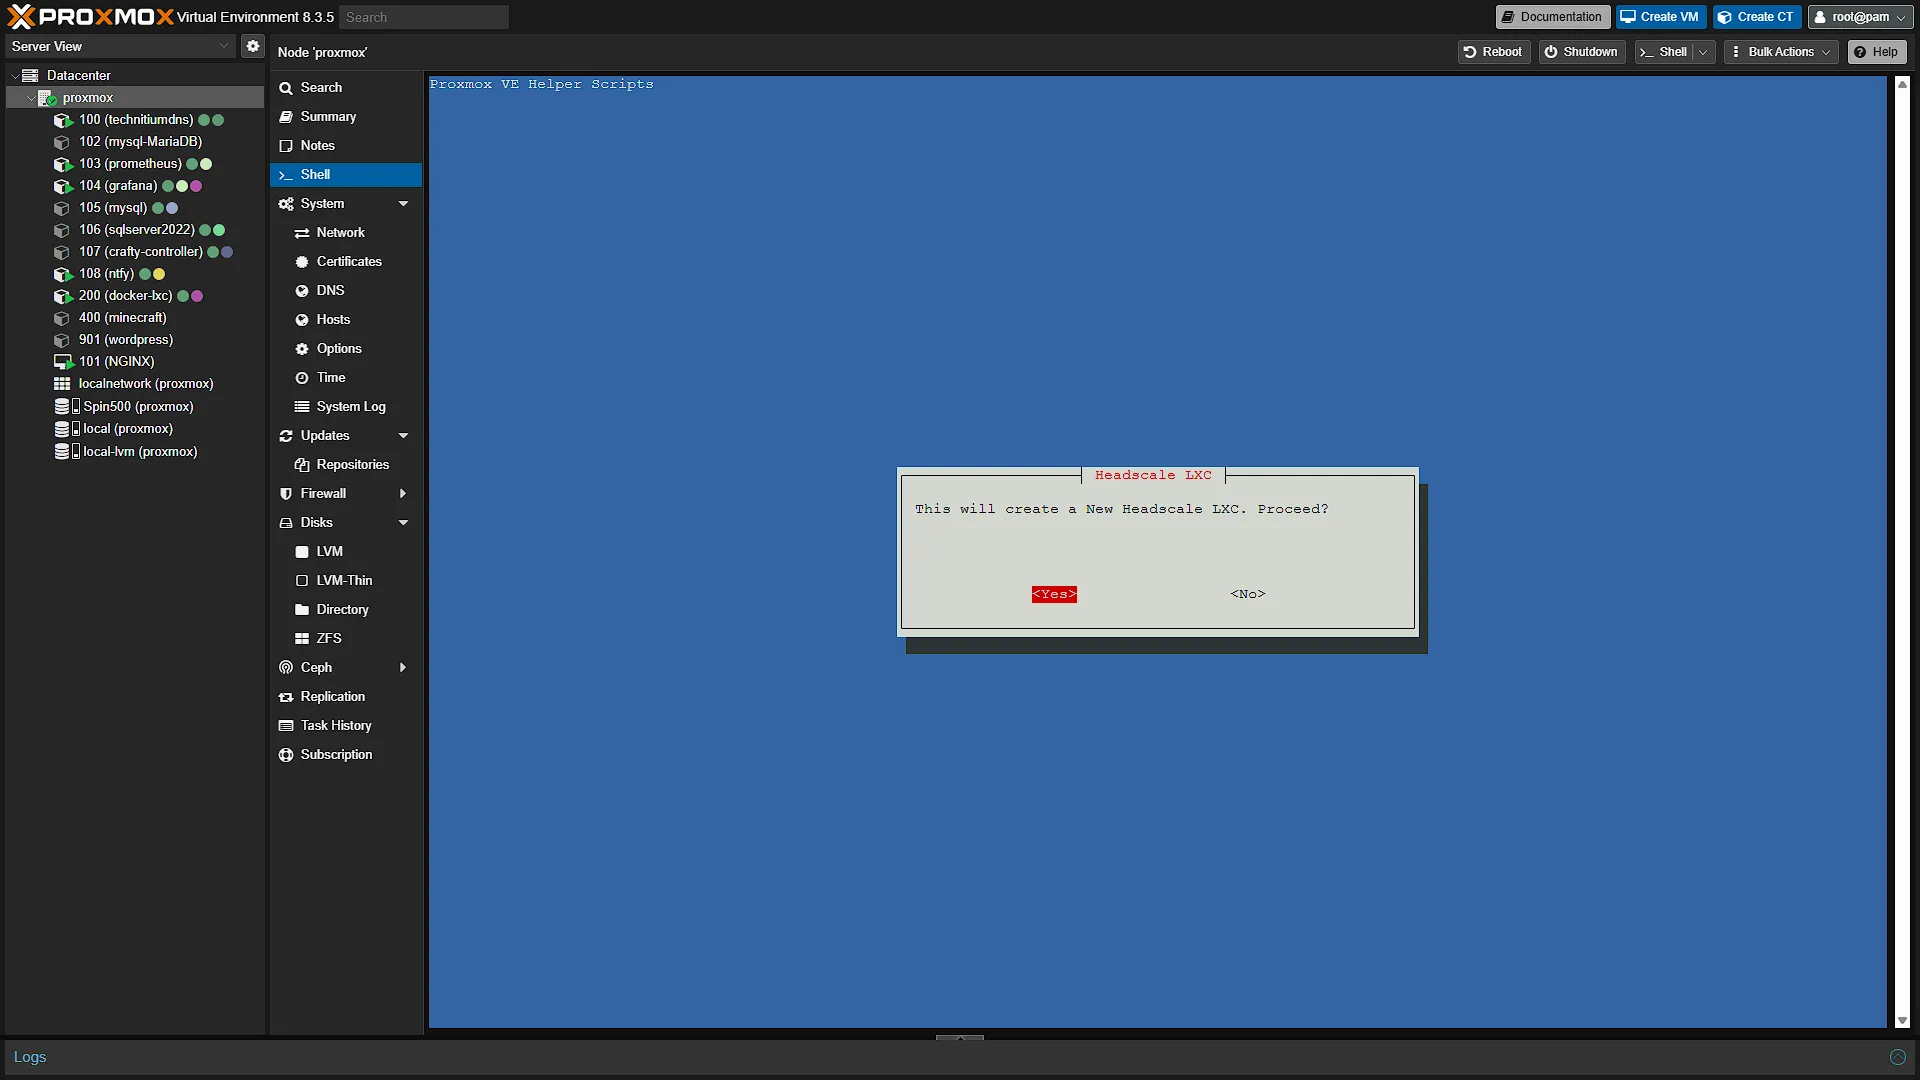
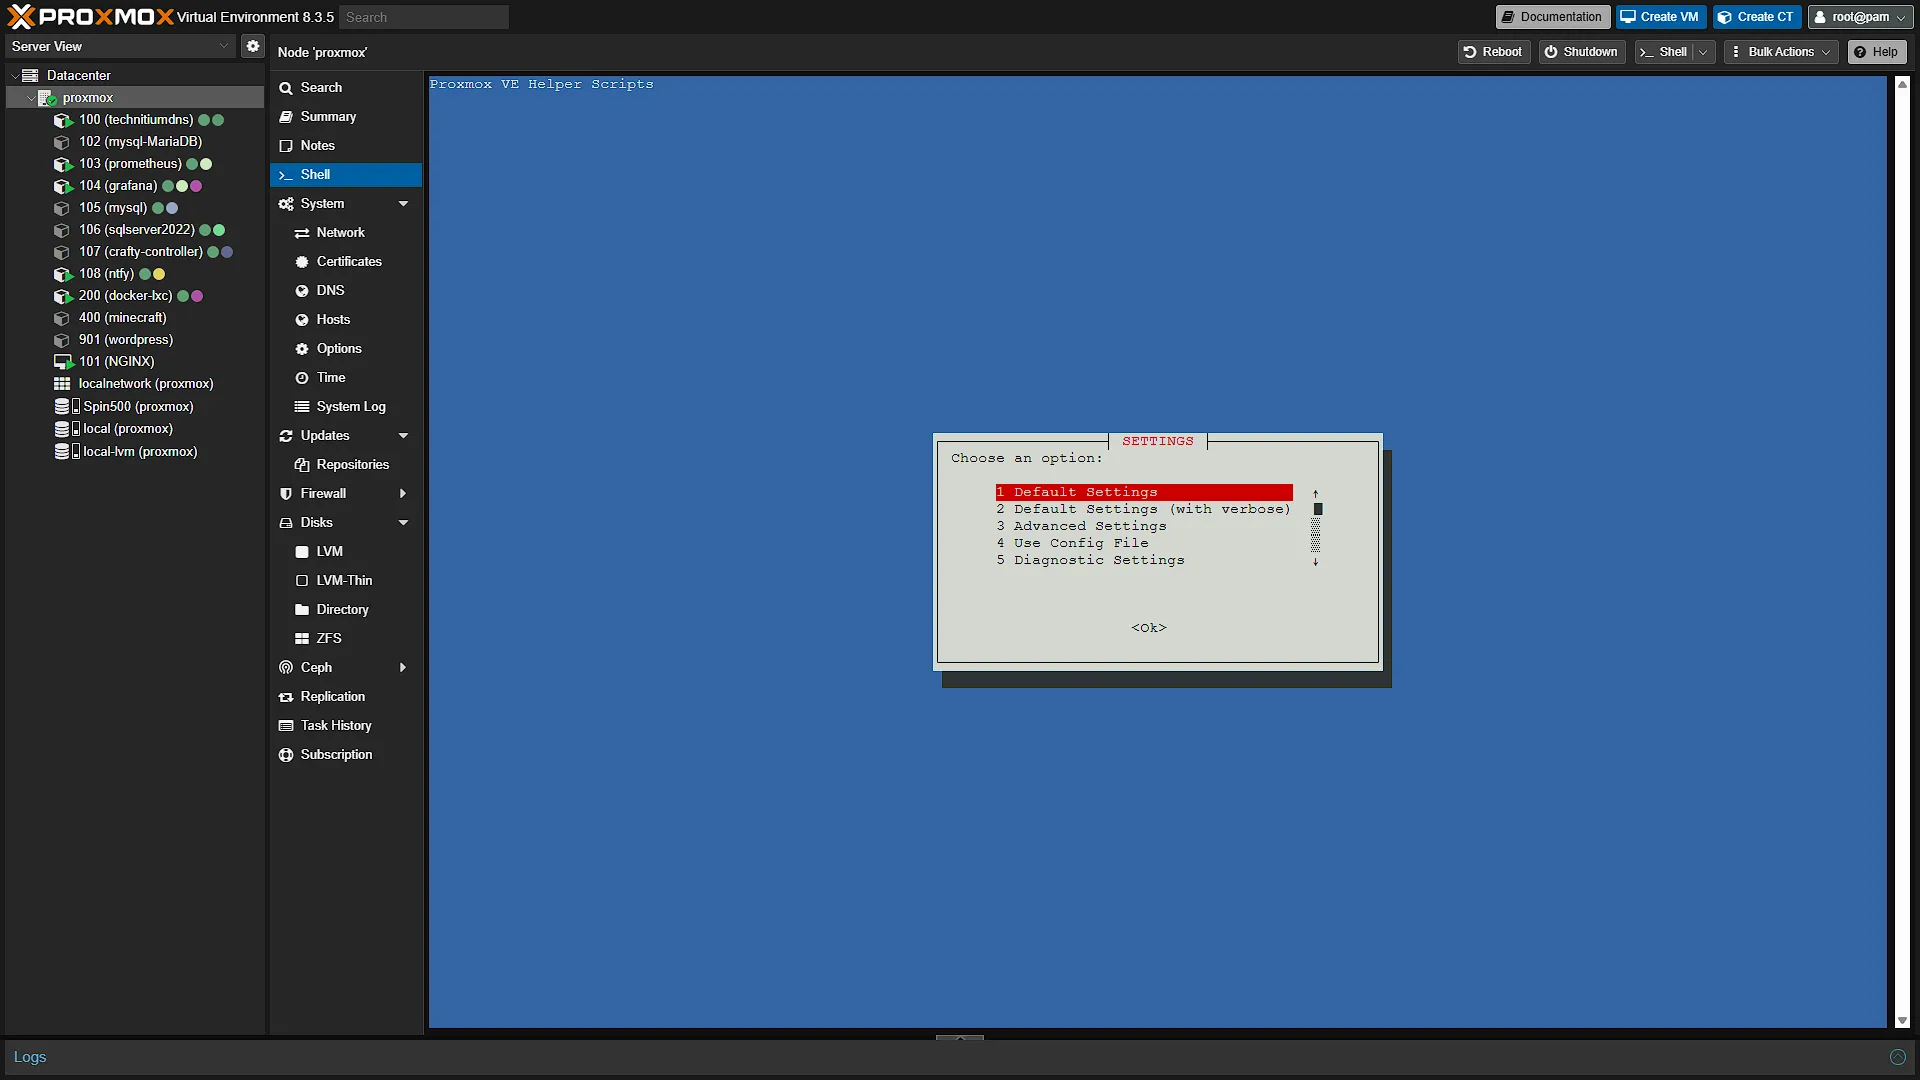
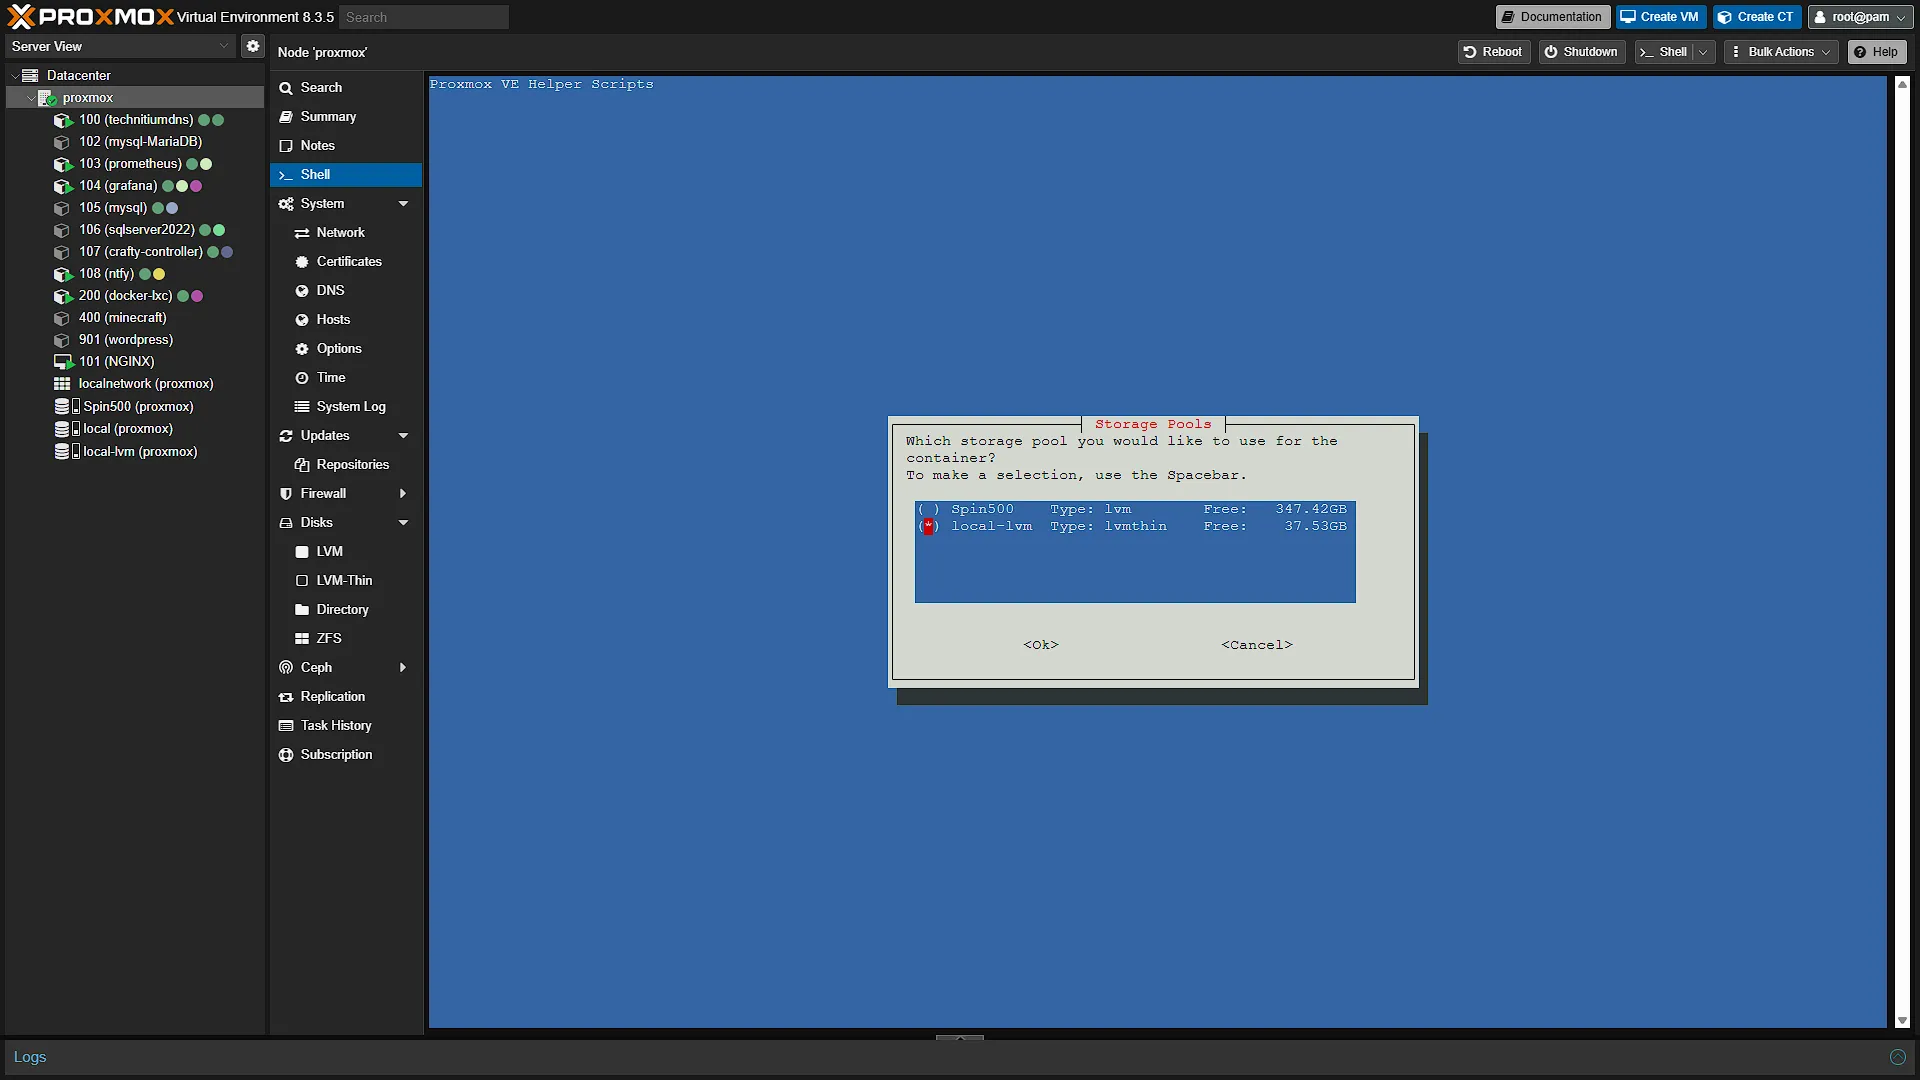
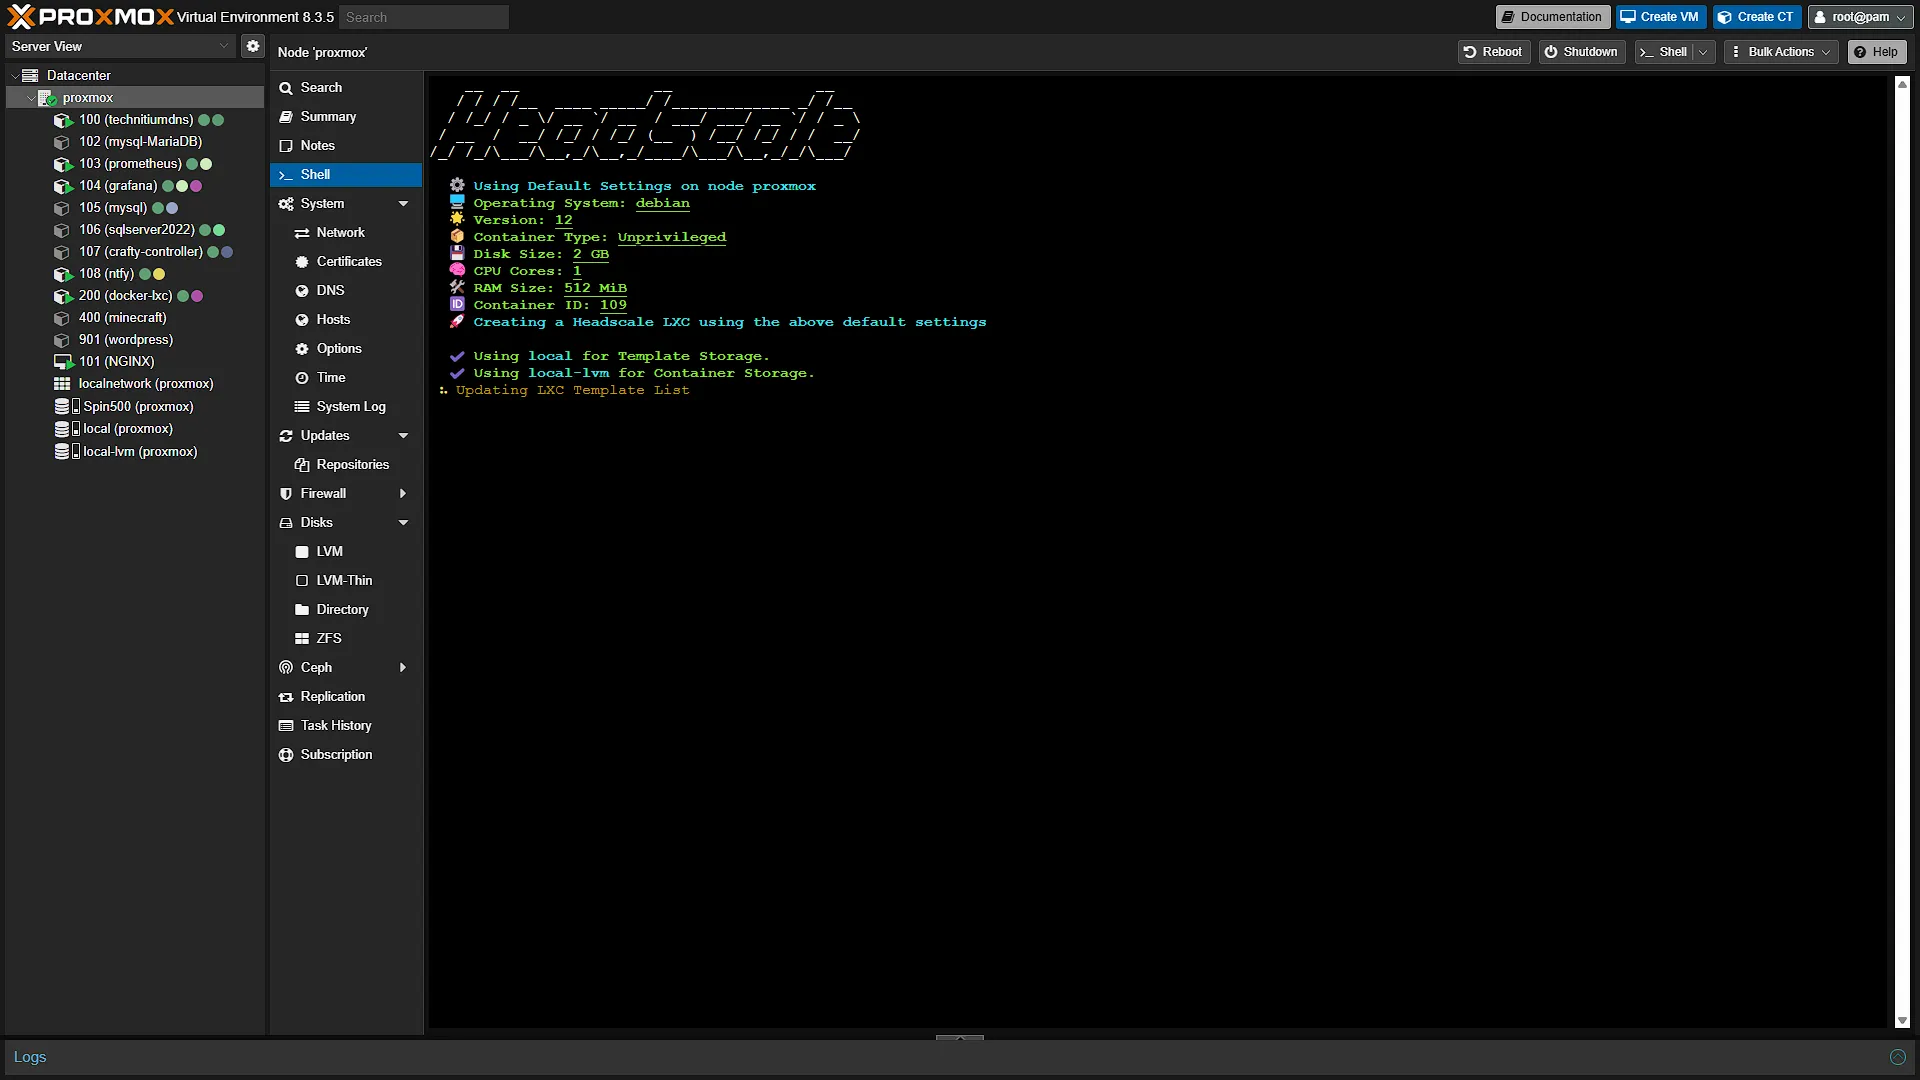
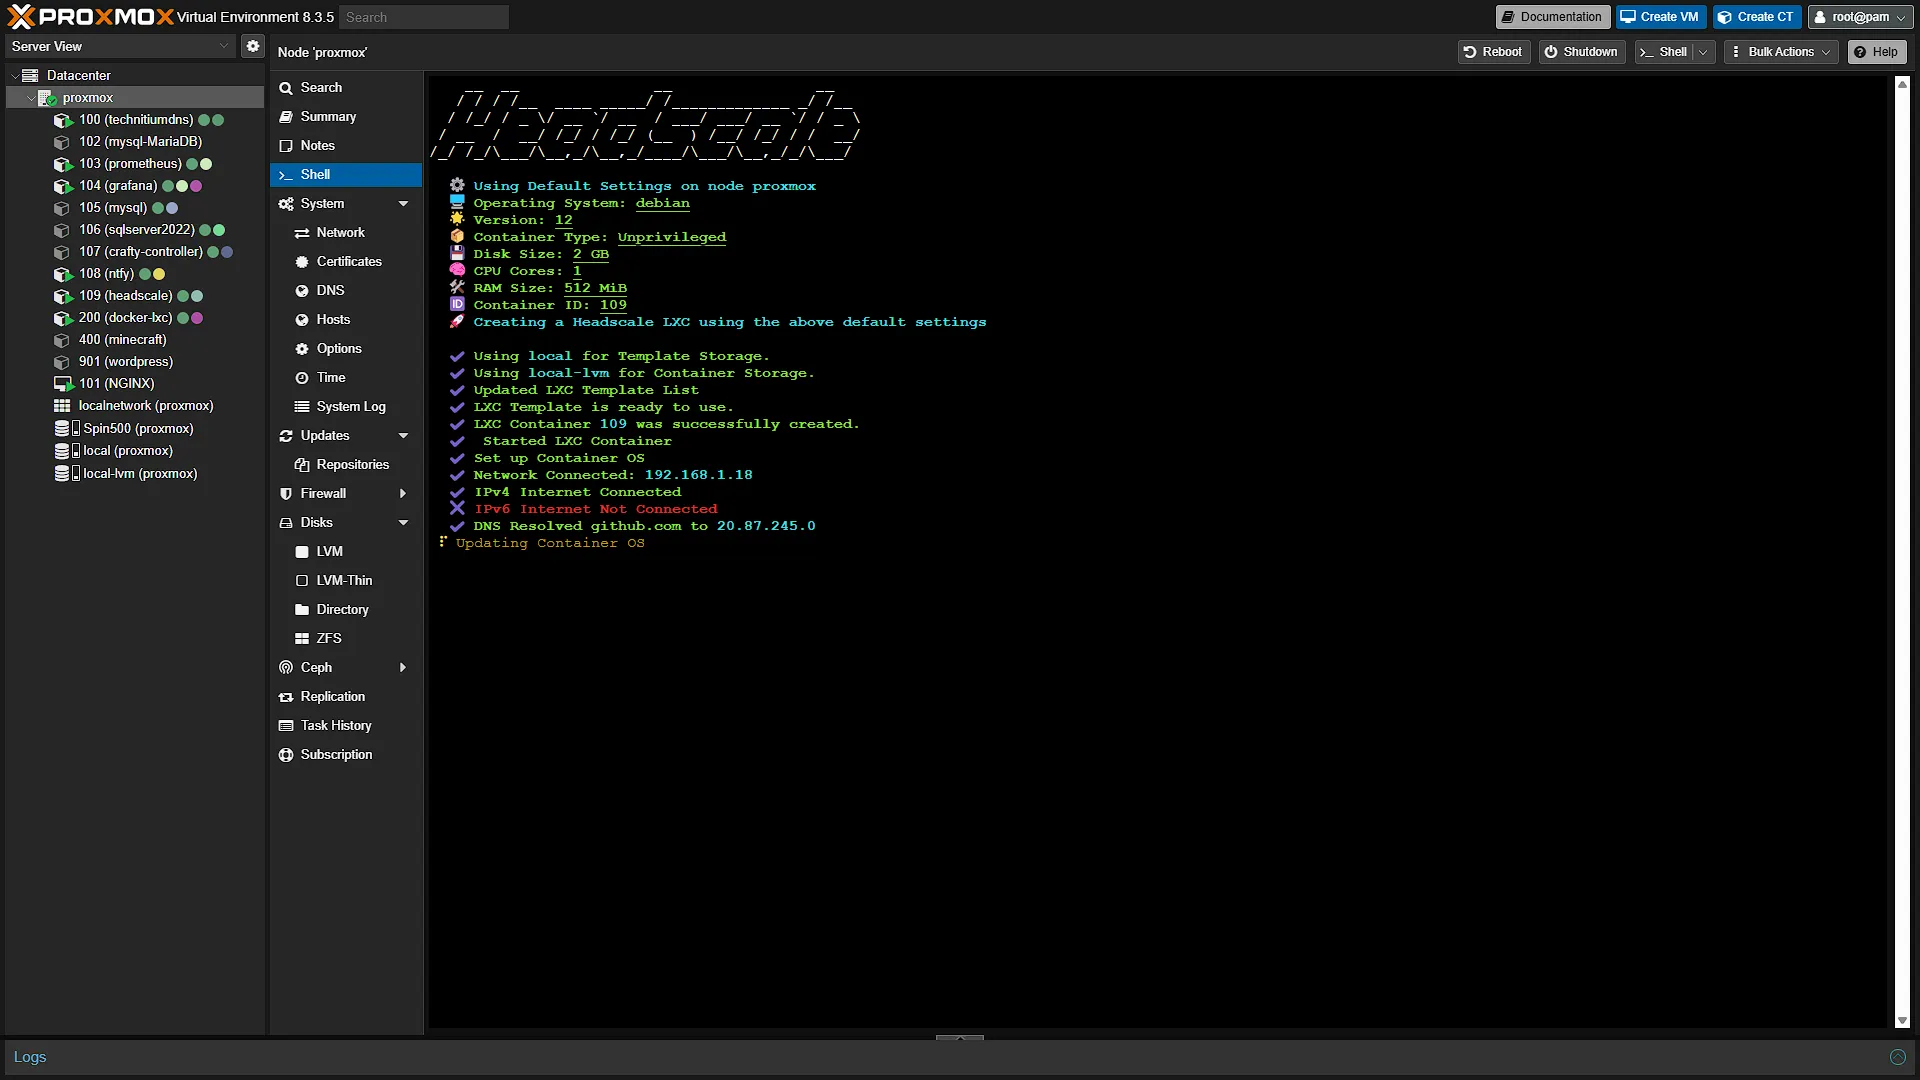
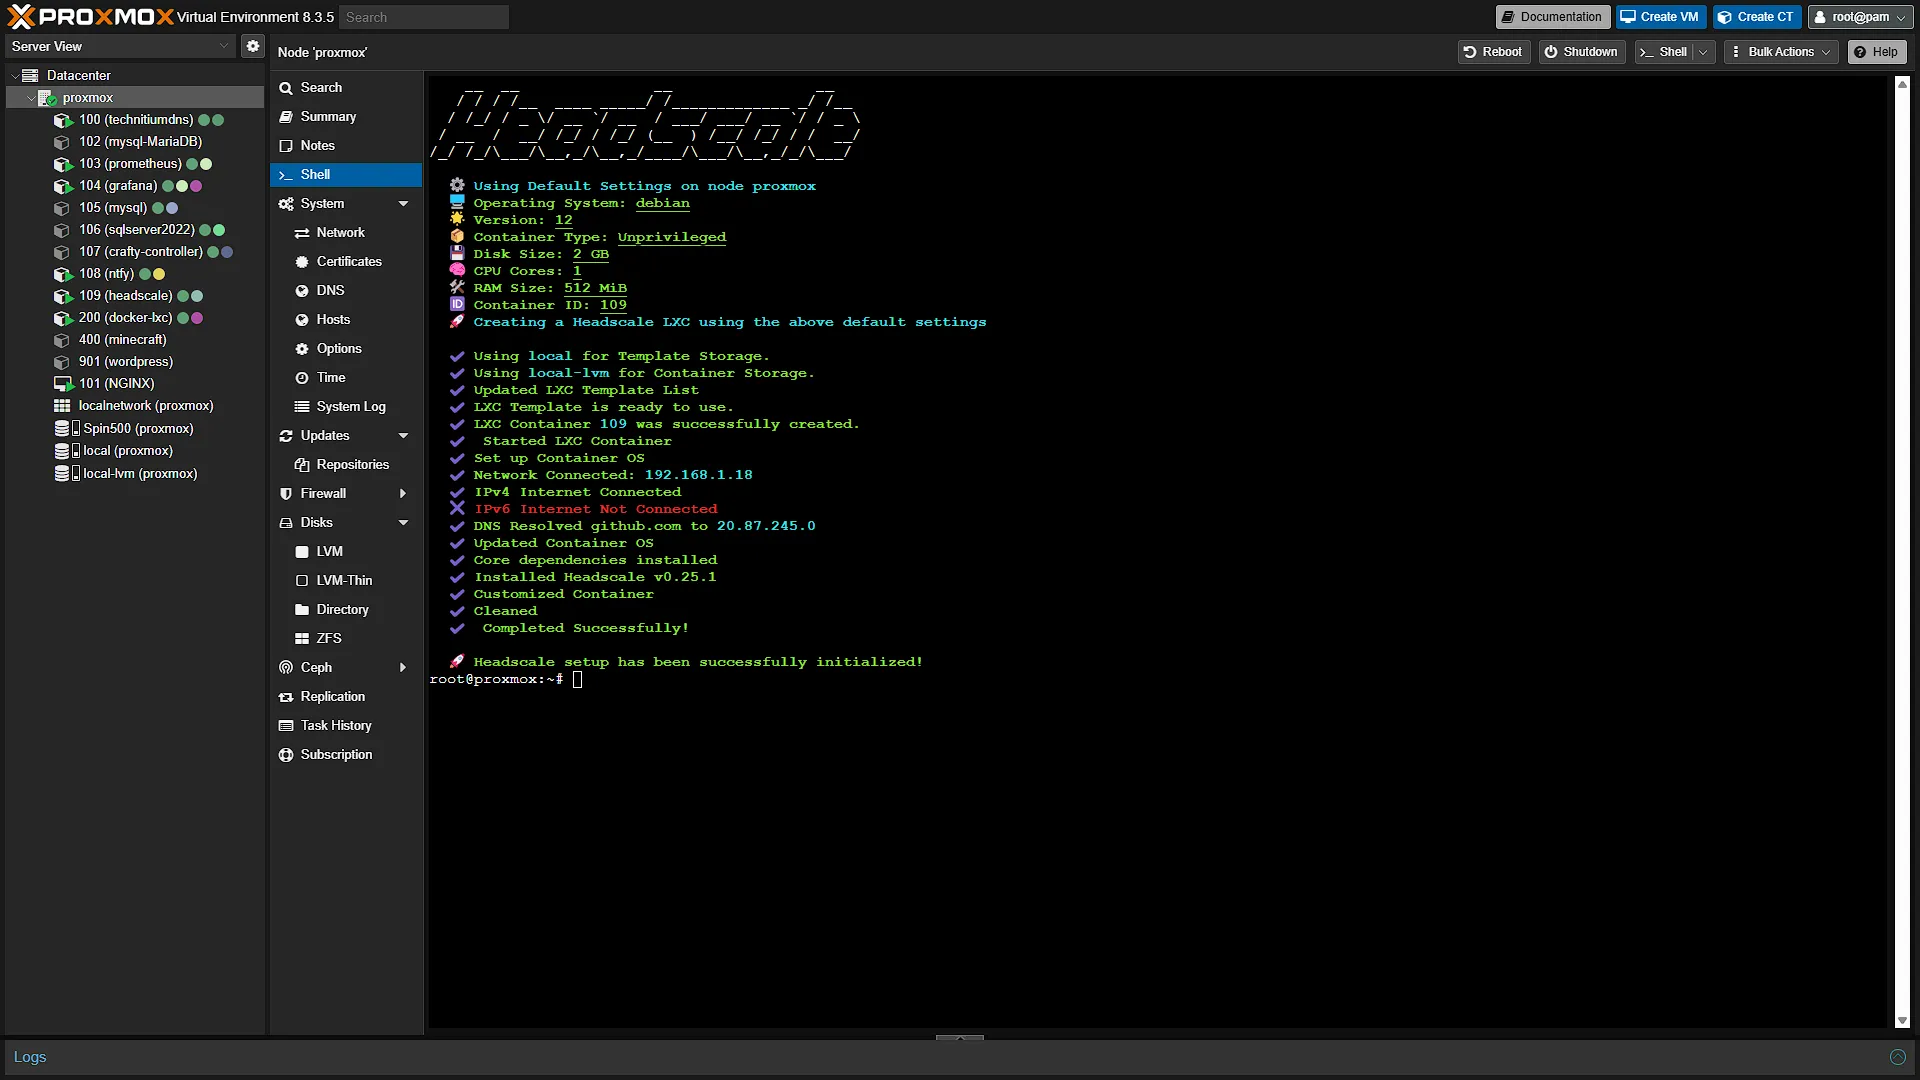
bash -c "$(curl -fsSL https://raw.githubusercontent.com/community-scripts/ProxmoxVE/main/ct/headscale.sh)"The install will start. The first screen will just be a prompt to confirm that we want to install Headscale. Select yes and continue. The next will be a selection of settings. We are happy with the default settings, so we are selecting that and continuing. Feel free to select the custom settings option if you want to change any settings. If you have multiple disks, the next prompt will ask you to select a location where to install Headscale. Select a disk and continue. Installation will now start and should complete fairly quickly.
If you want, configure either your router's address reservation or in the settings on the newly created LXC so that this Headscale server has a static IP address. We are going to need it to keep the same IP address for our configuration section.
Configuration is a bit trickier than a normal container or VM we have installed previously, so we are going to dedicate an entire article to it.
After Installation: Understand Coordination and Device Traffic
The two screenshot steps above install the container. The following explanations and maintenance checks are supplementary; the next required series stage is Part 32's configuration walkthrough. Do not add routing or enroll clients here simply because the concepts appear below.
Headscale keeps track of enrolled identities and nodes, distributes network information and supplies policy to clients. The clients establish encrypted WireGuard connections and enforce the resulting traffic policy. Managing the control service is therefore different from managing a traditional VPN server through which all application traffic must flow.
| Layer | Role | Operational consequence |
|---|---|---|
| Control server | Registration, network maps and policy distribution | Needs a stable URL, protected state and administrator access |
| Client connections | Carry encrypted application traffic between nodes | Each device needs a compatible client and allowed routes/services |
| DERP relays | Relay encrypted traffic when direct connectivity is unavailable | Relay availability and placement can affect performance |
| Subnet router or exit node | Provides explicitly configured forwarding beyond ordinary peer access | Requires route advertisement, approval, forwarding and policy |
Understand the Server's Trust Boundary
The coordination service is not the normal plaintext path for peer application traffic. A direct connection is preferred where available; a DERP path carries encrypted packets. An embedded relay may share the server host, so “traffic never passes through this machine” would be misleading. Protect the control host anyway: its identity records, policy and administrative credentials are security-sensitive.
Inspect the Installed Service
Check the actual package and service layout rather than assuming an idle-memory figure or a fixed boot time. Standard installations commonly use /etc/headscale/ for configuration and /var/lib/headscale/ for state. Confirm the configured database location and service permissions in your container.
headscale version
systemctl status headscale --no-pager
ls -lh /etc/headscale/ /var/lib/headscale/
journalctl -u headscale -n 50 --no-pager
An active service is a useful first check, but it does not prove clients can register from outside the LAN. Read startup logs for configuration errors and use the example configuration supplied for your installed version. Do not mix a current binary with an old configuration copied from another tutorial.
Plan Reachability Before Client Enrollment
Write down the container address, public hostname, reverse proxy and intended HTTPS endpoint. A roaming client needs to reach that endpoint to coordinate and register. A LAN-only URL will not work from mobile data without some other access route. If your ISP uses carrier-grade NAT, ordinary inbound forwarding may not make a home-hosted control endpoint publicly reachable; solve that hosting or routing problem first.
Keep administrative and metrics interfaces private. Publishing the coordination endpoint does not mean every listening service on the LXC should be internet-accessible. If you enable an embedded DERP server, review its additional requirements separately instead of treating the basic HTTPS proxy as a complete relay deployment.
Decide the first access policy before enrolling personal devices. For example, a phone may need one dashboard rather than every port on every server. Record which node will eventually provide LAN subnet routing and which addresses should be reachable through it. This makes the later configuration and connection articles easier to follow without granting broad access as a troubleshooting shortcut.
Back Up and Upgrade the Control Service
Back up configuration, policy, database and relevant key material together, using a consistent database backup or a planned service stop. Record the installed Headscale version with the backup. Keep a protected copy outside the same Proxmox host so a failed disk does not remove both the service and its recovery data.
Test restoration in an isolated environment that cannot compete with the real coordination hostname. Check that the restored service starts and its users and nodes are present. A Proxmox snapshot is useful for a controlled change but does not replace an independent, restorable backup. Avoid restoring stale identity state into production without understanding its effect on enrolled clients.
Read release and upgrade notes before updating. Headscale documents supported upgrade steps, and some transitions require sequential versions. Check client compatibility too. Save the working configuration, make one planned change and repeat the initial acceptance checks. You gain control by self-hosting, along with responsibility for that upgrade and recovery process.
Installation Acceptance Check
Before moving on, confirm the LXC retains its intended address after restart, the service starts automatically, its logs are free of startup errors and the state directories are writable only as intended. Note where you will test public HTTPS in the configuration stage. These observations are more useful than assuming a successful helper-script completion means the VPN is ready.
Conclusion
The original helper workflow has installed the Headscale LXC and given it a stable address. Continue to Part 32 to configure the service and proxy, Part 33 to enroll the Android client and Part 34 to configure the demonstrated routing node. Keep the architecture and recovery notes as background for those practical steps.