Building a homelab is one of the most rewarding journeys you can embark on if you’re passionate about technology, learning, and/or experimentation. Homelabs can also replace some paid services with software you host yourself. And that is our intention with the Build your own homelab series, but if you are not careful, hardware, electricity and maintenance can cost substantially more than the cloud services you replace. Whether you’re a seasoned professional or just starting out, a homelab provides a personal playground to test out new skills, software, and network configurations. But let's first define what constitutes a homelab, and take it from there.
What Is a Homelab?
A homelab is essentially a personal computing environment where you set up servers, networking equipment, storage devices, and sometimes even virtualization or container environments to experiment with various IT configurations. Homelabs can range from a single machine running multiple virtual servers to a multi-node system closely mimicking enterprise infrastructures. They provide the freedom to try out new technologies—like virtualization, operating system experiments, and network security setups—in an environment you can keep separate from important services, making them a useful tool for lifelong learning and hobbyist tinkering. A lab connected to your everyday network still needs boundaries and backups.
Why Build a Homelab?
- Learning and Experimentation: Develop hands-on experience with software deployments, network configuration, server management, and more while keeping experiments separate from your work and production systems.
- Skill Development: Enhance your troubleshooting abilities, scripting prowess, and knowledge of cloud and local infrastructure.
- Portfolio Building: For IT professionals, a homelab can serve as a demonstration of your skills, making it a valuable asset for job interviews or consulting roles.
- Cost Efficiency: Many homelab builds start with repurposed hardware or low-cost solutions, making it an affordable way to explore enterprise-grade technology at home.
Starting Out: Essential Tips for Your First Homelab
1. Define Your Goals
Before you start purchasing hardware or setting up virtual machines, consider what you want to achieve. Do you want to learn about virtualization, network security, containerization, or something else entirely? Your goals will determine your hardware choices and the scale of your lab.
2. Start Small and Scale Gradually
It’s easy to get carried away with all the cool things you can do, but begin with a modest setup. Many successful homelab enthusiasts started with a single server or a modest desktop setup, gradually adding components and complexity over time.
3. Embrace Virtualization
Virtualization technologies like VMware, Proxmox, or VirtualBox allow you to run multiple operating systems and simulate networked environments without needing a separate physical machine for each. This approach saves space, energy, and money while letting you experiment freely.
4. Prioritize Networking
A robust homelab isn’t just about servers—it’s also about connectivity. Invest in a good router, switches, and, if possible, dedicated hardware for network management. A well-structured network setup will make troubleshooting and learning far more efficient.
5. Documentation and Organization
Document your lab setup, including configurations, network topologies, and changes over time. This habit not only helps you track what works (and what doesn’t) but also becomes invaluable when troubleshooting issues later on.
Things I Wish I Knew Sooner
- Plan for Power and Cooling:
“I wish I had considered the power draw and heat output sooner.” Efficient cooling and an adequate power supply are as important as the hardware itself. Ensure your lab space is well-ventilated and that you’re using energy responsibly. - Security First:
“Never underestimate the importance of security!” Even in a homelab environment, securing your network and devices is critical. Use strong passwords, update your firmware, and consider segmenting your lab from your personal network. - Budget Realities:
“Hardware costs can add up quickly.” Set a realistic budget and remember that upgrades are incremental. Consider refurbished or second-hand equipment where feasible—just be sure to test thoroughly. - Software Licensing:
“Don’t get caught off guard by licensing limitations.” Many enterprise tools offer free tiers for homelabs, but always review the licensing terms to ensure you’re compliant with any usage restrictions. - Don’t Expect Perfection:
“Failures are inevitable and part of the learning process.” Mistakes in configuration or unexpected downtime are valuable opportunities for troubleshooting and improvement. - Community is Your Friend:
“I wish I had joined homelab communities sooner.” Join forums, Reddit groups, or local meet-ups to exchange ideas, get help, and share your experiences. The collective wisdom of the community is an invaluable resource. - Backup and Redundancy:
“I learned the hard way that backups are essential.” Always back up your configurations and critical data, and try to implement redundant systems where practical, even if it starts with a basic snapshot or replication setup. Those help with particular failures, but a snapshot on the same disk or a replica that also receives a mistaken deletion is not an independent backup.
Encouragement and Next Steps
Embarking on your homelab journey might seem overwhelming at first, but remember: every expert started as a beginner. Each misstep is a lesson that brings you closer to mastering your environment. Celebrate the small victories—each solved configuration problem, every new software deployed successfully, and every innovative experiment that expands your knowledge.
- Keep Experimenting:
Technology evolves rapidly. Use your homelab as a sandbox to stay current with trends like container orchestration, automation tools (Ansible, Puppet), and cutting-edge security practices. - Document Your Progress:
Blogging about your homelab journey is not only a great way to solidify your learning but also to inspire others in the community. Share your successes, failures, and “aha” moments—the path to proficiency is built on shared knowledge. - Take Breaks and Reflect:
It’s important to step back and analyze what you’ve built before diving into the next project. Reflection helps avoid repeated mistakes and sets the stage for more thoughtful and sustainable growth.
Warnings and Considerations
- Energy Consumption and Noise:
Running multiple machines can lead to increased electricity bills and noise—especially if you’re using older hardware. Consider energy-efficient components and think about the physical comfort of your setup space. - Security Risks:
A homelab can be a target for hackers if not properly secured, particularly if some services are accessible from the internet. Always secure your systems and keep a vigilant eye on network activity. - Overcomplexity:
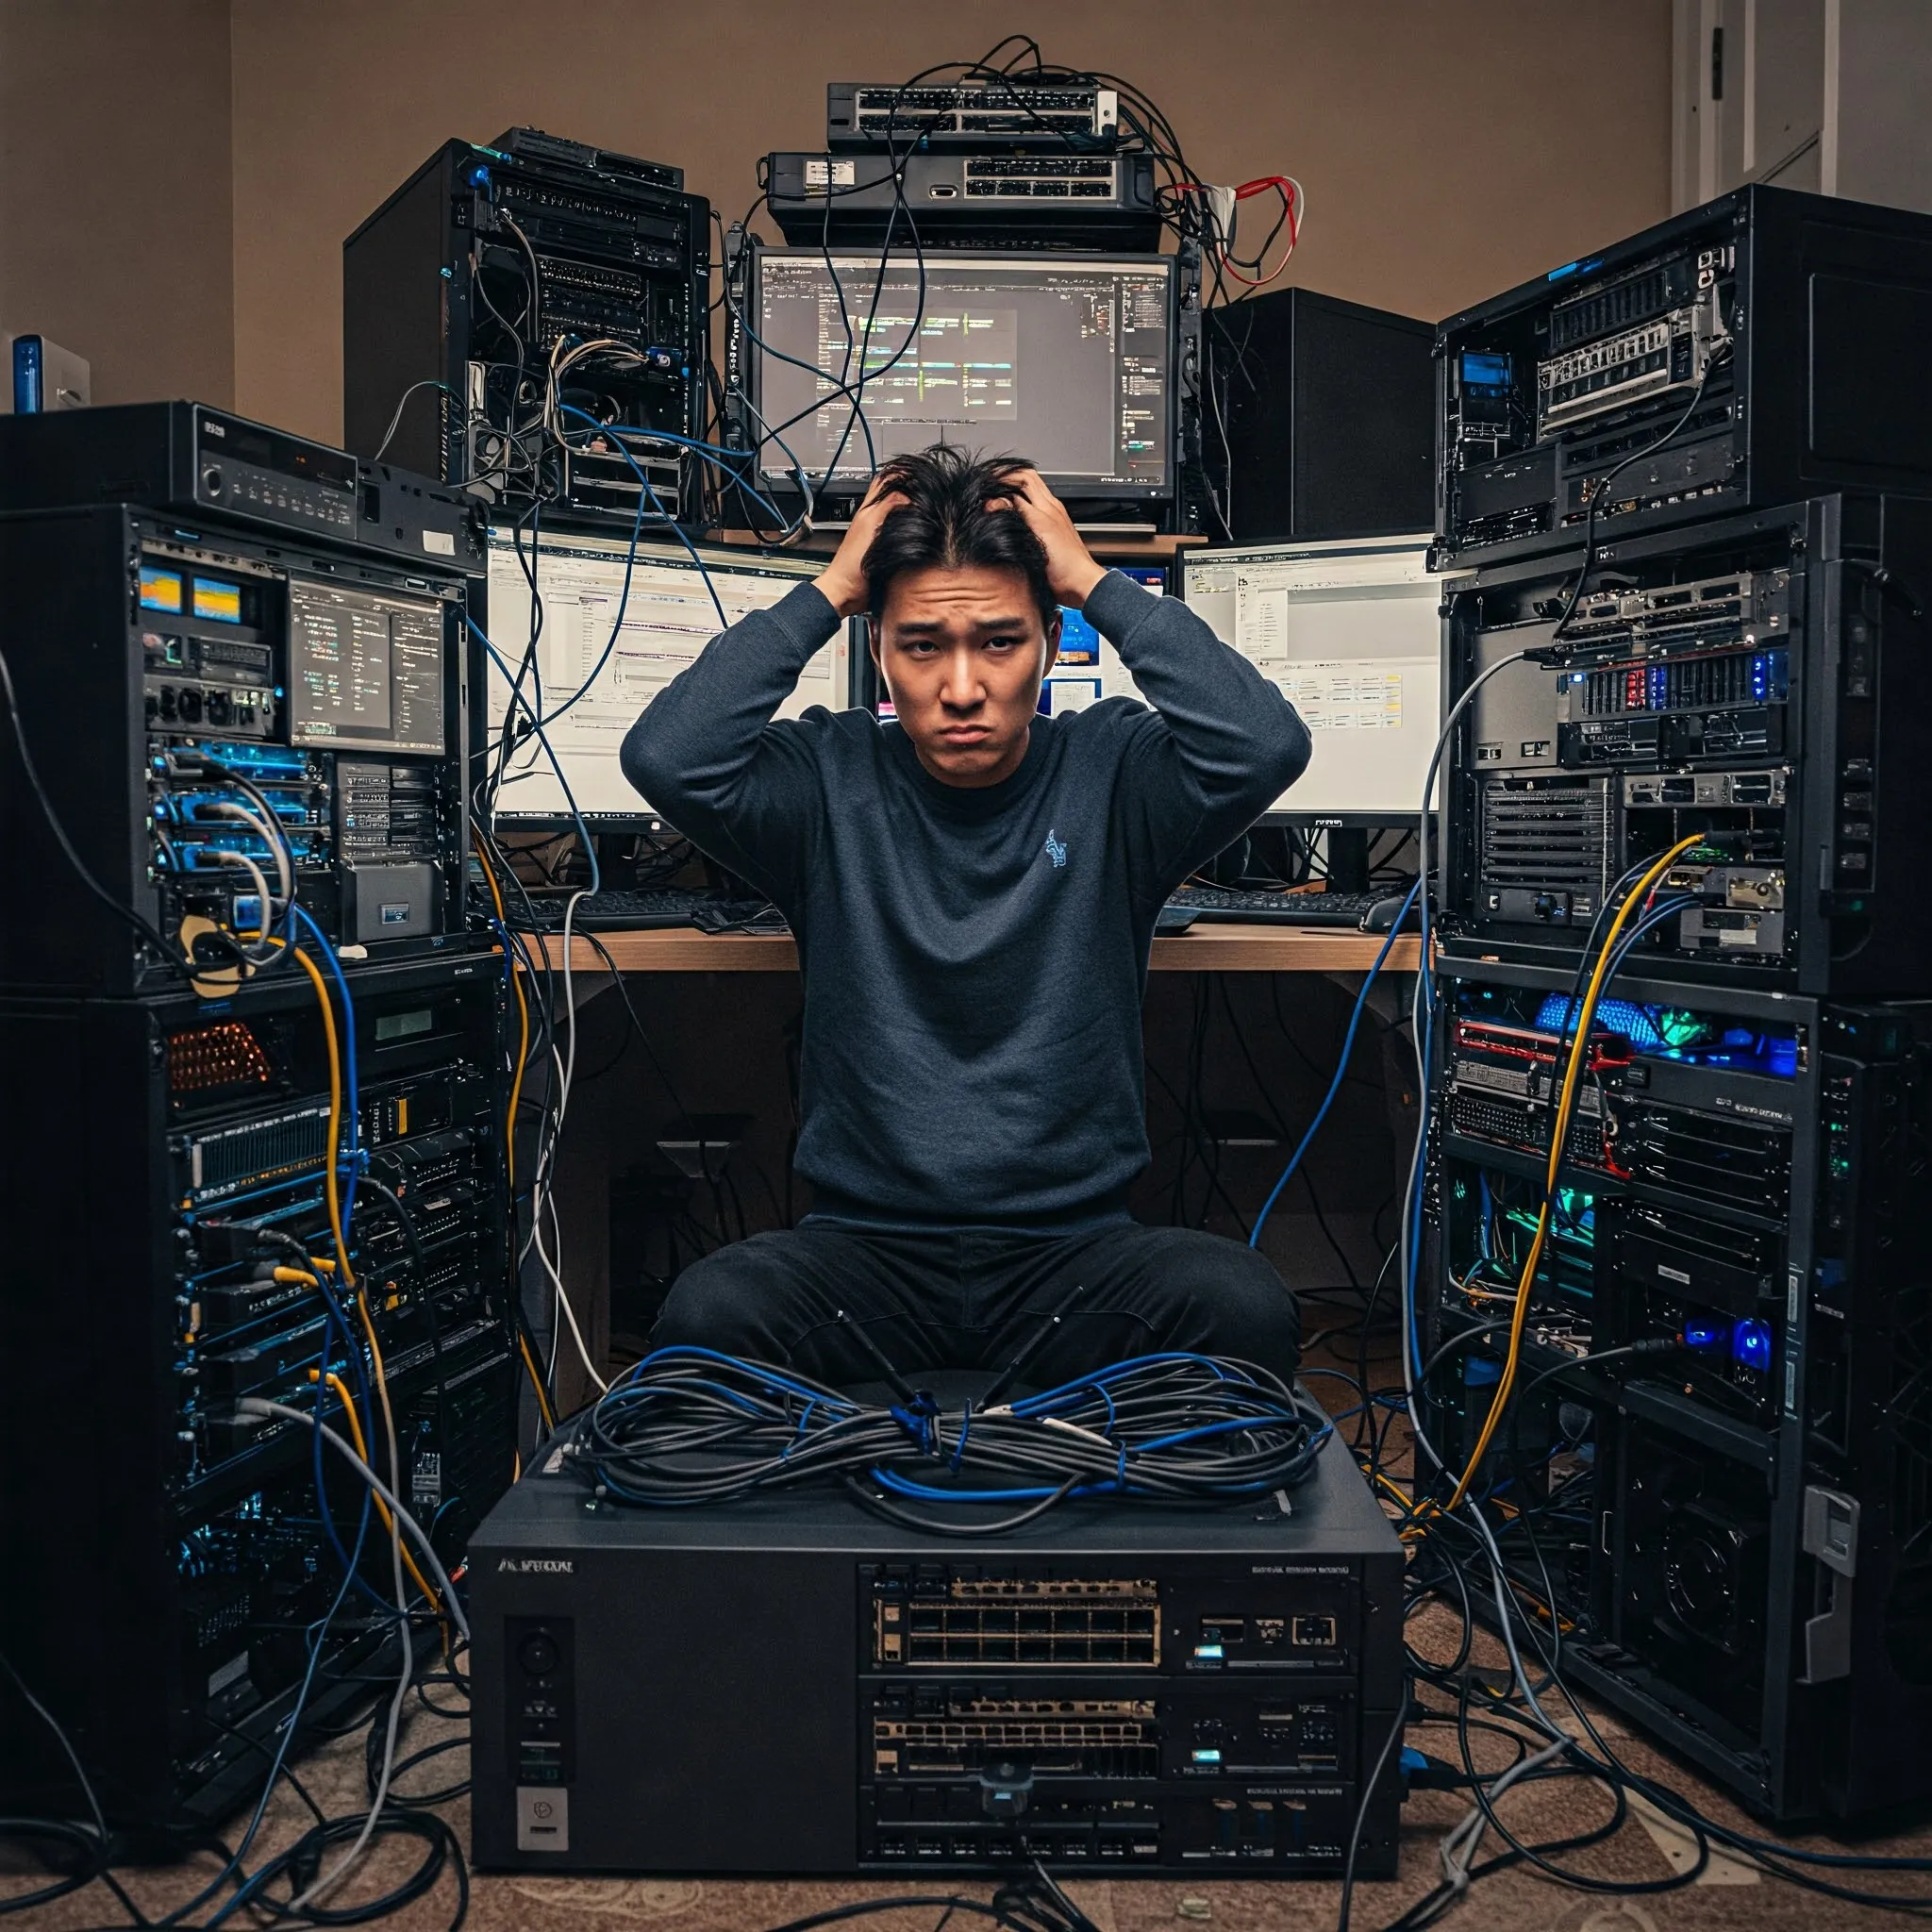
It’s easy to get carried away with all the options available. Avoid over-engineering your homelab early on. Focus on a simplified setup that meets your current needs and expand as your expertise grows. - Time Investment:
Maintaining and troubleshooting a homelab is a significant time commitment. Balance your enthusiasm with realistic expectations about how much time you can dedicate to your experiments.
Choosing hardware for your actual workload
My advice to start small still applies: pick a first service and check its requirements before buying a rack server or collecting mini PCs. A product category does not establish a fixed idle-power range, maximum RAM or number of containers. Those depend on the exact board, memory support, disks, power settings and workload.
| Hardware type | Useful questions before buying |
|---|---|
| Single-board computer | Does the application support its CPU architecture? What storage, power supply and cooling are required? |
| Low-power mini PC | What RAM is officially supported, how many usable storage slots exist, and are its network adapters supported by the intended OS? |
| Refurbished business micro PC | Does this exact model have the expansion connector, adapter and physical clearance you need? Is the power supply included? |
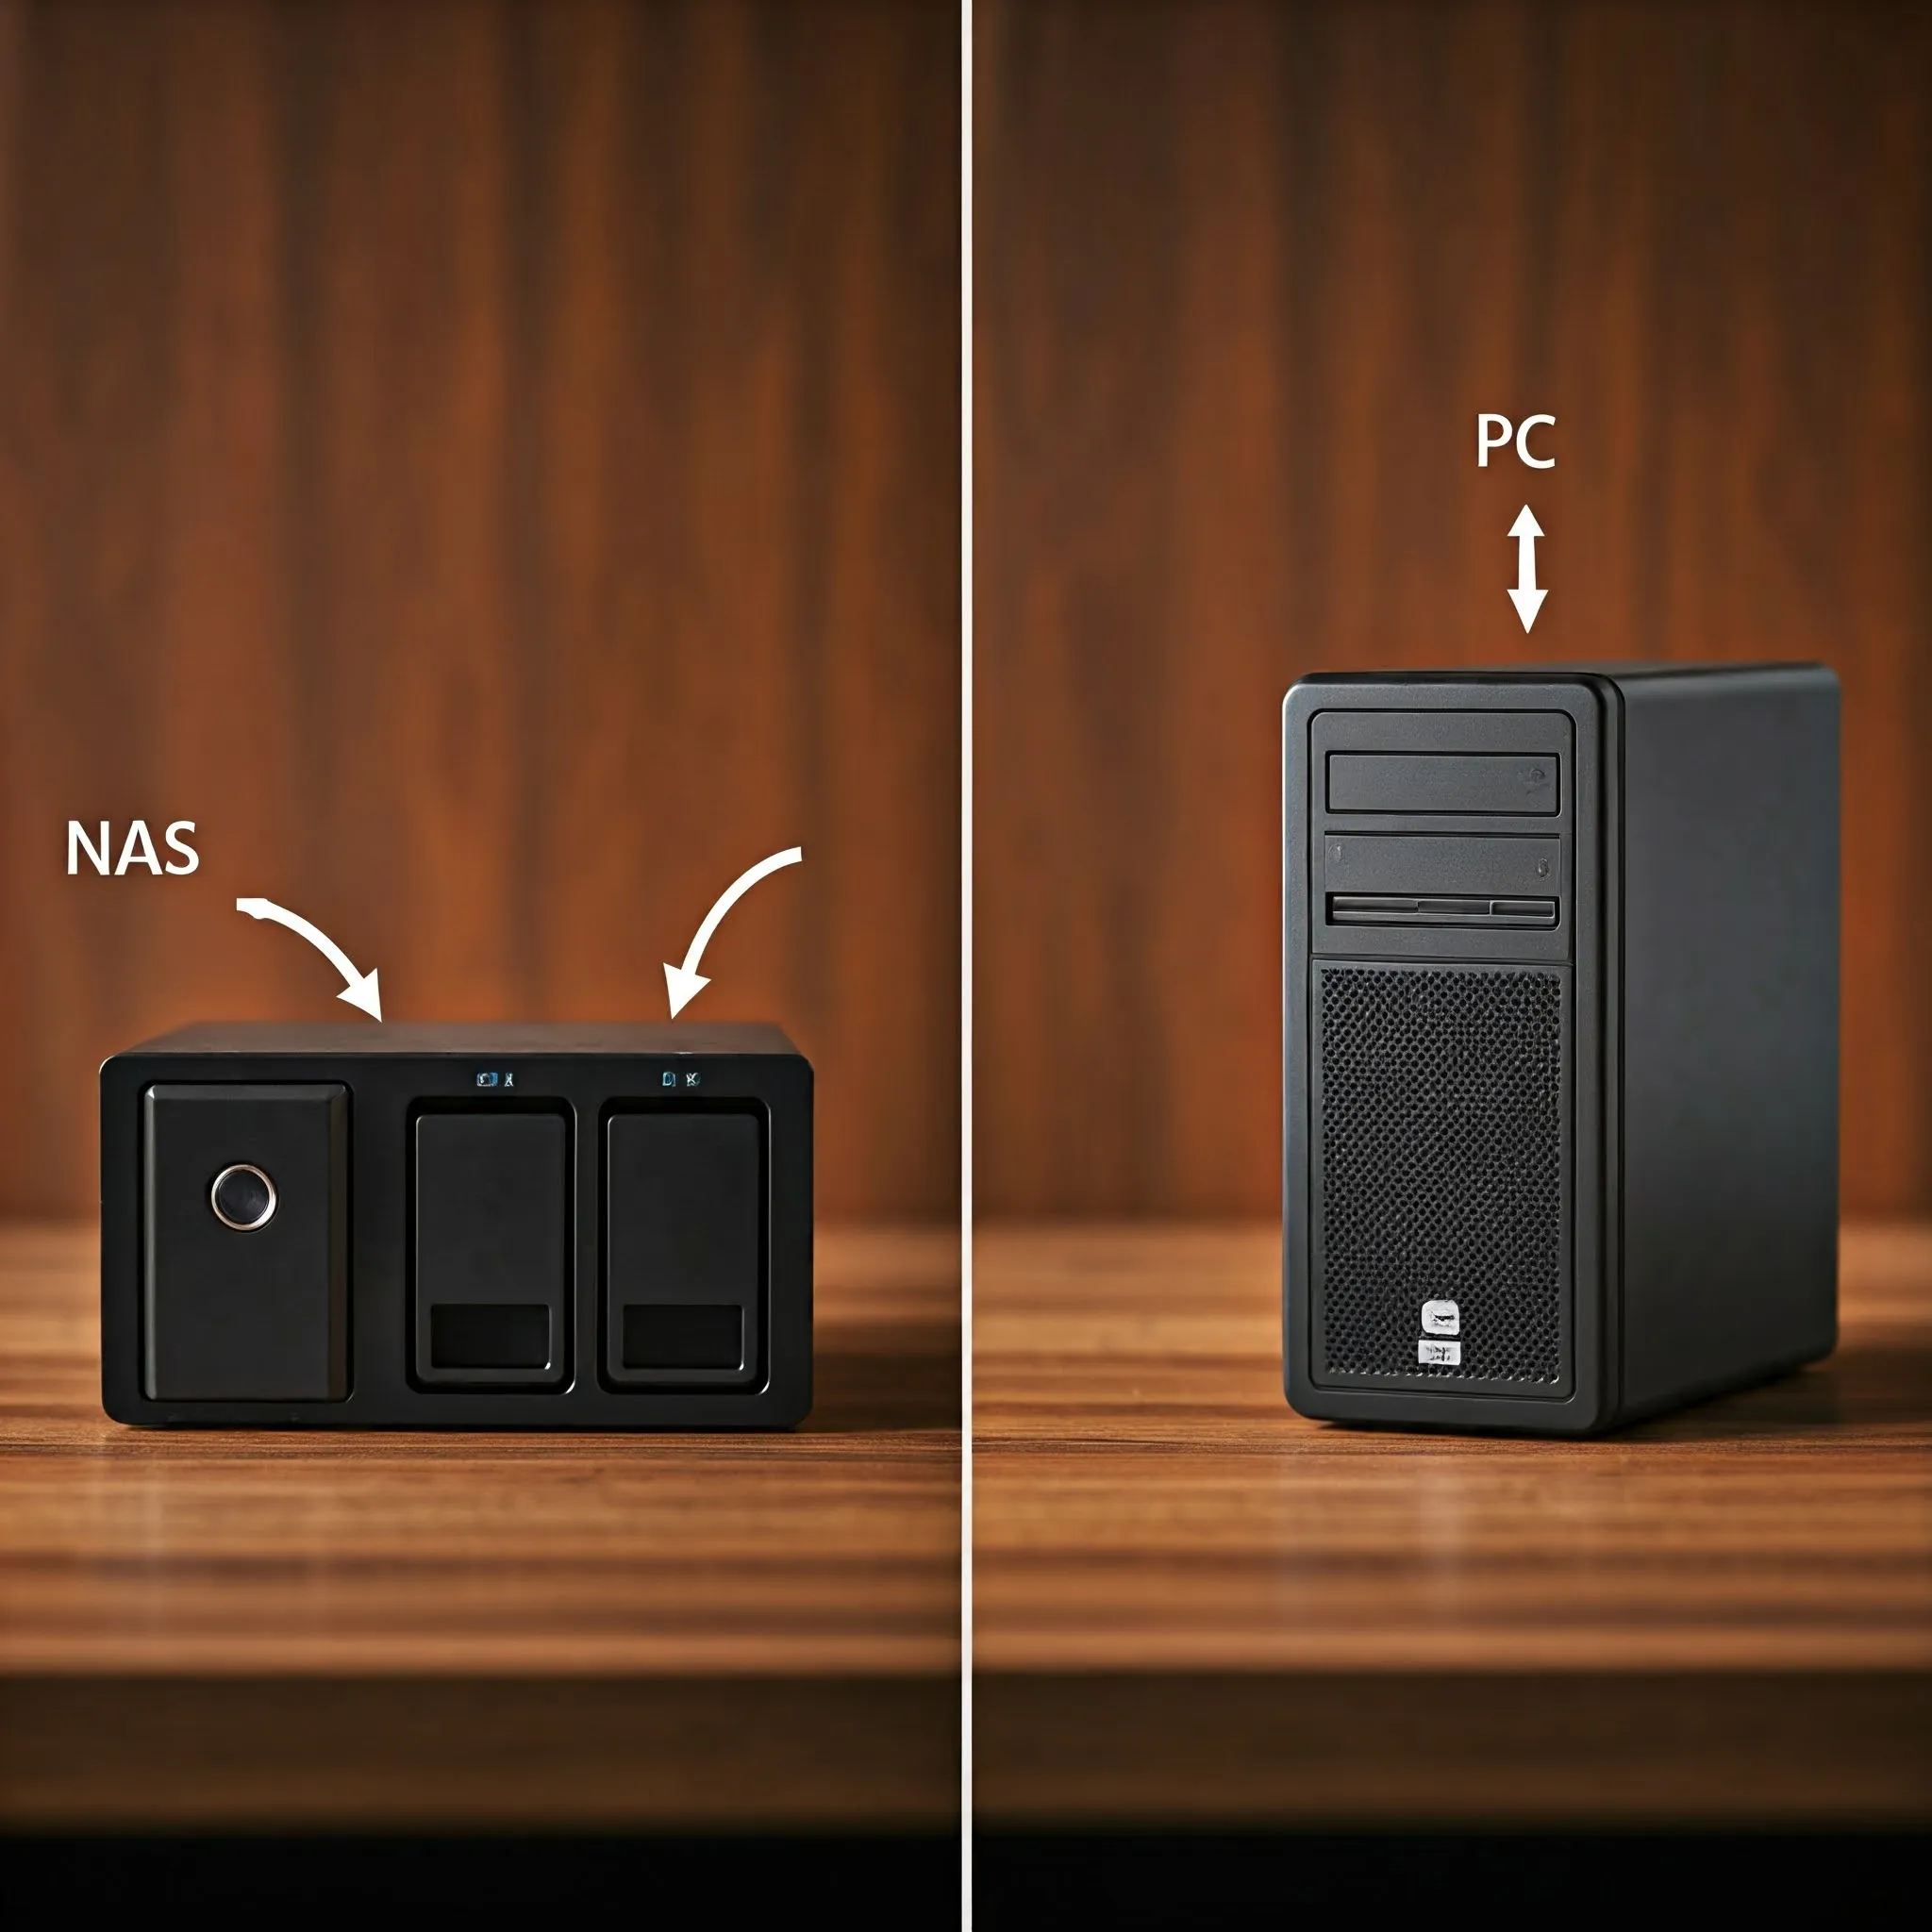
| Desktop tower or NAS build | Are there enough bays, SATA/HBA connections, power connectors and airflow for the planned disks? |
A 15-container promise is meaningless without knowing what those containers do. A few DNS and monitoring services need different resources from photo indexing, video transcoding or Windows VMs. Likewise, CPU TDP is not a measurement of the complete machine's power at the wall. Measure a real system at idle and under representative load when possible.
For budgeting, use energy rather than a guessed wattage table: average watts multiplied by running hours, divided by 1,000, gives kilowatt-hours. As a hypothetical example, a system averaging 20 W continuously for 30 days uses 14.4 kWh; multiply by your own electricity tariff to estimate that part of the bill. Add disks, networking gear and backup equipment when they are separate. This is an illustration of the calculation, not a measured TechDecode server result.
Refurbished hardware can be excellent value, but check firmware availability, disk health, noise, physical condition and the cost of missing adapters. Run a trial workload before buying upgrades. A machine that meets today's goal and leaves a realistic expansion path is more useful than one selected from a universal "sweet spot" label.
Backups, household dependencies and network boundaries
Once other people rely on your password manager, photos, home automation or DNS, those services need a different maintenance plan from a disposable test VM. That does not mean every first lab needs a cluster; it means you should know what will stop working, how to restore it and when a reboot is acceptable.
The 3-2-1 backup approach starts with three copies including the original, two storage media or suitably independent devices, and one offsite copy. Protect sensitive backups and consider an offline or otherwise protected copy where the live server cannot overwrite everything. Encryption is a sensible protection for private offsite data, rather than part of what the digit "1" itself means.
Proxmox VE can schedule ordinary backup files or use PBS as its backup destination. Check the job's inclusion list rather than assuming "all containers" includes every mounted library. The upstream backup chapter explains that additional container volume mount points need the backup option, while device and bind-mount contents are excluded. Back up those external paths separately and test restoring both application state and its data.
Pick an acceptable amount of lost work and an acceptable recovery time for each important service. Those choices determine backup frequency, retention and where to keep recovery instructions. A nightly job may fit some services and leave too much lost work for others. Restore one sample file and one application in an isolated environment; a successful job notification alone is not a recovery test.
For DNS, a second resolver on a separate host can reduce the effect of restarting the main server. Configure both to answer the intended local names and apply equivalent filtering. Clients may use either supplied DNS server, rather than treating the second address as a strictly inactive standby; the Pi-hole project's FAQ and maintainer discussion explain why a public alternate can bypass filtering and why parallel resolvers differ from a dependency chain.
Test the second resolver directly and then test a client with the first unavailable. Consider the router, DHCP, switch, power and upstream DNS dependencies too: a second Pi-hole cannot keep the internet working when both share a failed gateway. Configuration synchronization is also distinct from failover. Tools must match the installed application version; for example, nebula-sync targets Pi-hole v6, rather than being interchangeable with every older sync script.
For VLANs, document which devices belong in each network and which connections should be allowed. The switch ports, Wi-Fi SSIDs, hypervisor bridge, router interfaces and firewall policy must agree. Netgate's configuration documentation illustrates that creating a VLAN is followed by assigning its interface and configuring services and rules. A VLAN tag by itself is not a complete access policy.
Keep a known management path while making network changes. Afterward, test both an allowed connection and one that should be blocked, including the address families your network uses. Avoid changing every switch port and firewall rule at once. Record enough detail to restore access from a local console if the management network stops working.
A small first project you can finish
Start with one service that will teach you something concrete. Record its CPU architecture, image or package version, configuration, persistent storage and update method. Keep an independent copy of the configuration and required data, then restart the host and confirm that the service returns. Only after that should you add another service or automate updates.
Review powerful shortcuts before using them. Docker access, for example, can grant far more authority than an ordinary application account: Docker's Linux installation guidance states that membership of the docker group grants root-level privileges. Apply the same care to installer scripts and containers with access to the host's Docker socket.
Keep a short record of changes that actually helped, and leave yourself time to understand a failure before adding complexity. That supports the learning goals and the "things I wish I knew sooner" advice above without turning every experiment into another permanent household dependency.
Conclusion
Creating a homelab is a thrilling and educational adventure. By starting with clear goals, planning diligently, and continually learning from both successes and pitfalls, you can build a powerful testbed that serves as both a personal asset and a professional showcase. Remember the lessons you learn along the way—those “things I wish I knew sooner” can propel you to new heights in both technical knowledge and creativity. So, dive in, experiment, document your progress, and most importantly, enjoy the process of building and supporting your very own homelab. Happy tinkering!