We have been adding quite a few services to our own homelab via the Build Your Homelab series, and although monitoring is still fairly easy (for now) we will need to start looking at easier ways to monitor our services. Or at least get an overview of everything that is running. We have Prometheus up and running, and we can add the Prometheus exporter nodes as well as the Prometheus monitor node. Grafana is a great tool to visualise this data, but what about more detailed information about the actual service, rather than the node it runs on? Well, that is where a dashboard app like Homarr is perfect.
What Is Homarr?
Homarr is a modern dashboard app designed to serve as a control center for your home lab. Think of it as a customizable homepage that gathers all your favorite applications, services, and system status information in one neat interface. Whether you’re monitoring a media server, checking on smart devices, or running a few personal projects, Homarr makes it easier to see what’s happening at a glance.
Key Features:
- Customizable Interface: Drag and drop your favorite tools and widgets to create a layout that suits your needs.
- Real-Time Data: Use supported integrations to display service information. Refresh intervals, access permissions and upstream availability affect what the dashboard can show.
- User-Friendly Design: Even if you’re not technically inclined, Homarr’s design keeps things simple and accessible.
What Makes Homarr Different?
Homarr stands out from other dashboard apps in several ways. For starters, it prioritizes simplicity and visual appeal, making it ideal for users who want a straightforward way to manage their home lab without sifting through technical jargon.
Comparison with Homepage Dashboard
While both Homarr and Homepage Dashboard offer ways to centralize your digital life, here are some notable differences:
- Ease of Use:
Homarr is built with non-technical users in mind. Its clean interface appeals to us for visual configuration. Integrations still need suitable URLs, credentials and permissions, so allow time to learn those parts. - Customization:
Homarr provides a high level of customization that lets you tailor your dashboard to exactly how you want it. Homepage also supports layouts and many service widgets, but configures them through YAML. Our preference here is for Homarr’s visual workflow; choose the configuration style that suits you. - Visual Appeal:
The modern design of Homarr ensures that it not only functions well but also looks great. If aesthetics are important to you, Homarr has a leg up with its attractive, organized display. - Integration and Monitoring:
For those who have a variety of devices and services running, Homarr excels by integrating multiple data sources into one place, giving you a comprehensive snapshot of your home lab’s performance.
Where Does Homarr Shine?
Homarr truly comes into its own in scenarios where simplicity and customization are key. It’s perfect for users who want to effortlessly monitor several systems and services without needing to dive deep into technical details. If you appreciate a visual and easily configurable dashboard that brings all your home lab information together in one place, Homarr is likely the ideal choice.
- Ideal for Beginners:
Users new to home labs can set up Homarr quickly and start monitoring their systems with minimal effort. - Visual Monitoring:
If you prefer a dashboard that not only works well but also looks appealing, Homarr’s design will enhance your home lab experience. - Centralized Control:
With Homarr, you can integrate a variety of tools and services, making it a one-stop shop for keeping tabs on everything from media servers to network activity.
Considerations When Using Homarr
Before you dive into setting up Homarr, here are a few considerations to keep in mind:
- Initial Setup:
While Homarr is user-friendly, setting up integrations with multiple services may require some initial tinkering. However, once configured, maintaining it is straightforward. - Customization vs. Simplicity:
The high degree of customization is a double-edged sword; it provides flexibility but might also tempt users to overcomplicate the dashboard. It’s best to start simple and add complexity only as needed. - Resource Management:
For users running multiple applications on limited hardware, consider how many widgets or real-time data streams you include on your dashboard to avoid performance slowdowns.
Visit the official Homarr website
A private Docker Compose starting point
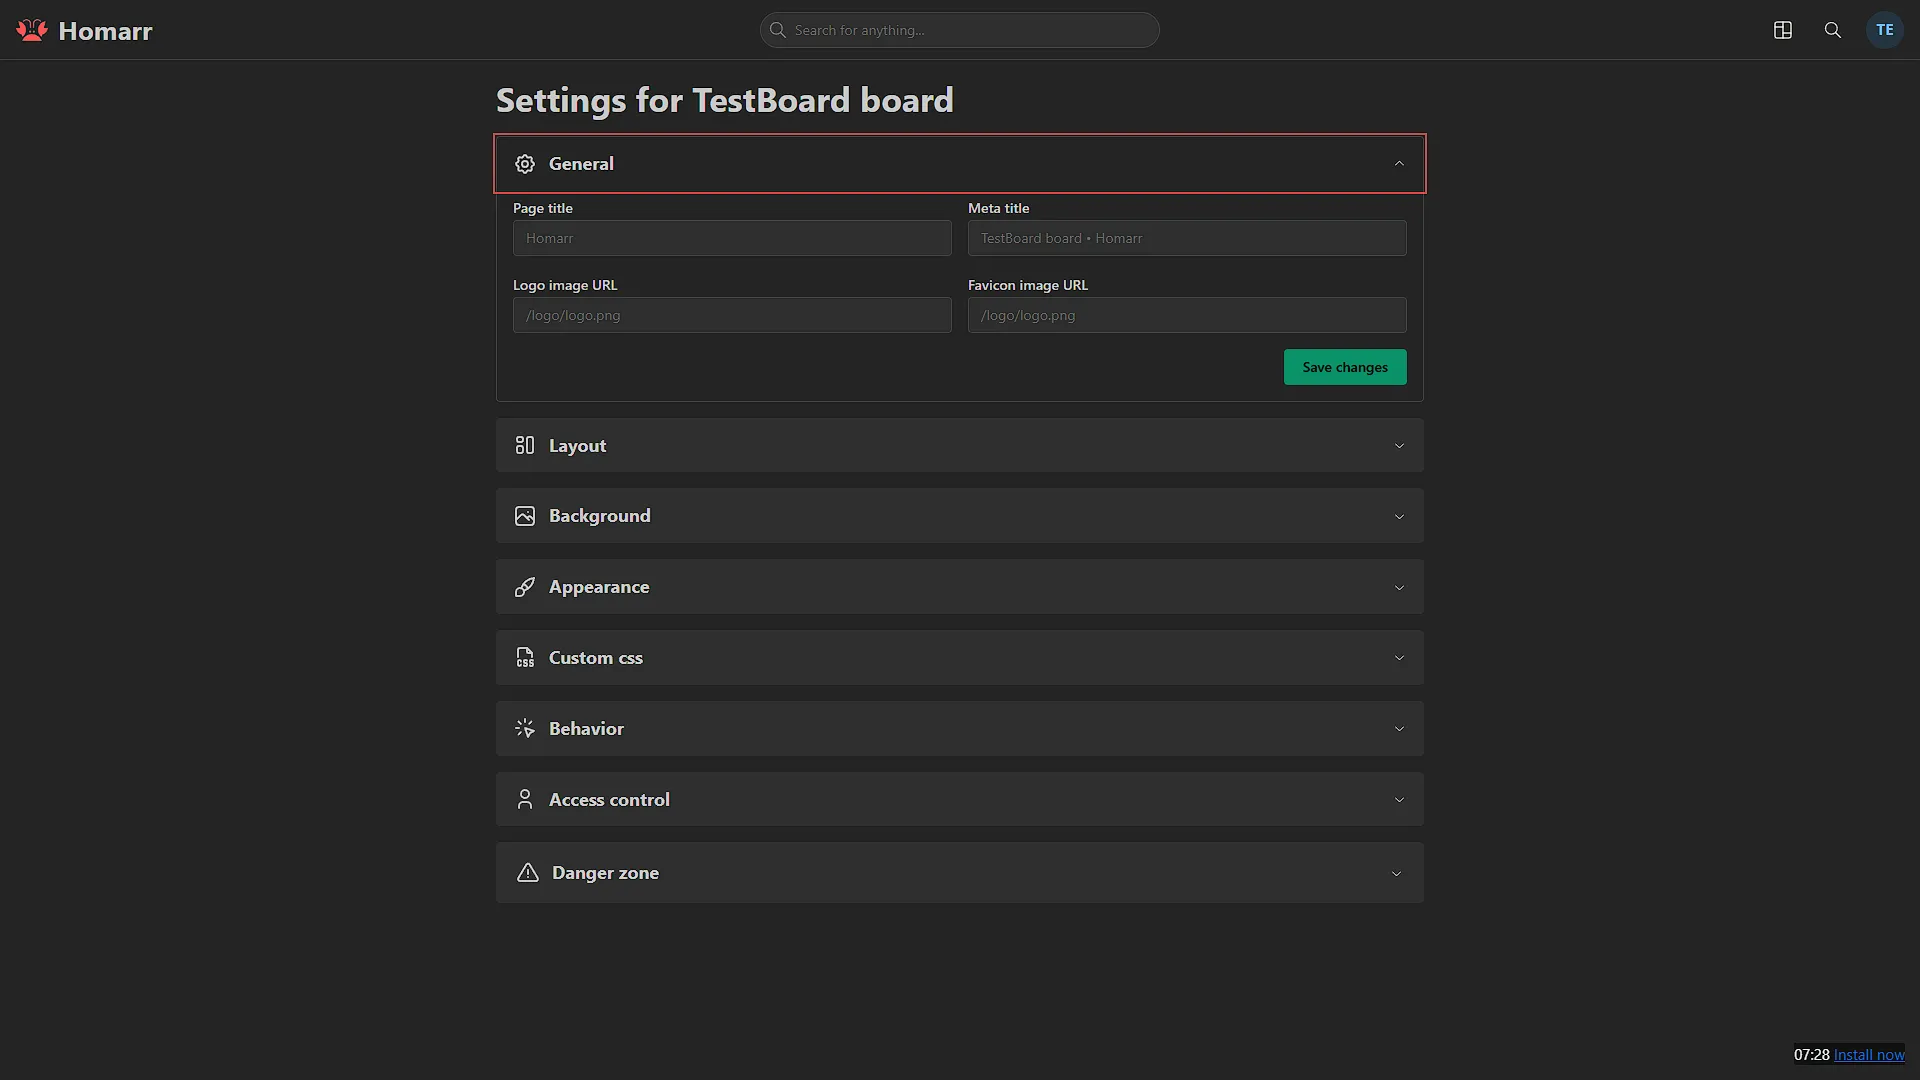
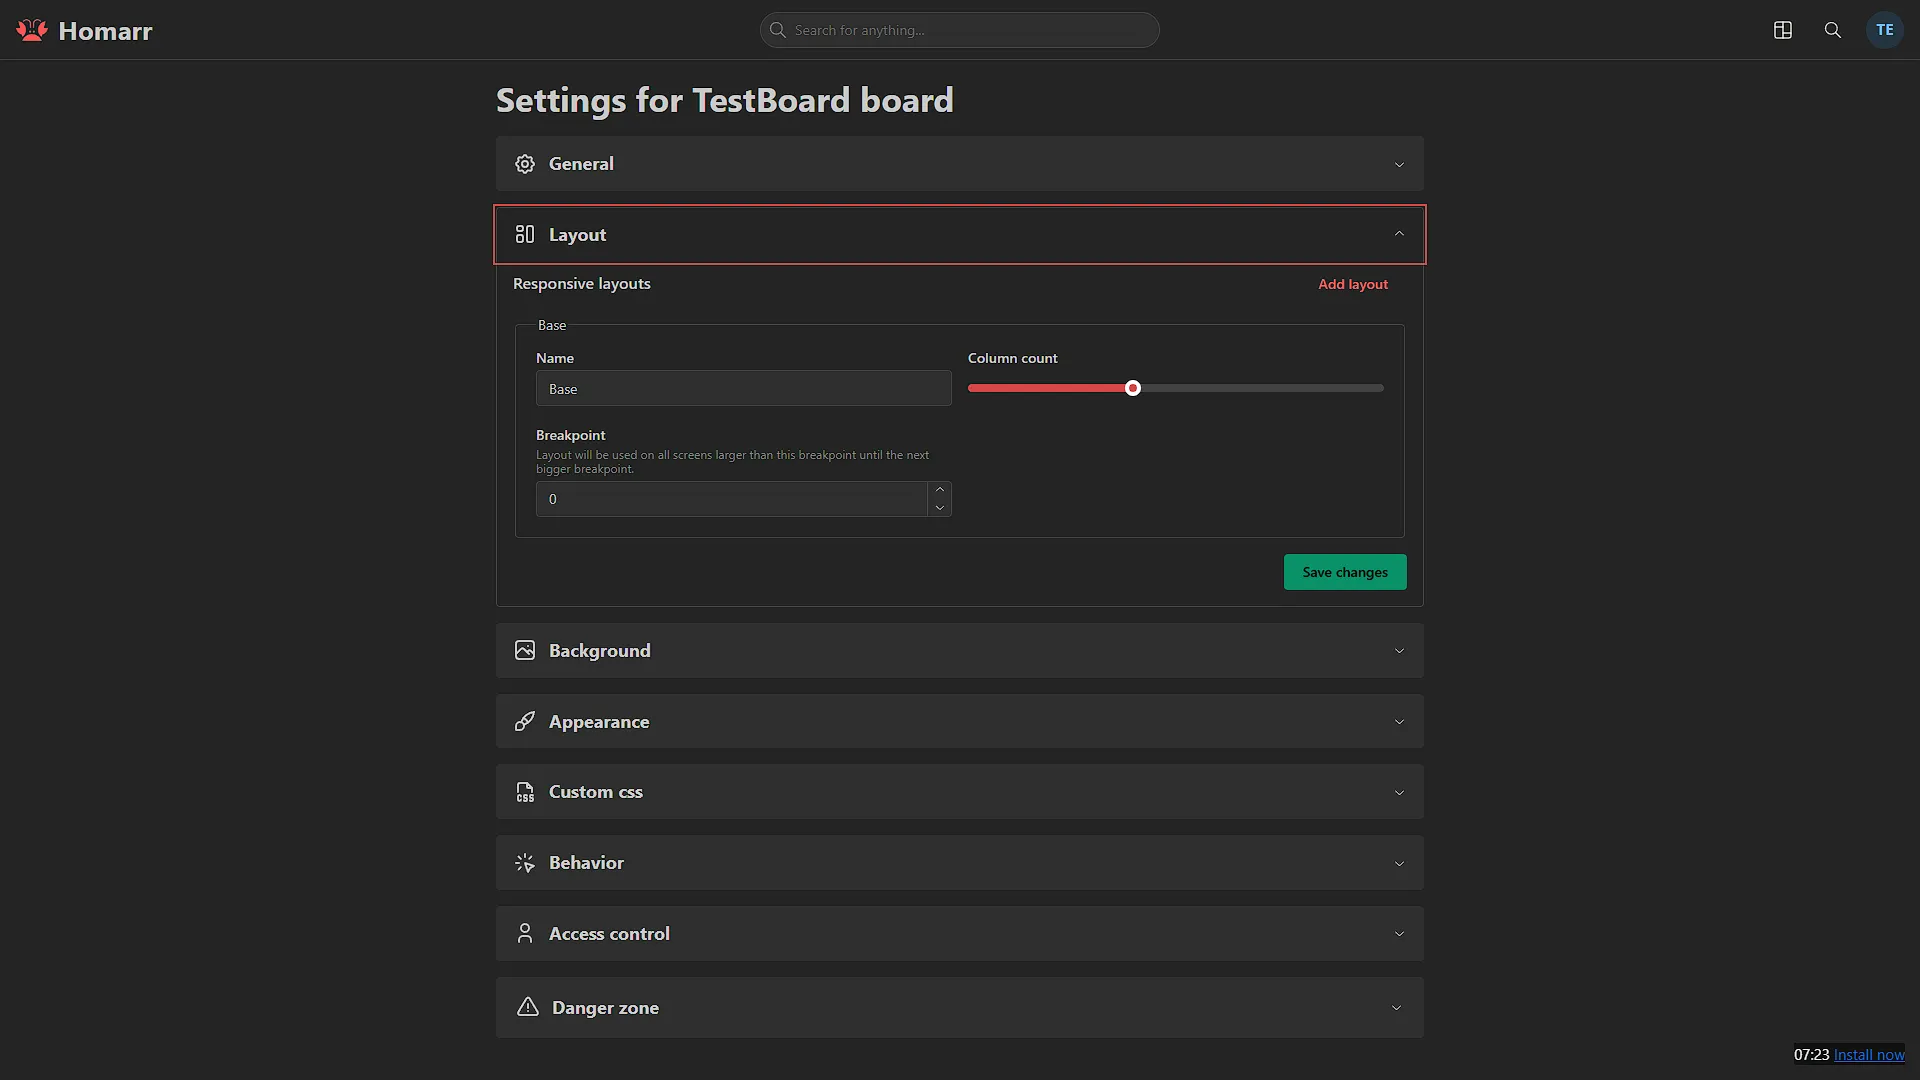
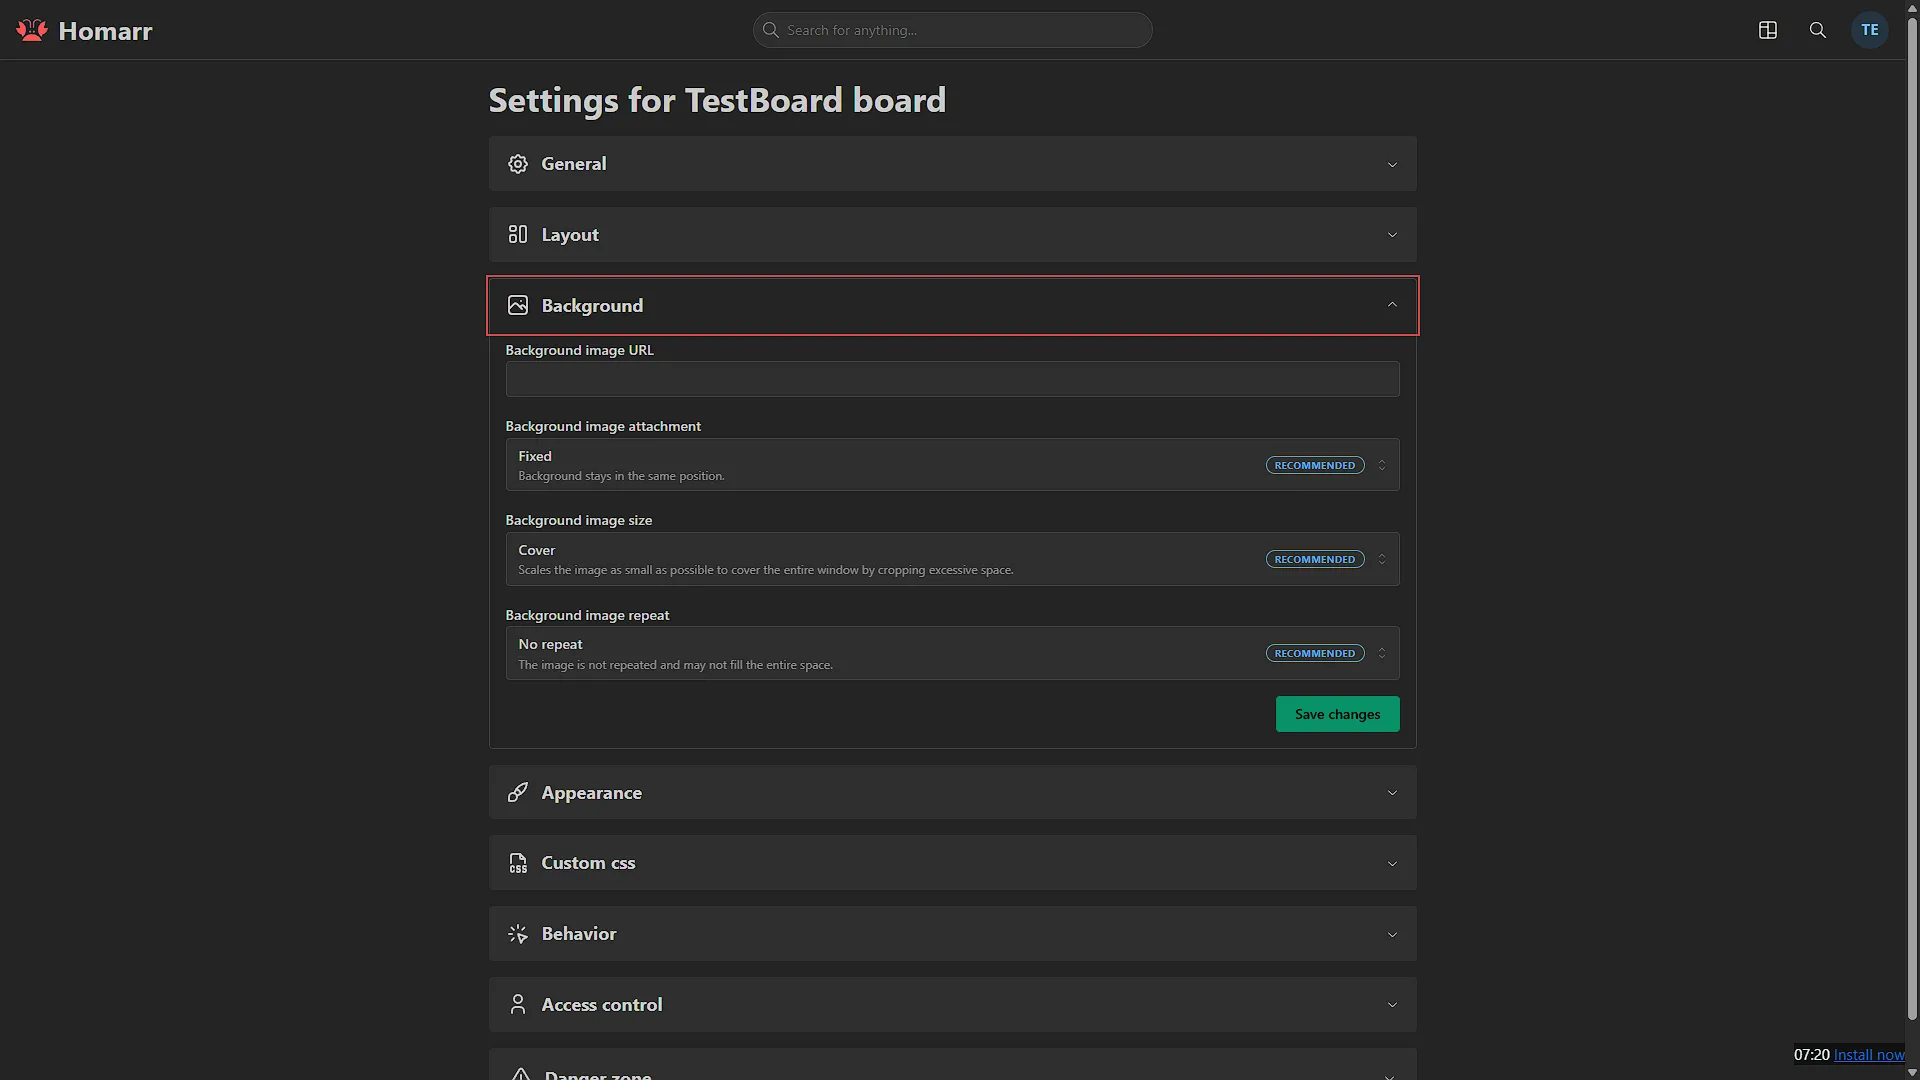
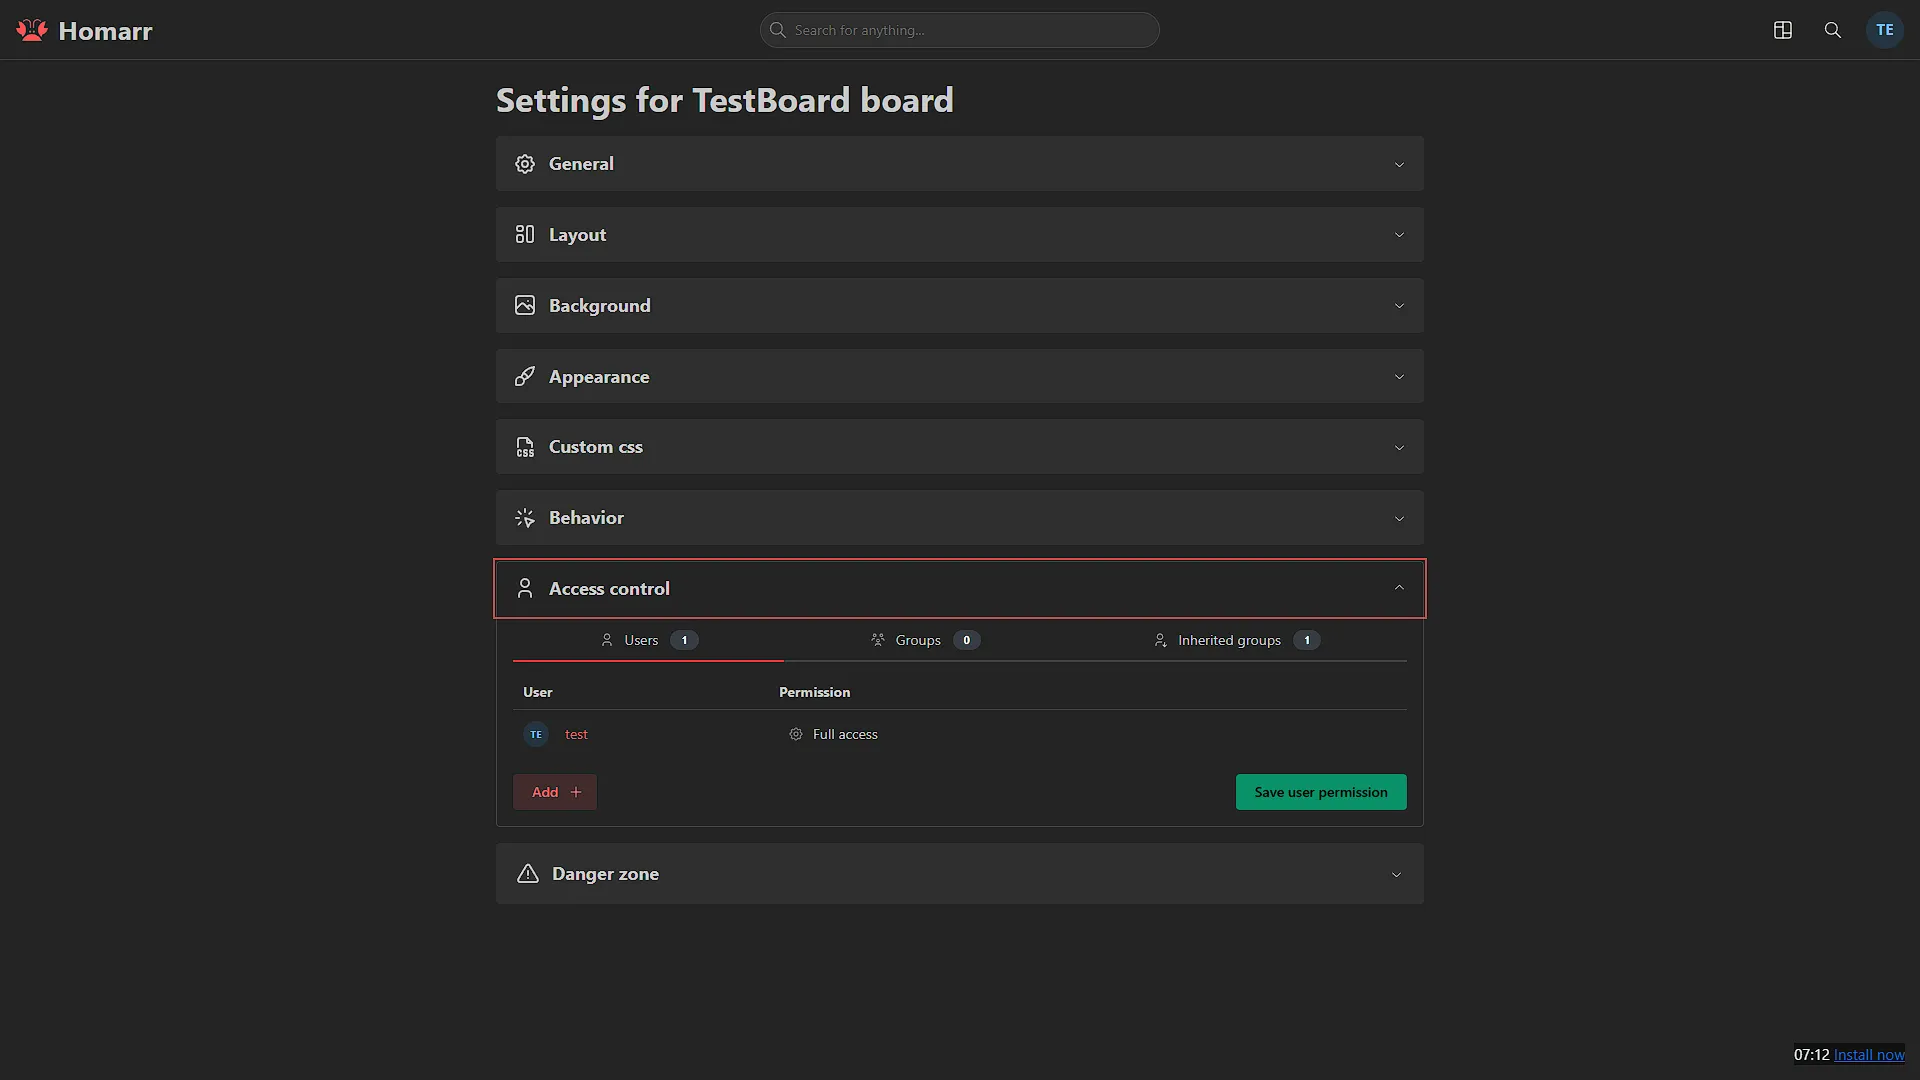
The official Homarr Docker installation guide provides upstream deployment instructions. For a new standalone Linux Docker Engine installation with the Compose plugin, the example below uses the verified Homarr 2.4.1 release. The gallery retains the original interface: newer releases can arrange menus and boards differently.
Start in a new directory. This command intentionally fails if a directory with that name already exists, so it does not silently prepare a replacement over an old installation:
mkdir homarr && cd homarrGenerate the required 64-character hexadecimal encryption key with OpenSSL and write it to a private .env file. Keep the key with the deployment's recovery material; it encrypts stored integration credentials and is not the administrator login password:
(umask 077
  HOMARR_KEY="$(openssl rand -hex 32)" &&
  printf 'HOMARR_KEY=%s\n' "$HOMARR_KEY" > .env
)
Save this as compose.yaml in the same directory. The default SQLite data lives inside the persisted appdata directory. Docker host discovery is omitted until you actually need it:
services:
  homarr:
    image: ghcr.io/homarr-labs/homarr:v2.4.1@sha256:ee67a5e856c051c4e114418a54b89a3fc3cb5507d0689e5cb89c790305c549cd
    container_name: homarr
    restart: unless-stopped
    environment:
      SECRET_ENCRYPTION_KEY: "${HOMARR_KEY:?Set the generated HOMARR_KEY in .env}"
    volumes:
      - ./appdata:/appdata
    ports:
      - "127.0.0.1:7575:7575"
The port binds to the Docker host's loopback address. Open http://127.0.0.1:7575 from that host, use an SSH tunnel for remote initial administration, or configure an HTTPS reverse proxy on the same host. On another computer, 127.0.0.1 means that computer, not the Docker server. A proxy on a different host or container network needs its own deliberate routing configuration.
Validate and start from the directory containing both files:
docker compose config --quiet
docker compose up -d
docker compose ps
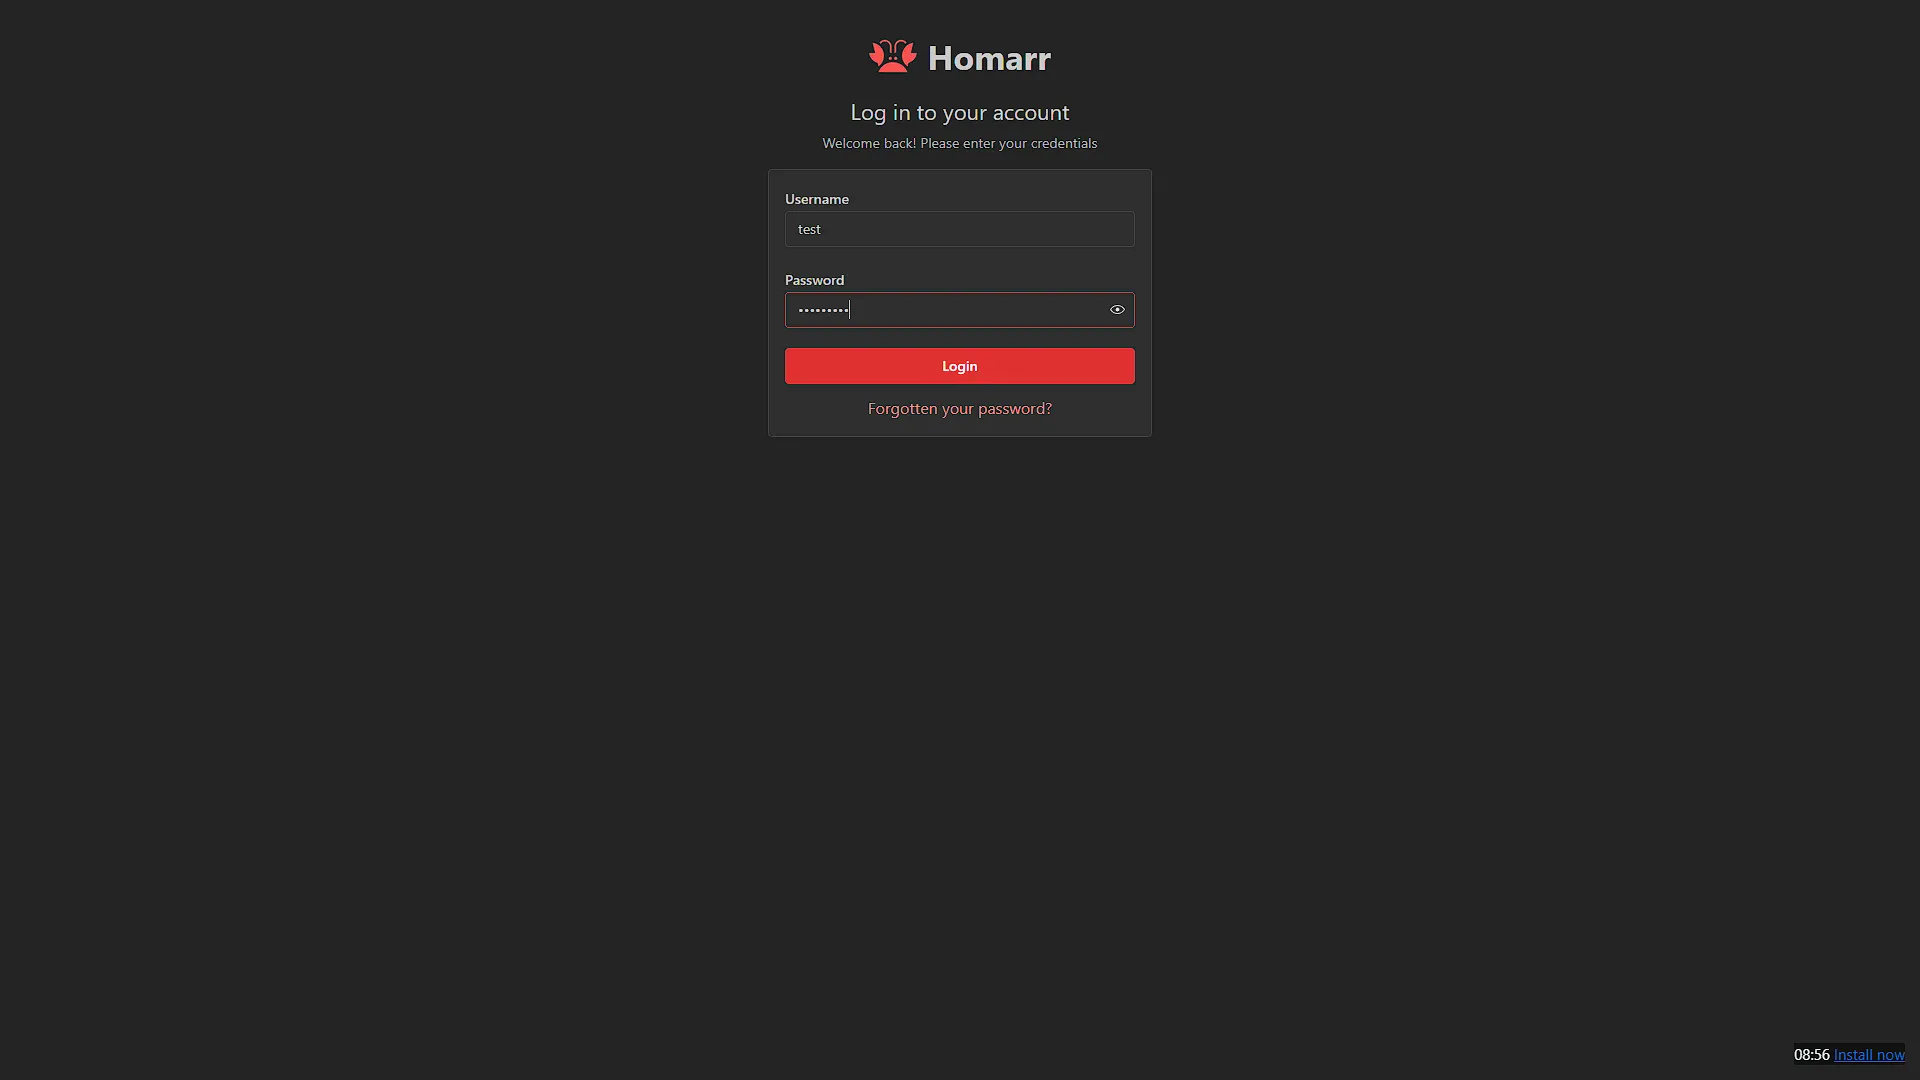
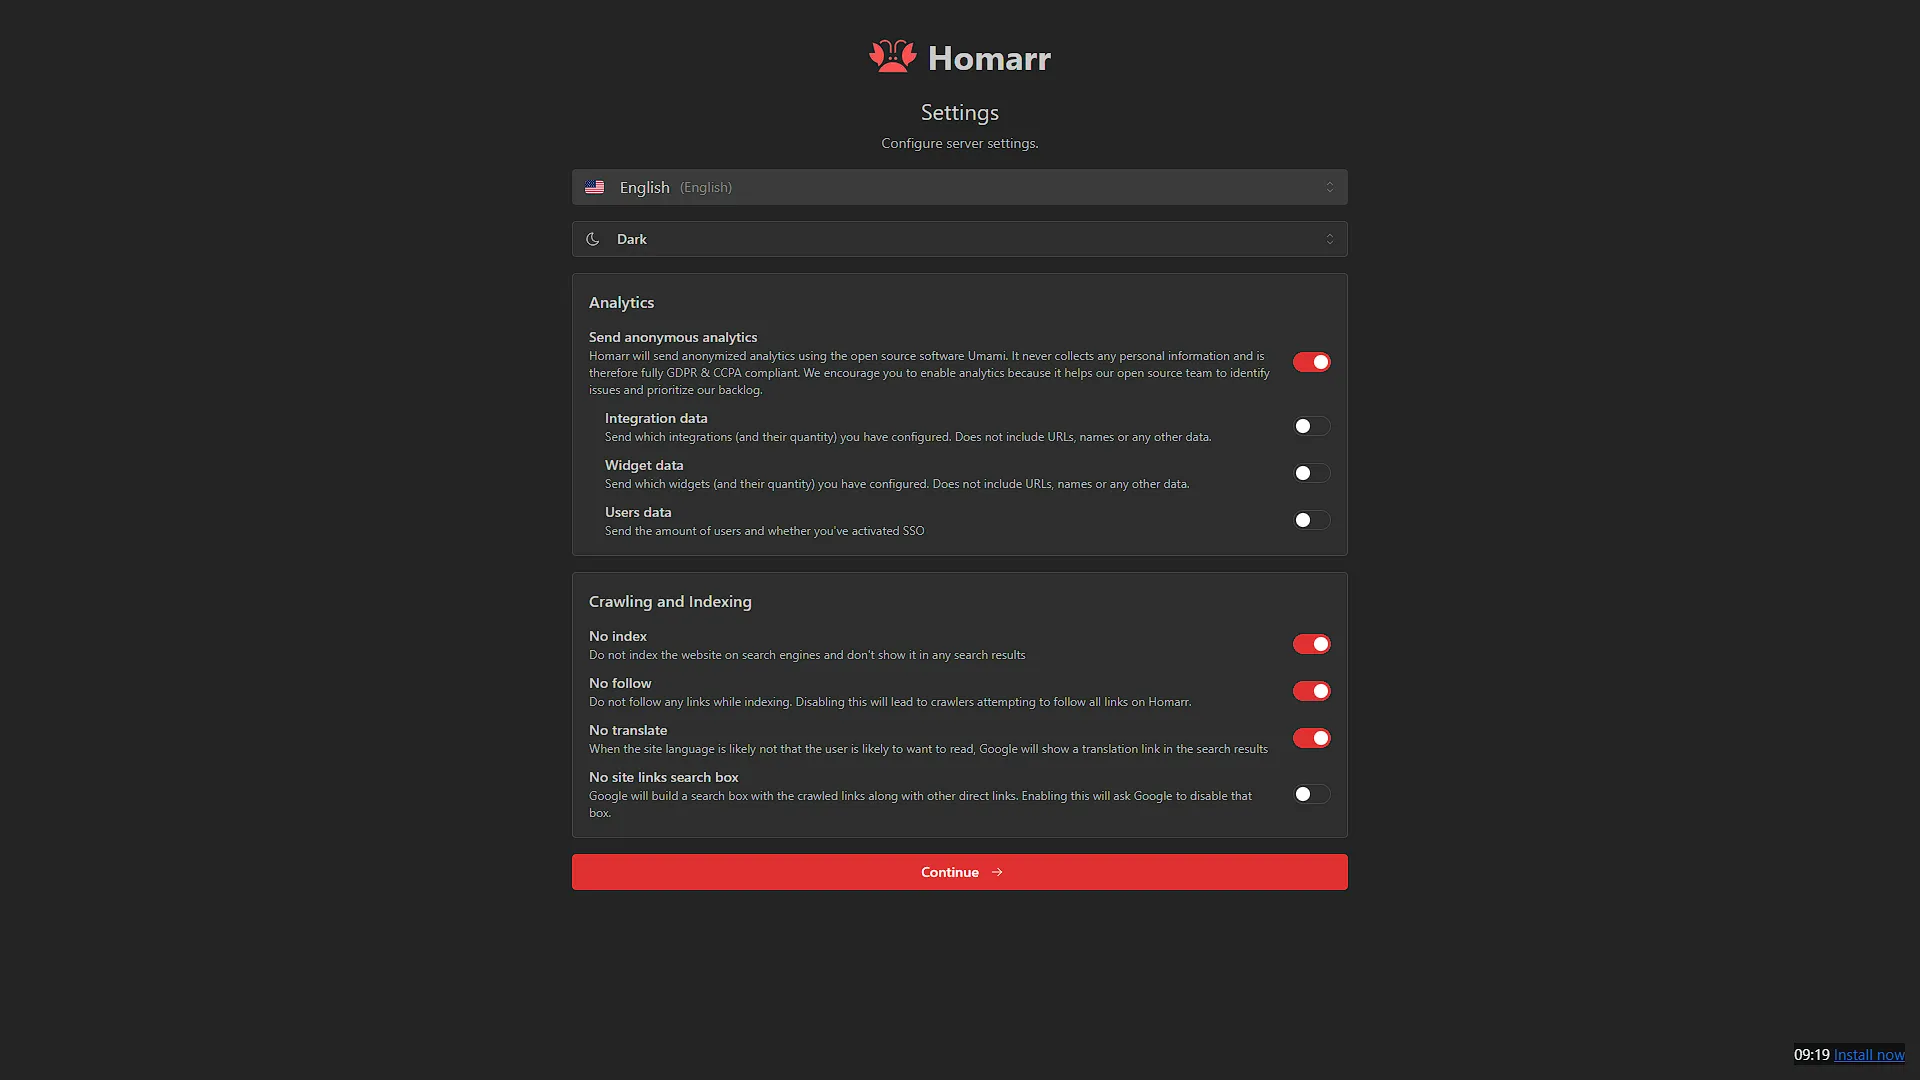
Complete onboarding and create the administrator. Start with a restricted board and one app tile. Confirm that the tile opens the intended service, restart the Homarr container and check that onboarding does not return. If it does, investigate the persisted path and permissions rather than creating another administrator over lost state.
Browser URLs and integration URLs
An app tile's URL is opened by the reader's browser. An integration URL is reached by the Homarr server. They can legitimately differ: a browser might open https://sonarr.example.com, while a Homarr container on the same Docker network uses http://sonarr:8989. The hostname must resolve from the component making that connection.
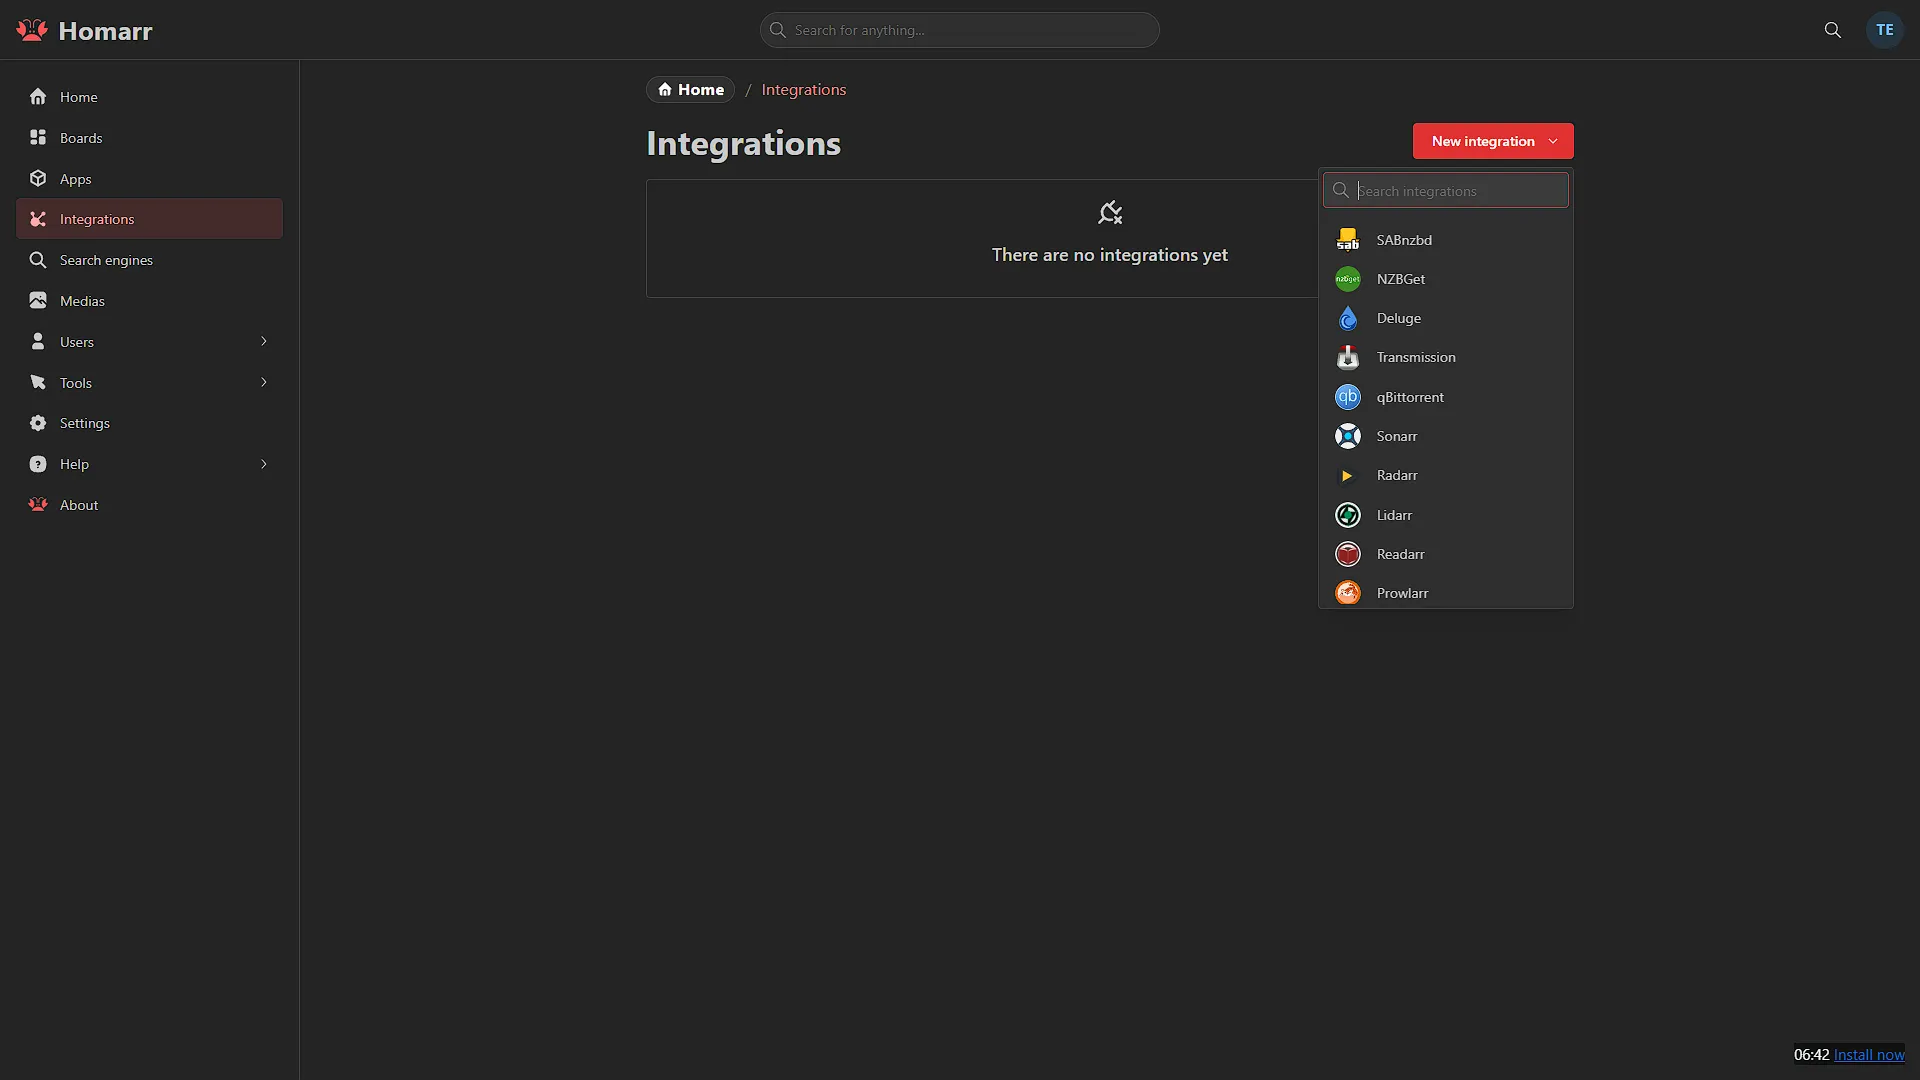
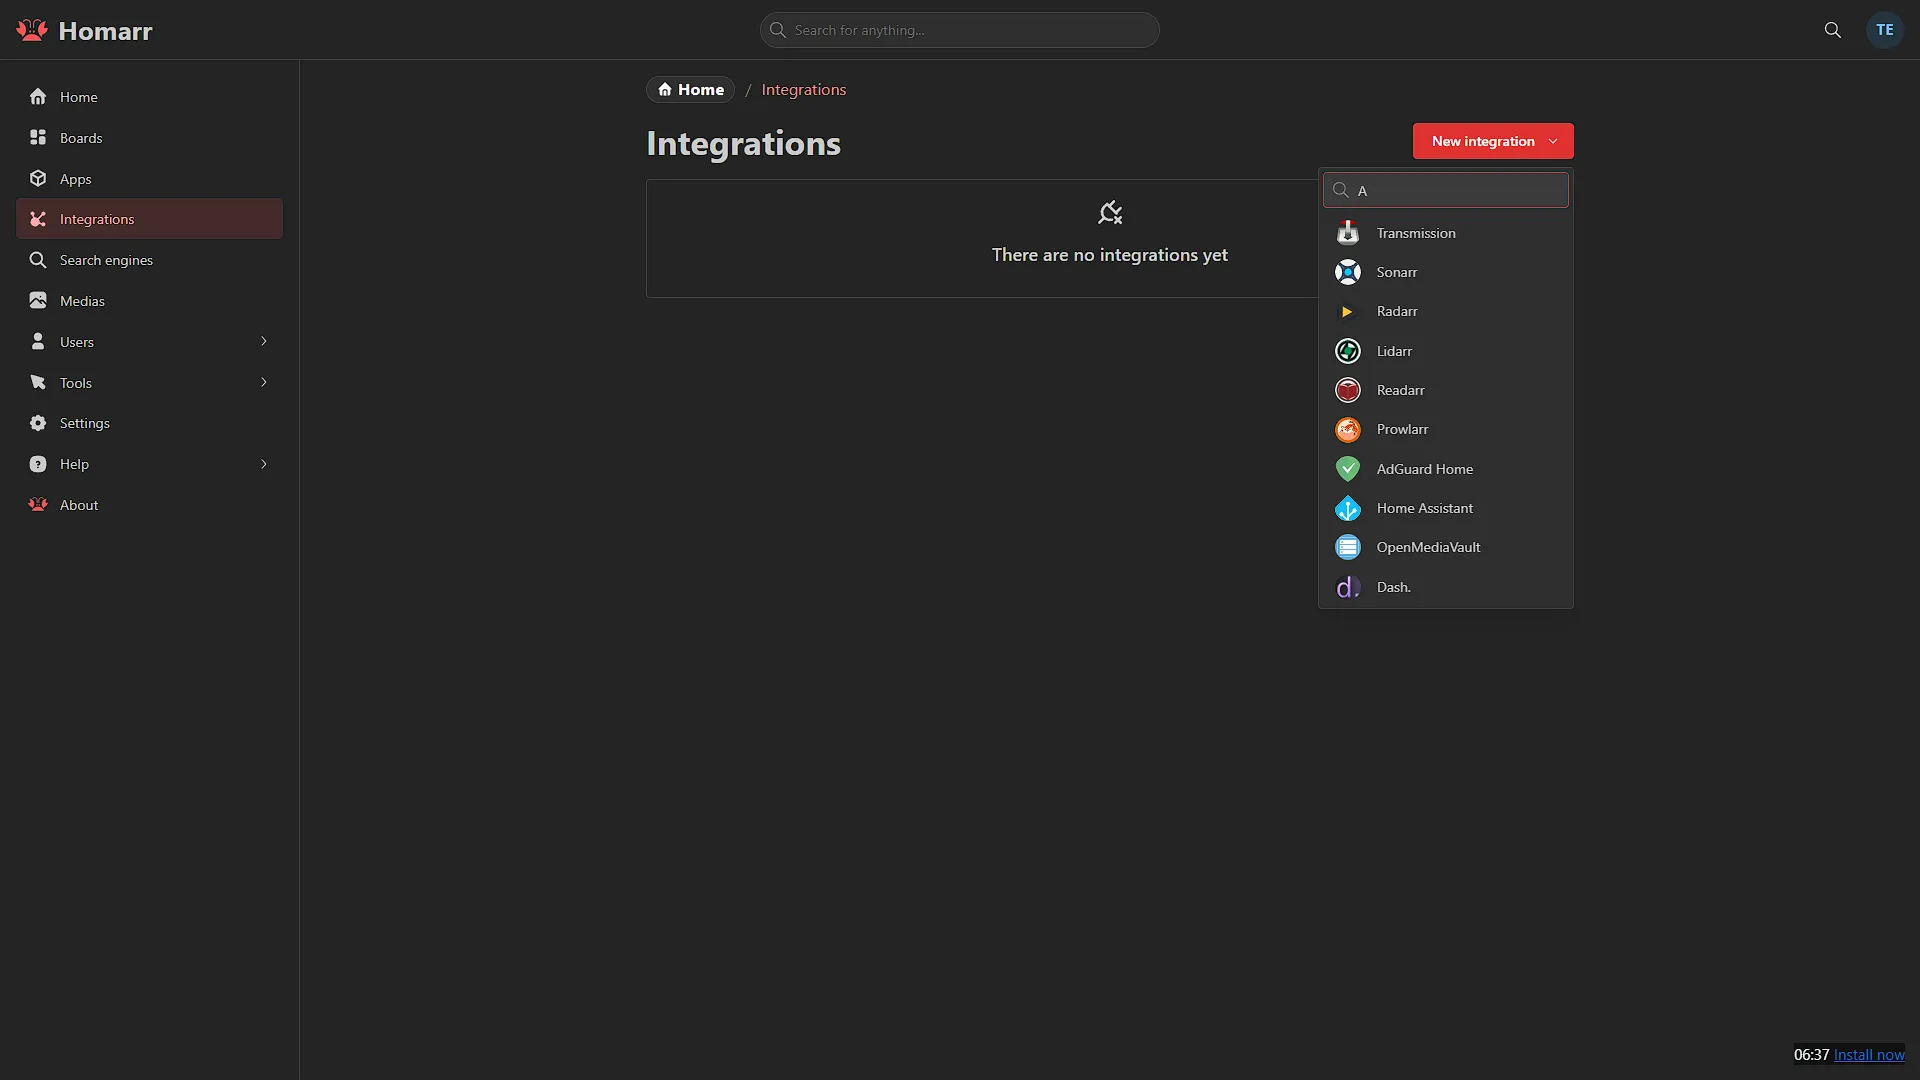
Create supported integrations under Management > Integrations, supply the documented base URL and credentials, then run the connection test. A working tile does not prove that the server can reach the API. Check name resolution, routing and the required credential before disabling security controls to troubleshoot a failed widget.
Give users only the board and integration access they need. Homarr distinguishes reading integration data from running actions and changing the connection itself. A family board should not automatically receive the administrator's control capabilities merely because its tiles are visible.
Use the supported interactive widgets
- Calendar: Combine supported calendar and media integrations, then inspect the expected events. A failed source can differ from a valid empty calendar.
- Media requests: The current request-list widget supports requests and approval/rejection for documented integrations such as Seerr, Jellyseerr and Overseerr. Confirm permissions and the upstream result when using an action.
- Download clients: The documented widget can list and manage supported jobs. Pause/resume/delete requires appropriate interaction access; some integrations are list-only, so do not assume every connected client exposes the same controls.
- Home Assistant: Supported entity-state and automation widgets can expose chosen actions. Test a harmless entity first and verify the state in Home Assistant; an attractive tile is not proof of a successful action.
- Separate boards: Keep a simple household view and a restricted administration view. Test each with the intended user's account, rather than only with the administrator.
These controls are useful additions to a dashboard, but keep Prometheus/Grafana or another proper monitoring system for the history, queries and alerts it provides. A Homarr tile is a service view with its own refresh and error behaviour, not proof that every part of the service is healthy.
Docker access and recovery
Mounting /var/run/docker.sock gives a container extensive host control. A :ro filesystem mount does not turn Docker API requests into read-only operations. If inventory is enough, use the least-privilege socket-proxy approach described by Homarr, keep it on a private network and grant only the required capabilities. Do not expose an unauthenticated Docker TCP port to make discovery convenient.
Before upgrades, stop Homarr before copying the complete SQLite appdata directory, and retain the matching Compose file, private encryption key and image version. External PostgreSQL installations also need a database-native backup. The current administrator backup tool can export SQLite state, but its archive contains sensitive credential-recovery material and needs protection.
A v1-to-v2 upgrade changes the database in place. Switching only the container image back to v1 is not a rollback: recovery needs the pre-upgrade database, appdata, configuration and encryption key. Existing MySQL installations have a documented conversion requirement before v2. Use those release-specific instructions rather than applying a fresh-install example over an older database.
Test restore on a separate instance where possible. A management restore replaces the target database and requires signing in again. Also check layout after a major upgrade; the retained original screenshots are not a promise that every release uses identical grid sizing or controls.
Conclusion
Homarr remains an appealing choice for our preference for a visual, attractive homelab dashboard. Its value grows when each tile leads to the correct service, integrations have tested access, household and administrator permissions are distinct, and the board can be recovered. Start simple and add the widgets that help you operate the homelab.
See the current installation guide, integration guide and backup documentation for release-specific behaviour.